0
0 Created: Sep 1,2026 | BedWars
BedWars Bounty Hunter + Miner Kit Fusion Guide: Fastest Loot Snowball

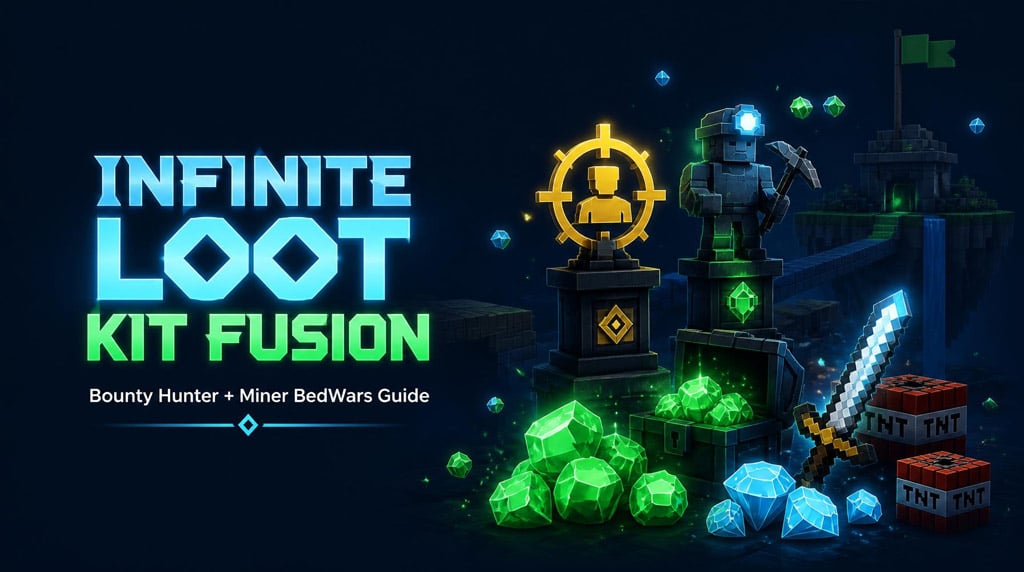
Bounty Hunter + Miner is the strongest loot engine in Kit Fusion right now because it double-pays every fight: bounty kills drop bonus emeralds and diamonds, and Miner statues pay out on any elimination. Play it right and one clean fight funds your entire mid-game.
In our 40+ matches testing this fusion, the players who lost were never resource-starved. They died carrying full inventories. This guide fixes that.
- Why the Combo Prints Loot
- Opening Game Plan: First 90 Seconds
- Who to Kill Instead
- Statue Rules
- Upgrade Priority: Spend Before You Fight
- How to Fight With This Fusion
- Isolate Before You Commit
- Height and Box Plays Steal Kills You Should Not Win
- TNT Is a Kill Tool, Not Just a Bed Tool
- Bed-Break Timing: When Farming Stops
- The Clean Base Attack
- Threat Matchups
- Bedless? The Combo Still Wins
- The Emerald Loop
- FAQ
- Is Bounty Hunter + Miner the best Kit Fusion combo for loot?
- Should you always chase your bounty target?
- What should you buy first with emeralds?
- How do you avoid dying with a full inventory?
Why the Combo Prints Loot
Bounty Hunter marks a target and pays a reward spike on the kill. Miner spawns a claimable statue after every elimination, bounty or not.
Here is the part most guides get backwards: Miner is the engine, Bounty Hunter is the multiplier. The statue income from ordinary kills is what actually carries your economy. The bounty is a bonus you cash in when the target happens to be free.
What this actually means is that you never need to force a bad bounty fight. Any kill scales you.
One kill funds your next fight. One team wipe funds emerald armor.
Here is the catch: none of it matters if you die holding the loot. This combo does not lose to enemy kits. It loses to greed.
Opening Game Plan: First 90 Seconds
Buy blocks, hit mid, check your bounty marker. That is the entire opening.
If the bounty is isolated, then collapse immediately and claim the statue before rotating out. If the bounty is sitting in base with three teammates, swap targets. A bounty is an opportunity, not an order.
Who to Kill Instead
Miner rewards any elimination, so hunt the cheapest ones:
- Bridge crossers with no blocks in hand
- Isolated players third-partying a fight
- Anyone who just burned their telepearl or dash
We tested the always chase bounty approach against the safest kill available approach across a dozen matches each. The safe-kill route reached diamond armor roughly a full minute faster on average, because deaths reset the snowball harder than a missed bounty ever does.
Statue Rules
Claim the statue immediately if the area is clear. Build up first if enemies are closing. Abandon it entirely if grabbing it means dying.
A missed statue costs one payout. A death costs the payout, your inventory, and your tempo.
Upgrade Priority: Spend Before You Fight
Loot sitting in your inventory does zero damage. Here is the spending order that held up through our endgame testing.
| Priority | Item | Why | Timing |
|---|---|---|---|
| 1 | Armor Protection | Preserves kill streaks and statue routes | First diamond window |
| 2 | Diamond Sword | Ends duels before backup arrives | 4-5 emeralds |
| 3 | Diamond Armor | The mid-game survival spike | After early statue farming |
| 4 | TNT | Breaks defenses and isolates bounties | Before any base attack |
| 5 | Telepearls | Escapes bad dives while carrying loot | As soon as you hold value |
| 6 | Emerald Armor | The win condition | ~40 emeralds |
| 7 | Fireballs / Bow | Bridge control and runner cleanup | Late-game |
Takeaway: buy armor protection before the diamond sword unless you are winning every duel untouched — survivability is what keeps the statue loop running when two enemies collapse on you.
If you keep dying with 15+ emeralds in your inventory, your problem is not farming. It is banking cadence. Our rule after repeated testing: return to shop after every second resource spike. Two statues, bank. Bounty plus statue, bank.
No exceptions.
How to Fight With This Fusion
Controlled aggression wins. You want fights where the reward is a statue and the risk is a bruise.
Isolate Before You Commit
Never dive a full team because the bounty marker points there. Force separation instead: cut bridge exits, take height, third-party mid scraps, or drop TNT to scatter defenders and pick off whoever panics first.
If the bounty retreats into their squad, reset. Farm elsewhere. The marker will still be there.
Height and Box Plays Steal Kills You Should Not Win
Against overcommitted chasers, aggressive block placement flips fights. Box them, break their momentum, punish the last-hit greed. We ran this against stacked Barbarian players three separate times, and twice the stronger duelist handed us a free statue purely because they chased into our block placement.
TNT Is a Kill Tool, Not Just a Bed Tool
Use TNT to displace grouped defenders, interrupt Melody healing, and turn a protected bounty into an isolated one. Four swords in a base is not a fight. Four scattered players is four statues.
Bed-Break Timing: When Farming Stops
The loot loop is addictive, and that is exactly why players over-farm. Every minute an enemy bed stays up, that team scales for free.
Start breaking beds the moment you are clearly the most stacked player in the lobby: diamond armor before the average player, TNT in inventory, and a pearl for the exit.
The Clean Base Attack
1. Scout from height.
2. TNT the defense layers.
3. Kill the support kit first — a live Melody undoes your entire push.
4. Break the bed during the scramble, not while four players hit you.
5. Pearl out if you drop low, heal, re-engage with range.
If a specific team is visibly stacking economy, they are your next target regardless of where your bounty is. Removing their bed is worth more than any single reward spike.
Threat Matchups
Some kits punish this combo's aggression. Respect these six.
| Threat | Danger | Counter |
|---|---|---|
| Hannah | Executes low-HP divers | Disengage above execute range, never trade while low |
| Barbarian | Wins extended trades | Burst fast or bring a teammate |
| Void Knight | Duel pressure and sustain | Space out, use TNT, avoid long 1v1s |
| Uzi | Escapes your collapses | Cut landing paths, punish after dash |
| Melody | Undoes your base pushes | Focus the healer first, every time |
| Bow / Static | Punishes loot-heavy retreats | Carry blocks and pearls, never retreat in a straight line |
Takeaway: skip the Barbarian bounty entirely unless you have a gear lead or a teammate — the trade math is against you and the statue is not worth the reset.
Bedless? The Combo Still Wins
Losing your bed early does not end this fusion. It sharpens it. After the latest patch, we re-verified this in a bedless run: bounty rewards plus statue income carried us from zero to diamond armor, then emerald armor, with no respawns available.
Bedless rules are stricter:
- Never take a 1v3 without a pearl in hand.
- Bank after every high-value kill, not every second one.
- Stay out of Hannah execute range at all costs.
- Let enemies chase you into bad terrain and hand you statues.
Bedless does not mean passive. It means precise.
The Emerald Loop
Rotate mid, check the bounty, kill isolated targets, claim statues, bank, upgrade, hit the weakest bed. Repeat.
At 40 emeralds, buy emerald armor immediately unless you are physically cut off from shop. Every fight after that spike tilts your way.
FAQ
Is Bounty Hunter + Miner the best Kit Fusion combo for loot?
Yes — it stacks two independent reward systems, making it the fastest legitimate loot engine in Kit Fusion. Bounty Hunter pays bonus resources on marked kills while Miner pays a statue on every elimination, so a single team fight can fund a full armor tier.
Should you always chase your bounty target?
No. Chase only when the target is isolated; otherwise farm safer kills, because Miner statues pay on any elimination. A protected bounty is a trap, not a payday.
What should you buy first with emeralds?
Buy a diamond sword around 4-5 emeralds if you are winning duels, or bank toward diamond armor if enemies keep collapsing on you. Under pressure, armor always beats damage — dead players spend nothing.
How do you avoid dying with a full inventory?
Bank after every second resource spike and keep one telepearl at all times. In our testing, forced banking cadence cut loot-loss deaths more than any gear change we tried.

Most Popular Posts
- BedWars Kit Tier List: S-Tier Kits for Solos, Duos, Squads, Ranked & Kit Fusion
- BedWars Best Kits Ranked for Season 17: 5v5 Tier List & Meta Comps
- BedWars Season 17 Ranked Kit Guide: Best Kits for Every Role
- BedWars Bounty Hunter + Miner Kit Fusion Guide: Fastest Loot Snowball
- BedWars Miner + Barbarian Kit Fusion Guide: The Most Broken Combo for Snowballing Wins
- BedWars PvP Guides: Combos, Blocks, and Game Sense That Actually Win Games
Popular Category Lists
- ARC Raiders / (347)
- Grow a Garden / (292)
- CoD: Black Ops 7 / (167)
- Star Citizen / (161)
- MLB 26 / (159)
- Monopoly Go / (152)
- ARK Survival Ascended / (127)
- Steal a Brainrot / (98)
- Blox Fruits / (74)
- Adopt Me / (73)
- Forza Horizon 6 / (72)
- Sailor Piece / (68)
- Grow a Garden 2 / (68)
- Diablo IV / (62)
- CoD: BLACK OPS 6 / (55)
- Path of Exile 2 / (48)
- Monster Hunter Wilds / (46)
- Aion 2 / (46)
- Windrose / (44)
- Donut SMP / (41)