0
Created: Dec 27,2025 | Grow a Garden
Grow a Garden Pets Fast Leveling Age 100 with Red Nose Reindeer

Red Nose Reindeer isn't good because it looks special—it's good because it turns your garden into a steady XP engine. Once you cap its cooldown and stack enough regular Reindeer, you get predictable XP pulses that power-level other pets while you do basically nothing (the best kind of grinding).
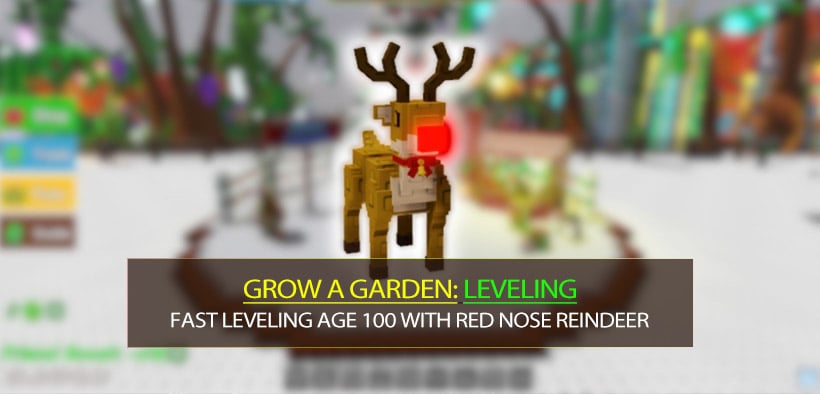
You need 8 level 100 Reindeer plus a Sleigh. So below is the exact route I used, the fastest way to finish the Grow a Garden Pets last painful age levels, and the setup that makes the pet worth the effort.
- 1) What Makes Red Nose Reindeer So Strong
- 2) Fastest Path to 8 Level 100 Reindeer
- 2.1 My leveling strategy: stop around 80, then buy the last 20 levels
- 2.2 Step-by-step checklist
- 3) Merging With the Sleigh: The Weight Inheritance Trap
- 4) Best Build: How to Hit the 2:30 Cooldown Cap
- 4.1 The efficient goal: reach 2:30 and stop
- 5) The XP Multiplier: How Many Reindeer Should You Place?
- 6) XP Math You Can Trust (Hourly + Daily)
- 7) Why Isn't My XP Going to the Pet I Want?
- My fix: shrink the random pool to exactly one target
- FAQ
- How many Reindeer do I really need to make this work?
- Do I need to max-level Red Nose Reindeer first?
- Is stacking cooldown past 2:30 worth it?
- What if I keep disconnecting while AFK?
- Summary
1) What Makes Red Nose Reindeer So Strong
When I judge an XP pet, I care about three things:
- How low the cooldown can go
- How much XP it gives per trigger
- Whether I can multiply that XP with team setup
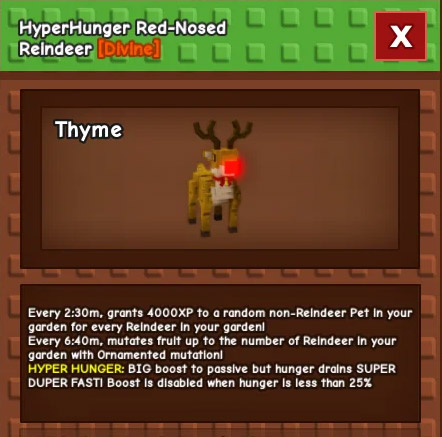
Red Nose Reindeer checks all three:
- Cooldown can be reduced down to a hard cap of 2 minutes 30 seconds
- It grants ~2,000–4,000 XP (depending on stats) to a random non-Reindeer pet
- The XP scales per Reindeer in your garden, which is the real multiplier
Why this matters: you're not chasing a one-time burst. You're building a reliable XP schedule you can plan around.
2) Fastest Path to 8 Level 100 Reindeer
2.1 My leveling strategy: stop around 80, then buy the last 20 levels
I don't brute-force 1→100 if I have resources. The last chunk usually takes the longest, so I do this:
- Level each Reindeer to around 80-ish naturally
- Then use level-up lollipops/candy (or your equivalent) to finish 80→100
Because the final levels are slow, so spending items there saves the most time.
2.2 Step-by-step checklist
1. Get at least 8 Reindeer (I like having 1–2 extra as backup)
2. Level all 8 to roughly level 80
3. Count your level-up items so you can finish cleanly
4. Spam level-ups to push each one to level 100
5. Make sure you have a Sleigh ready for the merge
If you notice you frequently disconnect while AFK leveling, then don't leave the hardest part (80→100) to idle time—finish that part actively with items.
3) Merging With the Sleigh: The Weight Inheritance Trap
A super common assumption is: If I merge using my biggest Reindeer, my Red Nose will be big.
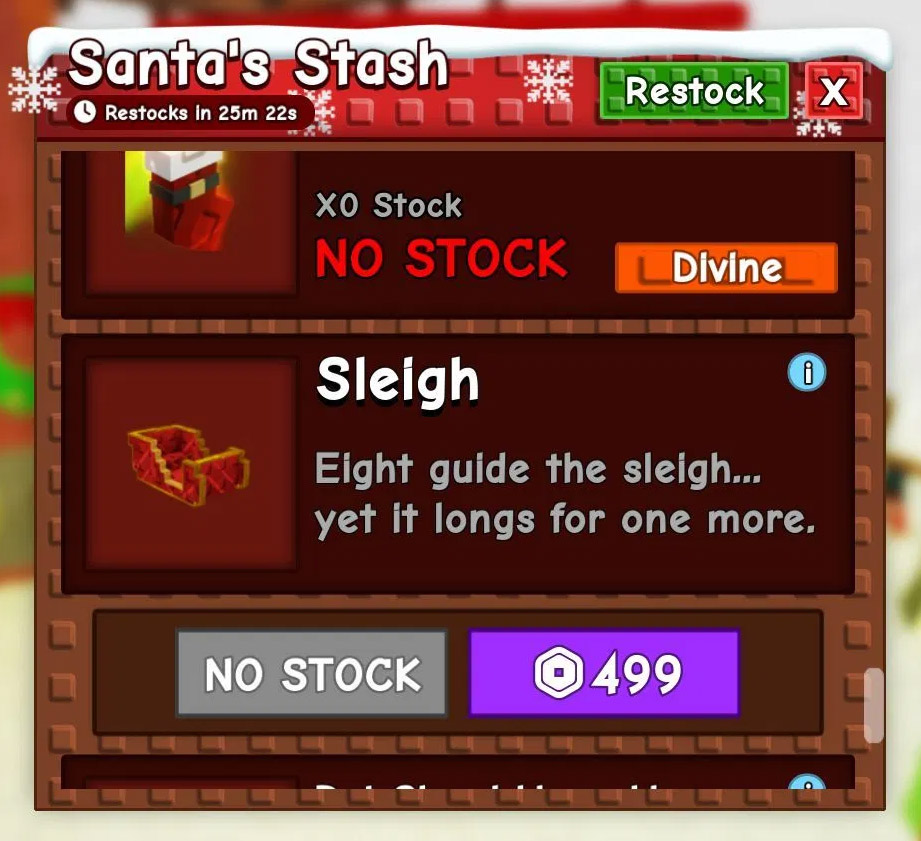
From practical testing, it behaves more like:
the merged pet's stats (like weight) are reset/rolled, not cleanly inherited
What that means: don't delay your merge trying to grow one perfect Reindeer first.
Merge ASAP, then optimize the Red Nose Reindeer afterward.
4) Best Build: How to Hit the 2:30 Cooldown Cap
I optimize cooldown using three levers:
- Mutation (example: Hyper Hunger-type effects)
- Weight
- Toys
4.1 The efficient goal: reach 2:30 and stop
Red Nose Reindeer has a hard minimum cooldown. Once you hit 2:30, extra investment into cooldown is wasted.
My recommended approach:
- Put your best cooldown mutation (ex: Hyper Hunger) on Red Nose
- Use a toy to push it down to the 2:30 cap
Because the cap is fixed, so just enough optimization is the best ROI.
5) The XP Multiplier: How Many Reindeer Should You Place?
The simplest high-value layout is:
- Red Nose Reindeer
- 6 regular Reindeer
- 1 target pet (the non-Reindeer you're leveling)
This keeps one slot reserved for the pet you actually want to power-level, while stacking enough Reindeer to boost XP meaningfully.
If you can place more Reindeer without losing your target slot, then do it—more Reindeer generally means more XP per trigger.
6) XP Math You Can Trust (Hourly + Daily)
Instead of guessing, I always calculate XP like this:
- Trigger rate = based on cooldown
- XP per trigger = what your pet shows
- Multiply by time
Here's a safe example using the numbers from the scenario:
Assumptions (example):
- Cooldown = 2 minutes 30 seconds
- XP shown = 1,800 XP per trigger (yours may differ)
- Reindeer stacked = 6 regular Reindeer (your game's wording may apply per Reindeer scaling—use your displayed result if it shows the final XP)
Now compute triggers per time:
- 2:30 cooldown = 4 triggers per 10 minutes
- 1,800 × 4 = 7,200 XP per 10 minutes
- 7,200 × 6 = 43,200 XP per hour
- 43,200 × 24 = 1,036,800 XP per day
To make this easy to reuse, here's the table:
| Metric | Example Value | What It Tells You |
|---|---|---|
| Cooldown | 2:30 | How often XP fires |
| Triggers / 10 min | 4 | Simple timing anchor |
| XP / trigger | 1,800 | Your displayed value |
| XP / 10 min | 7,200 | Short-window reality check |
| XP / hour | 43,200 | What AFK time is worth |
| XP / day | 1,036,800 | Long-term payoff |
If your XP per trigger is closer to 4,000, then you can roughly double these totals.
7) Why Isn't My XP Going to the Pet I Want?
This is the #1 frustration point, and it's simple:
Red Nose Reindeer gives XP to a random non-Reindeer pet.
So:
- If you have multiple non-Reindeer pets active/eligible, then the XP gets split randomly.
- If your strongest pet is eligible, then it may steal XP constantly.
My fix: shrink the random pool to exactly one target
- Only keep one non-Reindeer pet in the eligible set
- Everything else in the setup should be Reindeer (or otherwise excluded)
If you notice XP going to a max-level pet, then remove it from eligibility immediately or you'll waste hours.
FAQ
How many Reindeer do I really need to make this work?
Minimum to merge is 8 level 100. For the XP setup, I usually run 6 regular Reindeer + Red Nose + 1 target because it's clean and consistent.
Do I need to max-level Red Nose Reindeer first?
No. Once it's functional and cooldown is capped, it already generates value. Leveling it further is optimization, not the starting requirement.
Is stacking cooldown past 2:30 worth it?
No—2:30 is the floor. Once you hit it, invest into XP amount or team structure instead.
What if I keep disconnecting while AFK?
Finish the expensive part (like 80→100) actively with items, then use AFK time for the easier grind.
Summary
The fastest, least painful way to unlock the Red Nose Reindeer era is:
- Get 8 Reindeer to ~80 naturally
- Use items to push 80→100 quickly
- Merge with a Sleigh (don't obsess over weight inheritance)
- Build the XP engine: Red Nose + 6 Reindeer + 1 target
- Cap cooldown at 2:30, then let the pet print XP on schedule
Once you run it this way, leveling stops feeling like a grind and starts feeling like passive income—except the currency is pet levels.

Most Popular Posts
- Grow a Garden Secret Badge Walkthrough: Carrot Weight & Puzzle Guide
- Grow a Garden Enfield Guide: Everfallen Roll Rules & Level Loss
- Grow a Garden Pet Mutations Guide: Best Abilities, Costs & Odds
- Grow a Garden Moon Harvest Part 4 Guide: Gear Odds, Reset Rewards, Cornling Strategy, New Seeds
- Grow a Garden: Beanpod Chest Farming and Elder Beanstalk Guides
- Grow a Garden Arctic Fox Guide: Best AFK Setup for Seeds, Gears, Eggs & Pet XP
Popular Category Lists
- ARC Raiders / (372)
- Grow a Garden / (300)
- Star Citizen / (171)
- CoD: Black Ops 7 / (167)
- MLB 26 / (159)
- Monopoly Go / (153)
- ARK Survival Ascended / (132)
- Steal a Brainrot / (101)
- Adopt Me / (78)
- Blox Fruits / (74)
- Forza Horizon 6 / (72)
- Sailor Piece / (68)
- Grow a Garden 2 / (68)
- Aion 2 / (64)
- Diablo IV / (62)
- COD: Modern Warfare 4 / (57)
- CoD: BLACK OPS 6 / (55)
- Maplestory Classic / (50)
- Path of Exile 2 / (48)
- Monster Hunter Wilds / (46)