0
0 Created: Sep 21,2026 | Monopoly Go
Monopoly GO Monster Mash Album: Dates, Sets, Rewards, and Strategy

Monster Mash is reported to be MONOPOLY GO!'s next sticker album, bringing a Halloween-themed collection with 22 sets, 198 stickers, Gold Stickers, and two Prestige levels. We have organized the supplied details into a practical pre-launch guide so you can prepare your trades, duplicate inventory, and Wild Sticker choices before the album goes live.
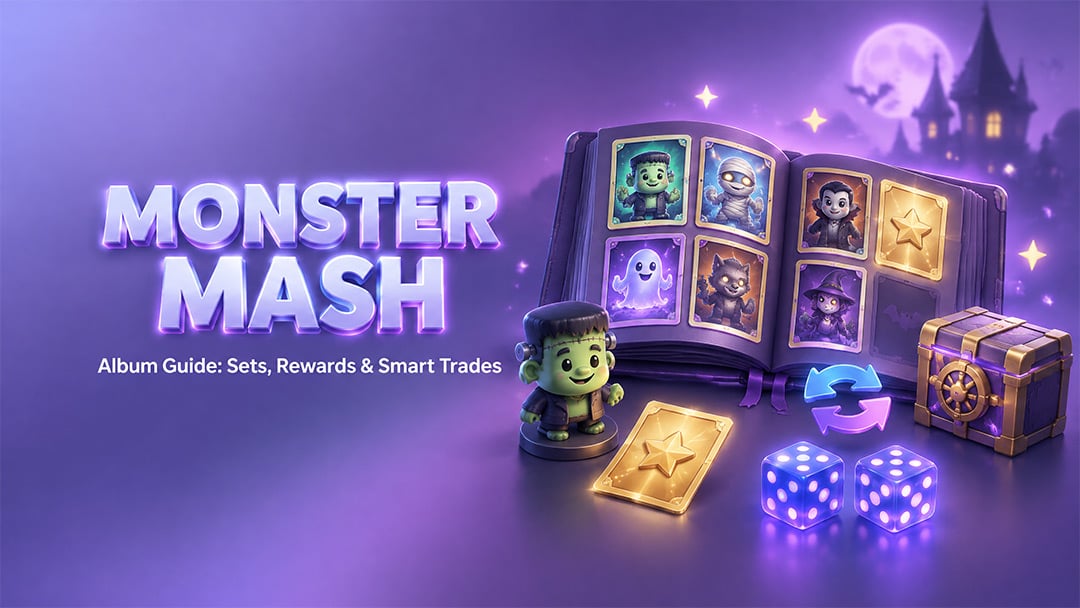
This is a preview, not a live-tested completion guide. The reported schedule, reward totals, individual sticker lists, Gold Sticker labels, and Sticker Exchange vault contents should be verified in the game client and through official MONOPOLY GO! channels at launch.
- Monster Mash Album: Dates & Details
- Monster Mash Completion Rewards
- Monster Mash Album Set Details
- Sticker Sets
- Sets 1–6: Build Progress Without Overpaying
- Sets 7–13: Keep 3-4 Stars Trades Separate
- Sets 14–22: Treat Premium Duplicates as Trade Assets
- Gold Stickers and Golden Blitz
- Golden Blitz Preparation Checklist
- Sticker Exchange Vaults
- When We Should Open a Vault?
- Wild Sticker Strategy
- Better Wild Sticker Targets
- Weak Wild Sticker Targets
- Monster Mash Completion Plan
- Phase 1: Establish The Base
- Phase 2: Consolidate Trade Inventory
- Phase 3: Remove Specific Endgame Blockers
- Editorial Note and Verification Policy
- FAQ (Frequently Asked Questions)
- Q. When Does The Monster Mash Album Start And End?
- Q2. How Many Stickers And Gold Stickers Are Reported For Monster Mash?
- Q3. What Are The Reported Monster Mash Completion Rewards?
- Q4. Can Gold Stickers Be Traded At Any Time?
- Q5. Which Sticker Exchange Vault Should We Choose?
Monster Mash Album: Dates & Details
The first mistake players make is treating every album day the same. If the reported schedule is accurate, the final days will likely be more important than the opening week because high-rarity cards, Golden Blitz availability, and duplicate-star decisions become more restrictive over time.
The supplied material reports the following album details.
| Detail | Reported Information |
|---|---|
| Album start | September 23, 2026, at 1:00 PM EDT |
| Album end | November 25, 2026, at 1:00 PM EST |
| Total sticker sets | 22 |
| Total stickers | 198 |
| Gold Stickers | 30 |
| Prestige levels | 2 |
The reported season crosses a daylight-saving time change. We should rely on the countdown in the game client rather than manually converting the start and end times.
Monster Mash Completion Rewards
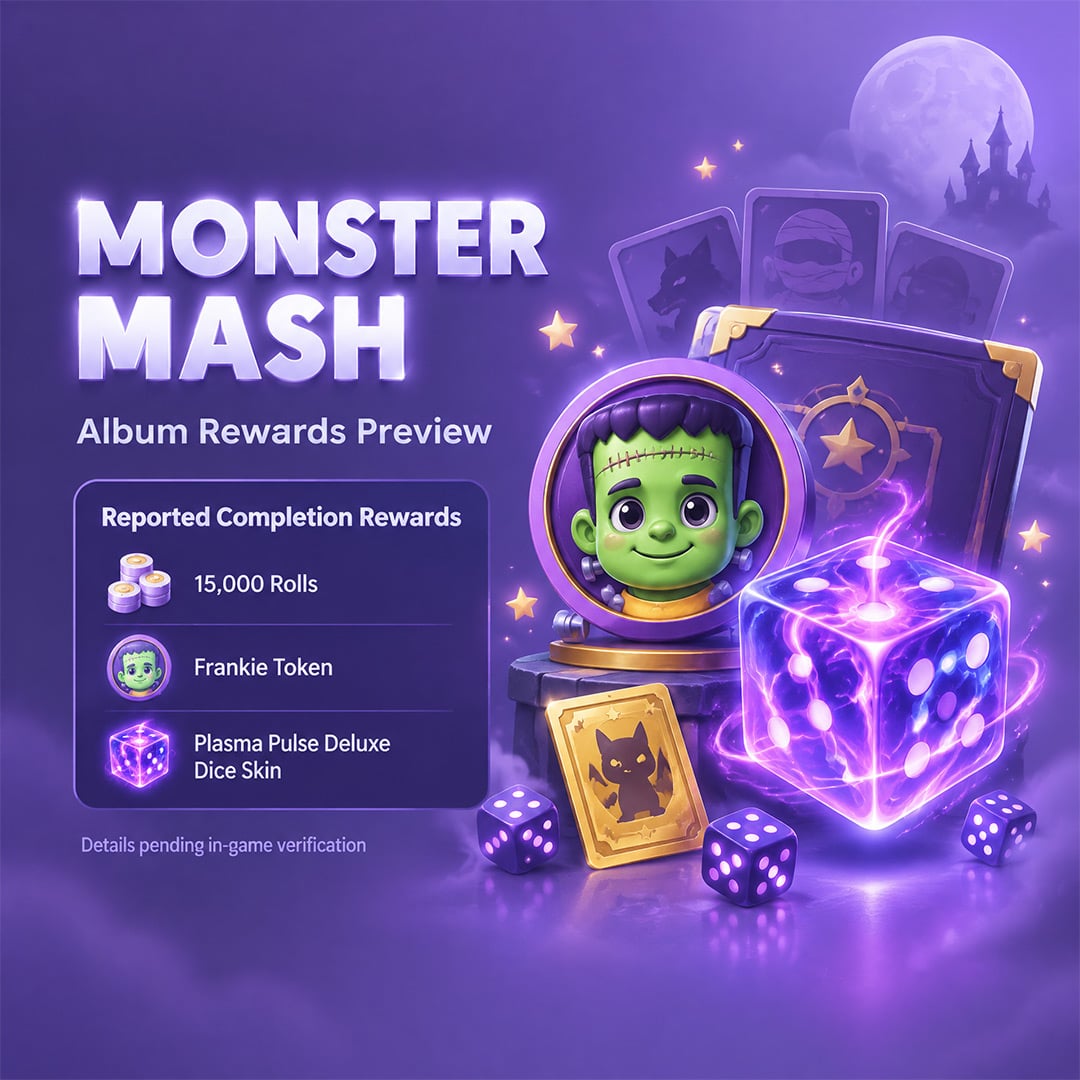
The supplied information lists rewards for the base album and two Prestige levels. These rewards should be checked against the live reward screen before players spend money, rolls, or Wild Stickers to pursue a specific milestone.
| Completion Stage | Reported Rewards |
|---|---|
| Main Monster Mash Album | 15,000 Rolls, Frankie Token, Cash |
| Prestige Level 1 | 15,000 Rolls, Plasma Pulse Deluxe Dice Skin, Cash |
| Prestige Level 2 | 15,000 Rolls, Cash |
If these rewards are confirmed, completing the first album is not the only objective. Players who want the reported Plasma Pulse Deluxe Dice Skin would need to plan for Prestige Level 1, which makes duplicate management more important than simply rushing the first completion.
Monster Mash Album Set Details
The total number of stickers is useful, but the rarity curve is what determines how an album feels to complete. The supplied list suggests that early sets rely on one- and two-star cards, while the final six sets introduce four-, five-, and six-star cards.
What this means for our approach is simple: a missing one-star card should not be valued like a missing six-star card. We should solve low-rarity gaps through ordinary packs and equal-value trades, then retain premium duplicates for the late-album bottleneck.
| Set | Reported Set Name | Stickers | Reported Rarity Spread | Planning Priority |
|---|---|---|---|---|
| 1 | Community Gallery |
| 9× 1-star | Early collection |
| 2 | Welcome To The Mansion |
| 9× 1-star | Early collection |
| 3 | Dracula |
| 6× 1-star, 3× 2-star | Early collection |
| 4 | Lurid Labs |
| 3× 1-star, 6× 2-star | Early collection |
| 5 | Grim Gardens |
| 9× 2-star | Early trade target |
| 6 | Wolfie |
| 9× 2-star | Early trade target |
| 7 | Sleepless Night |
| 7× 2-star, 2× 3-star | Early-to-mid target |
| 8 | Ms. Frankenstein |
| 6× 2-star, 3× 3-star | Early-to-mid target |
| 9 | Halloween Games |
| 4× 2-star, 5× 3-star | Mid-album target |
| 10 | The Mummy |
| 2× 2-star, 7× 3-star | Mid-album target |
| 11 | The Swamp Monster |
| 1× 2-star, 7× 3-star, 1× 4-star | Mid-album target |
| 12 | Evil Deed |
| 7× 3-star, 2× 4-star | Mid-album target |
| 13 | The Zombie |
| 6× 3-star, 3× 4-star | Mid-album target |
| 14 | The Ghost |
| 5× 3-star, 3× 4-star, 1× 5-star | Premium trade planning |
| 15 | The Witch |
| 3× 3-star, 4× 4-star, 2× 5-star | Premium trade planning |
| 16 | Ghastly Garage |
| 2× 3-star, 5× 4-star, 2× 5-star | Premium trade planning |
| 17 | Boogie Bash |
| 6× 4-star, 2× 5-star, 1× 6-star | Late-album target |
| 18 | The Attic |
| 5× 4-star, 3× 5-star, 1× 6-star | Late-album target |
| 19 | Trick Or Treat |
| 4× 4-star, 4× 5-star, 1× 6-star | Late-album target |
| 20 | Frankie Fun |
| 3× 4-star, 5× 5-star, 1× 6-star | Late-album target |
| 21 | Who You Gonna Call? |
| 3× 4-star, 5× 5-star, 1× 6-star | Late-album target |
| 22 | Demons & Hunters |
| 2× 4-star, 6× 5-star, 1× 6-star | Late-album target |
The table shows why players should avoid judging progress by set number alone. A later set with one tradeable five-star gap may be more achievable than an earlier set blocked by an unavailable Gold Sticker.
Sticker Sets
The supplied material includes individual card names, but those names, rarities, and Gold Sticker classifications remain pending in-game verification. For launch-day planning, the set-level structure is more useful than an unverified full trade sheet.
Sets 1–6: Build Progress Without Overpaying
The early-game trap is paying premium trade value for cards that may become widely available through ordinary play. If you are missing one- or two-star cards, then use equal-star exchanges and normal sticker packs before offering any high-rarity duplicate.
We should follow three rules:
- 1. Trade low-rarity duplicates at equal value whenever possible.
- 2. Keep four-star-and-higher duplicates for later direct trades.
- 3. Never use a Wild Sticker on an early low-rarity card unless it is the final non-Gold sticker needed at the end of the season.
Sets 1 through 6 are reported as the least demanding part of the album. Their primary purpose is to generate early set rewards and establish a clean duplicate inventory.
Sets 7–13: Keep 3-4 Stars Trades Separate
Three-star cards can still delay set completion, especially when players become focused on five-star cards too early. The efficient move is to maintain a separate same-rarity trading pool instead of breaking premium duplicates to solve medium-rarity gaps.
If you have several missing three-star cards, then seek three-star-for-three-star swaps first. If a four-star card completes a set with a useful reward, calculate the value of that reward before offering a higher-rarity duplicate.
The objective is not to complete every set in numerical order. The objective is to remove the cheapest tradeable barriers while protecting scarce cards.
Sets 14–22: Treat Premium Duplicates as Trade Assets
The later sets are reportedly where four-, five-, and six-star cards become more common. That does not mean every premium duplicate should be held forever. It means each one should be assessed before it becomes vault currency or an uneven trade.
A sensible late-album trade order is:
- 1. Complete a set that needs one standard, tradeable card.
- 2. Target cards matching duplicates you already hold.
- 3. Prioritize standard high-rarity gaps before using a Wild Sticker.
- 4. Keep Gold Sticker decisions separate until Golden Blitz eligibility is confirmed.
- 5. Do not trade a flexible five-star duplicate for a routine low-rarity card unless that exchange immediately completes a high-value set.
The important point is tradeability. A set with three standard missing cards can be easier to finish than a set with one unavailable Gold Sticker.
Gold Stickers and Golden Blitz
The supplied source material reports 30 Gold Stickers, but it does not identify which specific cards are Gold. We should not publish an unverified Gold Sticker list or assume that a named card will be tradable during a future Golden Blitz.
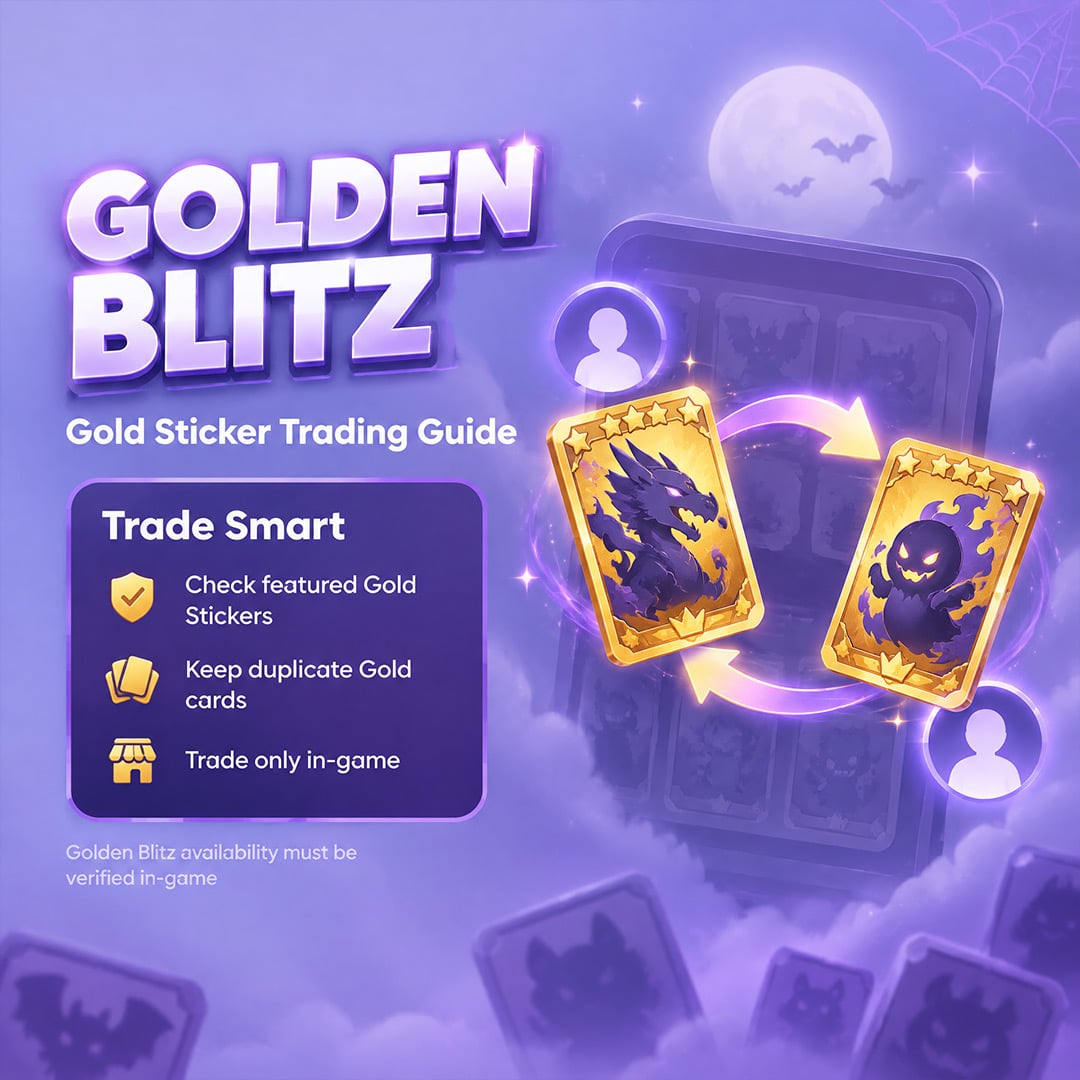
Gold Stickers are generally restricted outside specific Golden Blitz events. During a Golden Blitz, only the exact Gold Stickers selected for that event can be exchanged. Event timing and eligible card names must be verified in the game client.
Golden Blitz Preparation Checklist
- 1. Keep duplicate Gold Stickers until their potential event value is clear.
- 2. Track Gold Sticker gaps separately from standard sticker gaps.
- 3. Confirm the exact eligible sticker names before offering a trade.
- 4. Avoid spending a Wild Sticker on a Gold card if a matching Golden Blitz has been officially announced.
- 5. Use the in-game trade system and verify the offer before accepting it.
A duplicate Gold Sticker may appear unusable today and become valuable during a later event. That is why it should not be treated as ordinary duplicate-star inventory.
{custom_img_2}
Sticker Exchange Vaults
Sticker Exchange vaults can be useful, but they also consume duplicates that may be more valuable in direct trades. The right vault depends on your missing sticker list, your spare stars, and whether you can still make realistic player-to-player exchanges.
| Reported Vault Tier | Duplicate Star Cost | Reported Contents | Potential Use |
|---|---|---|---|
| Tier 1 | 250 | 250 Rolls | Small roll refill when duplicates have little direct-trade value |
| Tier 2 | 450 | 350 Rolls, 3× 3-Star Packs, 4× 4-Star Packs | Mid-album accounts missing several four-star cards |
| Tier 3 | 700 | 500 Rolls, 4× 4-Star Packs, 6× 5-Star Packs, 1× Swap Pack (3+ Stars) | Late-album accounts with standard high-rarity gaps |
The reported Tier 3 vault has the strongest high-rarity pack mix. However, it is not automatically the best vault for every player. If a duplicate can secure a fair direct trade for the exact five-star card you need, keeping that duplicate may be more valuable than converting it into stars.
When We Should Open a Vault?
Before opening any vault, check the following:
- Are your missing cards standard stickers that the listed packs could potentially provide?
- Do you have duplicates that can complete direct trades first?
- Is a Golden Blitz or another limited-time event likely to change your priorities?
- Is the album deadline close enough that waiting creates more risk than value?
Do not open a vault simply because you reached the required star count. A vault is a calculated resource conversion, not a guaranteed completion method.
Wild Sticker Strategy
Wild Stickers are most valuable when they remove a problem that ordinary packs and trades cannot solve efficiently. If you use one too early, you may later be left with a rarer obstacle and no reliable answer.
Use a Wild Sticker only after reviewing all realistic alternatives.
Better Wild Sticker Targets
A Wild Sticker may be appropriate when the missing card is:
- A Gold Sticker that cannot currently be traded.
- A high-rarity standard card with no reasonable direct-trade route.
- The final card needed to complete the album.
- A card that closes a set at a strategically important point in an active event.
Weak Wild Sticker Targets
Avoid using a Wild Sticker on:
- One- or two-star cards.
- Ordinary three-star cards early in the season.
- A four-star card when you have useful tradeable duplicates.
- A Gold Sticker shortly before an officially confirmed matching Golden Blitz.
- A card that can likely be solved through a direct, fair trade.
The best Wild Sticker target is not always the most frustrating missing card. It is usually the card with the fewest available alternatives.
Monster Mash Completion Plan
The most common inventory problem is trading across too many incomplete sets at once. That makes it difficult to see which cards matter and weakens your negotiating position.
We should divide progress into three phases.
Phase 1: Establish The Base
At launch, focus on ordinary packs, low-rarity set progress, and fair equal-value trades.
- 1. Confirm album details in the game client.
- 2. Complete low-rarity sets without spending premium duplicates.
- 3. Record missing cards by star value and tradeability.
- 4. Keep high-rarity and Gold Sticker duplicates separate.
- 5. Avoid opening a vault before you know your actual bottlenecks.
Phase 2: Consolidate Trade Inventory
When most missing cards are three- and four-star stickers, stop trading randomly. Target sets that have the fewest practical barriers.
Prioritize:
- 1. Sets missing one standard card.
- 2. Sets where your duplicate matches another player's likely need.
- 3. Sets with tradeable cards rather than unavailable Gold cards.
- 4. Set rewards that support a current event goal.
Phase 3: Remove Specific Endgame Blockers
Near the reported end date, broad collection becomes less useful than focused completion.
- 1. Separate standard missing cards from Gold Sticker gaps.
- 2. Attempt direct trades before opening a high-cost vault.
- 3. Re-check Golden Blitz eligibility before using Wild Stickers.
- 4. Use the reported Tier 3 vault only when its high-rarity packs address your remaining needs.
- 5. Verify all deadline information in-game.
The goal is not to collect cards as quickly as possible. The goal is to maintain enough flexibility to solve the final few cards without overpaying.
Editorial Note and Verification Policy
This page is based on supplied pre-launch information. The following details require in-game or official-source confirmation after Monster Mash launches:
- Exact album start and end times
- Total set, sticker, Gold Sticker, and Prestige counts
- Completion and Prestige rewards
- Sticker names, rarities, and Gold Sticker labels
- Sticker Exchange vault costs and contents
- Golden Blitz dates and eligible Gold Stickers
FAQ (Frequently Asked Questions)
Q. When Does The Monster Mash Album Start And End?
The supplied information reports a start date of September 23, 2026, at 1:00 PM EDT and an end date of November 25, 2026, at 1:00 PM EST. Both dates are pending official and in-game verification.
Q2. How Many Stickers And Gold Stickers Are Reported For Monster Mash?
The supplied material reports 198 stickers across 22 sets, including 30 Gold Stickers.
Q3. What Are The Reported Monster Mash Completion Rewards?
The base album is reported to award 15,000 Rolls, a Frankie Token, and Cash. Prestige Level 1 is reported to award 15,000 Rolls, a Plasma Pulse Deluxe Dice Skin, and Cash, while Prestige Level 2 is reported to award 15,000 Rolls and Cash.
Q4. Can Gold Stickers Be Traded At Any Time?
No. Gold Stickers are generally restricted outside Golden Blitz events. During Golden Blitz, only the exact Gold Stickers featured in that event can be exchanged. Always verify eligible cards in-game.
Q5. Which Sticker Exchange Vault Should We Choose?
The reported Tier 3 vault has the strongest high-rarity pack mix, but it is not automatically the best choice. Choose a vault only after comparing its contents with your remaining missing cards and the direct-trade value of your duplicate inventory.

I’m Amara Okafor, a Nigerian Contributing Writer at GGWTB covering sports, racing, and driving games, alongside casual mobile titles. My guides focus on timing a pass, finding a braking point, and choosing upgrades that suit your playstyle. For shorter sessions, I keep the priorities clear: less menu-hopping, more time playing.

Most Popular Posts
- Monopoly GO Happy Harvest Looney Tunes Upcoing Dates, Album Sets & Stickers, Rewards
- Monopoly GO Finale Partners (Jul 24): Rewards, Schedule & Fastest Completion Strategy
- Monopoly GO Monster Mash Album: Dates, Sets, Rewards, and Strategy
- Monopoly GO Acme Farm Partners Rewards, Milestones, Vault Stacking, and Golden Blitz
- Monopoly GO Farmer's Market Partners Rewards, Times and Strategy Guide
- Monopoly GO Ghostbusters Partners Guide: Dates, Rewards & Strategy
Popular Category Lists
- ARC Raiders / (345)
- Grow a Garden / (292)
- CoD: Black Ops 7 / (167)
- Star Citizen / (161)
- MLB 26 / (159)
- Monopoly Go / (152)
- ARK Survival Ascended / (126)
- Steal a Brainrot / (98)
- Blox Fruits / (74)
- Adopt Me / (73)
- Forza Horizon 6 / (72)
- Sailor Piece / (68)
- Grow a Garden 2 / (68)
- Diablo IV / (62)
- CoD: BLACK OPS 6 / (55)
- Path of Exile 2 / (48)
- Monster Hunter Wilds / (46)
- Aion 2 / (46)
- Windrose / (44)
- Donut SMP / (41)