0
Created: Nov 9,2026 | COD: Modern Warfare 4
MW4 Best ISO Nightshade Class Setup for Multiplayer, Warzone & DMZ

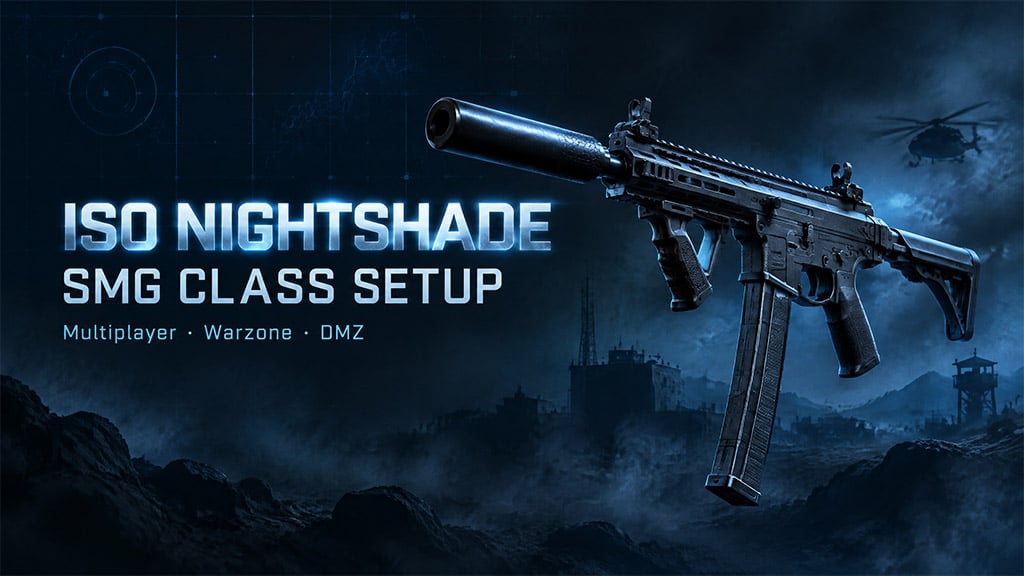
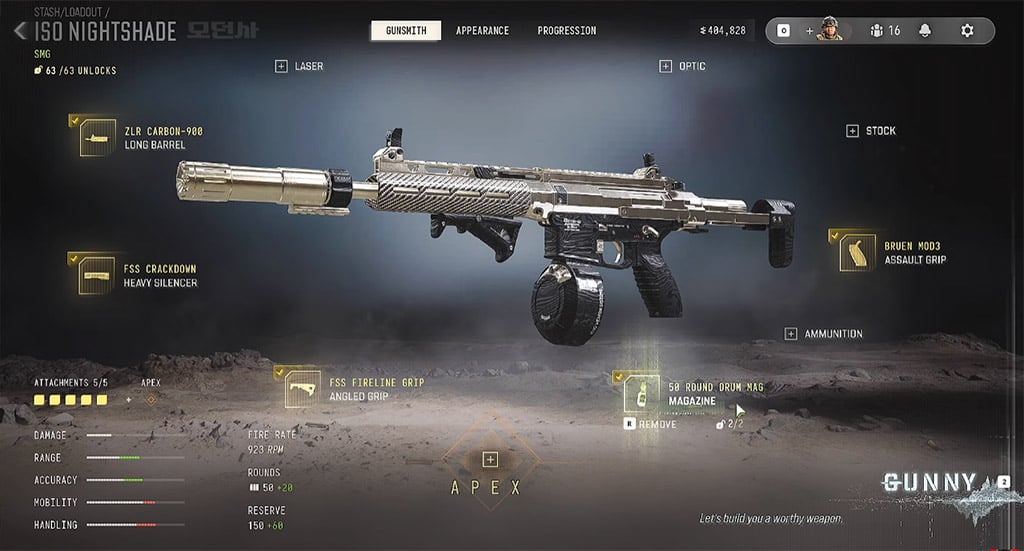
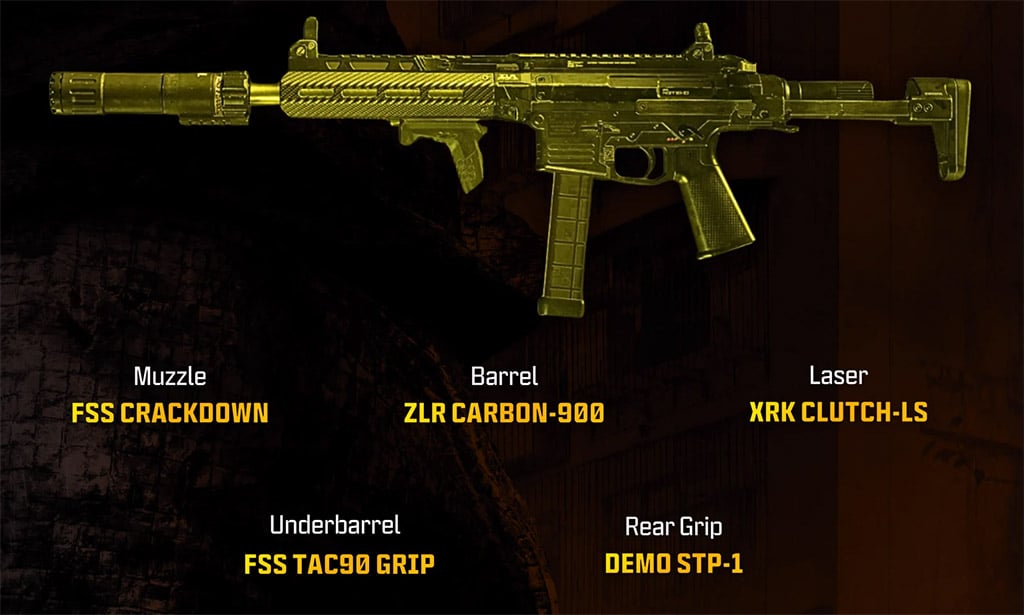
The optimal ISO Nightshade loadout pairs the Long Barrel, Heavy Silencer, Angled Grip, 50-Round Magazine, and Bruen Grip for maximum close-to-mid-range control. Run this exact five-attachment setup across Multiplayer, Warzone, and DMZ to wipe squads without constant reloads.
- Best ISO Nightshade Attachments
- Multiplayer Strategy: Grind Objective Control
- Warzone Strategy: Rebirth Island Duos
- DMZ Strategy: CQC Clearing & Extraction
- Handling the DMZ Armor Plate & Loot Bug
- FAQ (Frequently Asked Questions)
- What is the best ISO Nightshade class setup?
- Can you use the same ISO Nightshade build in DMZ and Multiplayer?
- Why is the 50-Round Magazine mandatory on the ISO Nightshade?
- How do you fix the DMZ bug where you cannot plate or loot?
- Should you push contested loadouts for the ISO Nightshade in Warzone?
Best ISO Nightshade Attachments
We tested this unified setup across core modes and confirmed it balances sustained fire with tight recoil control.
| Slot | Attachment | Primary Benefit |
|---|---|---|
| Barrel | Long Barrel | Extends damage range and bullet velocity |
| Muzzle | Heavy Silencer | Suppresses radar signature and stabilizes vertical recoil |
| Underbarrel | Angled Grip | Tightens aiming idle sway and horizontal bounce |
| Magazine | 50-Round Magazine | Enables multi-kills before reloading |
| Rear Grip | Bruen Grip | Accelerates sprint-to-fire and ADS recovery |
Swap the 50-Round Magazine for a smaller mag in 6v6 only if the ADS speed penalty slows down your entry fragging.
Multiplayer Strategy: Grind Objective Control
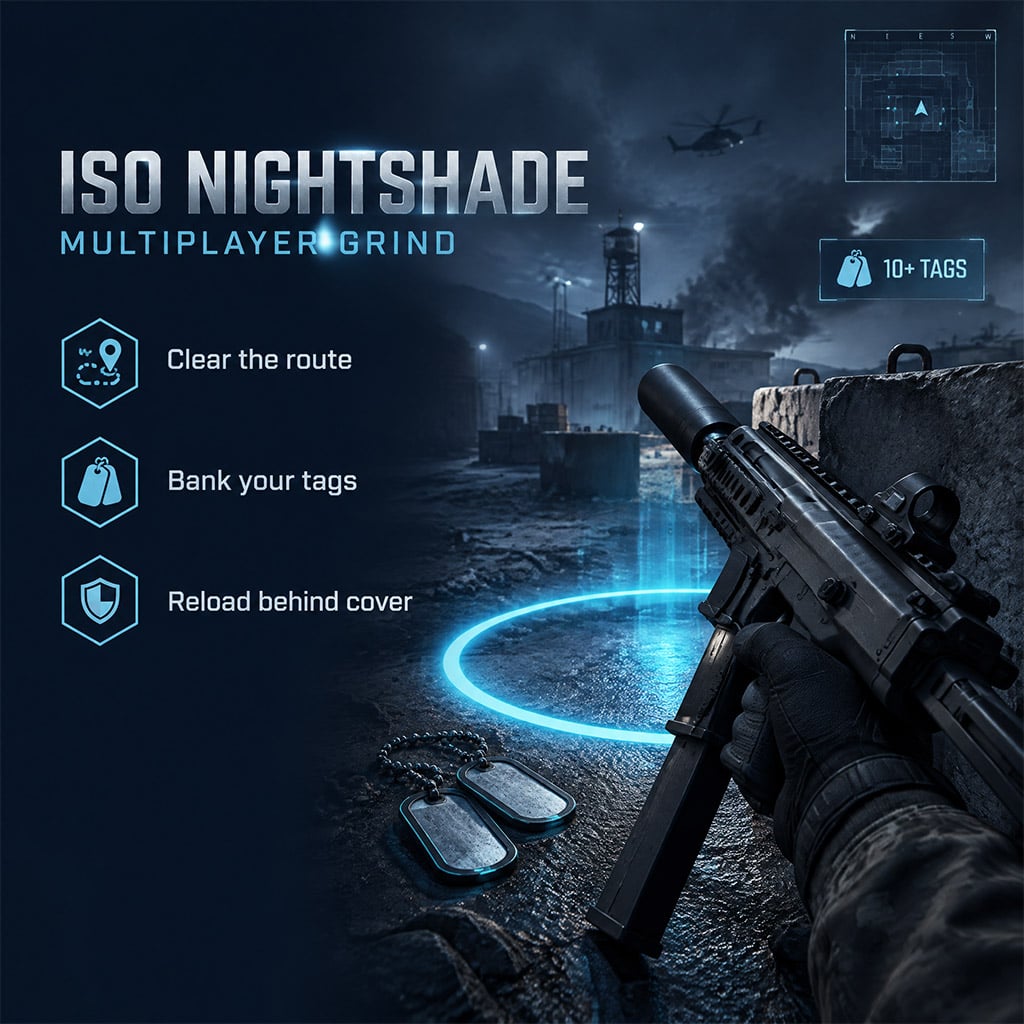
In our Grind matches, overextending with a full stack of tags cost late-game leads despite winning gunfights. Prioritize banking your tags over chasing kills when holding a narrow score advantage.
- Route Clearing: Clear the immediate lane to the bank using the Heavy Silencer to stay off enemy radar.
- Tag Banking: Deposit your collected tags immediately before challenging enemies spawning behind the objective.
- Reload Discipline: Reload your 50-Round Magazine behind hard cover after banking rather than in open doorways.
Never ego-challenge an open lane with multiple tags when a covered flank route to the deposit zone is open.
Warzone Strategy: Rebirth Island Duos
In our Rebirth Island Duos testing, we secured endgame placement with silent random teammates by anchoring calls to specific map pings. Issue direct location-based commands at Buy Stations to coordinate cash drops without voice chat.
- Buy Station Pings: Ping the Buy Station and request cash immediately to fund early squad loadouts or UAVs.
- Loadout Patience: Abandon contested loadout drops in open crossfire and survive on ground loot until the circle shifts.
Sacrificing high-ground positioning just to grab your custom ISO Nightshade from a camped loadout crate guarantees an early squad wipe.
DMZ Strategy: CQC Clearing & Extraction
During our close-quarters DMZ raids, the ISO Nightshade excelled in tight stairwell and room fights when paired with strict squad roles. Execute a disciplined four-step clearing sequence whenever enemy operators push your building.
- Target Callouts: Call out exact enemy compass direction and floor elevation before breaching any doorway.
- Flank Security: Assign one teammate to hold rear stairs while the entry fraggers push forward.
- Kill Confirmation: Separate downed callouts from full elimination confirms so teammates do not drop their guard early.
- Post-Fight Reset: Apply armor plates and reload your 50-Round Magazine before opening enemy backpacks.
Do not trust persistent red radar pings after downing an operator, as UI glitches and plea mechanics leave live enemies hidden on your minimap.
Handling the DMZ Armor Plate & Loot Bug
We encountered a critical interaction bug mid-raid that locks players out of applying armor plates, looting containers, or opening backpacks. Keep the bugged teammate behind hard cover and extract immediately instead of pushing another squad without regenerating armor.
FAQ (Frequently Asked Questions)
What is the best ISO Nightshade class setup?
Equip the Long Barrel, Heavy Silencer, Angled Grip, 50-Round Magazine, and Bruen Grip. This build maximizes ammo capacity and recoil stability across all modes.
Can you use the same ISO Nightshade build in DMZ and Multiplayer?
Yes, the 50-Round Magazine and Heavy Silencer setup transitions directly from 6v6 Multiplayer into DMZ raids. It handles both heavily armored AI and operator squads.
Why is the 50-Round Magazine mandatory on the ISO Nightshade?
The 50-Round Magazine gives you enough ammunition to down multiple plated enemies in Warzone and DMZ without reloading. Smaller magazines force fatal mid-fight reloads.
How do you fix the DMZ bug where you cannot plate or loot?
There is no guaranteed in-match fix when your operator loses the ability to plate or access the backpack. Escort the affected player straight to an exfil chopper to save your gear.
Should you push contested loadouts for the ISO Nightshade in Warzone?
No, never force an exposed loadout retrieval on maps like Rebirth Island. Hold power positions with ground loot until a safe rotation opens up.

I’m Sofia Bergström, a Swedish Managing Editor covering FPS, competitive shooters, and extraction shooters for GGWTB. My guides focus on loadout trade-offs, positioning, and when to commit—or cut your losses. A weapon’s stats tell only part of the story; I focus on how it fits your role and the fight ahead.
Most Popular Posts
- MW4 Apex Attachments: The Complete Weapon-Breaking Guide (Every Kit Ranked)
- MW4 Beta Meta Weapons Class Setups: Attachments, Perks, and Tuning included
- MW4 Beta Easter Eggs: All 15 Secrets, Locked Doors, Hidden Routes & Unlocks Tested
- Modern Warfare 4 Settings: Best Controller, Graphics & PC Config for Max FPS
- Cod MW4 Warzone New Maps - Zodiac Resurgence Map & Hajan BR
- Modern Warfare 4 Beta Best Weapons, Loadouts, Perks & Killstreaks
Popular Category Lists
- ARC Raiders / (369)
- Grow a Garden / (299)
- Star Citizen / (168)
- CoD: Black Ops 7 / (167)
- MLB 26 / (159)
- Monopoly Go / (153)
- ARK Survival Ascended / (132)
- Steal a Brainrot / (101)
- Adopt Me / (77)
- Blox Fruits / (74)
- Forza Horizon 6 / (72)
- Sailor Piece / (68)
- Grow a Garden 2 / (68)
- Diablo IV / (62)
- Aion 2 / (62)
- CoD: BLACK OPS 6 / (55)
- COD: Modern Warfare 4 / (55)
- Maplestory Classic / (49)
- Path of Exile 2 / (48)
- Monster Hunter Wilds / (46)