0
0 Created: Sep 6,2026 | COD: Modern Warfare 4
MW4 Beta Weapons Loadouts: M4A1, ISO Hemlock, Kastov 762 and X58 NYX Build Guide

Start with the reported M4A1 setup for general multiplayer; consider the ISO Hemlock or X58 NYX for movement-focused routes and the Kastov 762 for pre-aimed lanes. These are provisional beta baselines, not independently tested builds or a verified weapon ranking.
- Four Loadouts at a Glance
- How to Play Each Build
- M4A1: Separate Recoil From Flinch
- ISO Hemlock: Make No Stock Earn Its Place
- Kastov 762: Reduce the Opening Correction
- X58 NYX: Separate Readiness From Aim Speed
- Fix One Failure at a Time
- Run a Controlled Comparison
- FAQ (Frequently Asked Questions)
- What is the best MW4 beta loadout to try first?
- Should every MW4 weapon use a barrel?
- Is No Stock always better for aggressive play?
- Can these MW4 beta builds be used in Warzone?
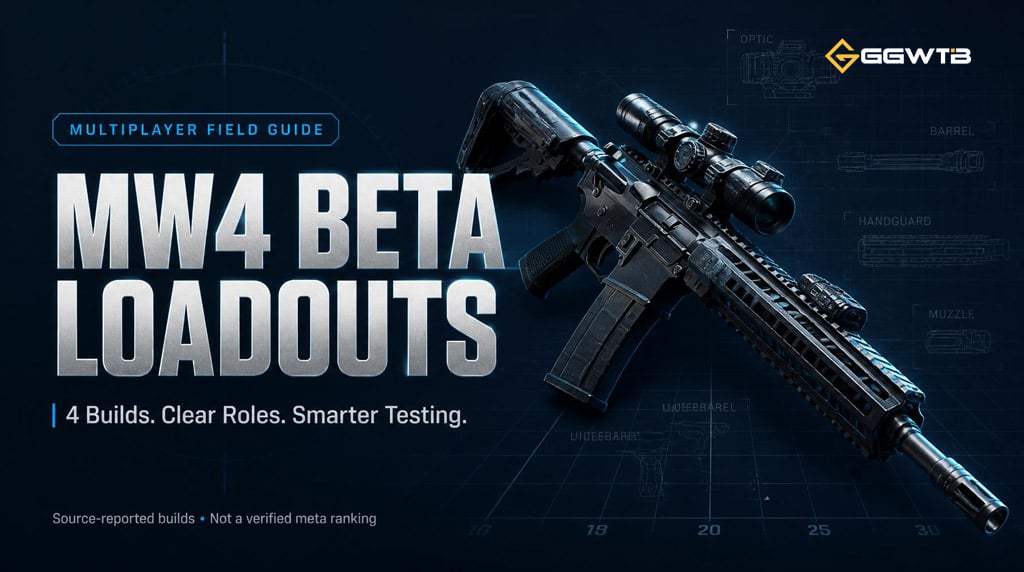
Beta status: Activision scheduled the open beta for August 28–September 1, 2026; that window has ended. These setups are not confirmed launch recommendations. Source: official beta page
Four Loadouts at a Glance
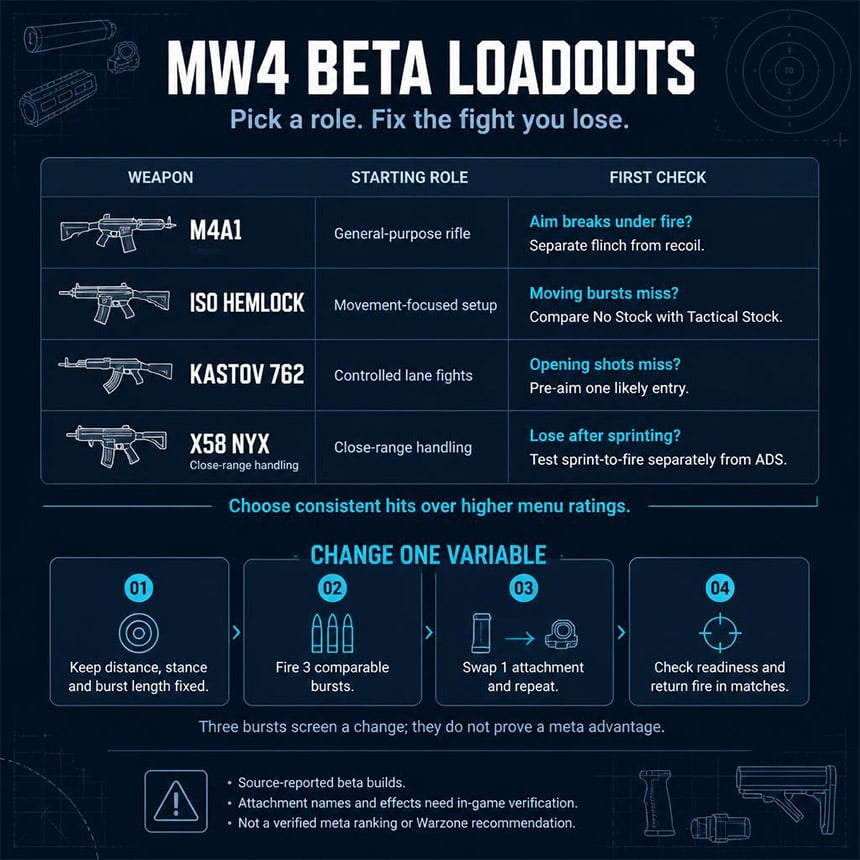
Use this reference to identify a starting setup—not to plan unlocks around unconfirmed attachment names.
| Weapon | Reported attachments | Intended role |
|---|---|---|
| M4A1 | Heavy Silencer; SA Last 500 laser; FSS Fireline Grip; Schlager STB Grip; Demo Dozer Stock | General multiplayer |
| ISO Hemlock | Light Silencer; ZLR Carbon barrel; Dim ADS Laser; Bruen Mod 3 grip; No Stock | Aggressive positioning |
| Kastov 762 | Heavy Barrel; FSS Fireline/Wireline Grip; Aim Grip; Tactical Light Stock; basic red dot | Pre-aimed lanes |
| X58 NYX | Dosca 4F Light Barrel; XRK Clutch laser; FSS Fireline Grip; Assault Grip; No Stock | Close-range handling |
Start with the role you need, but confirm every attachment in Gunsmith before copying the build.
The supplied material contains no testing logs, handling measurements, or damage-range results. Fireline/Wireline is inconsistent, and several labels remain unverified; the recommendations below are diagnostic strategies, not measured attachment findings.
How to Play Each Build
Match each change to a repeatable failure: missed follow-up shots, obstructed targets, or firing too late.
M4A1: Separate Recoil From Flinch
If your aim holds until an opponent shoots back, check flinch before adding recoil control. Recoil comes from your weapon firing; flinch comes from incoming damage.
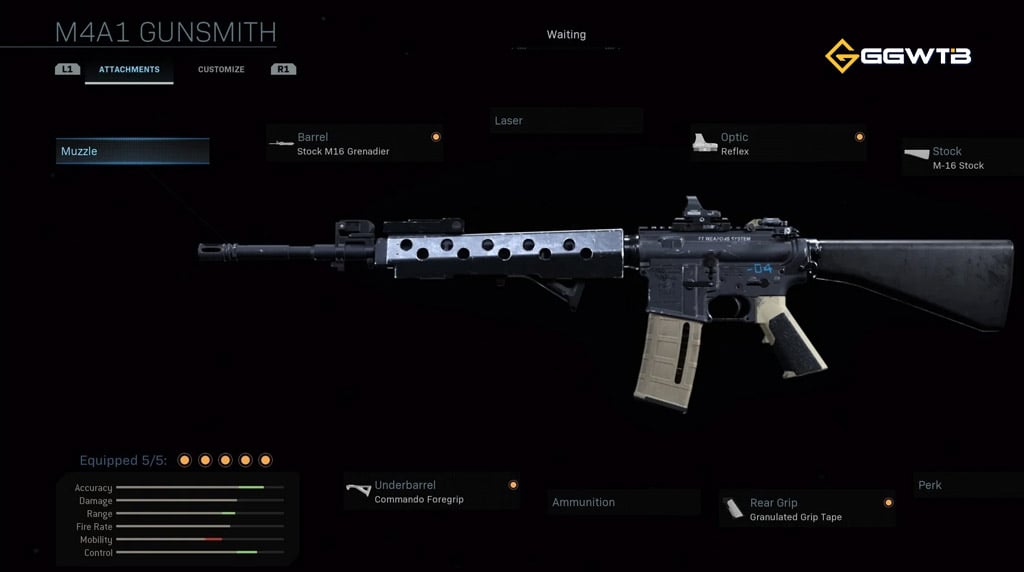
Compare uninterrupted bursts with return-fire engagements. If the disruption appears only under fire, a stationary recoil test has missed the problem.
Why spend an attachment slot fixing the wrong thing?
The reported setup omits a barrel and extended magazine. Keep that baseline initially; if iron sights obscure moving targets, compare a basic red dot against the stock, then judge visibility alongside any handling change.
ISO Hemlock: Make No Stock Earn Its Place
If your stationary bursts land but strafing bursts scatter, compare No Stock with another available stock before rebuilding the weapon. We prioritize moving-hit consistency over a higher mobility rating.
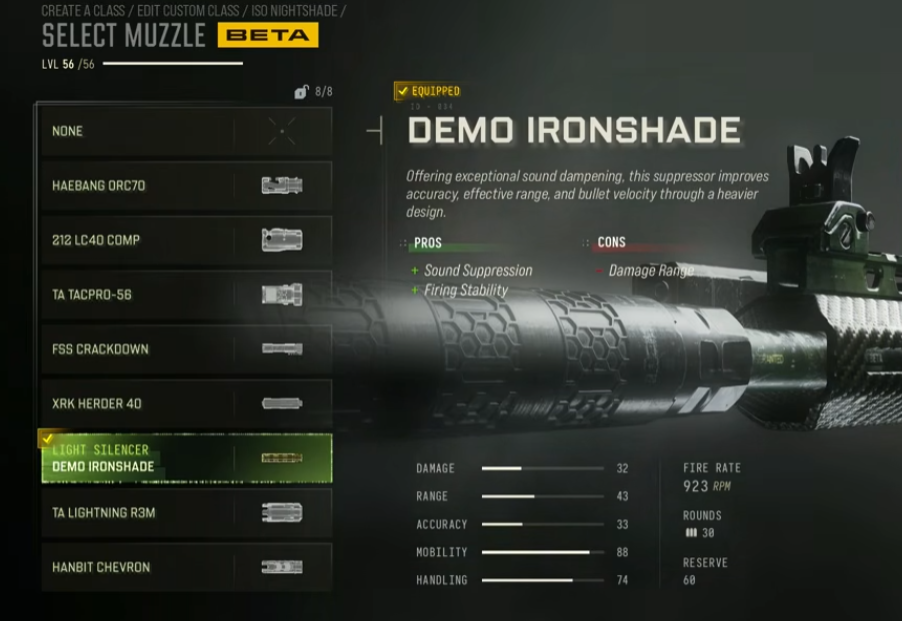
Use the same distance and burst length for both configurations, first stationary and then strafing.
Movement without hits loses fights.
The draft's mobility and handling scores are unverified menu ratings—not percentages or measured timings. Its claim that the ZLR Carbon barrel offsets suppressor range loss also lacks damage testing; do not assume the combination preserves a kill threshold.
Kastov 762: Reduce the Opening Correction
If your opening shots miss, pre-aim one likely entry point rather than repeatedly sweeping several lanes. Enter cover, place your crosshair at the expected appearance point, and reset the burst when control breaks.
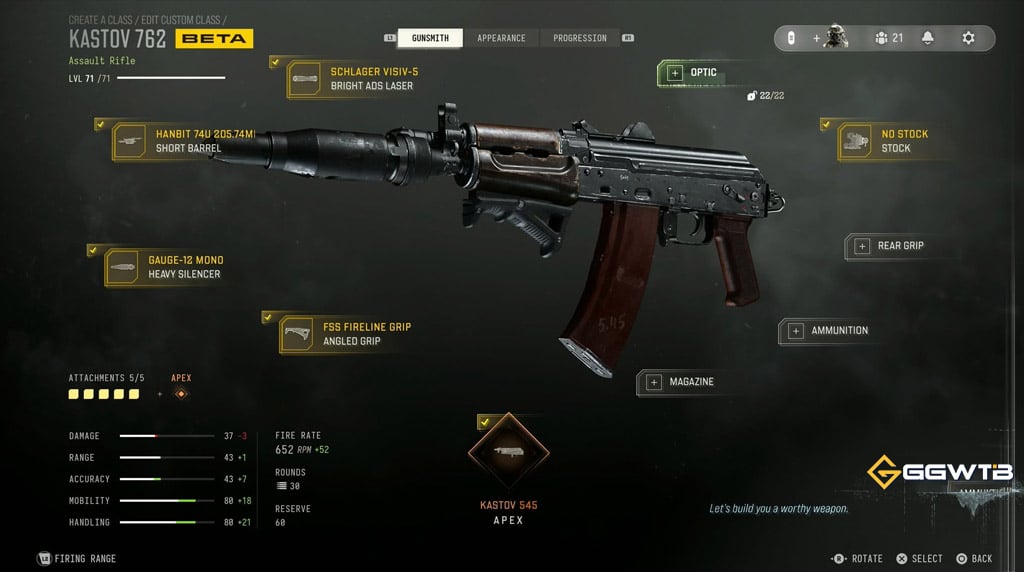
That reduces the correction required after contact without relying on an unverified attachment bonus.
Keep the reported red dot initially. Its purpose is a clearer sight picture, not extra damage; if acquisition improves but sustained fire still drifts, treat those as separate problems.
X58 NYX: Separate Readiness From Aim Speed
If you lose immediately after sprinting, test sprint-to-fire separately from ADS speed. Reaching the sights sooner does not prove the weapon can shoot sooner.
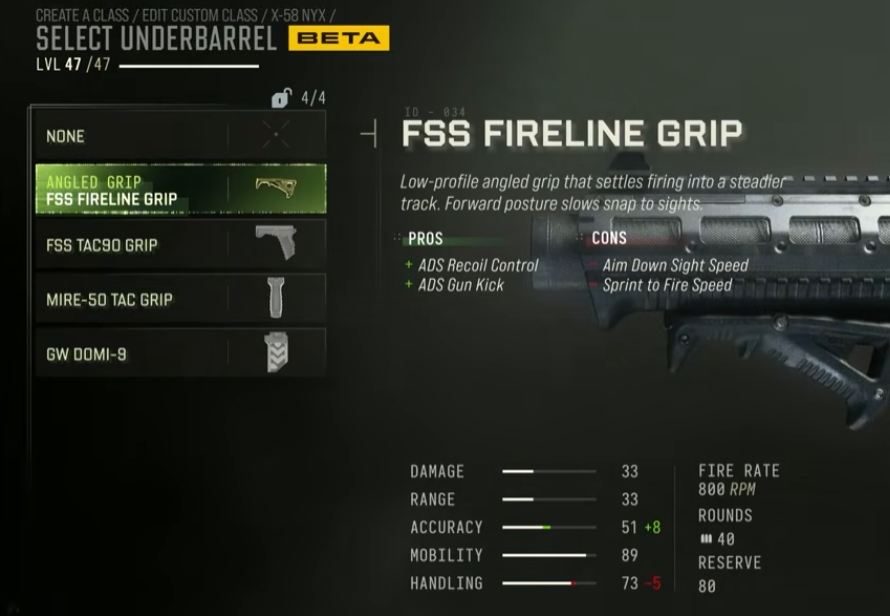
You reach the doorway first, start aiming, and lose before firing. Compare that approach with one where you stop sprinting behind cover before exposing yourself.
We recommend testing the route before sacrificing another attachment slot.
The reported light-barrel and No Stock combination targets mobility, but its benefits remain unmeasured. An alleged absence of an additional flinch penalty would not establish flinch immunity.
Fix One Failure at a Time
A bad match does not identify a bad attachment. We recommend comparing the original setup, one replacement, and then the original again to reduce the risk of mistaking practice or lobby variation for improvement.
Run a Controlled Comparison
Keep distance, target, stance, sensitivity, and burst length constant.
1. Fire three comparable bursts with the baseline.
2. Swap one attachment and repeat.
3. Return to the baseline and repeat again.
4. Test stationary aiming and sprint readiness separately.
5. Check flinch during return-fire engagements.
Three bursts screen a change; they do not prove superiority.
Record the recurring failure before choosing the next swap.
| Recurring failure | First comparison | Keep the change when… |
|---|---|---|
| Shots drift during sustained fire | Shorter bursts; then a control attachment | Follow-up hits improve consistently |
| Targets disappear behind the sight | Iron sights versus a basic optic | Tracking improves without an unacceptable handling cost |
| First shot arrives late after sprinting | Earlier sprint release; then a readiness attachment | You fire sooner in comparable approaches |
| Strafing bursts miss | No Stock versus another stock | Moving-hit consistency improves |
Fix the failure costing you fights—not the stat bar that looks weakest.
FAQ (Frequently Asked Questions)
These answers apply to the reported beta setups, not a confirmed launch meta.
What is the best MW4 beta loadout to try first?
The reported M4A1 is the general-purpose starting point, not a verified best loadout. Confirm its attachment names, then change one slot only when you can identify a recurring weakness.
Should every MW4 weapon use a barrel?
No—use a barrel only when its verified benefit solves your problem. The reported M4A1 baseline omits one; a range-focused barrel must justify any handling cost at your usual fighting distance.
Is No Stock always better for aggressive play?
No—extra mobility is a poor trade if you miss more follow-up shots. Compare stationary and strafing accuracy rather than choosing from mobility ratings alone.
Can these MW4 beta builds be used in Warzone?
These setups are not verified Warzone recommendations. Check weapon availability, attachment effects, damage ranges, and magazine requirements in that mode before copying them.

I’m Sofia Bergström, a Swedish Managing Editor covering FPS, competitive shooters, and extraction shooters for GGWTB. My guides focus on loadout trade-offs, positioning, and when to commit—or cut your losses. A weapon’s stats tell only part of the story; I focus on how it fits your role and the fight ahead.
Most Popular Posts
- MW4 Apex Attachments: The Complete Weapon-Breaking Guide (Every Kit Ranked)
- Modern Warfare 4 Beta: Dates, Access, Switch 2, and Camo Grind Guide
- MW4 Beta Meta Weapons Class Setups: Attachments, Perks, and Tuning included
- Cod MW4 Warzone New Maps - Zodiac Resurgence Map & Hajan BR
- Modern Warfare 4 Beta: Full Breakdown of Entrench, Maps, Zodiac Resurgence
- Modern Warfare 4 Carry Forward: XP Tokens, COD Points, Camos, Monster Energy
Popular Category Lists
- ARC Raiders / (353)
- Grow a Garden / (294)
- CoD: Black Ops 7 / (167)
- Star Citizen / (162)
- MLB 26 / (159)
- Monopoly Go / (152)
- ARK Survival Ascended / (128)
- Steal a Brainrot / (99)
- Blox Fruits / (74)
- Adopt Me / (74)
- Forza Horizon 6 / (72)
- Sailor Piece / (68)
- Grow a Garden 2 / (68)
- Diablo IV / (62)
- CoD: BLACK OPS 6 / (55)
- Aion 2 / (51)
- Path of Exile 2 / (48)
- Monster Hunter Wilds / (46)
- Windrose / (44)
- Maplestory Classic / (42)