0
0 Created: Dec 31,2025 | Steal a Brainrot
Steal a Brainrot Legendary Brainrots Unlocking: Bambini Crostini, Los Elephantos and Tung sahur

Turning the Steal a Brainrot legendary Brainrots from cool-but-unreachable into a sequence you can push forward without spiraling into bad RNG and worse decisions.
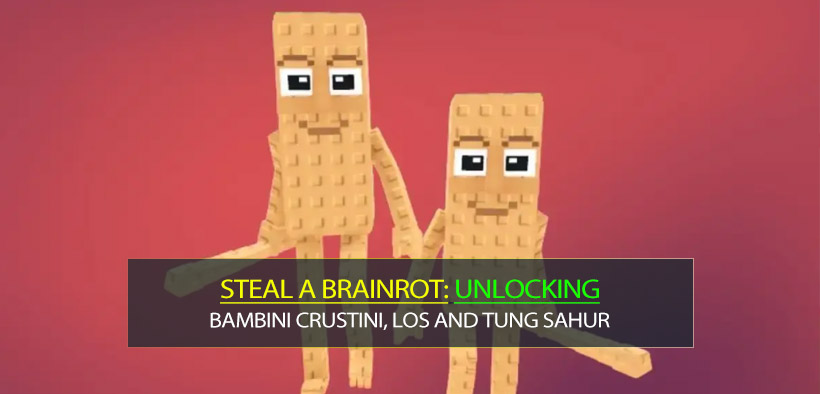
Most players don't fail because they're slow—they fail because they misunderstand the real gates: probability drops + fusion opacity + the money curve. Unlocking is not the same as affording, and affording is not the same as keeping the asset stable.
- 1) The 4 Legendaries: What You're Actually Unlocking
- 2) Collect Bambini Crostini + Berber Patim
- What the goal really is
- My safer, repeatable steps
- Common ways this challenge goes sideways
- Why this challenge matters
- 3) Los Elephantos - How to Treat a 0.1% Drop Like a Math Problem
- The goal
- Why this challenge feels brutal
- My field-tested loop (faster + less tilt)
- Critical warning: interaction bugs
- 4) Los Tacoritas - Win by Minimizing Misfusion Cost
- The goal
- Why people get stuck
- My approach: run it like an experiment, not a gamble
- 5) Prove You Have Friends — The Real Gate Is the Price Tag
- The goal
- The real problem: you can't afford the final unit
- 6) The Best Progression Route (So You Don't Unlock It and Still Lose)
- FAQ
- 1) I keep seeing it but I can't afford it. What do I do?
- 2) How do I stop losing my mind when RNG keeps giving duplicates?
- 3) Fusion recipe unclear—how do I reduce the cost of being wrong?
- 4) I touched Elephantos and my money collection bugged. Now what?
- 5) I don't have people online. How do I pass the friend requirement?
- Summary
1) The 4 Legendaries: What You're Actually Unlocking
Before you grind, you need to know what each item is asking from you—because the optimal order is about economics, not hype.
| Legendary | Core Unlock Requirement | Main Bottleneck | Why It Matters (Economic Role) |
|---|---|---|---|
| Bambini Crostini (reward tied to it) | Collect Bambini Crostini + Berber Patim | Spawns, interference, base trapping | Early engine that bootstraps your money curve |
| Los Elephantos | Obtain Supreme Toilet Combination (very low odds) | Low probability + storage/base management | Midgame income bump, but has interaction bug risk |
| Los Tacoritas(the solar system vibe) | Complete the most evil fusion (Evil + ocean component) | Recipe uncertainty + costly misfusions | High-impact asset for scaling and flex value |
| Tung Tung Tung sahur (final one) | Prove you have friends (invite/join condition) | Condition is easy; price is the real wall | Endgame trophy; many players stop at can't afford |
Practical rule I live by: If you're short by multiple orders of magnitude (billions vs quadrillions), then chasing the final item now is just stress cosplay. Build the engine first.
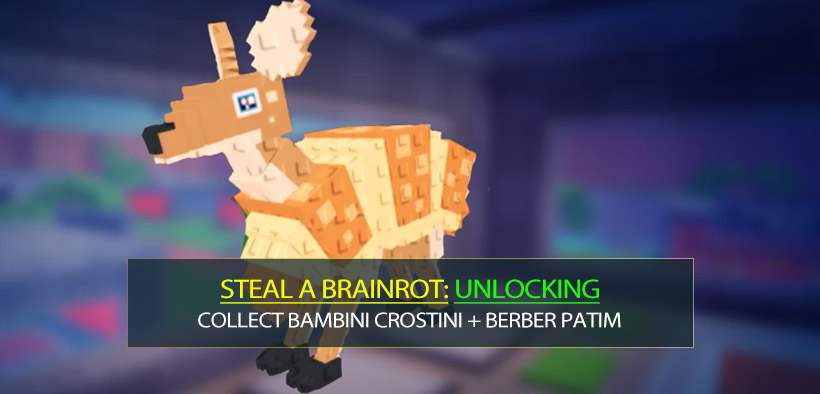
2) Collect Bambini Crostini + Berber Patim
What the goal really is
This isn't a combat skill check. It's a control problem: collect two specific units under randomness and human interference.
My safer, repeatable steps
1. Reserve base space first (3–5 open slots minimum).
- If your base is full when the target spawns, you didn't get unlucky—you mismanaged capacity.
2. Play the spawn window, not your emotions.
- If you see one target spawn once, I treat it like a hot window and stay focused for the next cycles.
3. Grab the harder one first.
- Common item first feels good, but it increases the chance you brick your space or get delayed when the rare appears.
4. If someone traps or blocks you, don't negotiate.
- If you find yourself stuck in a base or hard-blocked, then reset/reposition.
- Because they're optimizing for your wasted time, so fighting them fairly means you're paying the time tax.
Common ways this challenge goes sideways
- You see it but can't buy/claim it (money lag).
- Your base is full at the worst moment.
- Someone body-blocks or traps your route.
Why this challenge matters
This is your first real income accelerator. If you don't stabilize a strong baseline here, the next stages (low-odds drop + fusion attempts) will drain you.
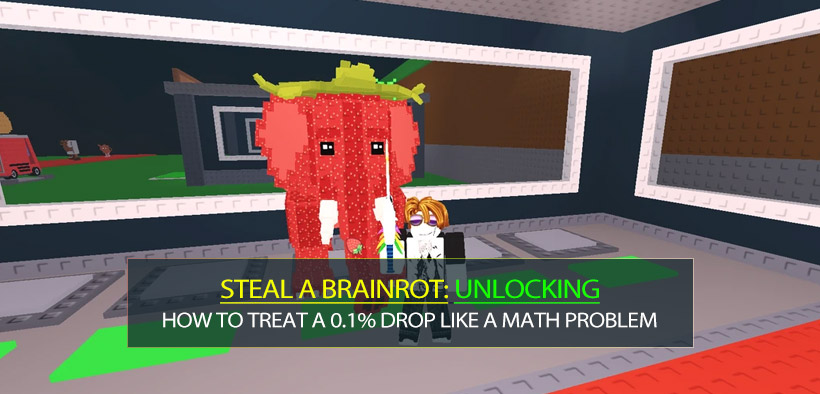
3) Los Elephantos - How to Treat a 0.1% Drop Like a Math Problem
The goal
Get Supreme Toilet Combination (often framed as ~0.1% rarity tier), then trade/claim to unlock Los Elephantos.
Why this challenge feels brutal
Because this isn't try harder. This is probability × attempts.
If the drop rate is ~0.1% (1/1000):
- Expected tries ≈ 1000 (expectation is not a guarantee)
- Variance is real, meaning you can easily go far beyond that
This means your real skill is not opening blocks. It's keeping the loop efficient while deleting garbage outcomes.
My field-tested loop (faster + less tilt)
1. Set a hard clear threshold.
- If you open 10–20 blocks and don't progress, then mass-sell/move junk immediately.
2. Treat repeating, space-hog units as trash.
- If it spawns constantly and doesn't move your objective forward, it's not a collection—it's clutter.
3. Run one loop at a time: open → clear → open.
- Multitasking (running around, rearranging mid-open) is where minutes disappear.
Critical warning: interaction bugs
Some players report that touching/handling Elephantos-like units can glitch income collection.
- If you notice I can't collect money after touching it, then stop interacting and don't spam-test it.
- The safer play is: leave it alone, continue objectives, and refresh your session later if needed.
- This means your priority after unlocking might be stability, not immediate gratification.
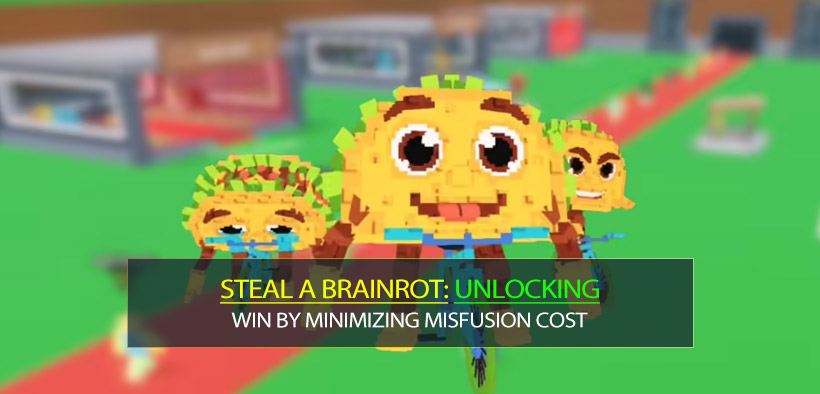
4) Los Tacoritas - Win by Minimizing Misfusion Cost
The goal
Fuse an Evil-type unit with the correct ocean-side component to produce the most evil result that unlocks the legendary Los Tacoritas.
Why people get stuck
The recipe is often unclear, and a wrong fusion can yield junk—meaning your time and rare materials evaporate.
My approach: run it like an experiment, not a gamble
1. List your candidate components (lightweight notes).
- You don't need spreadsheets—just track what's rare, what's common, and what's painful to reacquire.
2. Use renewable materials for your first tests.
- If Evil-type takes forever to obtain, don't burn it on blind guesses.
3. Keep a control variable.
- Many games design fusions around normal version + special version, not two top-tier rares.
- If you're choosing between normal killer whale vs boss killer whale, I usually test the normal first because it aligns with balance logic: attainable + gated by the Evil component.
4. If you fuse wrong once, stop and reset your logic.
- If you keep fusing while tilted, then you're basically paying extra attempts tax for the privilege of being mad.
5) Prove You Have Friends — The Real Gate Is the Price Tag
The goal
Trigger the friend/join requirement (invite someone into the lobby or satisfy the game's friend condition).
The real problem: you can't afford the final unit
The final legendary often sits at a ridiculous price tier. If you're earning in billions/trillions while the purchase demands quadrillions, you're not close—you're in a different economic universe.
So I do this:
- Finish the condition quickly (friend join)
- Then return to scaling income and slot efficiency until the price is realistic
- Don't camp the final spawn if you can't buy it; that's emotional damage farming
6) The Best Progression Route (So You Don't Unlock It and Still Lose)
Here's the route that keeps difficulty and economics aligned.
| Phase | What I Do | Success Signal | If You're Stuck, Then… |
|---|---|---|---|
| Bootstrapping | Complete Bambini + Berber collection | Stable income that ramps quickly | Clear slots, play spawn windows, avoid time-wasting fights |
| Probability Phase | Grind the low-odds drop (Toilet Combo tier) | Get the key drop once | Set clear thresholds; don't open with a full base |
| Fusion Phase | Run evil fusion with minimal tests | Correct fusion output achieved | Test with renewable materials; stop after one wrong fusion |
| Endgame Phase | Trigger friend condition + prep endgame funds | You can buy on sight | If you're short by orders of magnitude, go back to scaling |
FAQ
1) I keep seeing it but I can't afford it. What do I do?
Treat it as an economy issue, not a luck issue. If the target price is 1000× your per-second income, then you're better off investing time into income engines and base efficiency first.
2) How do I stop losing my mind when RNG keeps giving duplicates?
I use a rigid rhythm: open 10–20 → clear → open 10–20 → clear. Turning it into a production loop prevents tilt and keeps your base from bricking.
3) Fusion recipe unclear—how do I reduce the cost of being wrong?
If a component is slow to reacquire, treat it as your core sample and don't spend it on blind tests. Probe with easier-to-replace variants until a pattern emerges.
4) I touched Elephantos and my money collection bugged. Now what?
Stop touching it. Don't spam interactions to confirm. Continue your objectives and refresh your session later if needed—stability first.
5) I don't have people online. How do I pass the friend requirement?
Complete it with the most reliable method the game allows (a consistent teammate, an alternate account if permitted by your ruleset, or a friend who can hop in briefly). The condition is the easy part—the economy is the hard part.
Summary
This whole legendary journey is one connected system: build income → beat probability with efficient loops → treat fusion like controlled testing → only then chase the endgame price wall.
When you play it like operations—capacity, loops, and decision gates—you stop feeling like RNG is bullying you and start feeling like you're steering the run.


The GGWTB Editorial Team features 10 full-time gaming editors and 23 specialist contributors, delivering hands-on tested walkthroughs, easter egg breakdowns, and game updates.
Jordan — who spearheads our in-depth Grow a Garden, Steal a Brainrot guides, and patch notes—every guide is rigorously verified on live servers for accuracy.
Most Popular Posts
- Steal a Brainrot Best Los Tangcitos Crafting Guide: Recipes, Traits, Mutations, and Odds
- Steal a Brainrot Los Dragons Unit Recipe and Craft Guides
- Steal a Brainrot Tier List for Brainrots: Best Units Ranked by Aura
- Steal a Brainrot Guide: Rebirth Requirements, Lucky Blocks & Steals
- Steal A Brainrot Trades Guides: OG Spawn Sniping Guide
- Steal a Brainrot Codes 2026: All Working Codes and Tested Rewards
Popular Category Lists
- ARC Raiders / (356)
- Grow a Garden / (295)
- CoD: Black Ops 7 / (167)
- Star Citizen / (163)
- MLB 26 / (159)
- Monopoly Go / (153)
- ARK Survival Ascended / (128)
- Steal a Brainrot / (99)
- Blox Fruits / (74)
- Adopt Me / (74)
- Forza Horizon 6 / (72)
- Sailor Piece / (68)
- Grow a Garden 2 / (68)
- Diablo IV / (62)
- CoD: BLACK OPS 6 / (55)
- Aion 2 / (54)
- Path of Exile 2 / (48)
- Monster Hunter Wilds / (46)
- Windrose / (44)
- COD: Modern Warfare 4 / (44)