0
0 Created: Oct 17,2026 | Enshrouded
Enshrouded 1.0 Best Builds: Ice/Shock Mage, Fire Ranger & Paladin
Chasing theoretical peak DPS in Enshrouded will get you killed if your build relies on status loops or crafting materials you cannot sustain mid-boss fight. This guide breaks down the exact mechanical prerequisites, resource traps, and boss-arena failure points for the Ice/Shock Mage, Fire Ranger, and Shock Paladin templates so you can invest your skill points with confidence.

- Wand Changes: What Each Attack Adds
- Nine New Spells: Damage, Control, and Summons
- Eternal Spells: Remove Charge Costs, Not Mana Pressure
- Build Viability & Resource Matrix
- Ice/Shock Mage: Mastering the Soaked Status Loop
- How the Soaked Chain Actually Works
- Execution Sequence & Failure Points
- Fire Ranger: Managing Ammunition Economy
- Single-Target vs. Crowd Efficiency
- Shock Paladin: Separating Mitigation from Crit Healing
- Deconstructing the Sustain Loop
- Why the Hybrid Loop Breaks Under Pressure
- FAQ (Frequently Asked Questions)
- Which Enshrouded build is best for solo progression?
- Does Gem of Currents automatically apply Soaked to enemies?
- Where do you farm the Gem of Currents in Enshrouded?
- Is the Violet Storm staff worth using without a Soaked setup?
- Should Fire Rangers use Explosive Arrows on single-target bosses?
Enshrouded 1.0 adds new wand attacks, nine spells, and upgradeable Eternal spells. Choose skills around your combat routine: wand mobility, summon support, or a wand-to-staff damage rotation.
Wand Changes: What Each Attack Adds
Wands gain a heavy attack, while aerial and evasive attacks require skill unlocks.
| Attack / Skill | Effect | When to Consider It |
|---|---|---|
| Heavy attack | Pierces enemies and interrupts weaker targets | Fighting enemies lined up behind one another |
| Aerial Wand Attack | Performs a midair area attack | You regularly jump during combat |
| Wand Evasion Attack | Combines evasion with wider piercing projectiles | You need to attack while creating distance |
| Blast and Cast | A wand critical hit increases the next staff attack's base damage by 50% if used within ten seconds | You regularly switch between wand and staff |
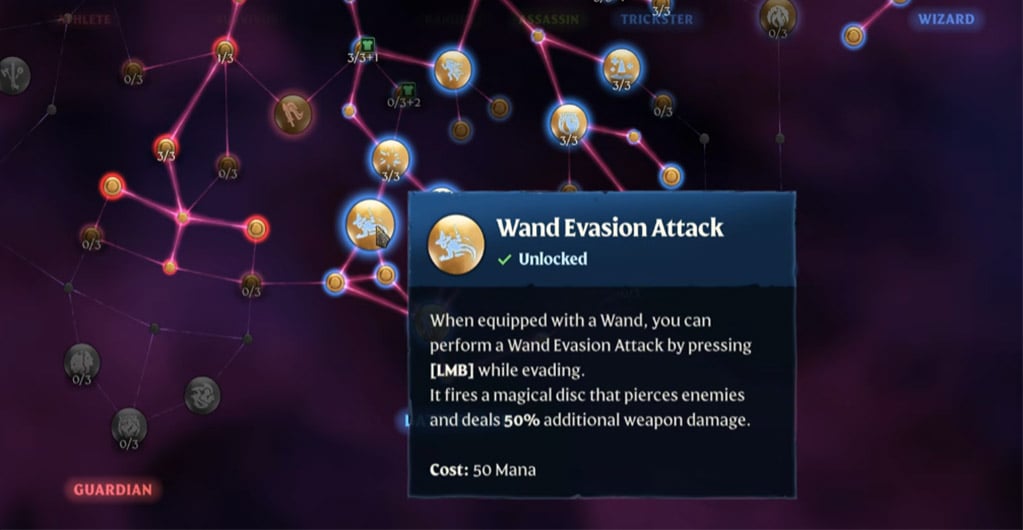
Do not prioritize aerial attacks automatically. Their value depends on your combat habits and prerequisite investment. Blast and Cast offers no direct benefit to a wand-only rotation.
The mechanics above are described in the combat coverage; the official announcement also specifies Blast and Cast's bonus and timing.
Nine New Spells: Damage, Control, and Summons
The additions include five utility or damage spells and four summons.
| Spells | Reported Role | Decision Point |
|---|---|---|
| Mana Drain | Transfers mana from an enemy to your pool | Check recovery against casting time |
| Entangle | Restricts enemy movement | Do not assume it controls bosses |
| Pillar of Flames, Blizzard, Ball Lightning | Damage and area coverage | Compare performance against moving enemies |
| Summon Hollow Skeleton | Adds a summoned fighter | Check survivability and active limit |
| Fire, Ice, Shock Totems | Adds elemental summons | Check placement, range, and duration |
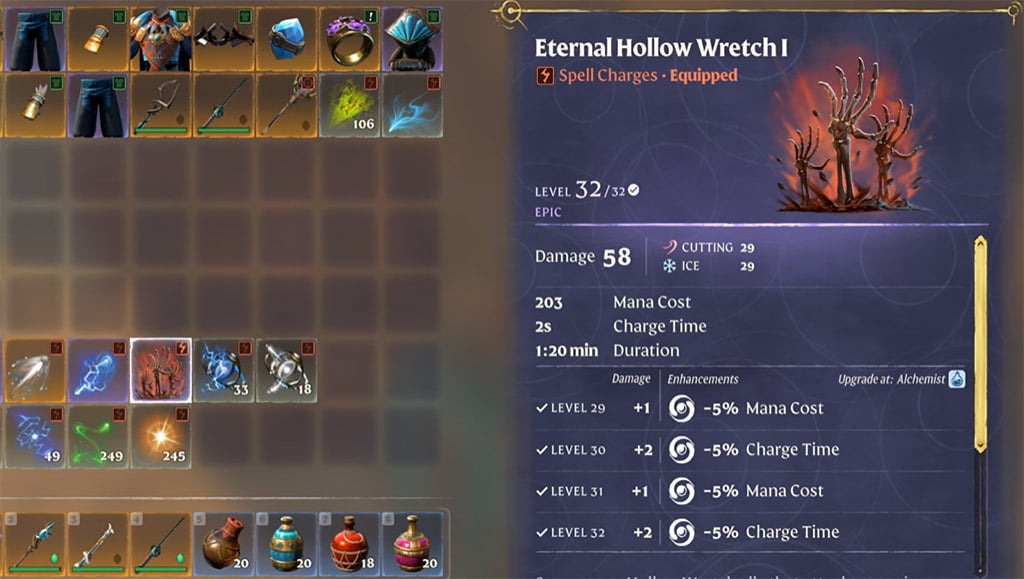
Advanced Necromancy increases active skeleton capacity; Totem Mastery increases active totem capacity. Exact limits remain unverified, so neither skill supports a numerical summon recommendation here.
Eternal Spells: Remove Charge Costs, Not Mana Pressure
Published coverage identifies 22 tier-seven Eternal spell versions that consume no spell charges. They support upgrades, including perks such as reduced mana cost.
Compare mana cost, casting time, and upgrade materials before replacing a spell. Charge-free casting does not guarantee sustained casting, and upgradeable perks do not establish random perk rolls.
Build Viability & Resource Matrix
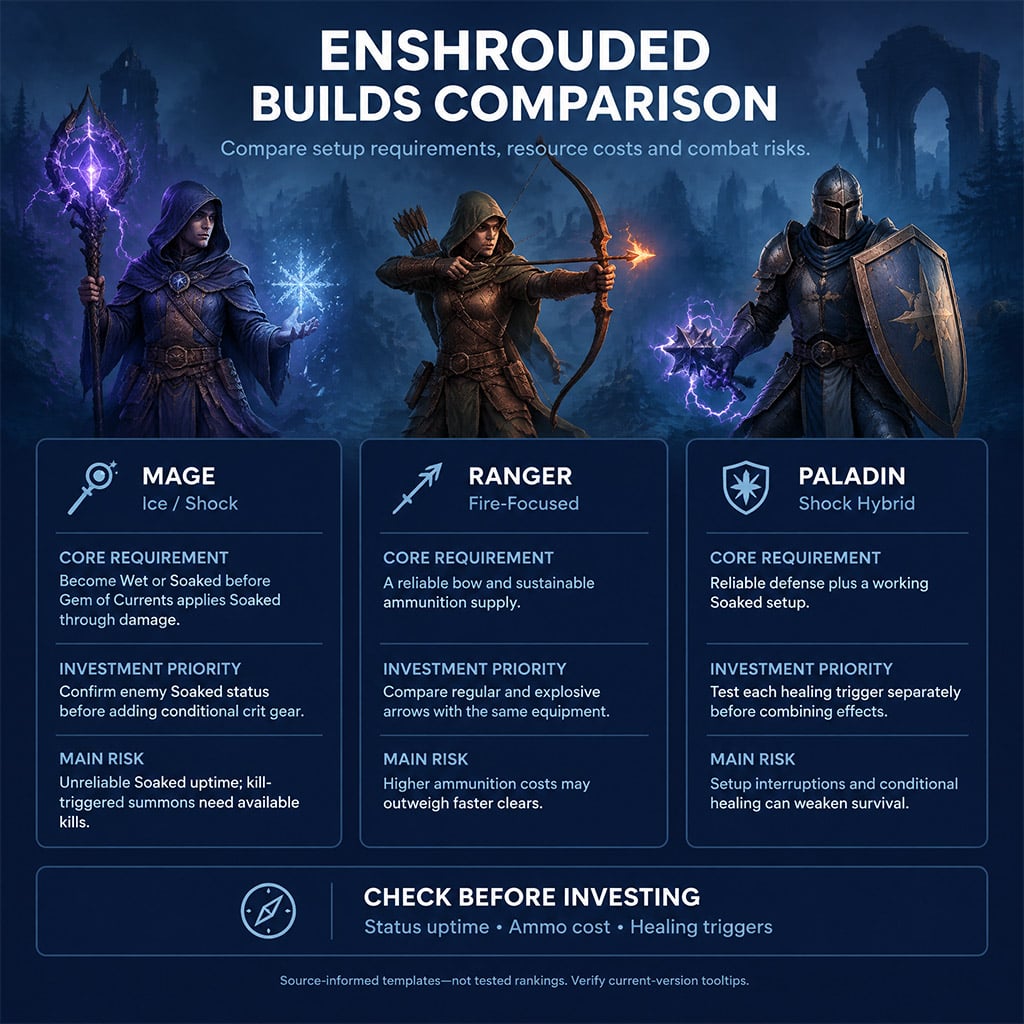
The core difference between these three templates is setup friction—how many actions or resources you must spend before dealing optimal damage. Evaluate your current gear stockpile against this matrix before resetting your skill tree.
| Build Archetype | Core Mechanical Trigger | Primary Bottleneck | Trash Mob Clearing | Single-Target Boss Viability |
|---|---|---|---|---|
| Ice/Shock Mage | Self-Wet/Soaked state + Gem of Currents weapon hit | Maintaining self-wetness in dry boss arenas | S-Tier (Chain lightning + AoE freeze) | B-Tier (High risk during water-balloon self-application) |
| Fire Ranger | Explosive Arrows + Arsonist skill multipliers | Black powder and flint arrow crafting economy | S-Tier (Massive blast radius) | C-Tier (Severe resource waste on single hitboxes) |
| Shock Paladin | Melee crits via Terror + Bloodletting healing orbs | Low innate crit rate on 1H maces/axes without buffs | A-Tier (High stagger and cleave sustain) | B-Tier (Sustain collapses if forced to dodge instead of attack) |
The Golden Rule of Selection: Pick the Fire Ranger only if you have automated your workshop farm for explosive materials. Choose the Ice/Shock Mage if you own the Violet Storm staff and Gem of Currents, and default to the Shock Paladin if you prefer forgiving melee mitigation over complex elemental primers.
Ice/Shock Mage: Mastering the Soaked Status Loop
The Ice/Shock Mage ceiling relies entirely on exploiting the Soaked debuff, which amplifies incoming Shock and Ice damage while enabling conditional critical hit multipliers. However, the build fails completely if you misunderstand how the Gem of Currents functions.
How the Soaked Chain Actually Works
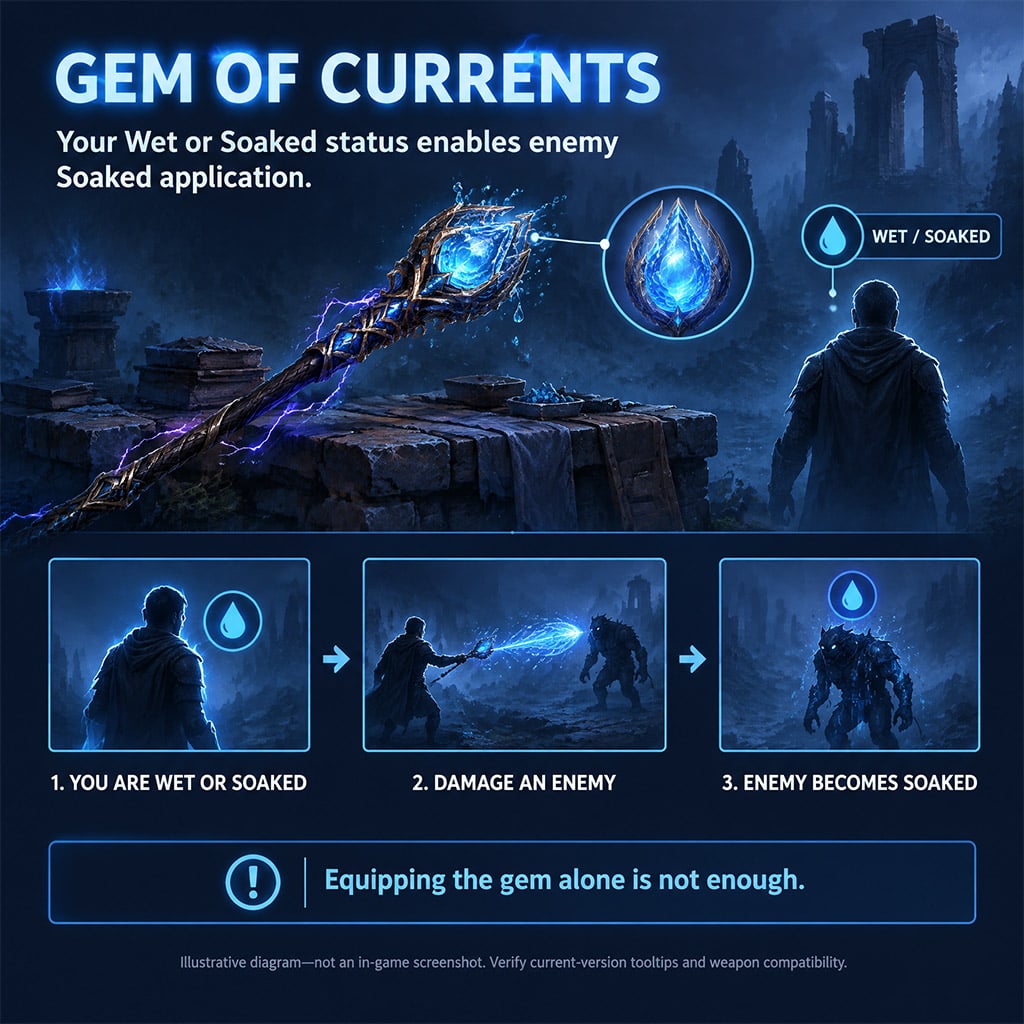
Slotting a Gem of Currents (farmed from Drak Warriors in the Veilwater Basin) into your primary wand or staff does not automatically soak enemies on hit. The gem carries a strict prerequisite: your character must actively hold the Wet or Soaked status effect for your attacks to transfer Soaked onto targets.
Once the target is Soaked, swapping to or casting with the Violet Storm staff triggers its conditional perks, granting elevated critical hit chance and critical damage against soaked targets alongside Eternal Chain Lightning or Ice Bolt.
Execution Sequence & Failure Points
1. Apply Self-Wetness: Throw a Water Balloon at your feet or step into shallow environmental water before engaging.
2. Transfer the Debuff: Strike the target with your Gem of Currents weapon and visually confirm the water-drop debuff icon under the enemy's health bar.
3. Trigger Crit Windows: Unload Violet Storm shock spells while the debuff persists to chain crits and trigger Terror stuns.
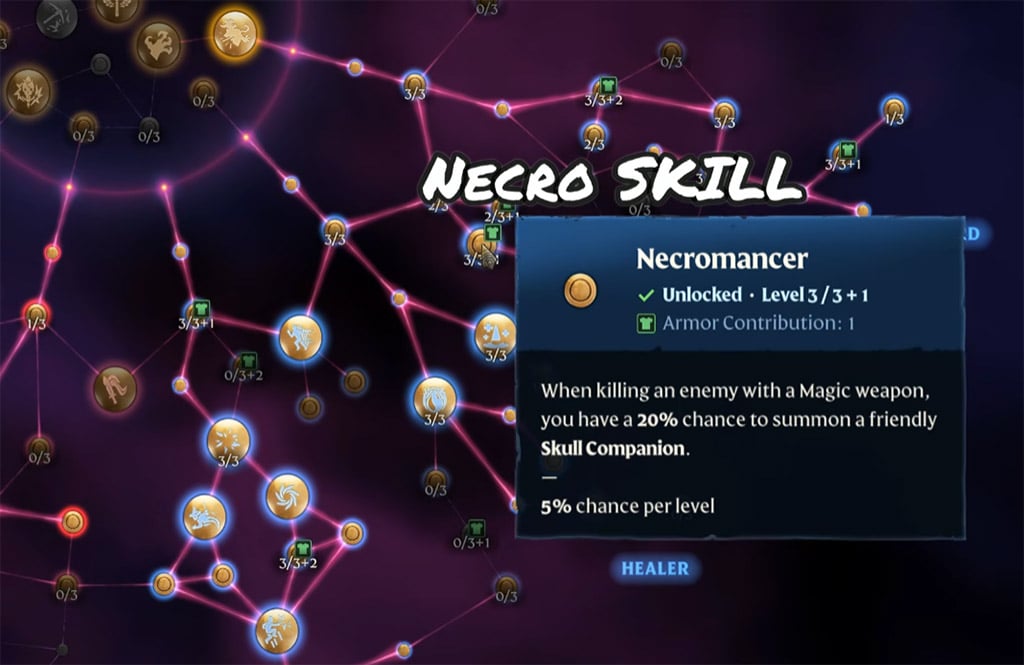
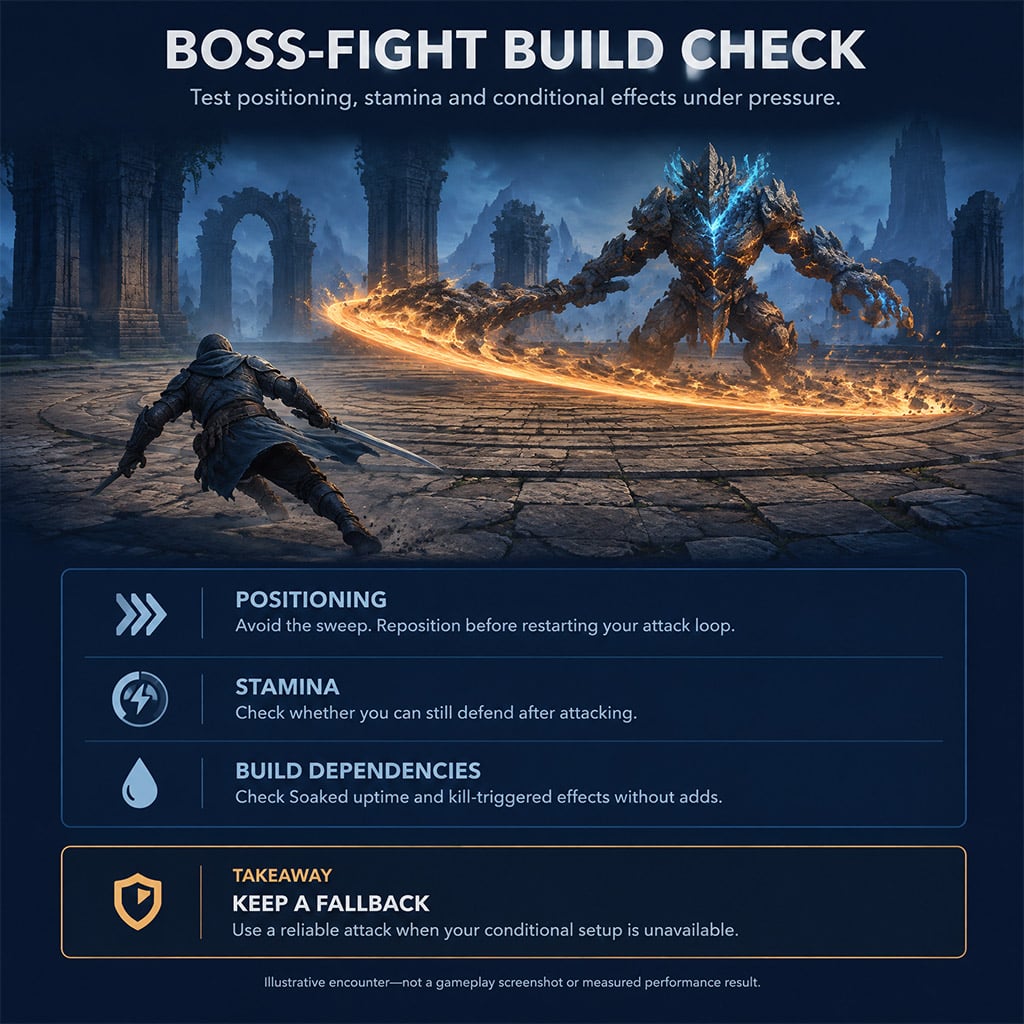
Critical Boss Trap: Do not rely on the Water Balloon self-soak method against hyper-aggressive melee bosses unless you have a co-op tank holding aggro. The throwing animation locks your movement long enough for gap-closing bosses to punish you, and dying immediately strips your Wet status, forcing a clunky reset mid-fight. Furthermore, skip kill-triggered necromancy summons in this build—they fail to spawn in single-boss arenas without adds.
Fire Ranger: Managing Ammunition Economy
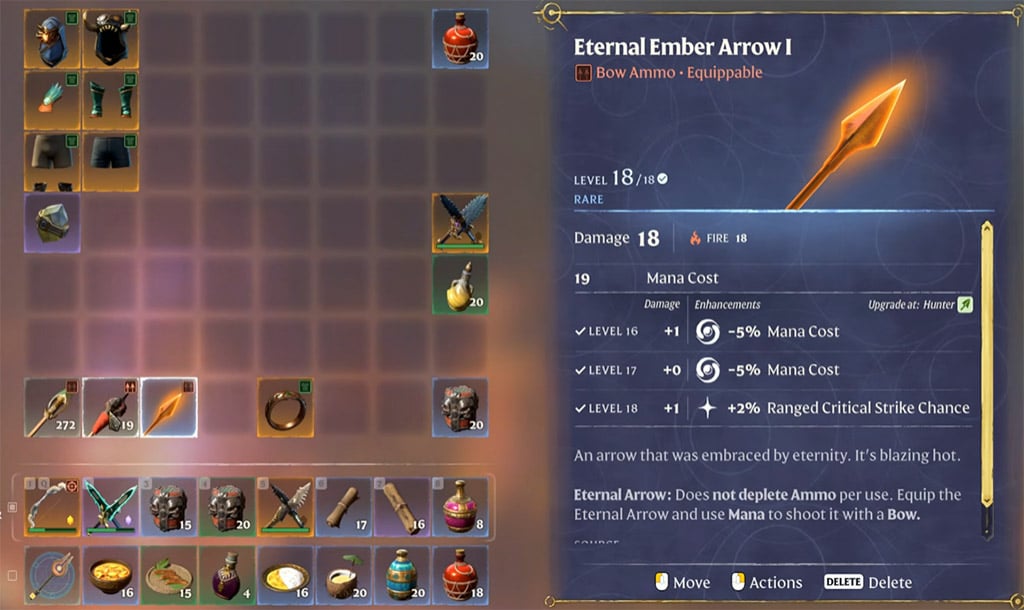
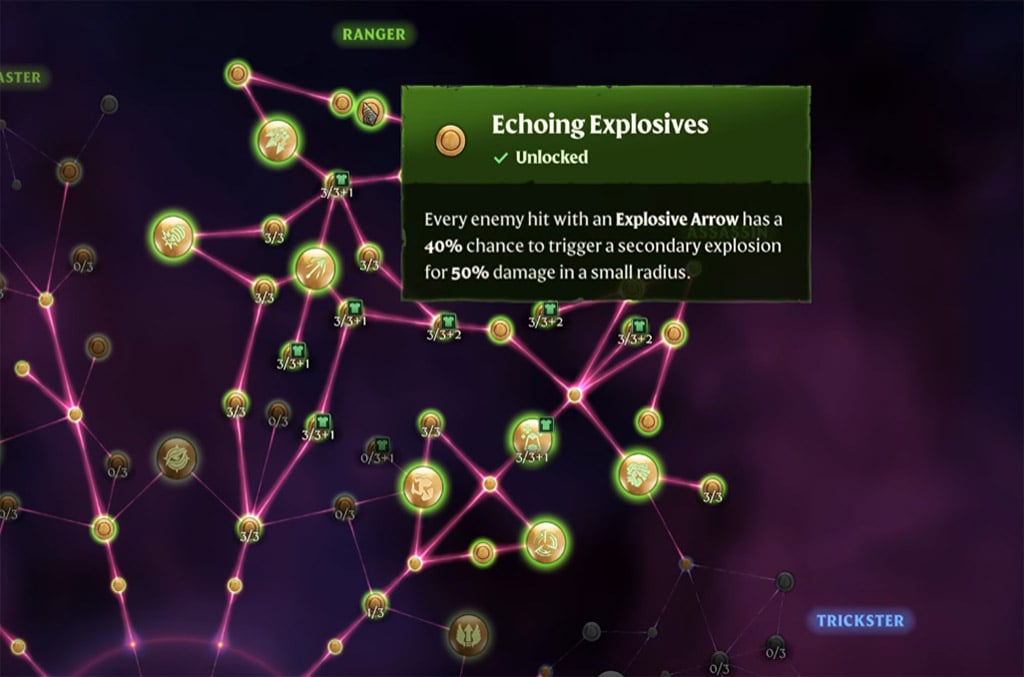
The Fire Ranger bypasses the Mage's status-effect gymnastics in favor of raw ballistic output, pairing Explosive Arrows with the Arsonist node and Vile Concoction debuffs. While this setup deletes clustered enemies in Hollow Halls, treating Explosive Arrows as your default primary attack will bankrupt your storage chests.

Single-Target vs. Crowd Efficiency
Explosive Arrows derive their dominance from overlapping AoE splash damage across multiple hitboxes. Against an isolated boss, that splash damage vanishes, leaving you paying premium crafting costs for marginal single-target gains over high-tier piercing arrows.
- Standard Piercing Baseline: Use fossilized bone, iron, or top-tier standard arrows for single targets, weak-spot crits, and roaming exploration.
- Explosive Burst Protocol: Reserve Explosive Arrows strictly for tightly packed patrols, shroud root defenders, or boss phases that summon waves of minions.
- Skill Tree Synergy: Isolate your damage testing before investing deep into Multi-Shot—firing extra Explosive Arrows consumes additional ammunition per pull of the bowstring, accelerating resource drain without guaranteeing all projectiles hit a single mobile target.
Shock Paladin: Separating Mitigation from Crit Healing
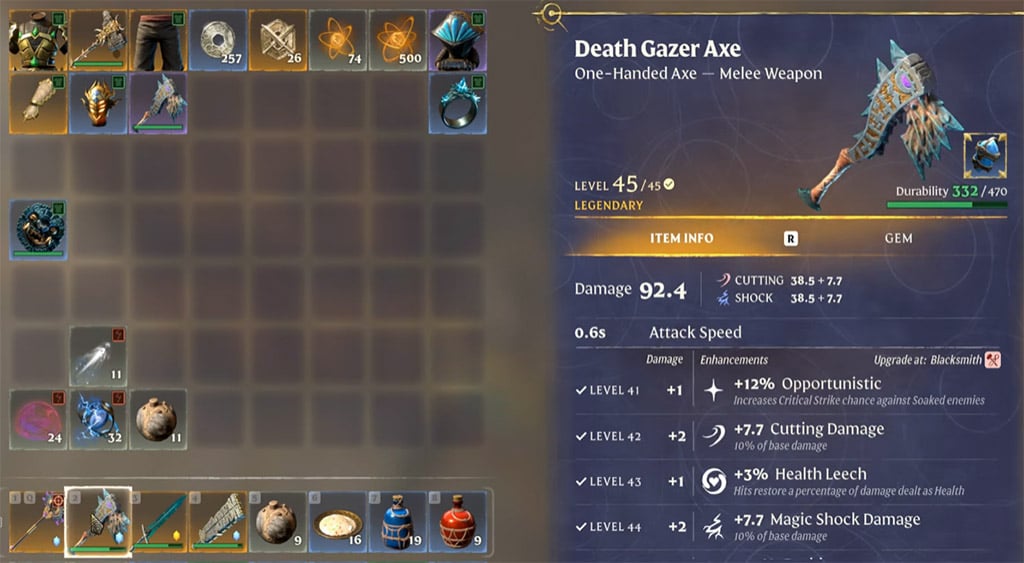
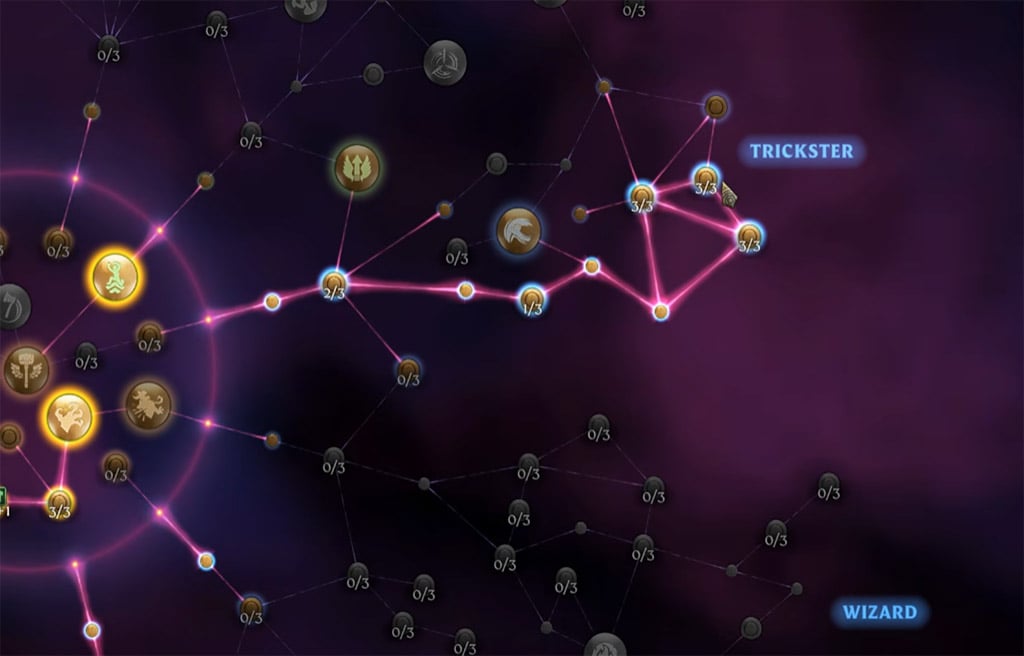
The Shock Paladin hybrid attempts to merge heavy shield tanking with spellblade sustain, combining weapons like the Death Gazer Axe or Vesta's Mace with Arc Lightning, Terror, and Bloodletting. While marketed as an unkillable frontline setup, players frequently wipe because they confuse passive mitigation with conditional crit recovery.

Deconstructing the Sustain Loop
In this archetype, your survival relies on two completely separate mechanisms that must not be conflated:
1. Baseline Mitigation: Your armor rating, stamina bar for shield blocking, and merciless parry timings.
2. Conditional Crit Procs: Skills like Terror (stunning on spell crit) and Bloodletting (spawning health/mana/stamina orbs on critical hits).
Why the Hybrid Loop Breaks Under Pressure
One-handed melee weapons and raw shock procs do not naturally possess a 100% critical hit rate. If you depend on Bloodletting orbs or Vesta's Mace recovery triggers to refill your health bar, a five-second dry streak of non-crits—or a boss phase that forces you to dodge rather than swing—completely halts your healing.
- Establish Unassisted Survival First: Ensure your stamina pool and shield block value can survive a boss's three-hit combo without relying on a single proc heal.
- Avoid Mid-Brawl Weapon Swapping: Attempting to apply Soaked via a secondary item, swap to a staff for Arc Lightning, and swap back to Death Gazer Axe in melee range invites heavy stagger damage. Keep your rotation compact: block the combo, punish with a fast melee string or instant shock cast, and reset your guard.
FAQ (Frequently Asked Questions)
Which Enshrouded build is best for solo progression?
The Shock Paladin offers the safest solo progression because heavy armor and shield blocking do not depend on consumable crafting or complex debuff primers. Once you unlock the Veilwater Basin and farm the Gem of Currents, you can transition into the Ice/Shock Mage for faster endgame clearing.
Does Gem of Currents automatically apply Soaked to enemies?
No. Your character must actively have the Wet or Soaked status effect before attacking for the Gem of Currents to transfer Soaked onto enemies. Slotting the gem without a repeatable way to wet yourself—such as Water Balloons—yields zero debuff value.
Where do you farm the Gem of Currents in Enshrouded?
The Gem of Currents drops from Drak Warriors located in the Veilwater Basin region, introduced in the Wake of Water content expansion. Focus on clearing Drak patrols around the sunken temple ruins to farm high-level variants of the gem.
Is the Violet Storm staff worth using without a Soaked setup?
No. Violet Storm is specifically itemized around conditional critical chance and critical damage bonuses against Soaked targets. Without an active Soaked loop via the Gem of Currents or a co-op partner priming targets, standard high-tier elemental staves offer more consistent baseline damage.
Should Fire Rangers use Explosive Arrows on single-target bosses?
Avoid using Explosive Arrows as your primary single-target ammunition unless you have an overflowing stockpile of black powder. Save Explosive Arrows for clustered mob phases, and swap to high-pierce standard arrows combined with weak-spot aiming to maximize single-target boss efficiency.

I’m Hiroshi Tanaka, a Japanese Technical Content Writer at GGWTB covering action RPGs, loot farming, and gear builds. My guides connect character progression with stat priorities, gear synergies, and targeted farming routes. A build needs to work before the perfect drop arrives—not just after every slot is filled.
Most Popular Posts
- Enshrouded Base Locations: How to Choose a Site and Build Smarter
- Enshrouded 1.0 Best Builds: Ice/Shock Mage, Fire Ranger & Paladin
Popular Category Lists
- ARC Raiders / (351)
- Grow a Garden / (294)
- CoD: Black Ops 7 / (167)
- Star Citizen / (162)
- MLB 26 / (159)
- Monopoly Go / (152)
- ARK Survival Ascended / (128)
- Steal a Brainrot / (99)
- Blox Fruits / (74)
- Adopt Me / (74)
- Forza Horizon 6 / (72)
- Sailor Piece / (68)
- Grow a Garden 2 / (68)
- Diablo IV / (62)
- CoD: BLACK OPS 6 / (55)
- Aion 2 / (50)
- Path of Exile 2 / (48)
- Monster Hunter Wilds / (46)
- Windrose / (44)
- Donut SMP / (41)