0
0 Created: Aug 15,2026 | Madden NFL 27
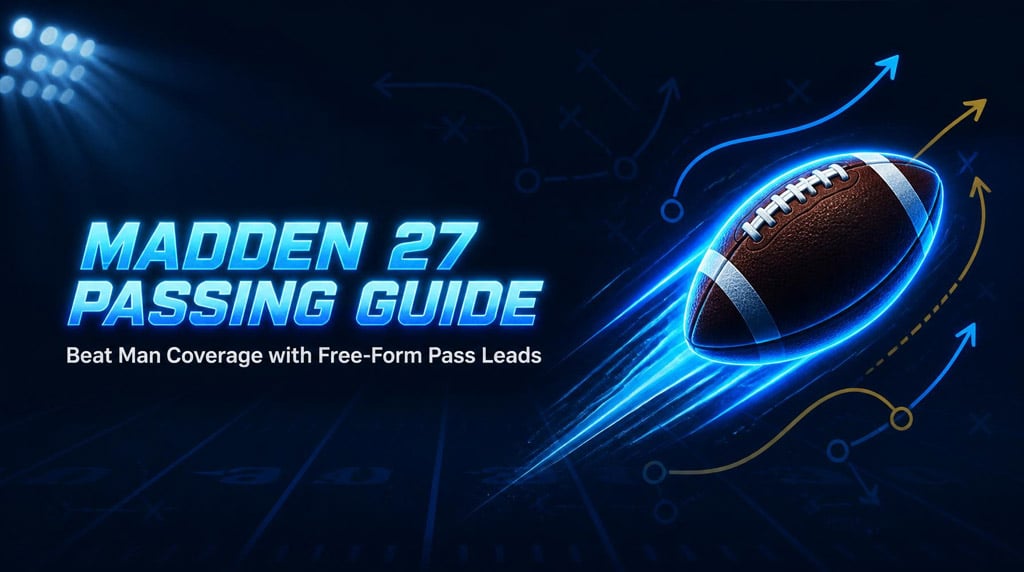
Madden 27 Skill-Based Passing: Placement & Accuracy Settings, Free-Form Leads, and Man-Beaters Work

Man coverage in Madden 27 sticks tighter than ever. Throw at the receiver's body and the DB makes the play. Throw at leverage — the open grass the defender isn't protecting — and you win. This guide skips the fluff and gives you the exact settings, controls, and reads that turn contested throws into completions.
- Best Passing Settings
- Free-Form Passing: The Controls That Matter
- Read Leverage First. Always.
- Why Slot and Compressed Beat Outside Receivers
- Route 1: Slot Streak Back-Shoulder
- Route 2: Slot Fade
- Dual Slot Threat: Give Yourself Two Answers
- Catch Control Is Half the Battle
- Fix These Mistakes Immediately
- 15-Minute Practice Block
- Advanced Layer: Motion, Underneath Answers, Restraint
- FAQ
- What's the best passing setting in Madden 27?
- What does LT/L2 do when passing?
- What's the best route for free-form passing?
- How do I throw a back-shoulder pass?
- How do I beat inside-shaded man coverage?
- Bottom Line
Best Passing Settings
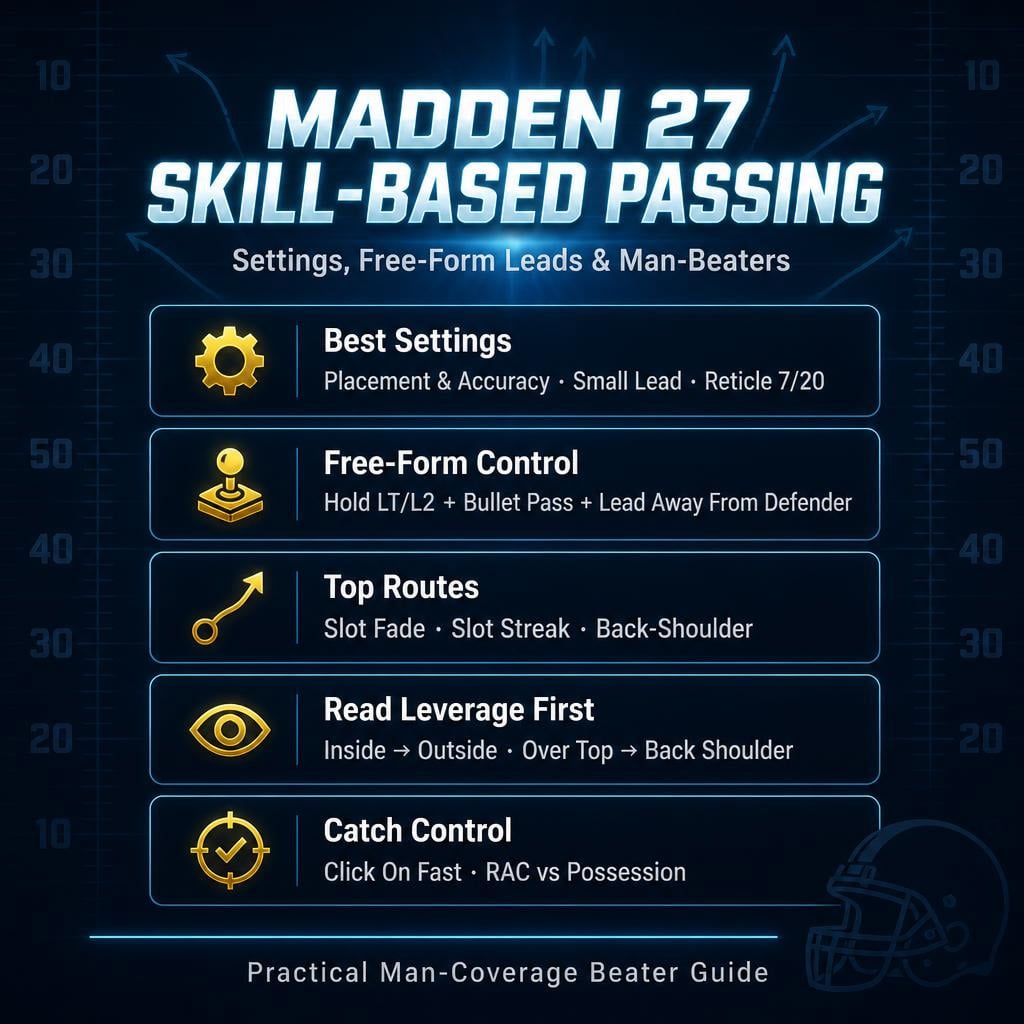
Run Placement & Accuracy. Nothing else gives you full control over both ball location and throw accuracy at the same time.
| Setting | Value | Why |
|---|---|---|
| Passing Type | Placement & Accuracy | Full placement + accuracy control |
| Passing Slowdown | Off | Keeps timing realistic |
| Pass Lead Increase | Small | Controlled leads, no wild throws |
| Reticle Speed | 7/20 | Sweet spot for free-form precision |
| Free-Form Modifier | LT (Xbox) / L2 (PS) | Unlocks directional leads |
Skip Classic — no real pass lead control, back-shoulder throws don't exist here.
Skip Revamped — better arc, still no free-form precision.
Placement alone is a trap — no accuracy meter control means random results even with an elite QB.
Free-Form Passing: The Controls That Matter
Hold LT/L2, throw a bullet pass, push the left stick away from the defender. That's the entire mechanic.
| Action | Xbox | PS |
|---|---|---|
| Free-Form | Hold LT | Hold L2 |
| Bullet Pass | Hold receiver icon | Hold receiver icon |
| Lead Ball | Left stick | Left stick |
| Click On | Switch/click-on input | Switch/click-on input |
The rule: throw to leverage, not to the route.
- DB inside → lead outside
- DB outside → lead inside
- DB over the top → lead back shoulder
- DB trailing → lead upfield
- DB underneath → lead higher
Read Leverage First. Always.
Before the ball comes out, ask one question: where is the defender relative to my guy?
| Defender Position | Lead The Ball | Best Routes |
|---|---|---|
| Inside leverage | Outside | Slot fade, streak |
| Outside leverage | Inside | Post, dig |
| Over-the-top | Back shoulder | Streak, fade |
| Trail | Upfield | Streak, crosser |
| Underneath | Higher window | Seam, corner |
Decide the lead after you see leverage, not before. Guessing pre-snap gets you picked.
Why Slot and Compressed Beat Outside Receivers
Free-form leads need room. Outside WRs run out of sideline fast — one bad lead and the ball's in the stands.
| Alignment | Lead Quality | Why |
|---|---|---|
| Slot | Excellent | Room to work outside |
| Compressed | Excellent | Natural sideline space |
| Outside WR | Riskier | Tight to the boundary |
| TE attached | Situational | Depends on the LB/S matchup |
| RB route | Situational | Safe, not explosive |
Start every free-form rep from the slot.
Route 1: Slot Streak Back-Shoulder
Trigger: DB has inside leverage, running stride-for-stride.
1. Snap, read the corner's leverage instantly
2. If inside — hold LT/L2
3. Bullet pass
4. Lead down and outside
5. Click on immediately
6. Steer away from the DB
7. RAC if open, possession if tight
Inside leverage means the DB is protecting the middle. The outside shoulder is dead space. Lead there and he has to flip, recover, and lose the rep every time.
| DB Position | Lead | Catch |
|---|---|---|
| Inside/even | Down + outside | RAC/possession |
| Inside/over top | Back shoulder | Possession |
| Trailing | Upfield/outside | RAC |
| Safety closing | Don't force it | Checkdown |
Route 2: Slot Fade
The single most reliable free-form route in the game. Beats man and zone.
Execution:
1. Slot or compressed alignment
2. Fade route
3. Read leverage post-snap
4. Inside shade → hold LT/L2, bullet toward sideline
5. Lead outside and slightly downfield
6. Click on, steer into RAC
| Coverage Look | Decision | Placement |
|---|---|---|
| Inside-shaded man | Throw it | Outside shoulder |
| Press, no safety help | Throw fast | Outside/upfield |
| Safety arriving late | Beat him to the spot | Outside/downfield |
| Deep third sitting | Don't force | Work underneath |
Dual Slot Threat: Give Yourself Two Answers
Never rely on one route. Stack a slot fade on one side with a slot streak on the other, plus a quick drag/flat/RB checkdown underneath.
| Defense Does This | You Do This |
|---|---|
| Shades inside | Free-form outside to either slot route |
| User jumps fade | Throw the streak |
| Safety rolls over | Take the underneath |
| Blitz | Hit the drag/RB |
If the defense takes something away, the other side is open by design. That's a real offense, not a hope-and-pray play.
Catch Control Is Half the Battle
A perfect lead means nothing if you botch the animation.
Click on immediately. Wait, and Madden picks the animation for you — usually a jump catch that ends the play early.
| Situation | Catch Type |
|---|---|
| Separation | RAC |
| Defender close | Possession |
| Contested/high | Aggressive |
| Sideline toe-tap | Possession |
| Back-shoulder | Possession/manual steer |
Fix These Mistakes Immediately
| Mistake | Fix |
|---|---|
| Throwing late | Release earlier |
| Lead too far outside | Drop to Small lead increase |
| Forgot LT/L2 | Hold it before the throw, not after |
| Still on Classic | Switch to Placement & Accuracy |
| Slow click-on | React the instant ball leaves your hand |
| Forcing outside vs outside leverage | Go inside or checkdown |
| Ignoring the safety | Read the shell before committing |
Two fixes move the needle more than anything else: throw earlier, click on faster.
15-Minute Practice Block
| Time | Drill | Goal |
|---|---|---|
| 3 min | Slot streak vs man | Down/outside lead |
| 3 min | Slot fade vs inside shade | Outside sideline lead |
| 3 min | Click-on reps | RAC/possession timing |
| 3 min | Dual-read | Pick between two slot routes |
| 3 min | Pressure sim | Know when to bail to checkdown |
Track this:
| Metric | Target |
|---|---|
| Clean completions | 70%+ |
| Correct leverage read | 80%+ |
| Bad throws (timing) | Under 20% |
| Wrong catch animation | Under 25% |
| Forced throws into help | Under 10% |
Advanced Layer: Motion, Underneath Answers, Restraint
Motion exposes man coverage fast — if a defender follows across the formation, it's man.
Always carry one quick answer — drag, flat, swing, hitch — so a blitz doesn't force a bad throw.
Don't force every window. Skip the throw if:
- Safety is already rotating over
- Corner has outside leverage
- Receiver's pinned to the boundary
- Pressure is forcing an off-platform throw
A checkdown beats a pick. Every time.
FAQ
What's the best passing setting in Madden 27?
Placement & Accuracy. It's the only setting with full control over both placement and accuracy — required for free-form leads and back-shoulder throws.
What does LT/L2 do when passing?
Activates free-form passing, letting you lead the ball away from the defender instead of at the default target point.
What's the best route for free-form passing?
The slot fade. Compressed alignment gives room to break outside, and it beats both man and zone.
How do I throw a back-shoulder pass?
Placement & Accuracy, hold LT/L2, bullet pass, lead down and away from the defender. Works best when he's inside or over the top.
How do I beat inside-shaded man coverage?
Attack outside. Slot fades and slot streaks with a free-form lead toward the sideline beat inside shade almost every time.
Bottom Line
Placement & Accuracy. Small lead increase. 7/20 reticle. That's the settings package.
Read leverage before you decide the throw. Inside shade, go outside. Over the top, go back shoulder. Safety rolling, go underneath.
Click on the instant the ball leaves your hand — don't let the game pick your catch animation for you.
Master the slot fade and slot streak from compressed sets, and man coverage stops being a problem. It becomes a green light.
Most Popular Posts
- Madden NFL 27 Best Settings: Competitive Setup for Passing, Catching, Defense, and Coaching Adjustments
- Madden NFL 27 Defensive Adjustments Guide: Best Coverage, D-Line, and Linebacker Controls
- Madden 27 Skill-Based Passing: Placement & Accuracy Settings, Free-Form Leads, and Man-Beaters Work
- MUT 27 Coins Making Guide: Sniping, Sets, Evos, Investments, and Market Crashes
Popular Category Lists
- ARC Raiders / (350)
- Grow a Garden / (294)
- CoD: Black Ops 7 / (167)
- Star Citizen / (162)
- MLB 26 / (159)
- Monopoly Go / (152)
- ARK Survival Ascended / (127)
- Steal a Brainrot / (99)
- Blox Fruits / (74)
- Adopt Me / (74)
- Forza Horizon 6 / (72)
- Sailor Piece / (68)
- Grow a Garden 2 / (68)
- Diablo IV / (62)
- CoD: BLACK OPS 6 / (55)
- Aion 2 / (49)
- Path of Exile 2 / (48)
- Monster Hunter Wilds / (46)
- Windrose / (44)
- Donut SMP / (41)