0
Created: Nov 8,2026 | COD: Modern Warfare 4
MW4 X01 DMZ Loot Guide: Keyless Safes, Vault 406 and Biolabs

Loot the Admin Offices and Production Assembly safes first; neither requires a key. For bigger hauls, use the Executive Room card to reach Vault 406's four safes.
- Fastest X01 Loot Route
- Keyless Safes and Secret Rooms
- Deep Vault Cards and Rooms
- Extra Loot Stops
- Biolabs Water Puzzle
- FAQ (Frequently Asked Questions)
- Where are the keyless safes in X01 DMZ?
- How do I get the Vault 406 key card?
- How many safes are in Vault 406?
- How do I get the Vault 106 key card?
- Do I need a rebreather for the Biolabs puzzle?
Fastest X01 Loot Route
Start with keyless safes, then spend cards on the rooms that match your goal.
| Spot | Entry | Reward |
|---|---|---|
| Admin Offices | Drop through rear floor hole | Safe |
| Production Assembly | Yellow ladder and roof opening | Safe |
| Vault 406 | Executive Room card, then 406 card | Four safes |
| Vault 301 | Captain Commander's 301 card | Two weapon lockers and two foot lockers |
| Vault 106 | Lieutenant Tyune's 106 card | Lieutenant crate and legendary shotgun |
| Small Test Chamber | Chamber key | Safe and two weapon lockers |
Prioritize 406 for safes; take 106 for the shotgun.
{custom_img_10}
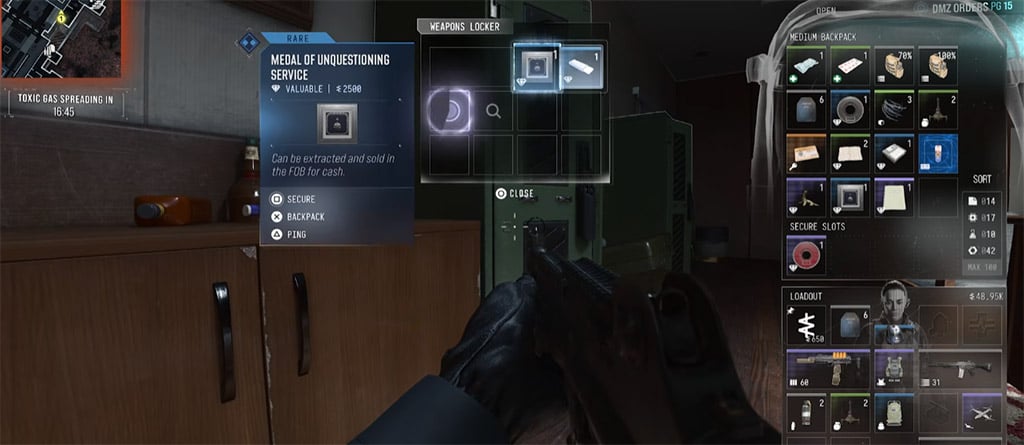
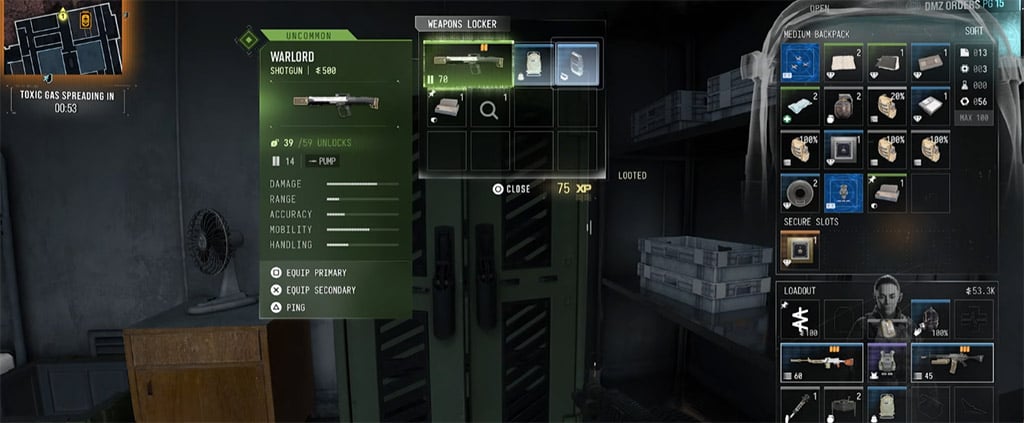
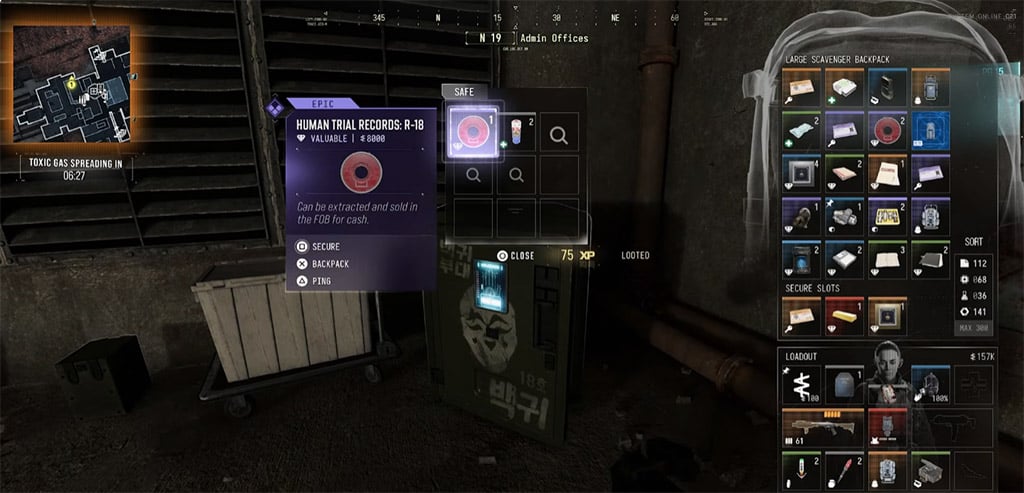
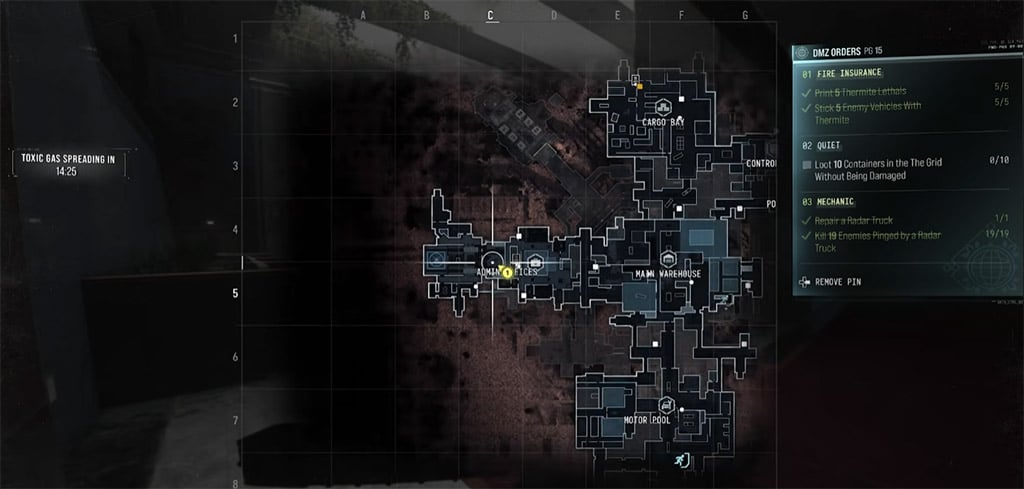
Keyless Safes and Secret Rooms
These rooms reward precise movement rather than a key hunt.
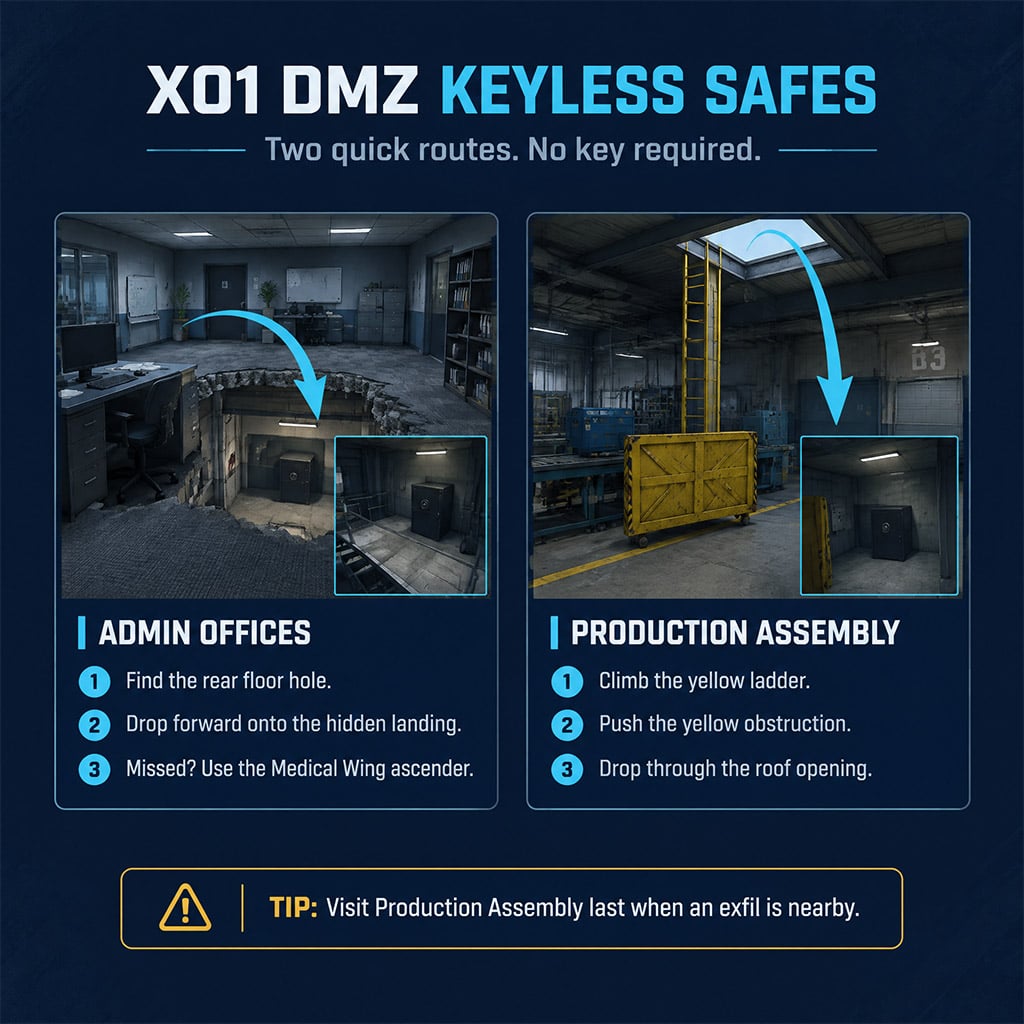
- Admin Offices safe: At the back of the first floor, drop through the large hole while moving forward to land between floors.
- Missed the drop? Take the Medical Wing ascender back up and retry.
- Secured office: Enter the neighboring side room, break the glass, and search the supply crate, cabinets, bags, computer, and shelves.
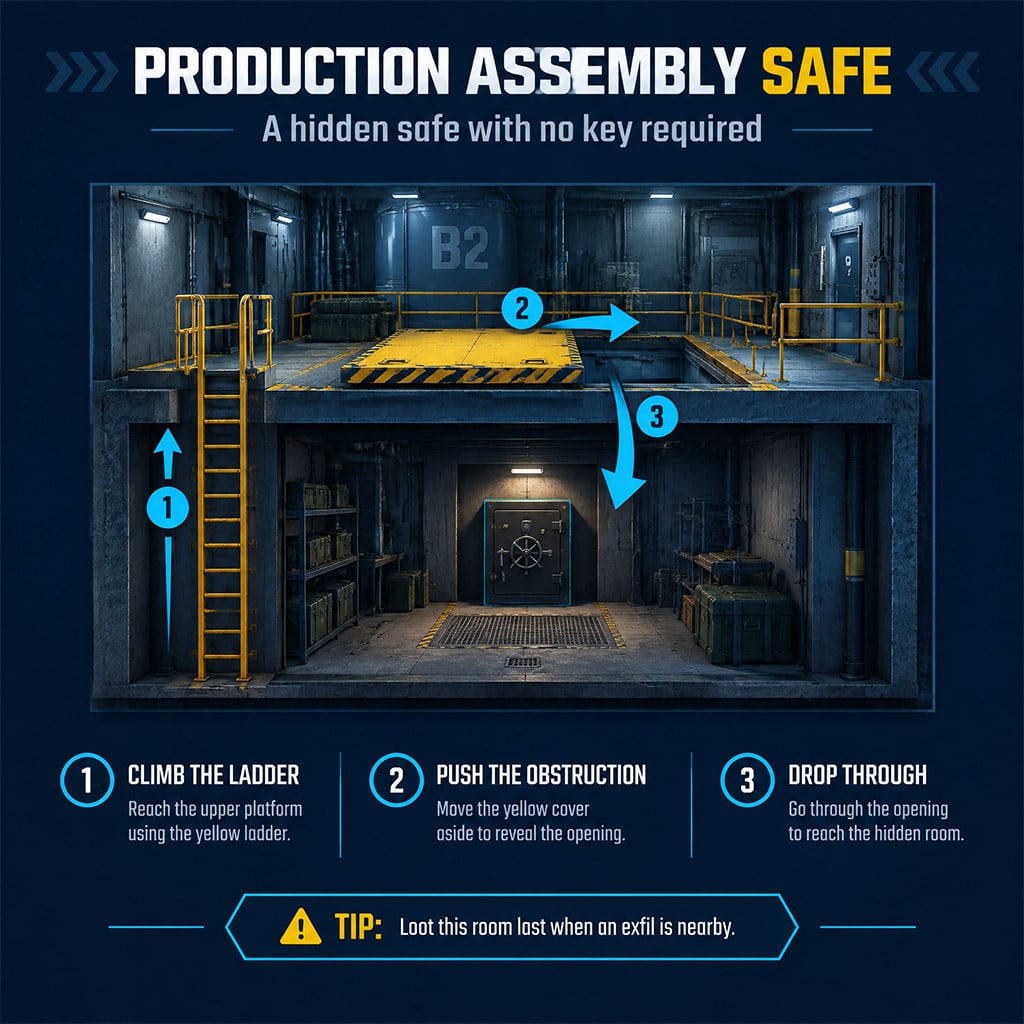
- Production Assembly safe: Climb the yellow ladder, push the roof obstruction, and drop into the room.
- Second Assembly room: Push the yellow container between the stair flights near the stairs-icon exit to reach lockers, bags, and rifle cases.
Pro tip: Use Production Assembly as your final stop when an exfil is nearby; the container room has no safe.
Deep Vault Cards and Rooms
Each card opens its matching room, so confirm your target before entering.
- Executive access: Find an Executive Room card, or find or craft a blank card and encode it at a key card station.
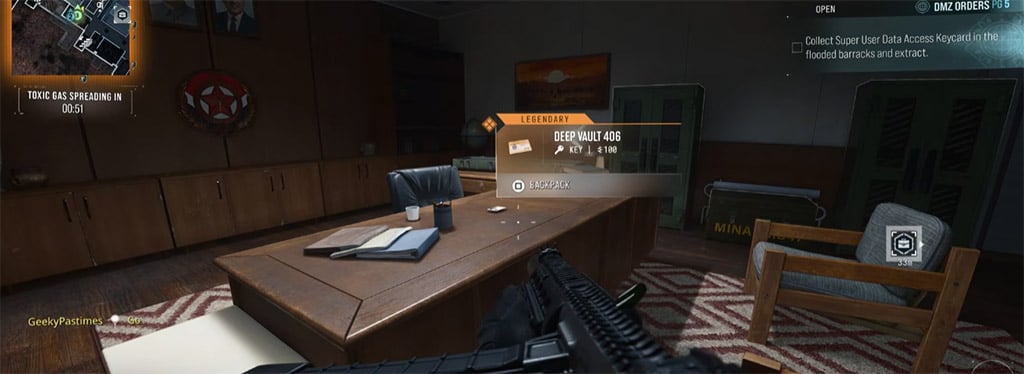
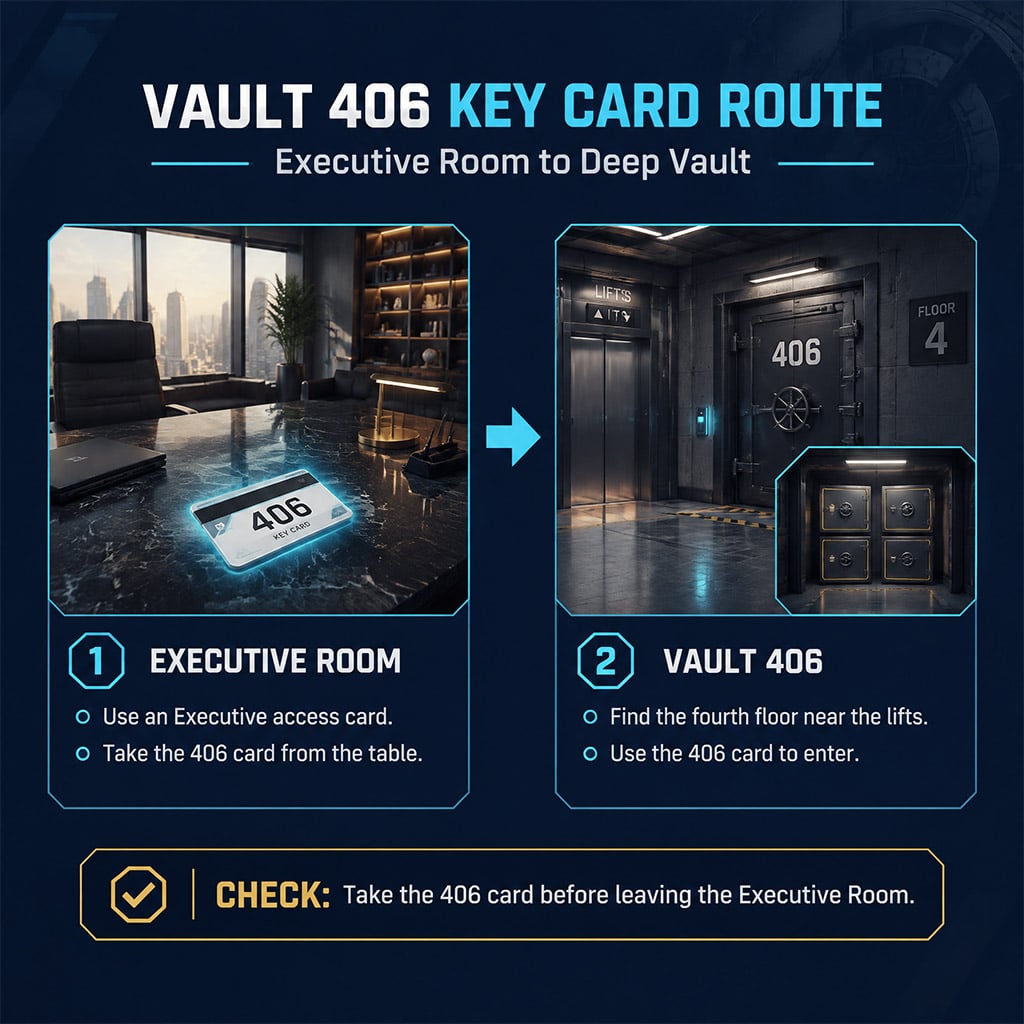
- Vault 406 card: Enter the upper-floor Executive Room and collect the 406 card from the table.
- Vault 406: Find it on the fourth floor near the lifts; search four safes, shelves, and tables.
- Vault 301: Defeat the Captain Commander for the card, then search the lockers, table, and corpse.
- Vault 106: Defeat Lieutenant Tyune, who sometimes appears in the Data Center, for the card and the legendary-shotgun crate.
- Core room: Collect the Argonaut armor vest and check the open vault rooms.
- Exit: Force open either elevator beside your entry elevator.
Pro tip: Collect the 406 card before leaving the Executive Room; an Executive card alone does not open Vault 406.
Extra Loot Stops
Add these detours when you have the required key or are already passing.
- Motorpool: Take the corner ascender, cross to the middle platform, jump onto the hanging tank part, then sprint-jump to the pillar ledge and shimmy right onto the roof.
- Motorpool loot: Drop through the roof hole for two weapon lockers and bags; open the deadbolt to leave.
- Small Test Chamber: Bring its key to the Tech Lab chamber in front of the security checkpoints for a safe and two weapon lockers.
- Flooded Barracks: Under Supply Depot, cross the laser maze and press the red wall button; loot the rooms and take the zip line back up.
- Superintendent's Office: Use the Main Warehouse second-floor barrels to reach the platform, then use the office key to access its containers.
Pro tip: Skip the Motorpool jump when a nearby safe or exfil offers a faster route out.
Biolabs Water Puzzle
Use the air stops and stop at the main loot room unless you carry a rebreather.
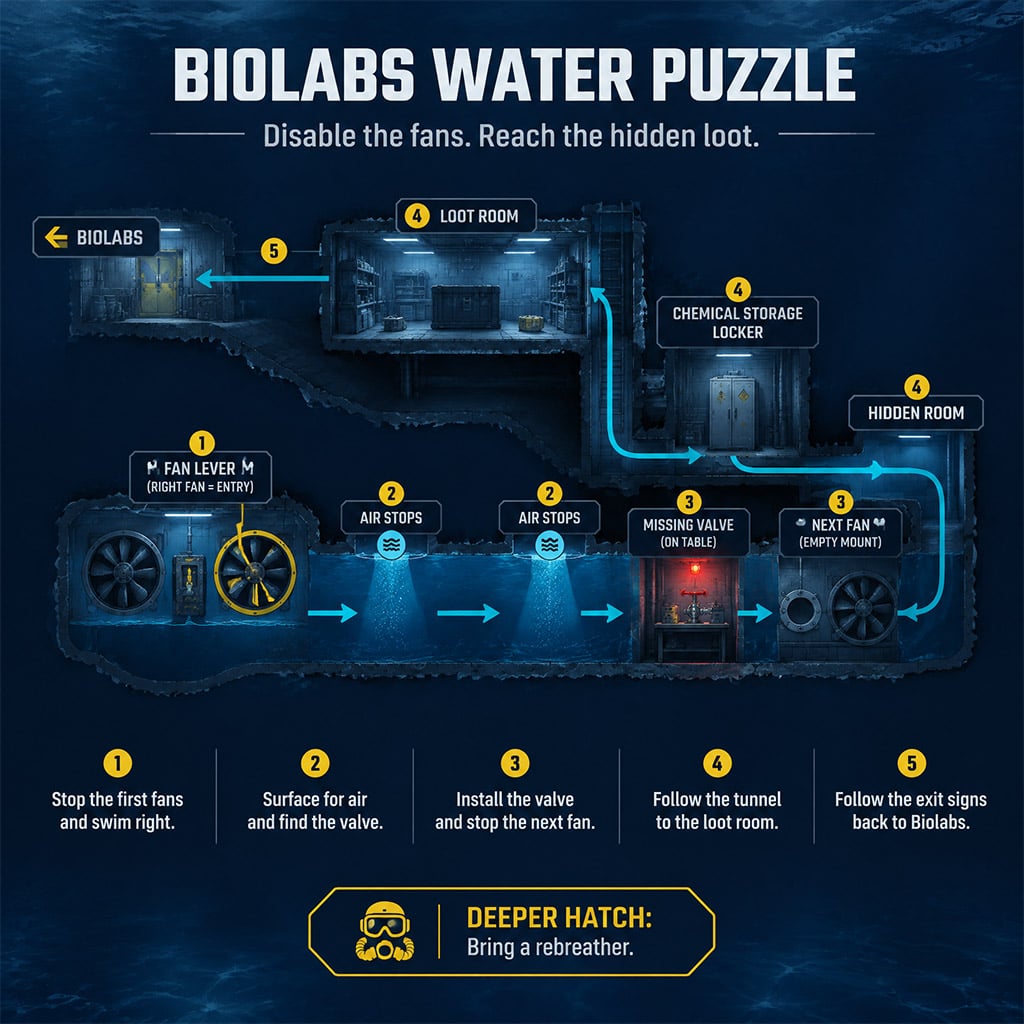
1. Pull the lever between the two fans, swim through the right fan, surface, and take the tunnel on your right.
2. Surface again, follow the tunnel down and left, and continue to the next fan.
3. Search both sides for the valve on a table near a flashing light; take it, surface for air, and install it.
4. Stop the fan, swim through both fans, and enter the deeper tunnel opposite the optional corpse-and-bag hatch.
5. Swim through the next fan, turn right, and search the chemical storage locker.
6. Go upstairs, loot the bags, cabinets, weapon locker, and control-panel area, then follow the left-side exit signs.
Pro tip: The control panel opens a deeper hatch, but that extra dive requires a rebreather.
FAQ (Frequently Asked Questions)
Where are the keyless safes in X01 DMZ?
Drop through the rear Admin Offices floor hole or enter the Production Assembly roof opening above the yellow ladder.
How do I get the Vault 406 key card?
Use an Executive Room card to enter the upper-floor Executive Room, then take the 406 card from the table.
How many safes are in Vault 406?
Vault 406 is described as containing four safes, though that count has not been independently verified here.
How do I get the Vault 106 key card?
Defeat Lieutenant Tyune when the Lieutenant appears in the Data Center.
Do I need a rebreather for the Biolabs puzzle?
You can reach the main loot room using the air stops. Bring a rebreather for the deeper tunnel opened by the control panel.

I’m Sofia Bergström, a Swedish Managing Editor covering FPS, competitive shooters, and extraction shooters for GGWTB. My guides focus on loadout trade-offs, positioning, and when to commit—or cut your losses. A weapon’s stats tell only part of the story; I focus on how it fits your role and the fight ahead.
Most Popular Posts
- MW4 Apex Attachments: The Complete Weapon-Breaking Guide (Every Kit Ranked)
- MW4 Beta Meta Weapons Class Setups: Attachments, Perks, and Tuning included
- MW4 Beta Easter Eggs: All 15 Secrets, Locked Doors, Hidden Routes & Unlocks Tested
- Modern Warfare 4 Settings: Best Controller, Graphics & PC Config for Max FPS
- Cod MW4 Warzone New Maps - Zodiac Resurgence Map & Hajan BR
- Modern Warfare 4 Beta Best Weapons, Loadouts, Perks & Killstreaks
Popular Category Lists
- ARC Raiders / (369)
- Grow a Garden / (299)
- Star Citizen / (168)
- CoD: Black Ops 7 / (167)
- MLB 26 / (159)
- Monopoly Go / (153)
- ARK Survival Ascended / (132)
- Steal a Brainrot / (100)
- Adopt Me / (76)
- Blox Fruits / (74)
- Forza Horizon 6 / (72)
- Sailor Piece / (68)
- Grow a Garden 2 / (68)
- Diablo IV / (62)
- Aion 2 / (62)
- CoD: BLACK OPS 6 / (55)
- COD: Modern Warfare 4 / (54)
- Maplestory Classic / (49)
- Path of Exile 2 / (48)
- Monster Hunter Wilds / (46)