0
0 Created: Sep 9,2026 | Valheim
Valheim Starter House Guide: Practical Build for Early Game to Swamp

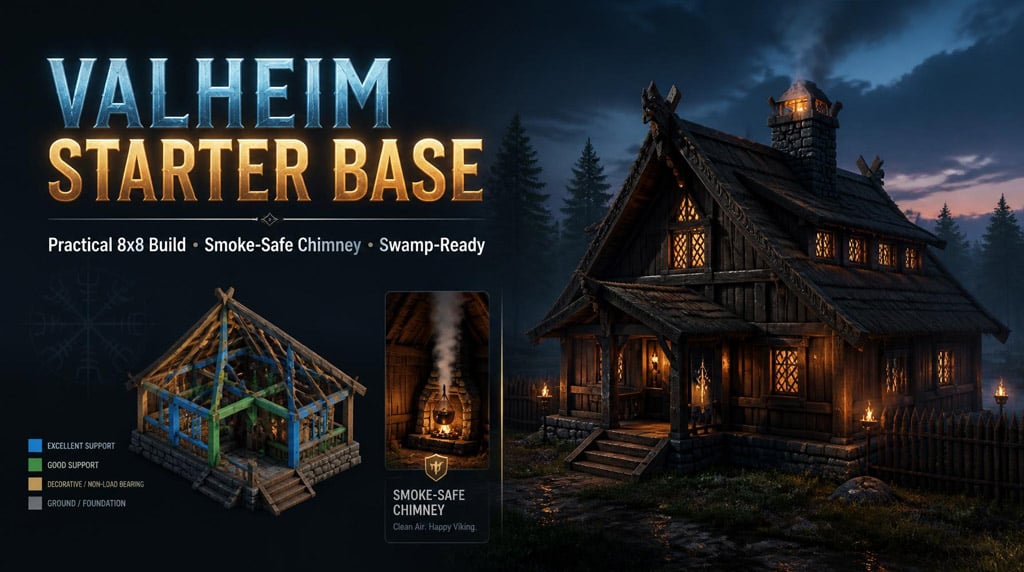
Here is a practical step-by-step layout for an 8×8-meter wooden starter base in Valheim. It features a safe rear chimney alcove, modular stacked storage, and dedicated space for early-to-mid game crafting stations, helping you avoid costly base tear-downs before entering the Swamp.
- Plan the Footprint Around Your Daily Routine
- Choose a Simple Square Layout
- Prepare the Ground Efficiently
- Reserve Space for Progression Upgrades
- Build the Shell and Verify Ventilation
- Lay Structural Support
- Wall Framing and Roof Geometry
- Isolate the Fireplace on Natural Ground
- Construct an Open Exhaust Chimney
- Optimize Storage, Workstations, and Comfort
- Build Accessible Stacked Storage
- Snap Crafting Upgrades Cleanly
- Position the Bed for Maximum Comfort
- Maximize the Rested Bonus Efficiently
- Move Smelting Outside the Main House
- FAQ (Frequently Asked Questions)
- Why does my indoor campfire keep going out?
- Can I build a campfire directly on a wooden floor?
- What is the ideal starter house size for solo and co-op play?
- How do I protect a wooden starter base during Swamp-tier raids?
- Can this wooden house design last into the Swamp biome?
- Summary
Plan the Footprint Around Your Daily Routine
Most cramped bases suffer from poor layout choices rather than insufficient floor space. An efficient base maintains a direct walking route: entrance → storage → workshop → cooking area, keeping beds isolated from cross-traffic.
Choose a Simple Square Layout
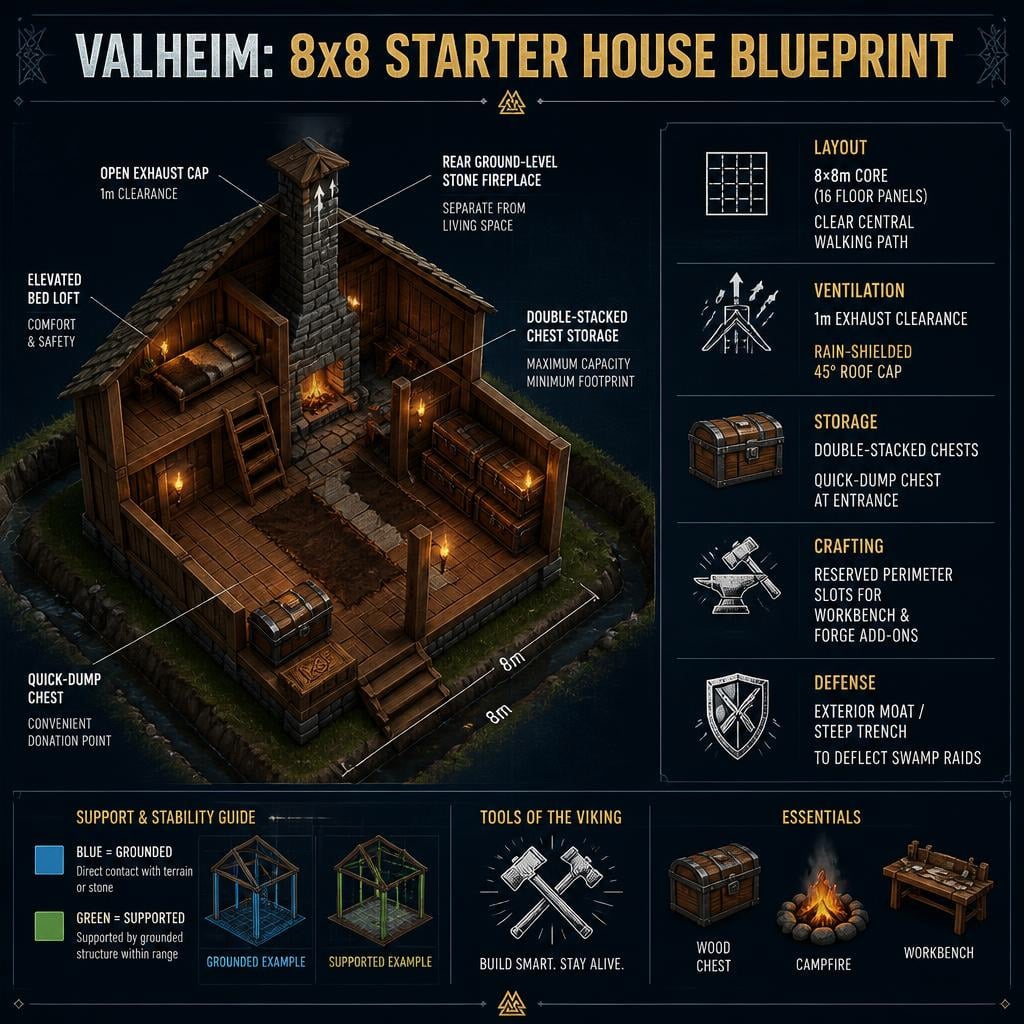
Our proposed layout uses four 2×2-meter floor panels along each side, totaling 16 panels for the main footprint. The fireplace extension and sleeping loft sit just outside this main grid.
Establish the entrance before placing final flooring, and leave open ground beside the house for outdoor processing.
| Decision Factor | Compact Square House | Hillside Longhouse |
|---|---|---|
| Terrain Prep | Minor leveling with a hoe | Heavy excavation and support leveling |
| Roof Construction | Standard 26°/45° gable roof | Complex spans and internal pillars |
| Interior Utility | Tight, walkable storage and crafting | High open floor space for multiplayer |
| Common Bottleneck | Crafting station upgrade clutter | High wood and stamina investment early |
| Best Used For | Fast, reliable solo or duo progression | Dedicated multiplayer group hubs |
Start compact. You can easily add specialized outbuildings later once iron tools simplify resource gathering.
Prepare the Ground Efficiently
Find a reasonably flat Meadows site near running water, but set back from the waterline to prevent high-tide flooding.
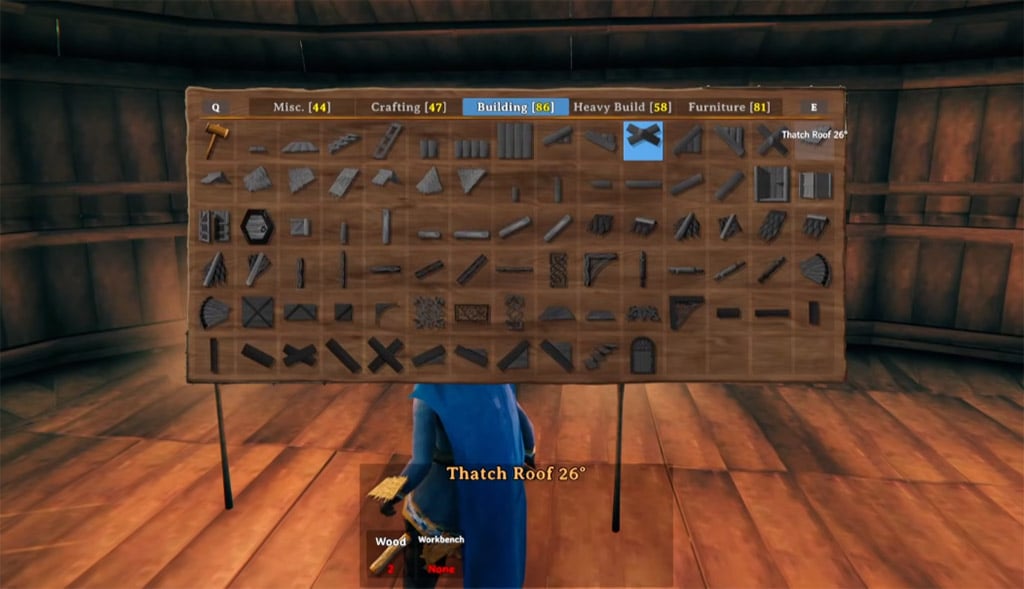
1. Drop a temporary workbench with minimal thatch roofing to activate building permissions.
2. Craft a hoe and level the footprint from a single ground-height reference point.
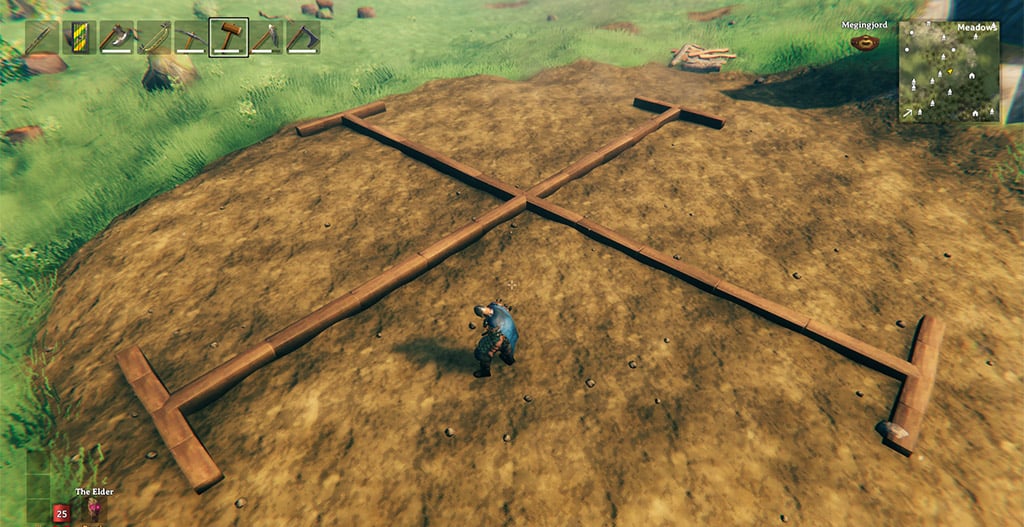
3. Place foundation perimeter beams (2-meter wood beams) to verify boundaries.
4. Raise low corners on short wooden posts instead of wasting stamina digging down high terrain.
If you lack an antler pickaxe, do not fight steep slopes. Building on short stilts saves hours of early excavation.
Reserve Space for Progression Upgrades
A finished base houses equipment your character cannot craft on day one. Leaving intentional empty floor pockets prevents chaotic renovations later.
| Facility | Build Stage | Target Location | Placement Rule |
|---|---|---|---|
| Workbench | Immediate shelter | Side wall | Needs adequate roof and wall enclosure |
| Storage Chests | First day | Opposite side wall | Clear aisle access for chest lids |
| Campfire & Cooking | First night | External rear alcove | Direct dirt contact and open vertical exhaust |
| Bed | Post-smoke test | Raised loft platform | Enclosed, fire warmth, zero smoke accumulation |
| Forge | Black Forest entry | Next to workbench | Allow 2–3 meters clearance for upgrade add-ons |
| Cauldron | Bronze unlock | Secondary fire slot | Suspended directly over an active fire |
| Smelter & Kiln | Black Forest entry | Exterior yard | Keep exhaust away from main house eaves |
Build the Shell and Verify Ventilation
A complete roof offers no comfort if your fire suffocates or the sleeping area fills with toxic smoke. Test the airflow before laying interior furniture.
Lay Structural Support
Snap 2-meter horizontal beams along your perimeter and lay floor panels inward. Check structural integrity using your hammer:
- Blue: Foundation-grounded piece (maximum support).
- Green to Yellow: Stable structure with adequate load-bearing.
- Orange to Red: Critically weak support approaching collapse.
If a roof section breaks on placement, do not simply add decorative crossbeams at the peak. Trace downward to ensure posts connect directly to the ground or blue foundation beams.
Wall Framing and Roof Geometry
Use standard wooden walls two units high to ensure adequate interior clearance for jumping and camera movement.
1. Choose matching 26-degree or 45-degree thatch roof pieces.
2. Build upward from opposite perimeter walls simultaneously.
3. Seal the central ridge using matching thatch ridge caps.
4. Enclose gable ends, leaving the rear chimney alcove open to the sky until capped.
5. Check for the Sheltered status icon across the entire interior floor.
Isolate the Fireplace on Natural Ground
Campfires cannot sit directly on standard wooden floors without stone foundations.
1. Remove one or two floor tiles along the rear wall to expose bare earth.
2. Build a recessed wooden frame around the dirt opening.
3. Reserve space for two adjacent fire points: one for your early campfire/spit and one for the metal cauldron.
4. Keep structural wood beams at least one meter away from the fire center to avoid obstruction issues.
Construct an Open Exhaust Chimney
Smoke behaves as a physical particle in Valheim. If smoke cannot escape, it deals 2 damage per tick to players and smothers burning campfires.
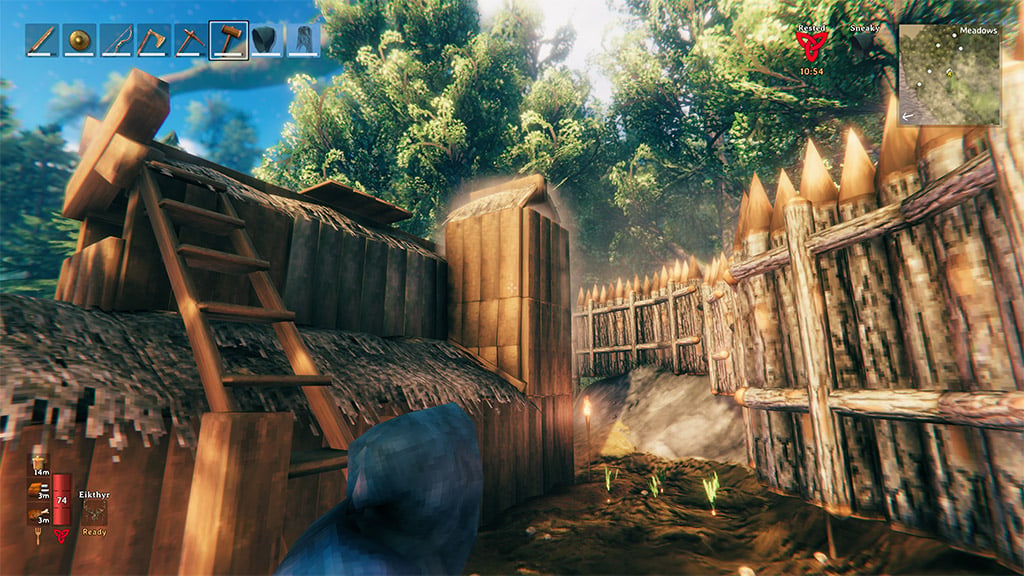
- Exhaust Clearance: Smoke requires approximately one meter of clearance to pass through structural gaps.
- Roof Caps: Place a raised 26° or 45° roof piece above the exhaust opening to block rain from extinguishing the fire.
- Airflow Path: Ensure exhaust flows straight upward. Avoid narrow, horizontal flues or decorative shelves across the chimney chute.
Test the completed enclosure during rain: stand at the cooking station and planned bed area to ensure the Smoked status effect never triggers.
Optimize Storage, Workstations, and Comfort
Every chest and upgrade piece competes for limited floor area. Prioritize usability and travel paths over dense decoration.
Build Accessible Stacked Storage
Maximize vertical space with basic wooden shelving rather than scattering chests across the floor.
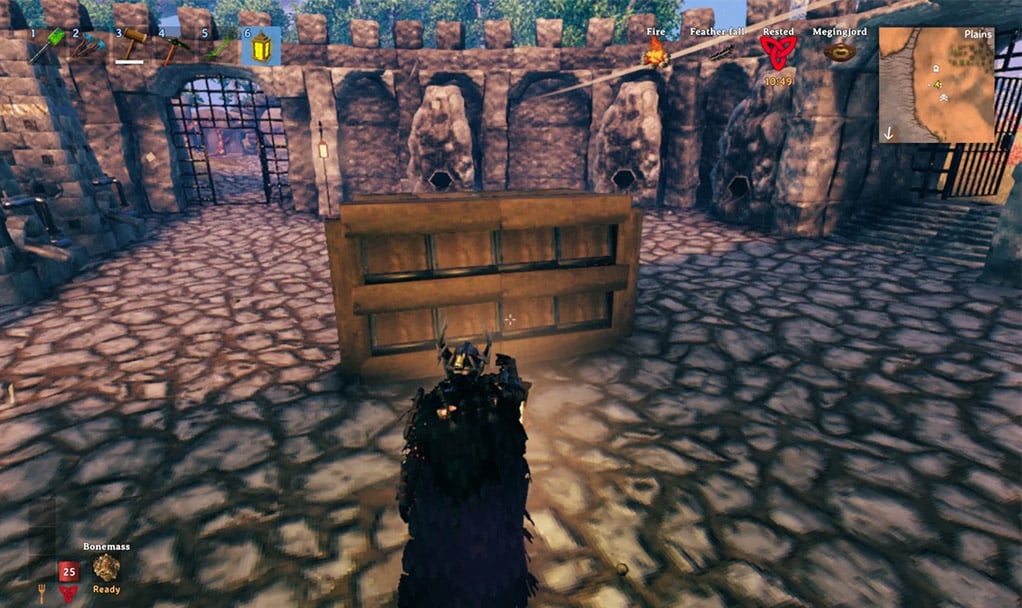
1. Place two small chests flush against the wall at floor level.
2. Snap a 1×1-meter horizontal wood tile directly above them using a short wooden post for support.
3. Place two additional chests on the newly created shelf.
4. Verify you can interact with all chest inventory screens without crouching or jumping.
5. Leave one dedicated dump chest closest to the front door for fast inventory offloading after resource runs.
Snap Crafting Upgrades Cleanly
Workbench and Forge upgrade structures (such as the Chopping Block, Anvil, and Adze) must sit within a specific radius of the main station to register.
- Check the sparkling connection line that appears between the upgrade and the station during placement.
- Access the workbench or forge immediately to verify its level has increased.
- Place flat upgrades (like the Cooling Bucket) tucked into corner alcoves or under storage shelves to keep the central walkway clear.
Position the Bed for Maximum Comfort
Construct a raised half-floor loft for your bed, positioned away from the rear smoke path.
- Check interaction feedback: confirm both Sheltered and Warm conditions are met.
- Ensure the route from the entrance to the bed remains free of protruding chest corners or low-hanging beams.
- Keep the sleeping zone elevated above the ground floor to prevent cold debuffs caused by exterior walls clipping uneven terrain.
Maximize the Rested Bonus Efficiently
The Rested buff boosts health and stamina regeneration. Comfort items increase this duration, but items within the same category do not stack.
- Stacking Rules: A stool and a chair share a category; only the highest-tier item provides a comfort bonus. A banner, rug, and table each provide independent bonuses.
- Proximity: Ensure comfort items are placed within a 10-meter radius of the bed to apply their effects to your character.
Move Smelting Outside the Main House
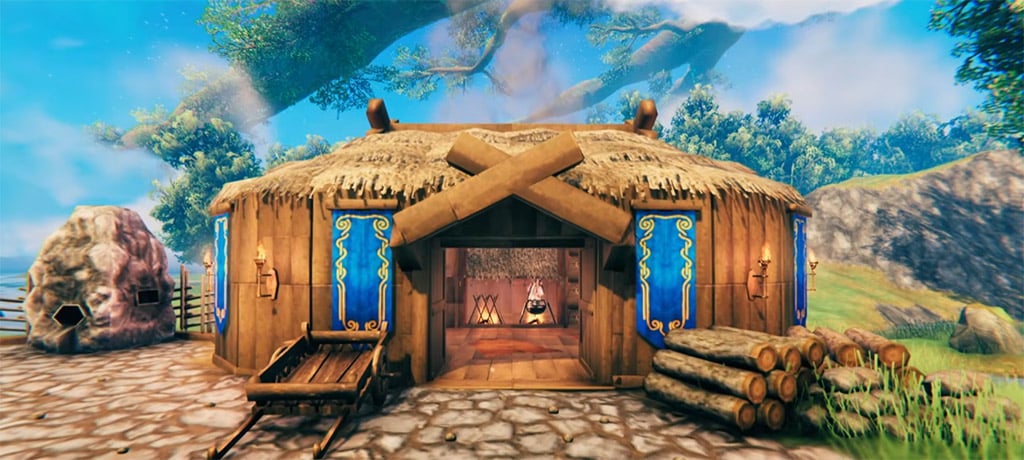
Kilns and Smelters take up substantial space and produce heavy smoke.
- Place them against the exterior workshop wall on flat dirt.
- Organize dedicated wooden carts or reinforced chests nearby for raw ore and coal.
- Dig a steep protective perimeter ditch around your exterior workshop to prevent Greydwarf brutes from damaging production structures.
FAQ (Frequently Asked Questions)
Why does my indoor campfire keep going out?
Indoor fires extinguish for three reasons: running out of wood, direct rain exposure, or trapped smoke accumulation. Check whether your chimney exhaust has at least a one-meter opening and verify that a raised roof cap shields the fire from straight-falling rain.
Can I build a campfire directly on a wooden floor?
No. Standard wooden floors cannot support campfires or hearths. You must remove the floorboard to place the fire on natural terrain, or wait until you unlock the Stonecutter in the Swamp era to place fires on raised stone slabs.
What is the ideal starter house size for solo and co-op play?
An 8×8-meter (4×4 large floor tiles) layout with an attached cooking alcove provides optimal space for solo or duo play. For groups of three or more, extend the footprint to 8×12 meters to prevent player collision around storage aisles and crafting stations.
How do I protect a wooden starter base during Swamp-tier raids?
Wooden walls cannot withstand attacks from Swamp-tier raid enemies like Trolls or Draugr. Dig a steep, 2-to-3-meter-deep moat around your base perimeter using a pickaxe, or raise a sheer earthen wall using the hoe. This prevents ground enemies from reaching your wooden shell.
Can this wooden house design last into the Swamp biome?
Yes. An 8×8 wooden house serves effectively as a central living and cooking core throughout the Swamp tier, provided you keep smelting outdoors and protect the perimeter with moats. When you need portal hubs or iron processing, build adjacent detached workshops rather than tearing down your original home.
Summary
A reliable Valheim starter house succeeds by balancing compact construction with forward-looking space management. By framing an 8×8-meter shell, keeping campfires on ground-level alcoves with clear vertical chimneys, and wall-mounting your storage, you create a low-maintenance base that supports you well into the Swamp biome. Establish a secure exterior moat, place heavy industry outside, and expand with modular outbuildings as your metalworking needs increase.

I’m Hiroshi Tanaka, a Japanese Technical Content Writer at GGWTB covering action RPGs, loot farming, and gear builds. My guides connect character progression with stat priorities, gear synergies, and targeted farming routes. A build needs to work before the perfect drop arrives—not just after every slot is filled.

Most Popular Posts
- Valheim Forge of Potential Guide: Battle Totems, Locations & Gear Upgrade Risks
- Valheim Starter House Guide: Practical Build for Early Game to Swamp
Popular Category Lists
- ARC Raiders / (354)
- Grow a Garden / (294)
- CoD: Black Ops 7 / (167)
- Star Citizen / (163)
- MLB 26 / (159)
- Monopoly Go / (153)
- ARK Survival Ascended / (128)
- Steal a Brainrot / (99)
- Blox Fruits / (74)
- Adopt Me / (74)
- Forza Horizon 6 / (72)
- Sailor Piece / (68)
- Grow a Garden 2 / (68)
- Diablo IV / (62)
- CoD: BLACK OPS 6 / (55)
- Aion 2 / (52)
- Path of Exile 2 / (48)
- Monster Hunter Wilds / (46)
- Windrose / (44)
- Maplestory Classic / (42)