0
0 Created: Sep 8,2026 | Star Citizen
Star Citizen Best Loot Spots for Weapons, Armor, and Ship Components

Targeting specific gear in Star Citizen saves hours of aimless scavenging and costly vendor purchases. Whether you need a high-magnification optic, heavy infantry ordinance, or replacement ship thrusters, choosing the correct drop table and extraction vector dictates your success.
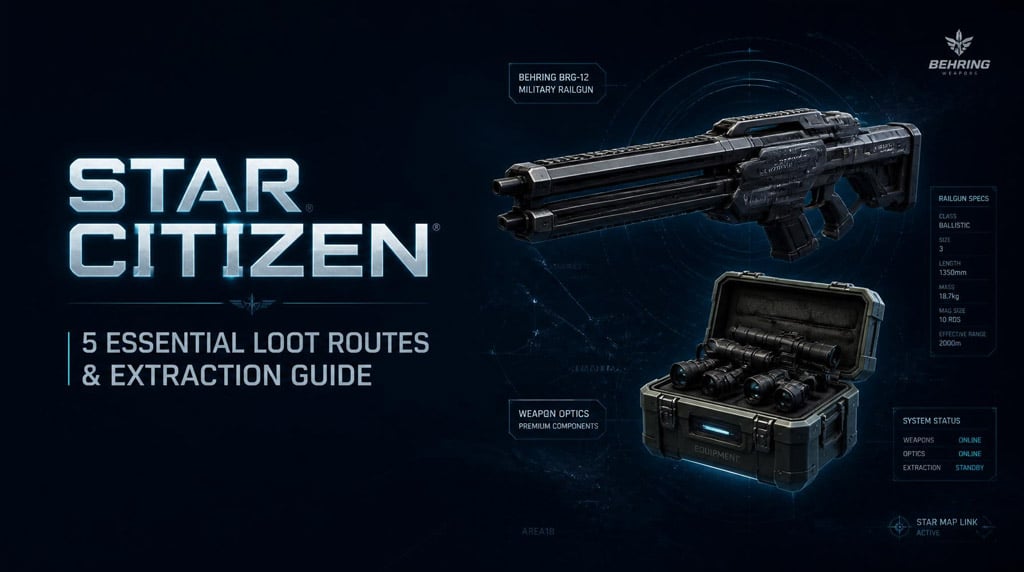
Loot pools, local AI threats, and shard inventory persistence fluctuate between game updates. Below is a structured tactical breakdown of the five most rewarding loot routes across Stanton and Pyro, detailing their priority drops, inherent risks, and practical extraction strategies.
- Route Overview and Risk Profiles
- The 5 Best Targeted Loot Locations
- 1. Stanton Drug Labs: Weapon Attachments
- 2. Pyro Asteroid Outposts: Optics and Weapon Crates
- 3. Lazarus Facilities: Railguns and Anti-Vehicle Ordinance
- 4. Security Post Kareah: Precision Weapons and Rare Spawns
- 5. Derelict Ship in Distress Missions: Ship Components
- Gear Triage and Inventory Management
- FAQ (Frequently Asked Questions)
- What is the safest loot spot for solo beginners in Star Citizen?
- Where do railguns and heavy launchers spawn most reliably?
- Does bed logging force loot containers to refresh?
- Does shutting down the regional Comm Array make looting Kareah safe?
- Can ship components salvaged from derelicts be equipped directly?
- Summary
Route Overview and Risk Profiles
Entering a high-tier facility without an extraction threshold risks your entire ship loadout. Prioritize items that immediately resolve an operational gear deficit rather than stockpiling incompatible inventory.
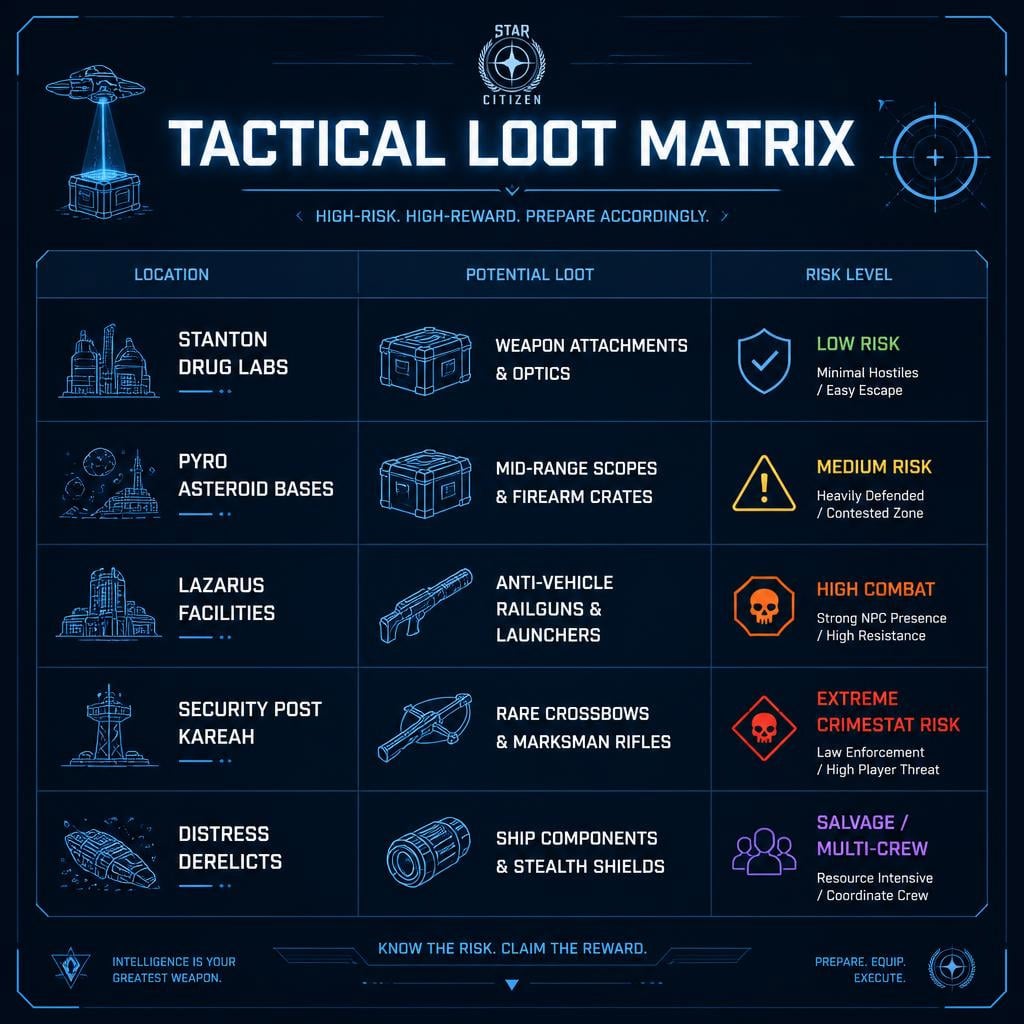
| Destination | Primary Target Loot | Main Operational Threat | Recommended Profile |
|---|---|---|---|
| Stanton Drug Labs | Firearm attachments & optics | Ambush encounters & hostile players | Solo pilots running baseline personal loadouts |
| Pyro Asteroid Bases | Mid/long-range optics & weapon crates | Automated defense turrets & EVA entry points | Objective-based runners on active mission contracts |
| Pyro Lazarus Facilities | Railguns, launchers & heavy armor | Heavy NPC patrols & access code locks | Co-op fireteams equipped for sustained FPS combat |
| Security Post Kareah | Crossbows & specialized firearms | Station turrets, active security & CrimeStat alerts | High-risk stealth infiltrators seeking rare trophies |
| Derelict Ship in Distress | Military/stealth ship components & armor | EVA maneuvering & heavy component hauling | Multi-crew salvagers or cargo operators with tractor beams |
Pursue immediate compatibility first. A standard suppressor or combat sight you can run immediately delivers more field value than an unequipped heavy weapon occupying limited cargo volume.
The 5 Best Targeted Loot Locations
Operate each run under a predetermined extraction rule: once you secure your priority upgrade, extract immediately rather than overstaying in hostile territory.
1. Stanton Drug Labs: Weapon Attachments
Drug production outposts across Stanton—such as Jumptown on Yela, Raven's Roost, and Paradise Cove—consistently generate civilian and military weapon attachments alongside auxiliary armor pieces.
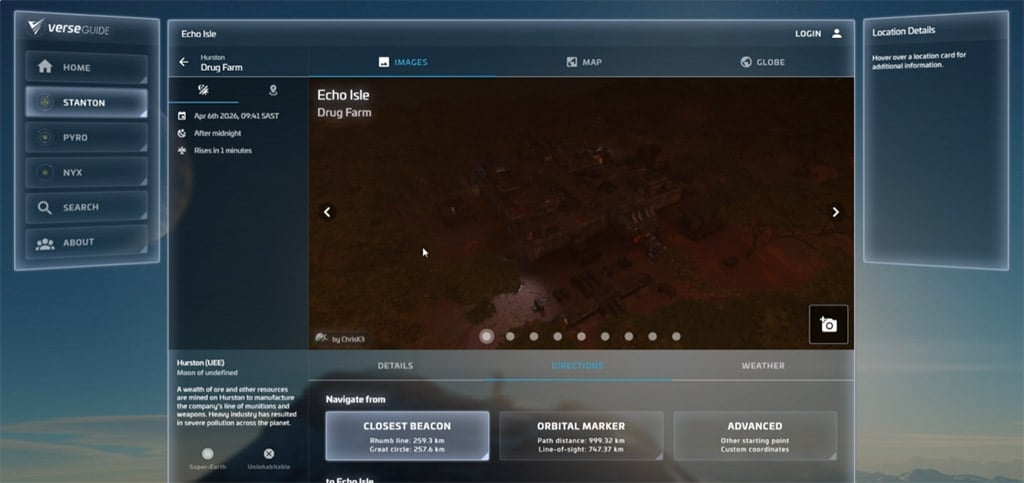
These sites frequently host player traffic and pirate ambushes. Never treat an unmonitored outpost as a safe procurement zone.
1. Scan the perimeter for landed vessels and active ship signatures before descent.
2. Touch down with your ship pointed toward an uninhibited quantum departure vector.
3. Keep your engines active to minimize emergency spooling delays.
4. Methodically clear internal footlockers and container crates.
5. Verify optic zoom levels and barrel thread compatibility before stowing.
6. Extract as soon as your active weapons are fully equipped.
Equipping a firearm you already operate provides immediate combat readiness without altering your familiar handling profile.
2. Pyro Asteroid Outposts: Optics and Weapon Crates
Asteroid bases situated in the Pyro system provide dense clusters of standard and heavy weapon containers, particularly medium-to-long-range scopes and submachine gun attachments.
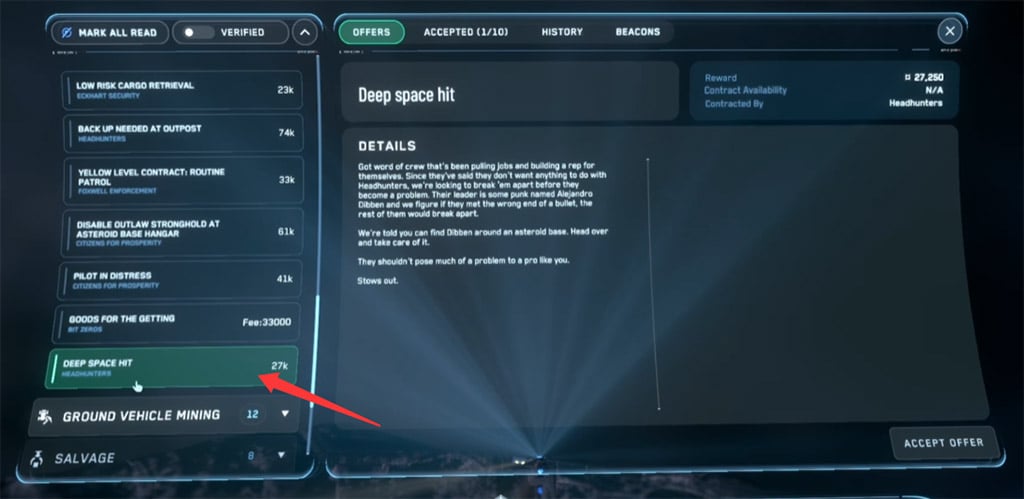
Approaches are typically contested by automated ballistic and laser turrets that can immobilize unshielded light fighters before airlock ingress.
1. Combine the scavenging run with an active local bounty or mercenary contract.
2. Neutralize or bypass station perimeter turrets outside their firing arcs.
3. Secure your vessel in structural blind spots or hangar recesses.
4. Sweep EVA access points and clear interior hostiles prior to looting.
5. Filter items for practical engagement profiles; avoid bulky high-zoom scopes for tight interior corridors.
6. Evacuate immediately once personal inventory capacity is reached.
Pairing your scavenging run with an authorized mission guarantees credit compensation even if local container rolls yield sub-optimal item grades.
3. Lazarus Facilities: Railguns and Anti-Vehicle Ordinance
Lazarus research and military compounds in Pyro represent a premier target for infantry-portable anti-vehicle weapons, specifically Animus missile launchers and Scourge railguns.
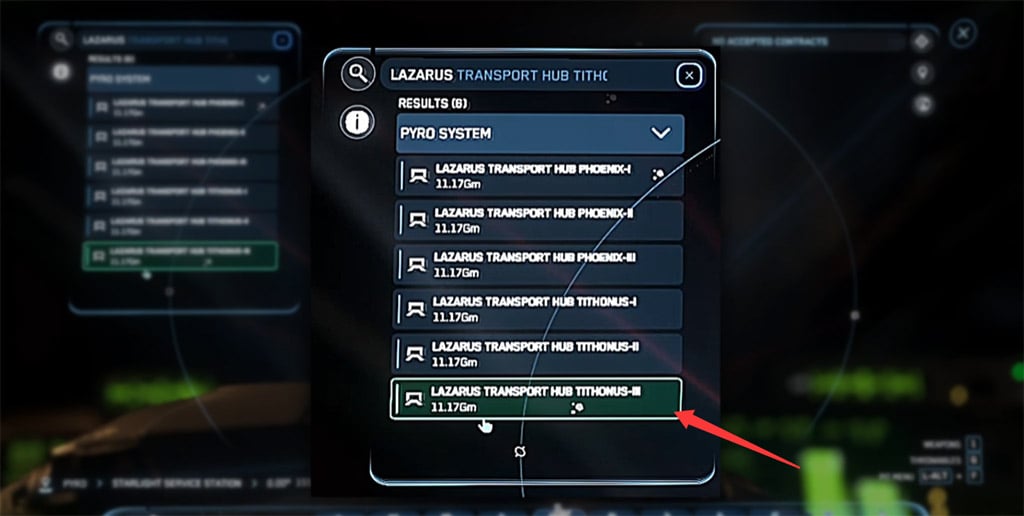
These complexes require dedicated infantry clearance and multi-stage terminal navigation.
1. Deploy with standard tier-two armor, surplus medpens, and disposable kinetic rifles.
2. Utilize interior transit lines to bypass hazardous surface corridors.
3. Register your imprint at local medical terminals if long-term tactical persistence is supported.
4. Clear defending mercenary personnel and retrieve administrative clearance codes from designated data consoles.
5. Access secured armory bulkheads using retrieved access codes.
6. Clear primary torso and backpack slots to shoulder-mount heavy armaments.
7. Confirm heavy weapons are physically locked to inventory mounting points before departure.
Lazarus facilities carry severe attrition rates. Operating with a wingman significantly reduces vulnerability while entering terminal codes and sorting through heavy weapon racks.
4. Security Post Kareah: Precision Weapons and Rare Spawns
Located in orbit around Cellin, Security Post Kareah serves as a premier security asset containing high-tier armaments, including documented field drops for specialized crossbows and marksman rifles.
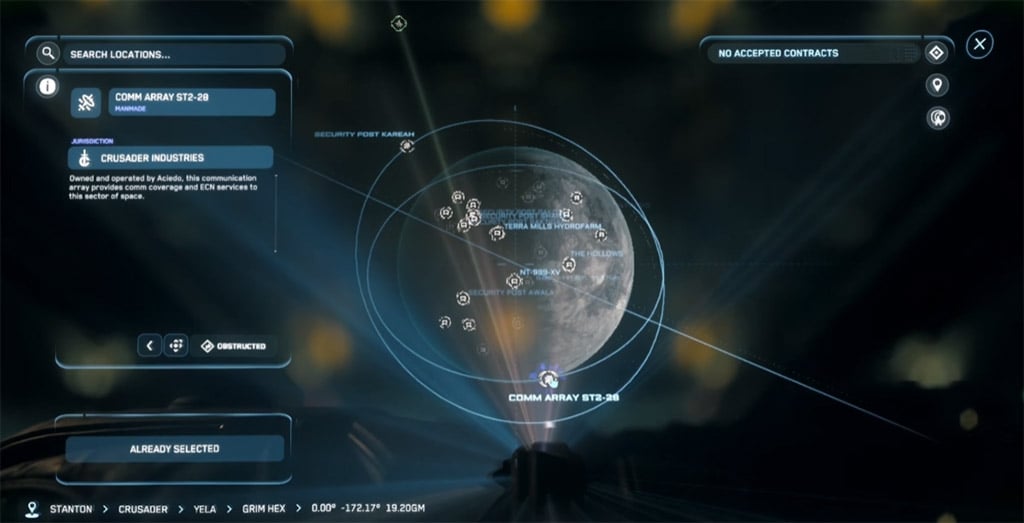
The station operates under heavy security monitoring. Trespassing triggers orbital defense responses, automated internal sentries, and severe CrimeStat penalties unless neutralized via security infrastructure.
1. Review your current legal standing and operational authorization contracts.
2. Approach in low-signature flight profiles to minimize station turret lock-ons.
3. Note comm array status; disabling an array prevents CrimeStat generation but alerts system patrols and nearby bounty hunters.
4. Clear designated armory and evidence lockers swiftly without lingering in core concourses.
5. Evacuate the sector immediately upon securing your target weapon.
The post-action cleanup of criminal status can consume hours of gameplay. Reserve Kareah runs strictly for specialized weapon pursuits rather than standard resupply missions.
5. Derelict Ship in Distress Missions: Ship Components
Targeted distress contracts—including derelict encounters featuring stranded Cutlass or Caterpillar chassis—yield modular vessel components alongside personal equipment.
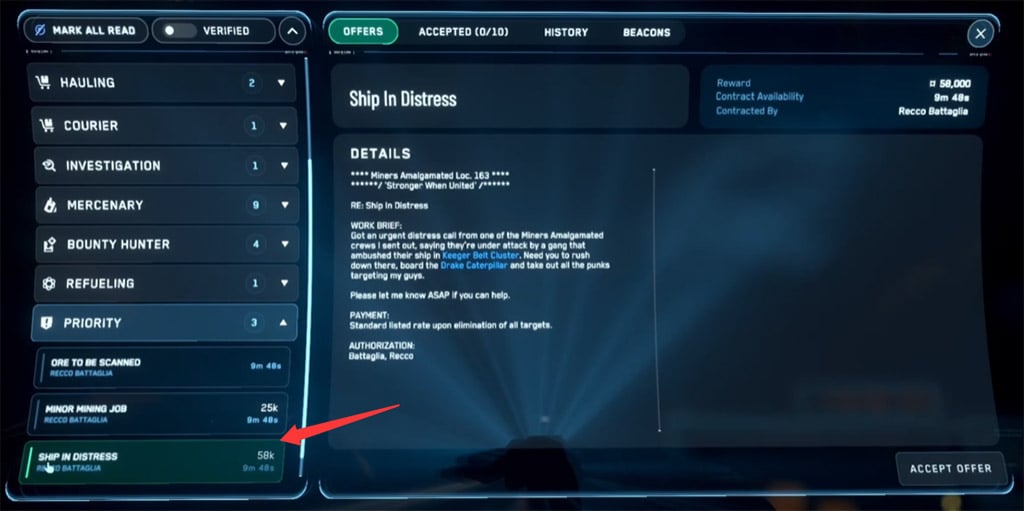
These salvage operations offer direct procurement of Grade C and B military or stealth shields, coolers, and quantum drives without retail expense.
1. Accept verified contractor distress signals via your personal mission interface.
2. Sweep the wreck exterior for hostile fighter escorts or stationary mines.
3. Board the target vessel and inspect internal maintenance bays with a handheld tractor beam.
4. Verify physical component sizes and mounting slot compatibility against your operational ship profile.
5. Transport salvaged components directly into your cargo grid or dedicated freight bay.
6. Conclude the mission parameters and jump directly to an authorized staging port.
Verify mounting sizes prior to detachment. Hauling oversized components requires dedicated cargo storage, and incompatible sizes provide zero field utility until offloaded at a trading exchange.
Gear Triage and Inventory Management
Extending a scavenging session past your extraction window remains the leading cause of complete gear loss. Utilize this triage checklist to determine whether an item warrants cargo space:
- Weapon Attachments: Retain only if compatible with your active armory or dedicated primary loadout.
- Heavy Weapons: Ensure a functional weapon rack or secondary back-holster is vacant before extraction.
- Armor Suites: Leave duplicate medium or light armor behind if it impedes carrying capacity for high-value weapons.
- Ship Components: Verify your ship supports the item's size class and cooling overhead before hauling.
Logistics and successful extraction determine actual gear value. Stashing gear securely at a permanent planetary residence or orbital station secures your progress against future patch wipes and shard hazards.
FAQ (Frequently Asked Questions)
What is the safest loot spot for solo beginners in Star Citizen?
Stanton drug outposts and low-threat derelict wreckage sites offer the lowest operational barrier for new pilots. They provide essential optic attachments, basic armor sets, and small arms without requiring heavy security clearance, advanced FPS gear, or terminal code sequencing.
Where do railguns and heavy launchers spawn most reliably?
Lazarus facilities and deep-tier mercenary bunkers within the Pyro system provide the most consistent container spawns for Scourge railguns and missile launchers. Accessing these caches requires clearing armored NPC guards, retrieving terminal codes, and navigating locked armory bulkheads.
Does bed logging force loot containers to refresh?
No. Bed logging re-anchors your player state to available server shards upon reconnecting, which does not guarantee refreshed container instances. Loot respawn rates depend on dynamic shard persistence, local area streaming states, and background server reset intervals.
Does shutting down the regional Comm Array make looting Kareah safe?
Disabling the Comm Array prevents active CrimeStat infractions from being automatically broadcast, but it does not disable local station turrets, station security guards, or player bounty hunters tracking the disabled array. Kareah remains fully hostile regardless of array connectivity.
Can ship components salvaged from derelicts be equipped directly?
Yes, provided the salvaged component matches your ship's designated slot size and mounting type. You must physically transport the component into an armistice zone or hangar inventory using a tractor beam before outfitting it via the ship management interface.
Summary
Successful looting in Star Citizen comes down to destination selection, strict inventory triage, and disciplined extraction. Running drug outposts secures essential everyday optic upgrades, while Pyro's asteroid bases and Lazarus armories yield high-tier firepower when approached with proper combat preparation. Always establish a clear objective, verify item compatibility before clearing out your storage space, and extract the moment your primary loadout upgrade is secured.

I’m Benjamin Walsh, an Australian Senior Copy Editor at GGWTB focused on survival crafting, open-world exploration, and extraction games. My guides weigh base locations, supply routes, and what deserves the last slot in your backpack. When editing, I look for skipped prerequisites and unclear directions—a useful guide shouldn’t send you across the map without the right tools.

Most Popular Posts
- Star Citizen 4.9 Salvage Guide: Easy AUEC from Battaglia Ship in Distress + Golem Module Fix
- Star Citizen 4.9 Hull C Cargo Hauling Guide: Make Millions aUEC Without Autoload
- Star Citizen 4.9 Alleso Money Guide: Best Pyro Trade Route for Fast aUEC
- Star Citizen 4.9 Battaglia Missions: CQ7 Rifle Locations, Loot Routes & Bug Fixes
- Star Citizen 4.9: Recco Battaglia Moraine Data Retrieval Guide – CQ7 Rifle, Loot & Rewards
- Star Citizen 4.9 Best C-788 Cannon Combos: Fastest TTK Loadouts
Popular Category Lists
- ARC Raiders / (353)
- Grow a Garden / (294)
- CoD: Black Ops 7 / (167)
- Star Citizen / (163)
- MLB 26 / (159)
- Monopoly Go / (152)
- ARK Survival Ascended / (128)
- Steal a Brainrot / (99)
- Blox Fruits / (74)
- Adopt Me / (74)
- Forza Horizon 6 / (72)
- Sailor Piece / (68)
- Grow a Garden 2 / (68)
- Diablo IV / (62)
- CoD: BLACK OPS 6 / (55)
- Aion 2 / (51)
- Path of Exile 2 / (48)
- Monster Hunter Wilds / (46)
- Windrose / (44)
- Maplestory Classic / (42)