0
0Adopt Me Profile Trading Guide for Finished Missing Items Faster
Completing an Adopt Me collection gets tricky fast once your missing list starts covering pets, stickers, vehicles, toys, and pet wear at the same time. We've run into that exact problem ourselves, and the biggest lesson was simple: not every missing item should be chased the same way.
Some things are easier to farm yourself. Some are much faster to trade for. And some are so awkward to find that a small overpay is honestly the better option. This guide breaks down the method that works best when your journal is still missing a lot of items, but you want steady progress instead of random luck.
- What Makes Profile Trading So Effective
- What to Put in Your Profile
- What We Farm First Before Trading
- Best Items to Farm Yourself
- When Trading Is Better Than Farming
- Trade These First
- Simple Trade Decision Table
- Stickers and Pet Wear: The Hidden Time Sink
- What Actually Works
- When an Overpay Is Worth It
- Good vs Bad Overpay
- A Realistic Collection Method That Works
- Step-by-Step Plan
- FAQ
- How do we know if an item is worth farming first?
- Is profile trading better than normal trading in Adopt Me?
- Should we trade for stickers?
- Are small overpays okay for journal completion?
- Final Takeaway
↖ What Makes Profile Trading So Effective
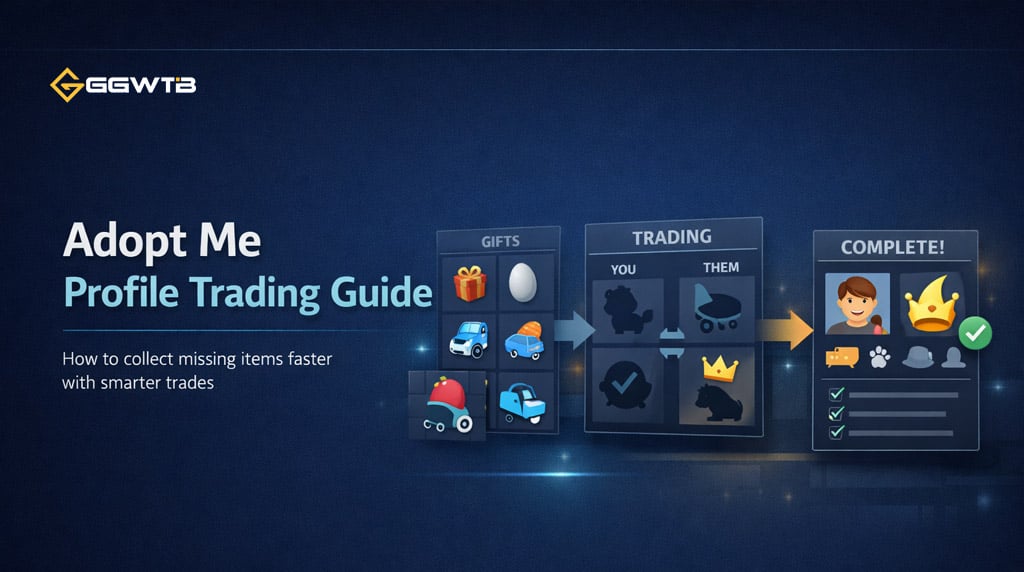
Profile trading works because it removes guesswork. Instead of explaining every item you need in chat, you let other players see it immediately.
From experience, this helps in three ways:
- You get more relevant trade requests
- Players can check their backpacks faster
- You waste less time on unrelated offers
If you are collecting seriously, this is one of the best tools in the game right now.
↖ What to Put in Your Profile
Keep it simple and only list active targets.
| Category | What to Show |
|---|---|
| Pets | Missing pets only |
| Vehicles | Hard-to-find vehicles first |
| Pet Wear | Rare or current event wear |
| Stickers | Final missing stickers |
| Toys/Strollers | Only what you still need after opening gifts |
The reason this works is simple: players respond better when your profile is clear.
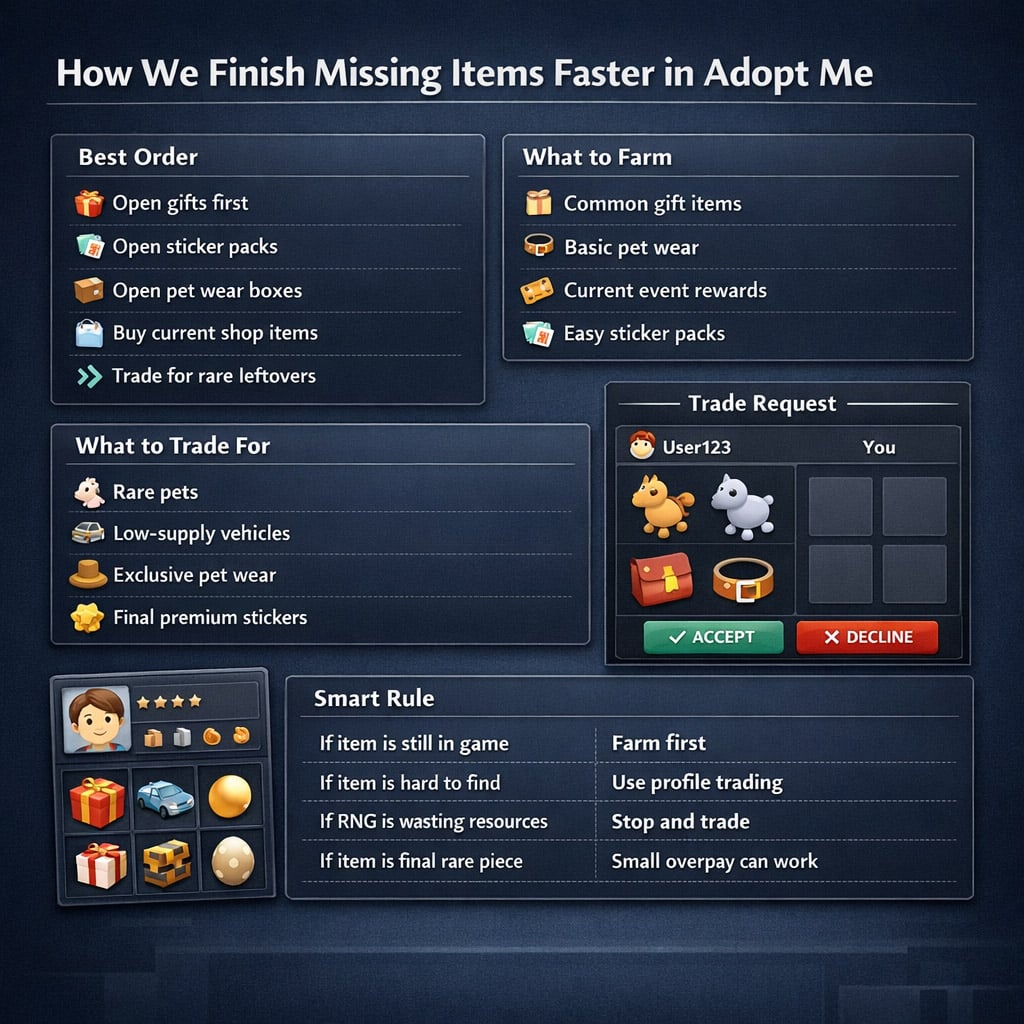
↖ What We Farm First Before Trading
Before offering pets, we always clear the easy stuff ourselves. This saves value and keeps the profile shorter.
↖ Best Items to Farm Yourself
| Item Type | Best Method | Why |
|---|---|---|
| Common gift items | Open small or big gifts | Cheaper than trading |
| Sticker collections | Open owned sticker packs first | Can remove multiple missing entries fast |
| Basic pet wear | Open pet wear boxes/chests | Easy bulk progress |
| Current shop wear | Buy directly | No trade needed |
| New bait/event pulls | Try a few first | You may get trade extras too |
This is the biggest practical tip in the whole guide: do not trade for easy items too early.
If you can still get it yourself without much effort, do that first.
↖ When Trading Is Better Than Farming
Once your missing list gets smaller, the remaining items usually become more annoying than expensive. That's when trading starts outperforming grinding.
↖ Trade These First
- Old low-supply pets
- Weird vehicles nobody keeps
- Exclusive pet wear
- Final stickers from niche packs
- Items that refuse to drop after many attempts
We've had plenty of runs where one stubborn item ate more resources than several decent trades would have.
↖ Simple Trade Decision Table
| Situation | Best Move |
|---|---|
| Still available in-game | Farm it first |
| Hard to locate in servers | Add to profile and trade |
| Final item from a reward pool | Stop grinding too long |
| Rare sticker from premium pack | Trade if singles appear |
| Merch or code-linked item | Expect stronger offers |
That last row matters more than people think. Some pet wear looks random, but if it came from merch or a limited code source, owners often value it much higher.
↖ Stickers and Pet Wear: The Hidden Time Sink
A lot of players assume pets are the hardest part of collection. Sometimes that's true. But in practice, stickers and pet wear often waste more time.
Why? Because they are easy to ignore until you only have a few left.
↖ What Actually Works
| Category | Best Strategy |
|---|---|
| Stickers | Open packs first, trade for final missing ones |
| Animated stickers | Usually better to trade than chase |
| Pet wear boxes | Open your stock before offering pets |
| Rare pet wear | Check profiles and backpack preferences |
| Shop rotation wear | Buy immediately when seen |
From our experience, sticker packs can drop your missing count quickly early on. But the last few stickers become very slow. That's normal. Once you reach that stage, trading becomes the smarter route.
↖ When an Overpay Is Worth It
This is where a lot of players get stuck. They don't want to overpay, which is fair—but sometimes refusing to overpay costs more in the long run.
If an item is:
- rarely seen,
- part of your final few missing entries,
- or clearly hard to replace,
then a controlled overpay can make sense.
↖ Good vs Bad Overpay
| Type | Worth It? | Reason |
|---|---|---|
| Common item still in gifts | No | Easy to farm |
| Current event item with lots of supply | Usually no | More copies will appear |
| Final rare pet wear | Often yes | Hard to find again |
| Low-circulation pet | Sometimes yes | Scarcity matters |
| Last premium sticker | Often yes | Saves a lot of time |
The key is to overpay for scarcity, not for impatience.
↖ A Realistic Collection Method That Works
Here's the fastest order to follow if you want cleaner progress.
↖ Step-by-Step Plan
1. Open your stored gifts, sticker packs, and pet wear boxes
2. Buy anything still available in current shops
3. Update your profile with only the true missing items
4. Trade in busy servers with your profile visible
5. Remove completed items as soon as you get them
6. Save stronger pets for the rarest leftovers
7. Stop forcing bad RNG once it becomes inefficient
That last point is important. If you have already opened a huge amount of gifts or packs and still missed one item, that usually means it is time to trade.
↖ FAQ
↖ How do we know if an item is worth farming first?
If it is still available from gifts, packs, pet wear boxes, or event mechanics, farming is usually the better starting point. If it is old, obscure, or hard to locate in servers, trading is faster.
↖ Is profile trading better than normal trading in Adopt Me?
For collectors, yes. It makes your goals visible immediately and cuts down on random offers. That leads to faster, more useful trades.
↖ Should we trade for stickers?
For the last few, yes. Early on, open packs first. Later, individual sticker trades usually save more time than chasing low odds.
↖ Are small overpays okay for journal completion?
Yes, if the item is genuinely hard to find and blocks your progress. That is especially true for rare pet wear, low-supply pets, and premium sticker pulls.
↖ Final Takeaway
The fastest way to finish missing items in Adopt Me is to be selective. Farm the easy stuff, trade the awkward stuff, and only use your better offers on items that are truly scarce.
That approach saves pets, saves time, and makes profile trading do what it does best: turn a messy collection grind into a much more manageable system.
Most Popular Posts
- Adopt Me Shadow Dragon Ducky Update Guide: Rubber Ducky Box, Cost, Value, and Best Prep
- Adopt Me Duck Box Guide: Duck Pets, Shadow Dragon Duck Value, and Best Trading Strategy
- Adopt Me Sushi Penguin Guide: Admin Abuse Prep, Release Method, Rarity, and Trading Value
- Adopt Me Summer Camp Update: Compass Coins, Bison Pet, Beaver Bob Bundle & Ducky Box
- How to Fish in Adopt Me Summer Camp: Get Acorns, Upgrade Rods, and Unlock 5 New Pets
- Adopt Me Summer Camp Week 1 Guide: New Pets, Acorns, Fishing Shop, Solaris Dragon & Aestus Dragon
Popular Category Lists
- ARC Raiders / (291)
- Grow a Garden / (286)
- CoD: Black Ops 7 / (166)
- MLB 26 / (150)
- Monopoly Go / (148)
- Star Citizen / (129)
- ARK Survival Ascended / (91)
- Steal a Brainrot / (90)
- Sailor Piece / (68)
- Forza Horizon 6 / (67)
- Diablo IV / (62)
- Blox Fruits / (62)
- Adopt Me / (58)
- Grow a Garden 2 / (57)
- CoD: BLACK OPS 6 / (55)
- Path of Exile 2 / (48)
- Monster Hunter Wilds / (46)
- Windrose / (44)
- Path of Exile / (40)
- Bee Swarm Simulator / (37)