0
0 Created: Jul 21,2026 | ARC Raiders
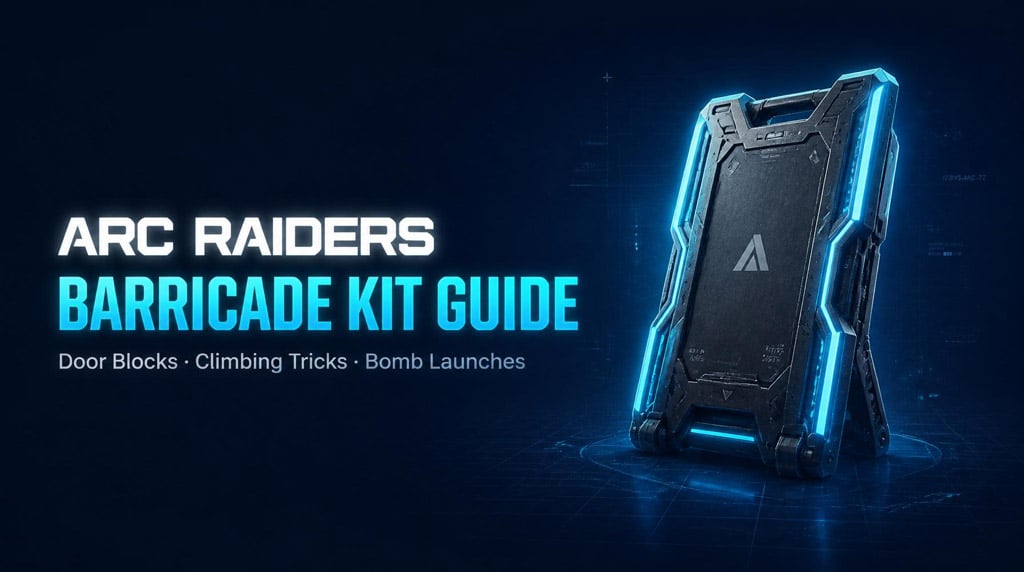
ARC Raiders Barricade Kit Guide: Door Blocks, Durability Resets, Climbing Tricks & Bomb Launches

Most players dismantle the Barricade Kit for scrap or drop it as panic cover. That's wasting one of the best utility items in ARC Raiders. Placed correctly, it's a door lock, a ladder, a reusable wall, an explosive launcher, and an ARC Turbine counter. Placed a few inches wrong, it's cardboard.
- Why the Barricade Kit Deserves a Slot
- How to Block Doors Correctly
- The mistake everyone makes
- The right way
- The Durability Reset Trick
- Barricade Climbing: The Unwatched Route
- Riven Tides Locked Room Trick (Still Works)
- Launching Deadlines Off a Barricade
- Synthesized Fuel Carpet Bombs
- Barricade Kits for Solo Harvester Runs
- Blocking ARC Turbine Attacks (It's Not Patched)
- When NOT to Use It
- FAQ
- How do you block a door with the Barricade Kit?
- Can a damaged Barricade Kit be repaired?
- How many hits does it take to destroy a Barricade Kit?
- Can the Barricade Kit still block ARC Turbine attacks?
- Can you launch explosives with the Barricade Kit?
- Summary
Why the Barricade Kit Deserves a Slot
It's not cover. It's a tempo tool. It buys time, creates angles, and opens routes.
| Use Case | Best Situation |
|---|---|
| Door blocking | Key rooms, revives, looting under pressure |
| Durability reset | After any fight — dismantle and reuse |
| Climbing platform | Upper floors, unwatched flanks |
| Explosive launching | ARC Queen, Matriarch, grouped players |
| Harvester defense | Solo event runs in open zones |
| Turbine blocking | Flat-ground Turbine fights |
How to Block Doors Correctly
The mistake everyone makes
Placing the barricade flat across a closed door. Enemies can often still hit the button, and the barricade dies fast. You burn an item for a two-second delay.
The right way
1. Open the door first.
2. Place the kit so it merges into the wall/door frame.
3. Keep the long side on YOUR side of the room.
4. Confirm you can still reach the inside button — and they can't reach theirs.
Now the enemy can't press the button. They have to break through, which gives you time to heal, reload, reposition, or hold the doorway with a shotgun.
| Placement | Verdict |
|---|---|
| Flat across closed door | ❌ Easy to destroy, button may still work |
| Placed after opening, long side inside | � |
Best — button denial + you keep control |
| Long side outside | ⚠️ You lock yourself out of options |
|---|
Rule of thumb: the long side goes on the side you control.
The Durability Reset Trick
Damaged barricade? Don't abandon it. Dismantle it.
When you pick it up and place it again, it comes back at full health.
Key numbers from testing:
- ~20 Raider Tool hits to fully destroy a Barricade Kit
- ~10 hits = roughly half health
| State | What to Do |
|---|---|
| Damaged | Dismantle, reuse at full HP |
| Nearly broken | Dismantle before it shatters |
| Under active fire | Leave it — don't die for a barricade |
One habit. Free barricades all raid.
Barricade Climbing: The Unwatched Route
The kit doubles as a step platform for reaching upper floors without a Snap Hook or zipline.
1. Place it under the ledge or window.
2. Move to the side edge of the barricade.
3. Climb up, mantle in.
Players watch stairs and ziplines. Nobody watches a barricade climb. In third-party situations, this is a free flank.
| Route | Downside |
|---|---|
| Stairs | Predictable, watched |
| Zipline | Loud, exposed |
| Barricade climb | Needs placement — otherwise quiet and unexpected |
Riven Tides Locked Room Trick (Still Works)
Most barricade room bypasses got patched. One locked room on Riven Tides is still accessible.
1. Place the barricade beneath the access point.
2. Drop onto it and shuffle to the side edge.
3. Adjust slowly until the breach prompt appears.
4. Breach — and be ready, other players know this spot too.
If the prompt won't show, your feet are off. Move in small steps. Don't rush it.
Launching Deadlines Off a Barricade
Setup-heavy, but the payoff is stupid amounts of damage.
You need: Barricade Kit, Deadline, Anvil with Splitter + Extended Barrel, and a Raider Tool.
1. Place the barricade.
2. Hit it 19 times (one hit from breaking).
3. Place the Deadline on it.
4. Break the barricade — the collapse launches the Deadline forward to detonate at range.
Best targets:
| Target | Effectiveness |
|---|---|
| ARC Queen / Matriarch | Very high — best with a predictable path |
| Grouped objective campers | High |
| Small ARC units | Overkill, skip it |
Not a mid-fight tool. This is an ambush and boss-kill setup.
Synthesized Fuel Carpet Bombs
Same principle, bigger fireworks.
1. Drop multiple Synthesized Fuel containers near the barricade.
2. Angle the barricade to launch them on break.
3. Shoot the fuel midair or on landing for a chain explosion.
One container is a joke. Four is a carpet bomb.
Best from elevation — rooftop over a Queen or Matriarch is the dream scenario. And stand back. The number one victim of this play is the engineer.
Barricade Kits for Solo Harvester Runs
The most dangerous Harvester moment isn't activation — it's stepping outside with Queens, Rocketeers, and Vaporizers already aggro'd.
Solo setup:
- Pre-place kits on the two most exposed sides.
- Two per side if your inventory allows.
- Never block your own retreat route.
| Threat | What the Barricade Buys You |
|---|---|
| Queen / Rocketeer | Breaks line of sight, kills burst damage |
| Vaporizer | Emergency cover, no panic sprinting |
| Third-party Raiders | Forces repositioning, time to ID the threat |
Running Harvesters solo? One kit minimum. Two is better.
Blocking ARC Turbine Attacks (It's Not Patched)
Players who claim this doesn't work are standing wrong. The block still functions — positioning is everything.
- Fight on flat ground.
- Keep distance from the Turbine.
- Place the barricade directly between you and it.
- Stand centered behind it — edge-standing lets shots clip around.
On slopes, Turbine projectiles curve and arc over the top. If you're still getting hit: back up, flatten the angle, center yourself. Then blame the patch notes.
When NOT to Use It
A bad barricade is a false sense of safety. Skip it when:
- You're being hard-pushed at point-blank range.
- It would block your own escape path.
- You're inside your own explosive setup's blast radius.
- Enemies can trivially flank around it.
Good barricades buy time. Bad ones buy funerals.
FAQ
How do you block a door with the Barricade Kit?
Open the door first, then place the kit into the frame with the long side on your side. Enemies can't press the button and must destroy the barricade to enter.
Can a damaged Barricade Kit be repaired?
Yes — dismantle it and pick it up. It returns at full health when placed again.
How many hits does it take to destroy a Barricade Kit?
About 20 Raider Tool hits. Roughly 10 hits brings it to half health.
Can the Barricade Kit still block ARC Turbine attacks?
Yes. Stand centered behind it on flat ground with some distance from the Turbine. Slopes and edge-standing cause shots to clip through.
Can you launch explosives with the Barricade Kit?
Yes. Damage the kit to 19/20 hits, place a Deadline or Synthesized Fuel on it, then break it to launch. Devastating against Queens, Matriarchs, and grouped players.
Summary
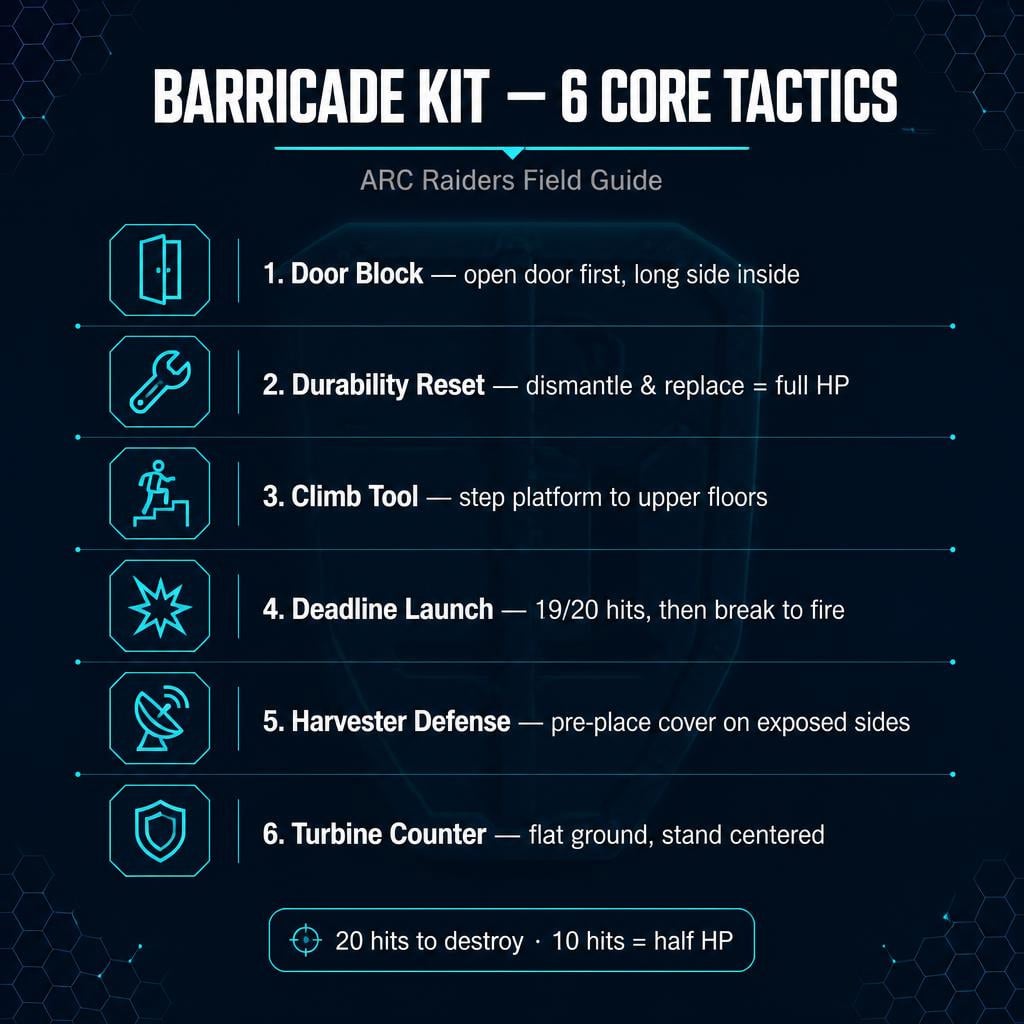
The Barricade Kit rewards players who think one step ahead. The core habits:
- Open the door first, long side on your side.
- Dismantle damaged kits for a free full-HP reset.
- Use it as a climbing platform for unwatched flanks.
- 19 hits + Deadline = improvised launcher for boss ARCs.
- Flat ground, centered stance against Turbines.
- Pre-place cover before Harvester events, especially solo.
Placement is everything. Get it right, and one utility slot turns dangerous rooms and exposed events into fights you control — instead of fights you barely survive.


The GGWTB Editorial Team features 10 full-time gaming editors and 23 specialist contributors, delivering hands-on tested walkthroughs, easter egg breakdowns, and game updates.
ELSA — who spearheads our in-depth COD: BLACK OPS 7, ARC Raiders guides, and patch notes—every guide is rigorously verified on live servers for accuracy.

Most Popular Posts
- ARC Raiders Update 1.42: Phantom Targets Farming Guide (Glitched Wasps, Rewards, Regional Conditions)
- ARC Raiders Hullcracker Blueprints: Fastest Way to Complete The Major's Footlocker
- ARC Raiders Best Pop Trigger Strategy: Fast Phantom Targets Damage Guide
- ARC Raiders Subway Skin Guide: Unlock the Subterranean Outfit
- ARC Raiders Looting Mk. 3 Survivor Blueprint Guide: Best Blue Gate Route and Drop Locations
- ARC Raiders Medium & Heavy Gun Parts Blueprint Guide: Best Farm Route, Locations, and Refiner Crafting
Popular Category Lists
- ARC Raiders / (347)
- Grow a Garden / (292)
- CoD: Black Ops 7 / (167)
- Star Citizen / (161)
- MLB 26 / (159)
- Monopoly Go / (152)
- ARK Survival Ascended / (127)
- Steal a Brainrot / (98)
- Blox Fruits / (74)
- Adopt Me / (73)
- Forza Horizon 6 / (72)
- Sailor Piece / (68)
- Grow a Garden 2 / (68)
- Diablo IV / (62)
- CoD: BLACK OPS 6 / (55)
- Path of Exile 2 / (48)
- Monster Hunter Wilds / (46)
- Aion 2 / (46)
- Windrose / (44)
- Donut SMP / (41)