



 0
0 Created: Jul 12,2026 | ARC Raiders
ARC Raiders Trailblazer Trial Guide: Best Way to Score 3,000–6,300+ Damage

The fastest reliable way to clear the ARC Raiders Trailblazer Trial is simple: hit a Bombardier with one Trailblazer from close range. That gets 3,000+ points consistently.
If you want a real high score, wait for a Bombardier to stand under a Matriarch leg and hit both with one throw. A clean combo can reach around 6,300+ points.
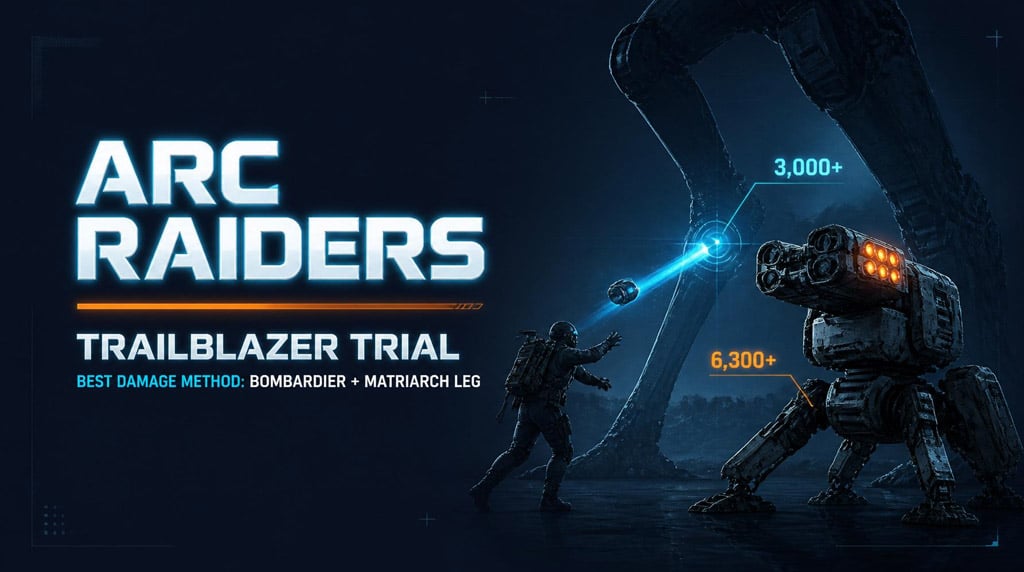
- Best ARC Raiders Trailblazer Trial Methods
- Best Method: Hit a Bombardier at Close Range
- How to Do It
- Expected Result
- Why It Works
- High-Score Method: Bombardier + Matriarch Leg Combo
- How to Set It Up
- Expected Result
- Why It Works
- Target Priority for Trailblazer Damage
- Methods Not Worth Forcing
- Shredder Elevator Trap
- Matriarch Core Throw
- Trailblazer Trial Tips That Actually Matter
- Best Strategy by Goal
- FAQ
- What is the best target for the ARC Raiders Trailblazer Trial?
- How do you get over 3,000 points with one Trailblazer?
- How do you score around 6,300+ points?
- Is the Matriarch core worth using?
- Are Shredder traps good for this trial?
- Summary
Best ARC Raiders Trailblazer Trial Methods
The trial rewards clean damage. Target choice matters more than fancy setups.
| Method | Score Range | Difficulty | Verdict |
|---|---|---|---|
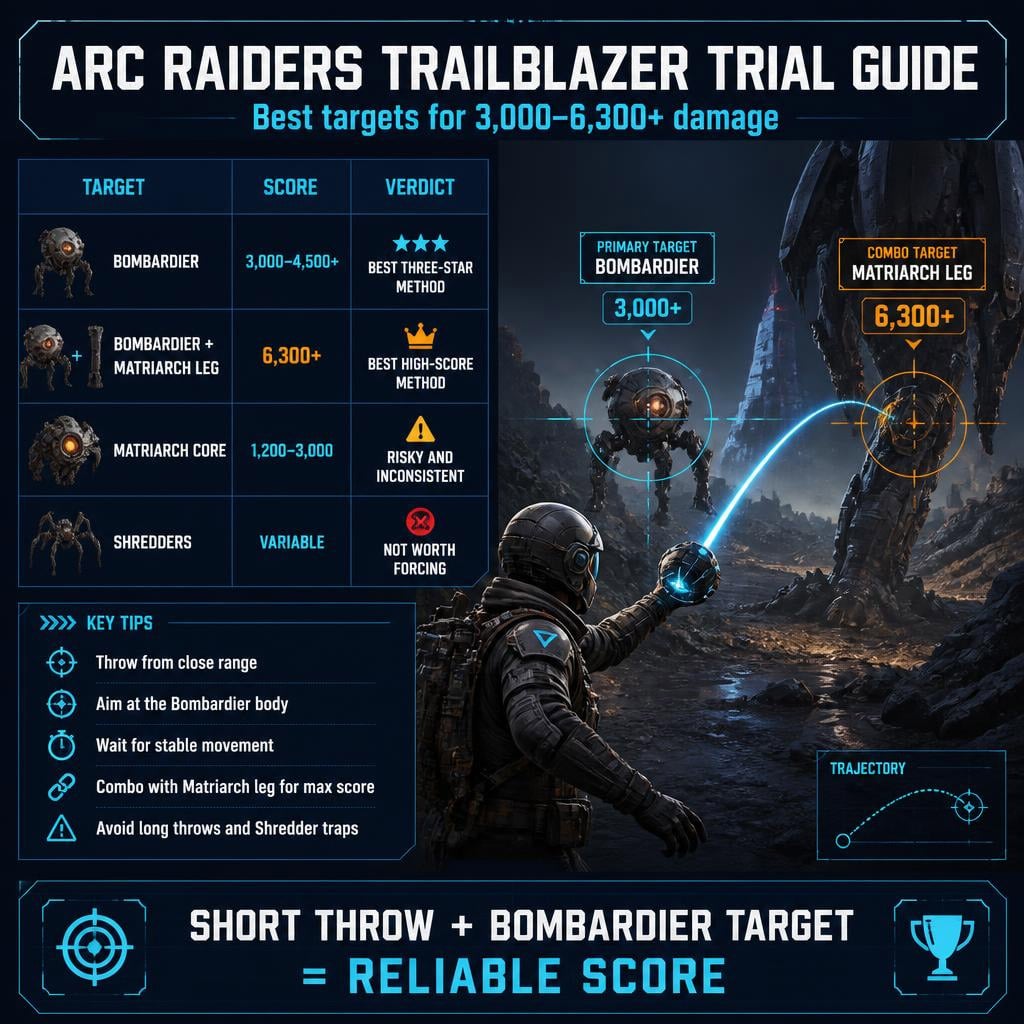
| Close-range Bombardier | 3,000–4,500+ | Easy | Best three-star method |
| Bombardier + Matriarch leg | 6,300+ | Hard | Best high-score method |
| Matriarch core | 1,200–3,000 | Hard | Inconsistent |
| Shredder elevator trap | Variable | Annoying | Not worth it |
| Leaper / Bastion | Lower average | Medium | Backup only |
Main rule: use Bombardiers. They have the lowest armor among the big ARC targets tested, so the Trailblazer converts damage into score better.
Best Method: Hit a Bombardier at Close Range
This is the safest way to get the trial done.
How to Do It
1. Find a Bombardier.
2. Heal to full before committing.
3. Get close. Do not throw from long range.
4. Aim at the main body.
5. Throw the Trailblazer when it is not turning.
6. Back off immediately.
Expected Result
A clean Bombardier hit usually gives 3,000+ points. Good throws can land around 3,800–4,500+.
Why It Works
The Trailblazer travels in a straight line. If it travels too far, the score drops. Close range gives better contact and less wasted travel.
The Bombardier is also less armored than a Leaper or Bastion. That means more effective damage from one throw.
High-Score Method: Bombardier + Matriarch Leg Combo
This is the best method for pushing beyond a normal three-star score.
You are looking for one setup: Bombardier under the Matriarch.
How to Set It Up
1. Find a Matriarch.
2. Wait for a Bombardier to move under or beside one leg.
3. Do not rush. The leg and Bombardier need to overlap.
4. Stand close enough for a short Trailblazer path.
5. Throw through the Bombardier toward the Matriarch leg.
6. Leave fast. Missiles, stomps, and other players can ruin the run.
Expected Result
A successful hit can score around 6,300+ points.
Why It Works
The Bombardier gives strong damage because of low armor. The Matriarch leg adds extra damage from the same Trailblazer. One item, two big targets, much higher score.
This is not the easiest method. It needs timing. But it is the best tested score route.
Target Priority for Trailblazer Damage
Use this order when choosing targets.
| Rank | Target | Use It For | Notes |
|---|---|---|---|
| 1 | Bombardier | Three-star clear | Best consistency |
| 2 | Bombardier + Matriarch leg | High score | Best ceiling |
| 3 | Leaper | Backup | Moves too much |
| 4 | Bastion | Backup | Too tanky |
| 5 | Matriarch core | Risky test | Inconsistent |
| 6 | Shredders | Niche setup | Too much hassle |
If you only care about completion, stop at Bombardier.
If you care about leaderboard-style scoring, go for Bombardier + Matriarch leg.
Methods Not Worth Forcing
Some strategies look good on paper. In actual runs, they waste time.
Shredder Elevator Trap
Trapping Shredders in a tight room can work, but it is messy.
Problems:
- Shredders split into corners.
- The Trailblazer only travels straight.
- Setup takes too long.
- Score is not reliable.
If the Shredders do not line up fast, leave and hunt a Bombardier.
Matriarch Core Throw
The Matriarch core sounds like a jackpot target. It is not reliable.
Tested results included:
| Attempt | Result |
|---|---|
| Matriarch core hit | Around 1,205 damage / 3,015 points |
| Poor Matriarch body hit | Around 360 points |
| Bombardier + Matriarch leg | Around 6,300+ points |
The core can pay out, but the angle is risky and the result swings too hard. Use it only if there is no Bombardier nearby.
Trailblazer Trial Tips That Actually Matter
Small mistakes cost score. These are the habits that make runs consistent.
| Tip | Reason |
|---|---|
| Throw from close range | Less travel, better score |
| Aim at large body parts | Reduces whiffs |
| Wait for stable movement | Turning targets cause bad hits |
| Heal before throwing | Gives room for mistakes |
| Avoid crowded fights | Other players can move or kill your target |
| Do not over-plan Shredder traps | Big ARC targets score better |
If your score is low, check two things first:
- Did you throw from too far away?
- Did you hit a high-armor target?
Most failed Trailblazer runs come from one of those two mistakes.
Best Strategy by Goal
| Goal | Best Method | Target Score |
|---|---|---|
| Fast clear | Close Bombardier hit | 3,000+ |
| Safe three-star | Clean Bombardier body hit | 3,000–4,500+ |
| High score | Bombardier + Matriarch leg | 6,300+ |
| Backup plan | Leaper or Bastion | Variable |
| Experimental | Matriarch core | Inconsistent |
The practical route is clear:
Bombardier for consistency. Bombardier + Matriarch leg for peak score.
FAQ
What is the best target for the ARC Raiders Trailblazer Trial?
The Bombardier. It has lower armor than other big ARC enemies and gives the most consistent 3,000+ point results.
How do you get over 3,000 points with one Trailblazer?
Get close to a Bombardier, aim at the main body, and throw when it is not turning. A clean hit should pass 3,000 points.
How do you score around 6,300+ points?
Hit a Bombardier and a Matriarch leg with the same Trailblazer. Wait until the Bombardier stands under or beside the Matriarch, then throw through both targets.
Is the Matriarch core worth using?
Not as a main method. It can score around 3,000 points, but it is risky and inconsistent. The Bombardier combo is better.
Are Shredder traps good for this trial?
Usually no. Shredders are annoying to group, and the Trailblazer needs a straight line. A Bombardier is faster, cleaner, and more reliable.
Summary
Use one Trailblazer on a close-range Bombardier for the easiest 3,000+ point clear.
For the best score, line up a Bombardier under a Matriarch leg and hit both with the same throw. That setup can reach around 6,300+ points.
Skip Shredder traps unless you enjoy wasting time. Avoid Matriarch core throws unless you are experimenting. The winning formula is simple: short throw, Bombardier target, clean contact.


The GGWTB Editorial Team features 10 full-time gaming editors and 23 specialist contributors, delivering hands-on tested walkthroughs, easter egg breakdowns, and game updates.
ELSA — who spearheads our in-depth COD: BLACK OPS 7, ARC Raiders guides, and patch notes—every guide is rigorously verified on live servers for accuracy.

Most Popular Posts
- ARC Raiders Update 1.42: Phantom Targets Farming Guide (Glitched Wasps, Rewards, Regional Conditions)
- ARC Raiders Hullcracker Blueprints: Fastest Way to Complete The Major's Footlocker
- ARC Raiders Best Pop Trigger Strategy: Fast Phantom Targets Damage Guide
- ARC Raiders Subway Skin Guide: Unlock the Subterranean Outfit
- ARC Raiders Looting Mk. 3 Survivor Blueprint Guide: Best Blue Gate Route and Drop Locations
- ARC Raiders Medium & Heavy Gun Parts Blueprint Guide: Best Farm Route, Locations, and Refiner Crafting
Popular Category Lists
- ARC Raiders / (354)
- Grow a Garden / (294)
- CoD: Black Ops 7 / (167)
- Star Citizen / (163)
- MLB 26 / (159)
- Monopoly Go / (153)
- ARK Survival Ascended / (128)
- Steal a Brainrot / (99)
- Blox Fruits / (74)
- Adopt Me / (74)
- Forza Horizon 6 / (72)
- Sailor Piece / (68)
- Grow a Garden 2 / (68)
- Diablo IV / (62)
- CoD: BLACK OPS 6 / (55)
- Aion 2 / (52)
- Path of Exile 2 / (48)
- Monster Hunter Wilds / (46)
- Windrose / (44)
- Maplestory Classic / (42)






