0
Created: Nov 12,2026 | ARC Raiders
ARC Raiders Budget Loadout: Stiletto IV and Ferro IV Setup Guide

- When to Bring Both Guns
- Upgrade and Repair Costs
- Attachments and Raid Supplies
- Combat Sequence: Ferro Opens, Stiletto Finishes
- Looting and Extraction
- FAQ (Frequently Asked Questions)
- Is Level 4 required?
- Do I need both weapons for every raid?
- Can this loadout kill bosses without specialist gear?
- Is Looting Mk. 2 worth it?
- Does a safe pocket protect my boss drop?
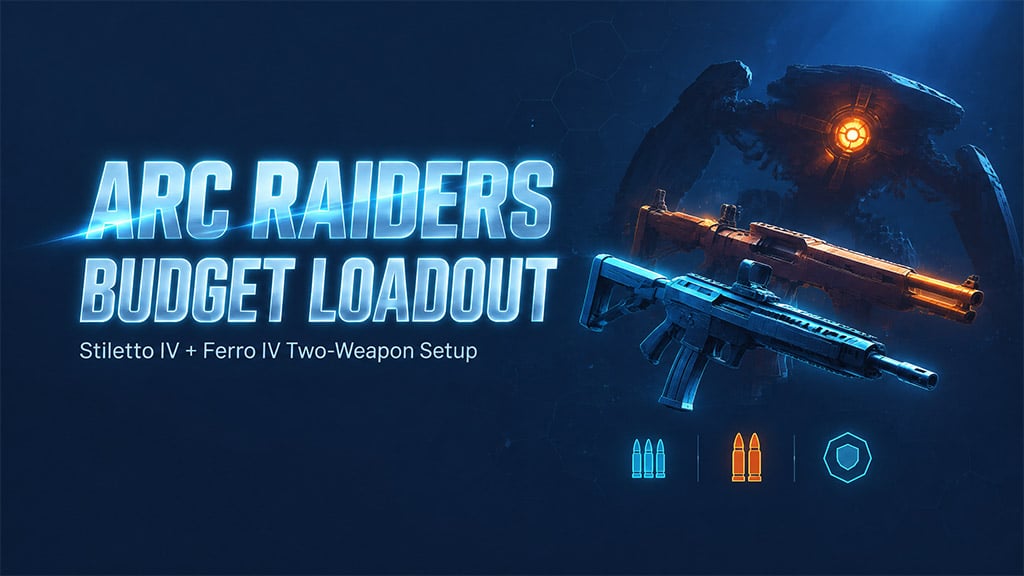
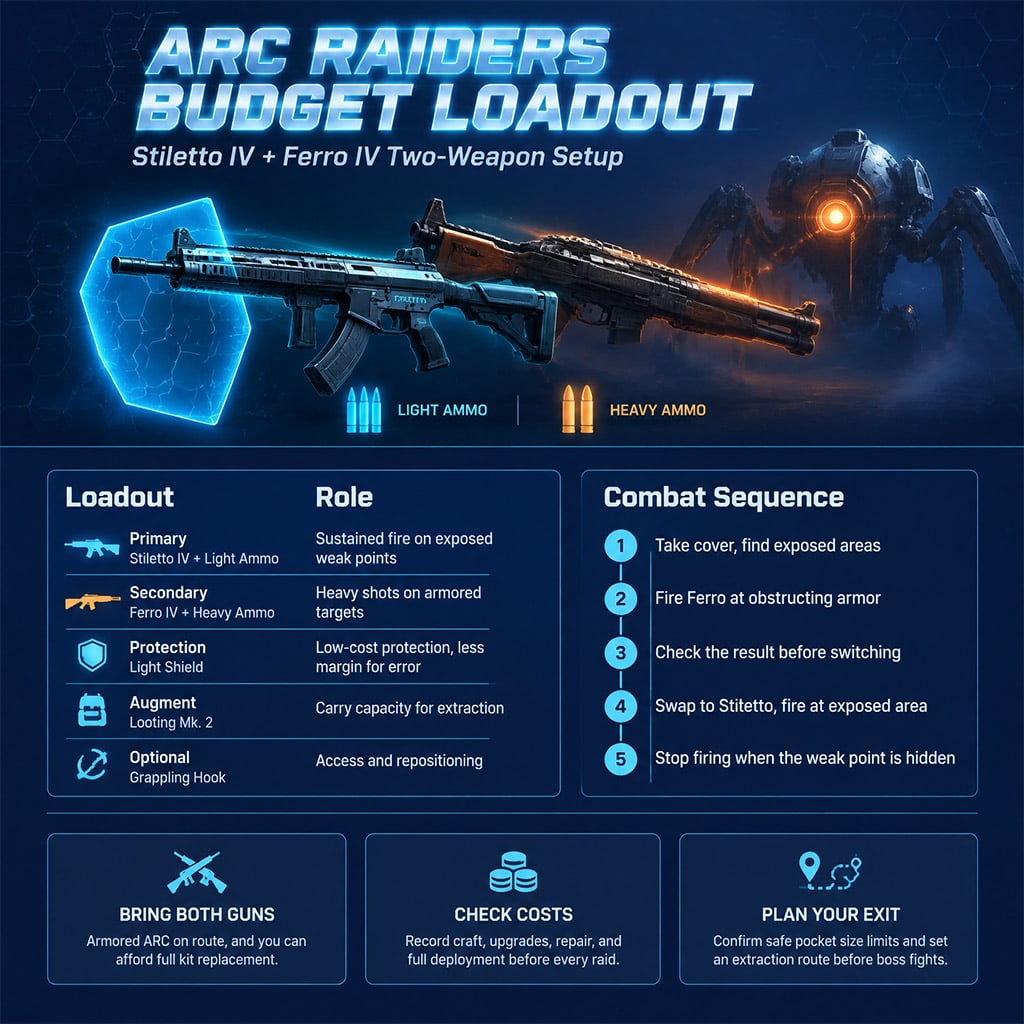
Pair the Stiletto IV for sustained fire on exposed weak points with the Ferro IV for heavy shots against armor. Check upgrade and repair costs before every raid, because losing both guns costs more than losing one.
| Slot | Pick | Role |
|---|---|---|
| Primary | Stiletto IV + Light Ammo | Sustained fire on exposed targets |
| Secondary | Ferro IV + Heavy Ammo | Single heavy shots on armored targets |
| Protection | Light Shield | Low-cost protection with less margin for error |
| Augment | Looting Mk. 2 | Carry capacity for extraction |
| Optional | Grappling Hook | Access and repositioning |
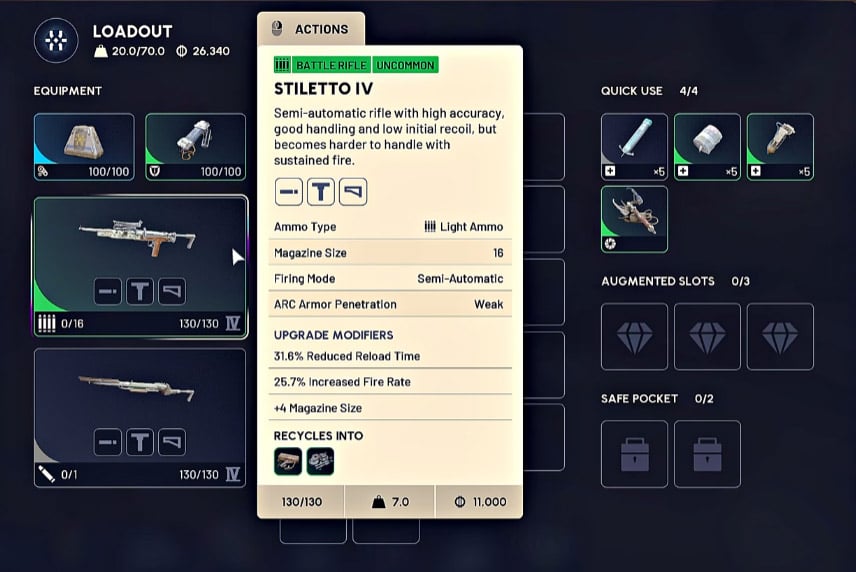
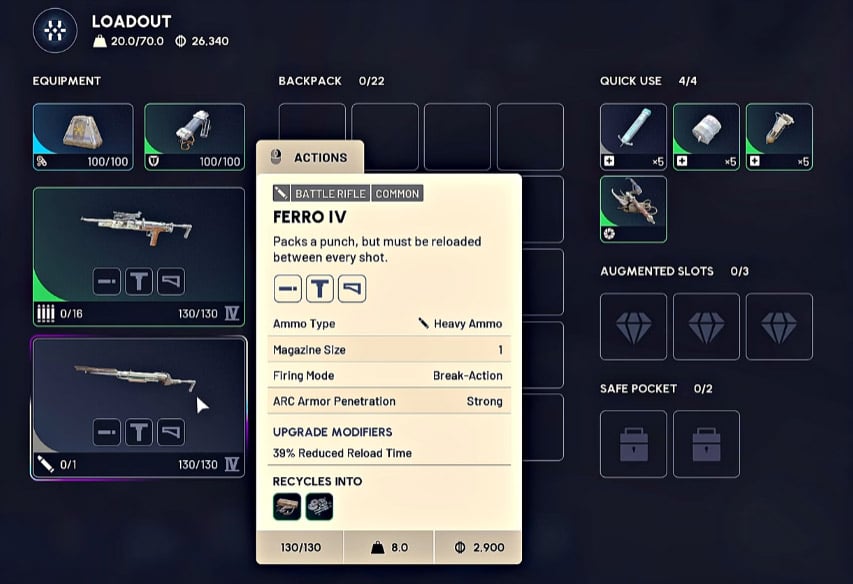
The Stiletto is a semi-automatic battle rifle. The Ferro is a break-action battle rifle. Confirm costs on your current game version before you commit.
Use this kit for armored routes. Skip it when the loot route avoids heavy ARC.
When to Bring Both Guns
Bring both weapons when armored ARC are likely on your route and you can afford to replace the full kit after a failed extraction. Carrying two guns raises the value at risk, and switching takes time.
Run a single-weapon kit instead when:
- Your route focuses on looting and avoids heavy ARC.
- You cannot afford to replace both weapons and their ammo.
- You have not unlocked the upgrades, or they require rare parts you do not have.
- PvP fights are fast and close, and a different weapon suits your playstyle better.
Upgrade and Repair Costs
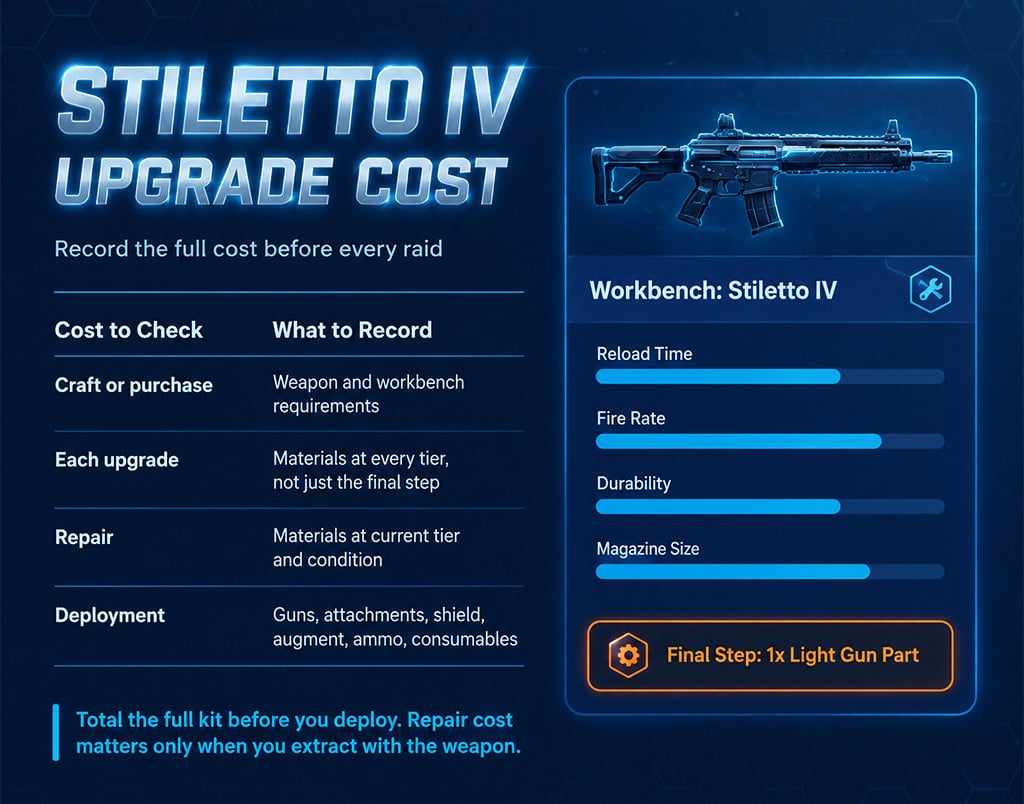
The Stiletto IV's final upgrade step consumes one Light Gun Part, but that figure is not the full cost of crafting and upgrading the weapon. Repair costs for the Ferro depend on tier, so do not apply an early-tier repair price to the Ferro IV.
| Cost to Check | What to Record |
|---|---|
| Craft or purchase | Weapon and workbench requirements |
| Each upgrade | Materials at every tier, not just the final step |
| Repair | Materials at the weapon's current tier and condition |
| Deployment | Both guns, attachments, shield, augment, ammo, consumables, and utility |
Total the full deployment cost and compare it to your alternative kit. Repair cost matters when you extract with the weapon, while replacement cost matters after a death.
Attachments and Raid Supplies
Treat attachments as optional expenses on a budget run. Start with both guns unmodified.
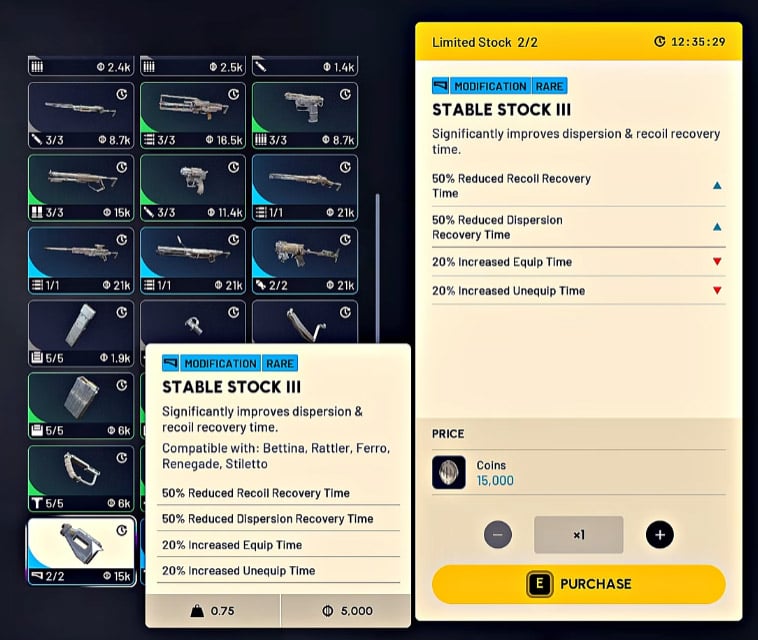
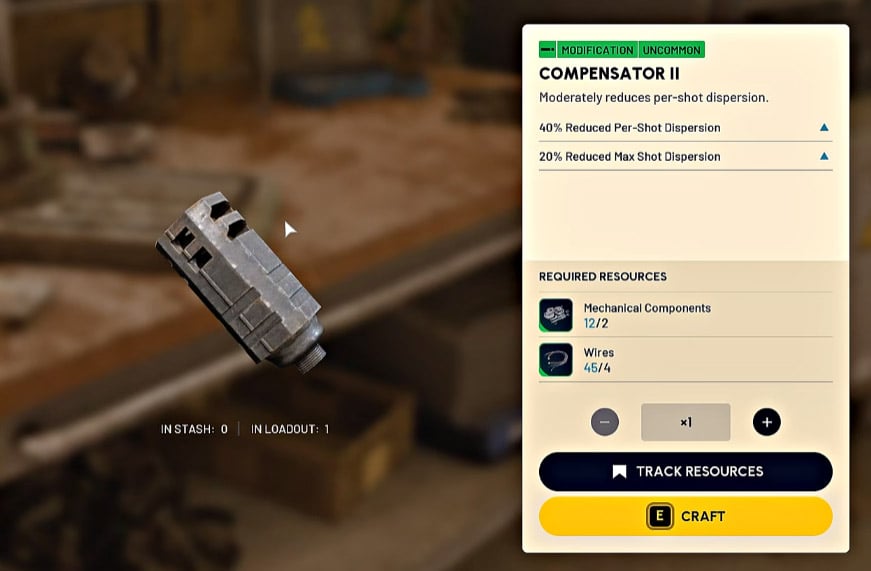
- Stiletto: Add a stock, compensator, or grip only when it helps you land shots you would otherwise miss and the cost fits your budget.
- Ferro: Test attachments on the range before you trust their stated effects in a fight.
- Light and Heavy Ammo: Carry enough for your route plus a reserve, and add more only for a planned boss fight.
- Medical and shield supplies: Bring enough to recover from the fights you intend to take.
- Grappling Hook: Bring one only on routes where it saves time or gives you an escape, and drop it when its replacement cost outweighs that benefit.
Pro tip: Surplus ammo crowds out loot, so pack only what your planned fights require.
Combat Sequence: Ferro Opens, Stiletto Finishes
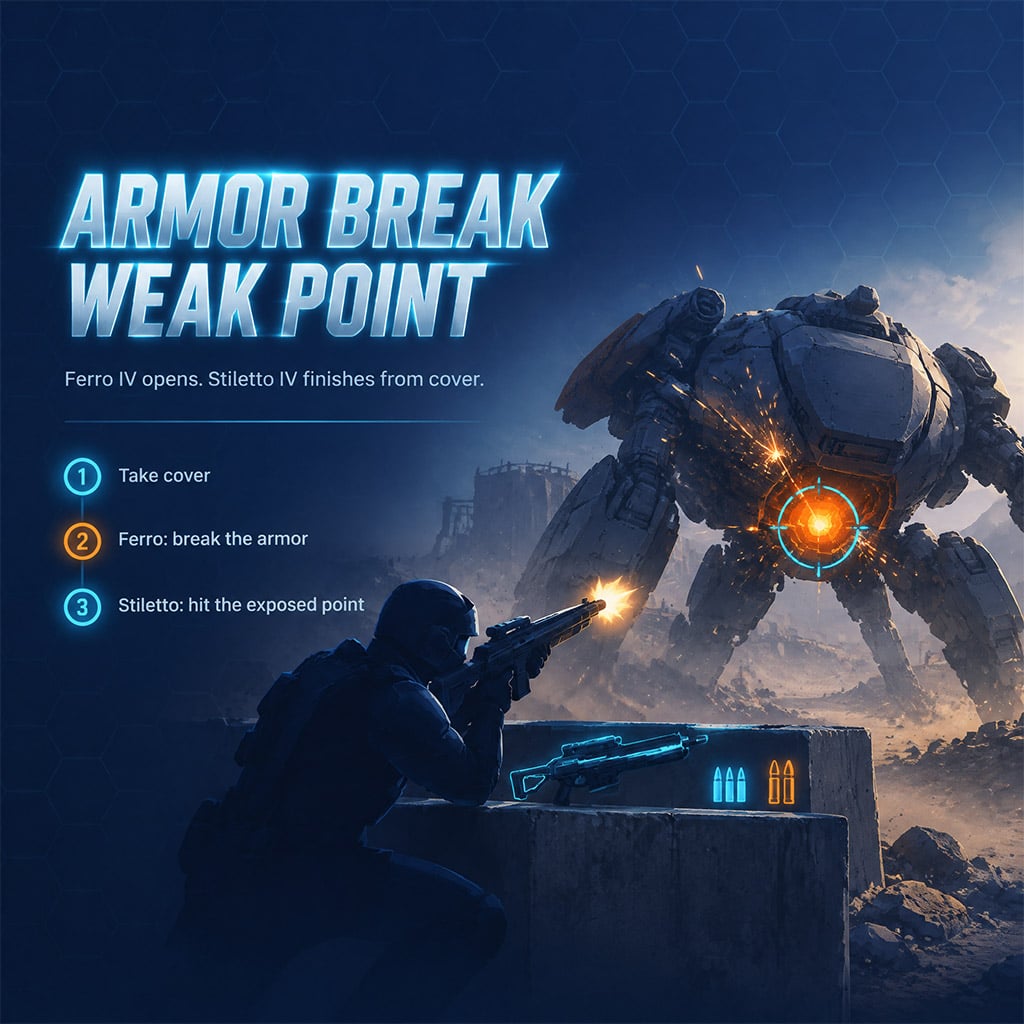
Spend Heavy Ammo to create an opening, then use Light Ammo on the exposed area.
1. Take cover and identify exposed areas. Never start a long reload in the open.
2. Fire the Ferro at obstructing armor when you cannot reach a weak point directly.
3. Check the result before switching. Armor and enemy behavior vary, so do not rely on a fixed shot count.
4. Swap to the Stiletto and fire at the exposed area while keeping a route back to cover.
5. Stop firing when the weak point is hidden. Reposition or reload instead of wasting a magazine.
Against light enemies or an already exposed weak point, open with the Stiletto and save Heavy Ammo. Against heavy targets, disengage if the fight burns more ammo or healing than you planned to spend.
PvP trade-off: The Ferro opener followed by a Stiletto swap works best when you land the first hit from cover. Missing, facing multiple Raiders, or swapping in the open leaves you exposed.
Looting and Extraction
Choose the Looting Mk. 2 augment when its carry capacity fits your route. Check its current crafting cost and stats in-game before you rely on them.
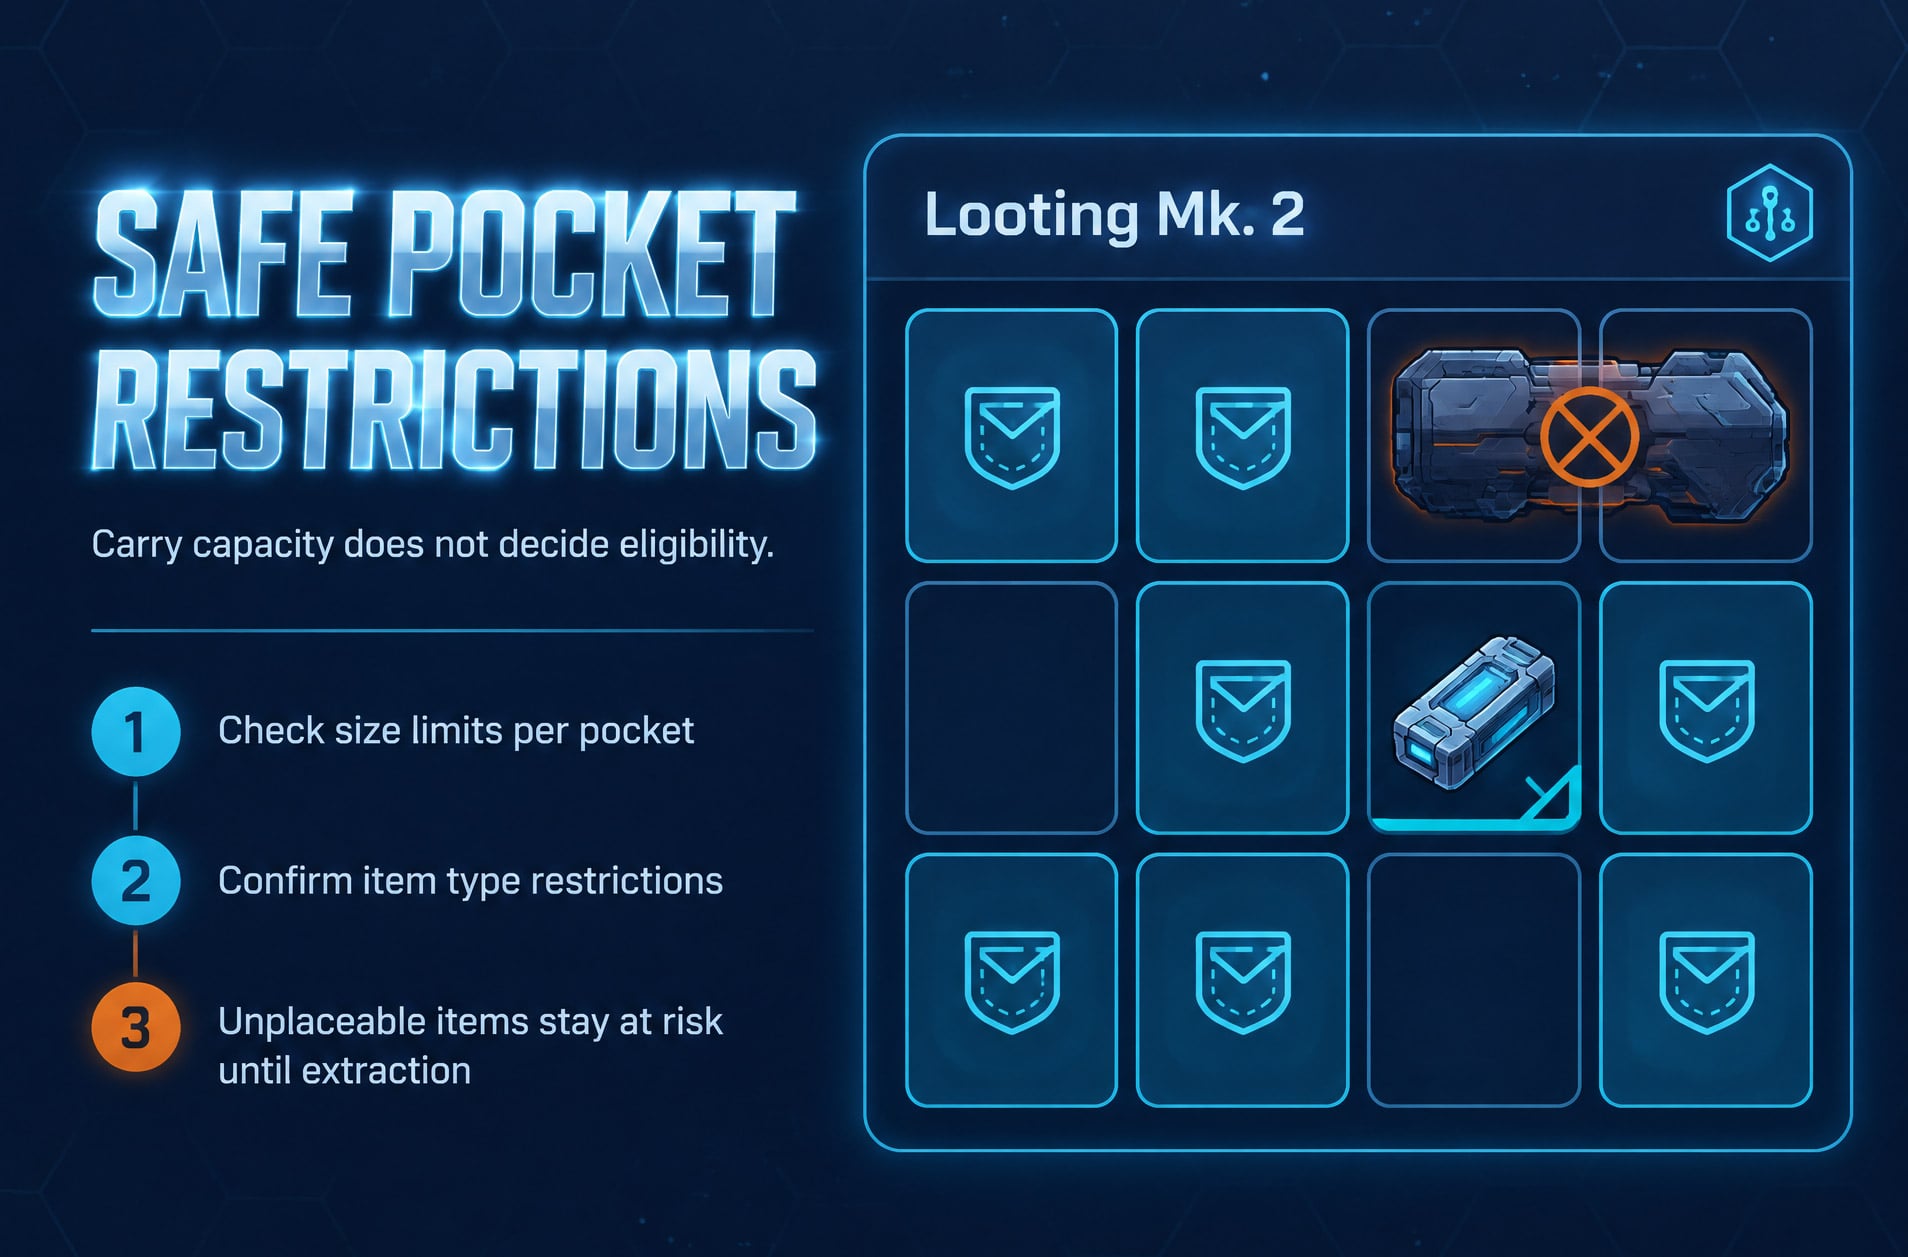
Carry capacity does not determine safe-pocket eligibility. Confirm the size and item restrictions for each safe pocket before you plan to protect a boss drop or weapon. Items that do not fit stay at risk until extraction.
For boss encounters, plan your exit before you engage. Gunfire draws other Raiders, so loot the body only when the area is clear enough to hold. A boss kill without a successful extraction does not guarantee profit.
FAQ (Frequently Asked Questions)
Is Level 4 required?
No. Level 4 improves handling and capacity, but upgrade only when the material cost fits your raid budget. Use a lower tier or found weapon while you rebuild.
Do I need both weapons for every raid?
No. Bring the Ferro when you expect armored targets. On low-contact loot routes, one weapon cuts replacement risk and frees inventory space.
Can this loadout kill bosses without specialist gear?
Results depend on the boss, ammo, positioning, other Raiders, and the current patch. Do not test a boss with your last affordable kit.
Is Looting Mk. 2 worth it?
It is worth it when its carry capacity fits your route and its crafting cost fits your budget. Check its stats in-game before you craft it.
Does a safe pocket protect my boss drop?
Only if the item fits the pocket's size and type restrictions. Check those limits before extraction, because unplaceable items stay at risk.

I’m Sofia Bergström, a Swedish Managing Editor covering FPS, competitive shooters, and extraction shooters for GGWTB. My guides focus on loadout trade-offs, positioning, and when to commit—or cut your losses. A weapon’s stats tell only part of the story; I focus on how it fits your role and the fight ahead.
Most Popular Posts
- ARC Raiders Update 1.42: Phantom Targets Farming Guide (Glitched Wasps, Rewards, Regional Conditions)
- ARC Raiders Subway Skin Guide: Unlock the Subterranean Outfit
- ARC Raiders Frozen Trail Update Guide: Pendola Pass, Frigate & Meta Loadouts
- ARC Raiders Ascending the Mountain: Fast Loot Routes and Item Guide
- ARC Raiders Broken Guidance System and Dual Anvil Build Guide
- ARC Raiders Frozen Trail Prep Guide: Skills, Weapon Upgrades & Map Shifts
Popular Category Lists
- ARC Raiders / (371)
- Grow a Garden / (299)
- Star Citizen / (171)
- CoD: Black Ops 7 / (167)
- MLB 26 / (159)
- Monopoly Go / (153)
- ARK Survival Ascended / (132)
- Steal a Brainrot / (101)
- Adopt Me / (78)
- Blox Fruits / (74)
- Forza Horizon 6 / (72)
- Sailor Piece / (68)
- Grow a Garden 2 / (68)
- Aion 2 / (63)
- Diablo IV / (62)
- COD: Modern Warfare 4 / (57)
- CoD: BLACK OPS 6 / (55)
- Maplestory Classic / (50)
- Path of Exile 2 / (48)
- Monster Hunter Wilds / (46)