0
0 Created: Sep 15,2026 | ARK Survival Ascended
ARK Astraeos Artifact Locations: 13 Caves, Routes, and Prep

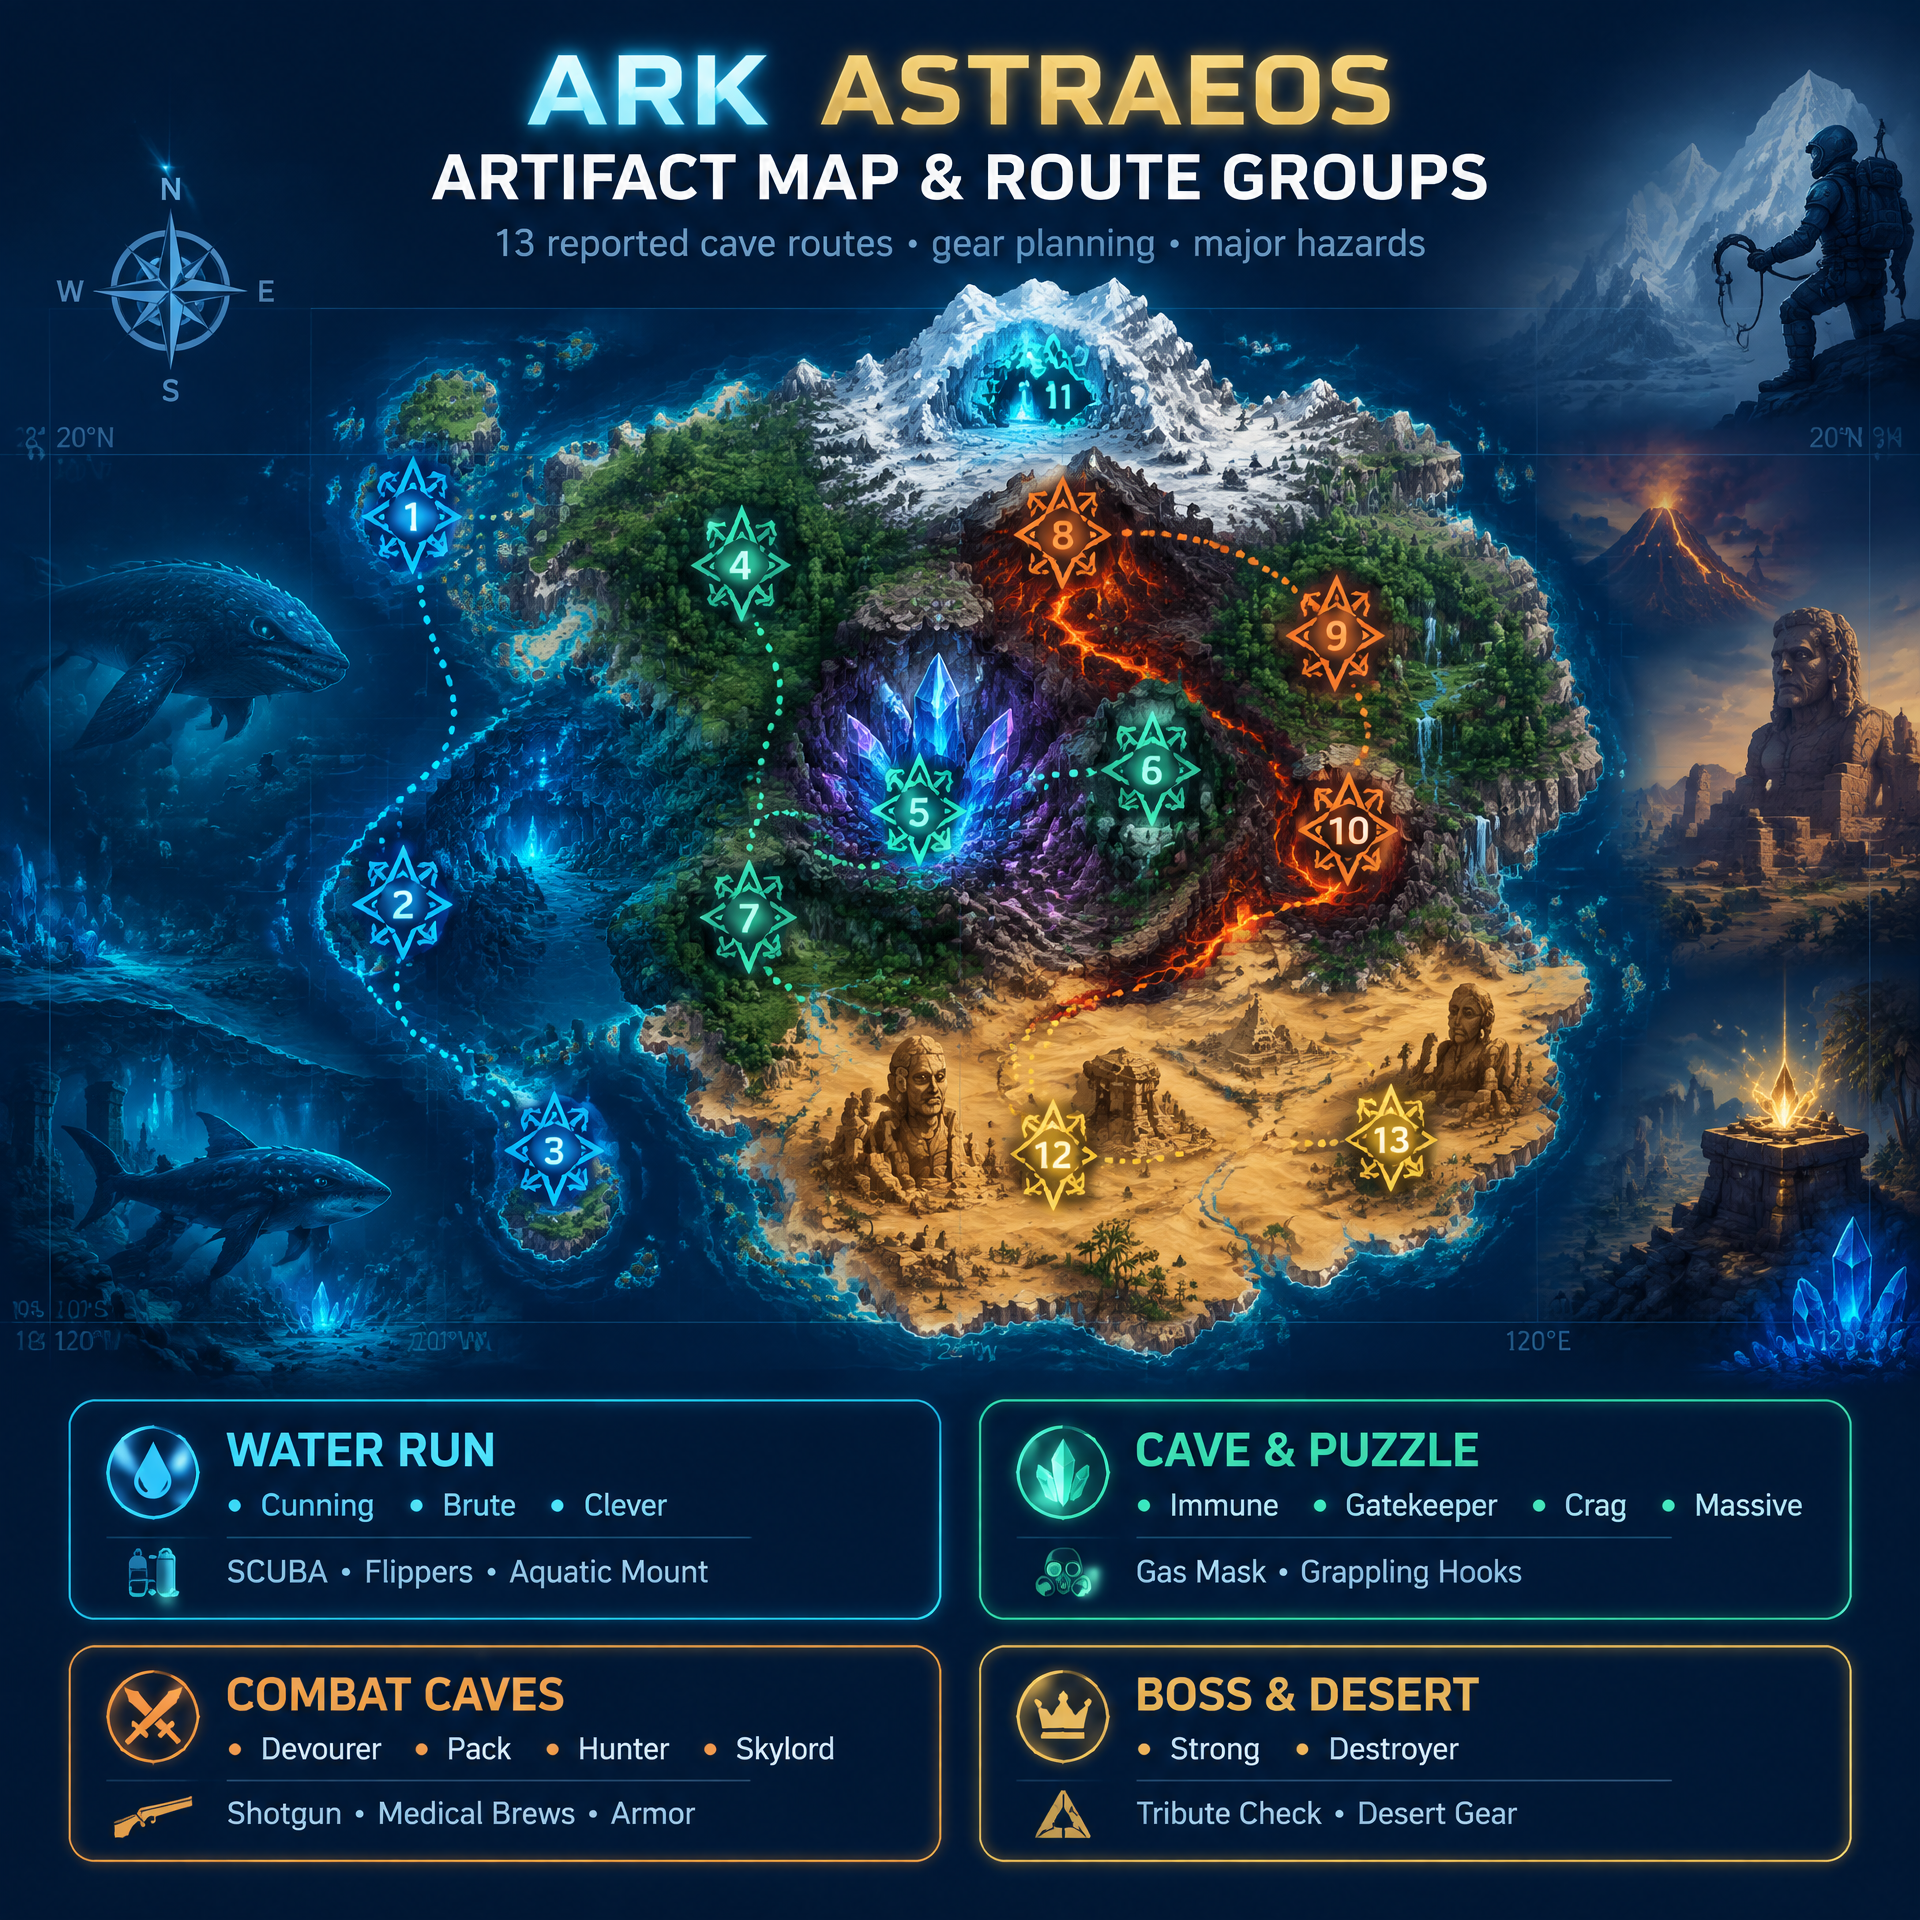
Finding artifacts on Astraeos is less about brute force and more about bringing the right gear for the cave in front of you. This guide covers 13 reported artifact routes, including entrance landmarks, approximate coordinates, equipment suggestions, and major hazards.

Astraeos can change through map updates, server settings, mods, cave restrictions, and creature-spawn changes. Use every coordinate below as a navigation aid rather than a guaranteed point. Verify cave access, artifact availability, and boss requirements in-game before risking valuable tames.
- 13 Reported Astraeos Artifacts
- Preparation Before Starting Artifact Runs
- Recommended Equipment
- Mount Planning
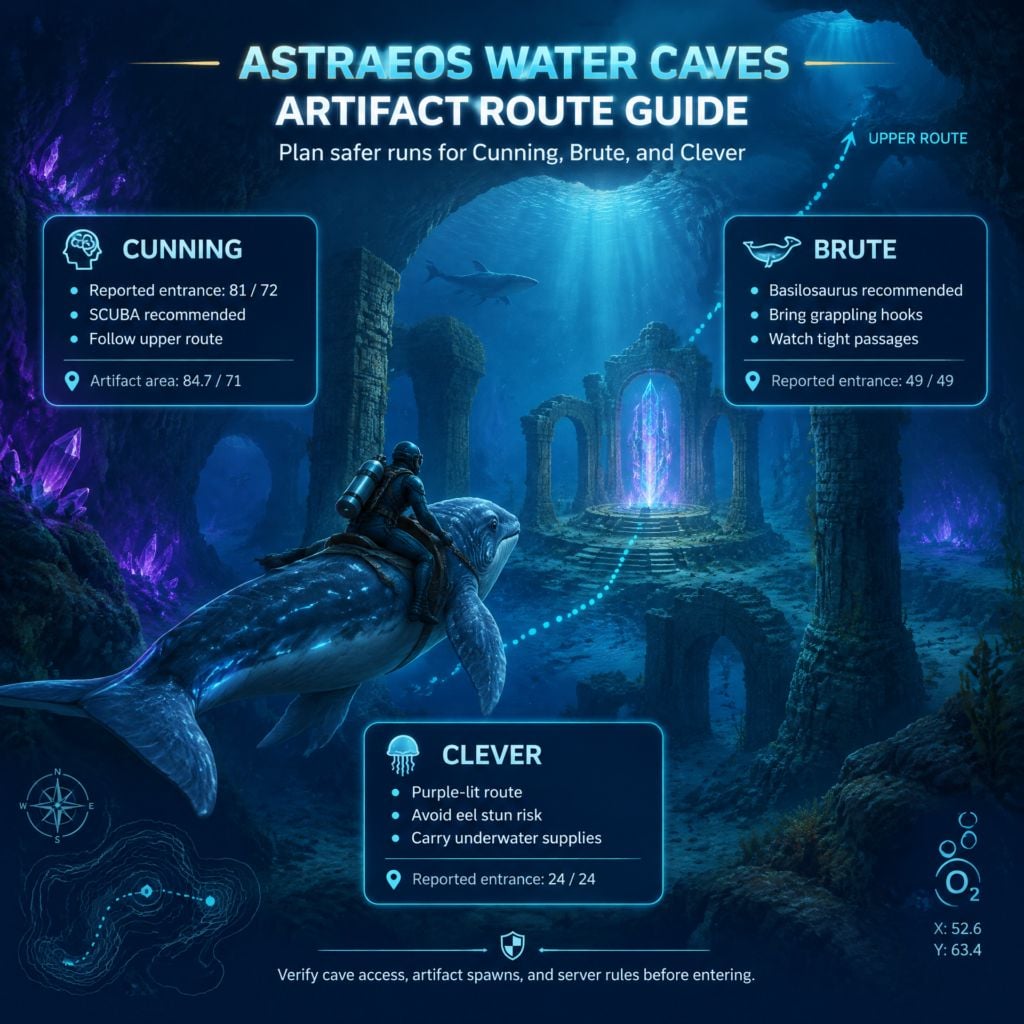
- Water Cave Routes
- Artifact of the Cunning
- Artifact of the Brute
- Artifact of the Clever
- Land, Gas, and Puzzle Cave Routes
- Artifact of the Immune
- Artifact of the Devourer
- Artifact of the Massive
- Multi-Artifact, Desert, and Boss-Related Routes
- Artifact of the Strong
- Artifact of the Destroyer
- Artifact of the Gatekeeper and Artifact of the Crag
- Artifact of the Pack
- Artifact of the Hunter
- Artifact of the Skylord
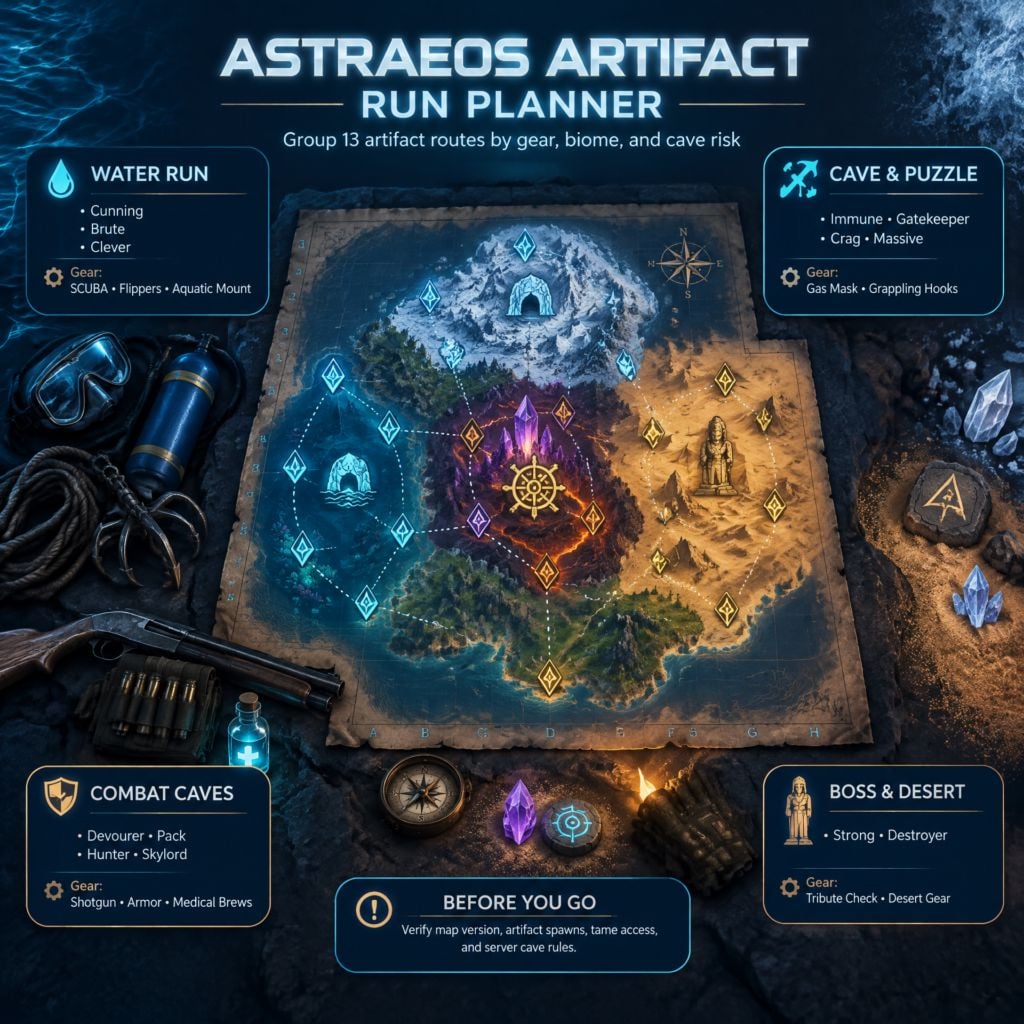
- Efficient Route Groups
- Water Equipment Run
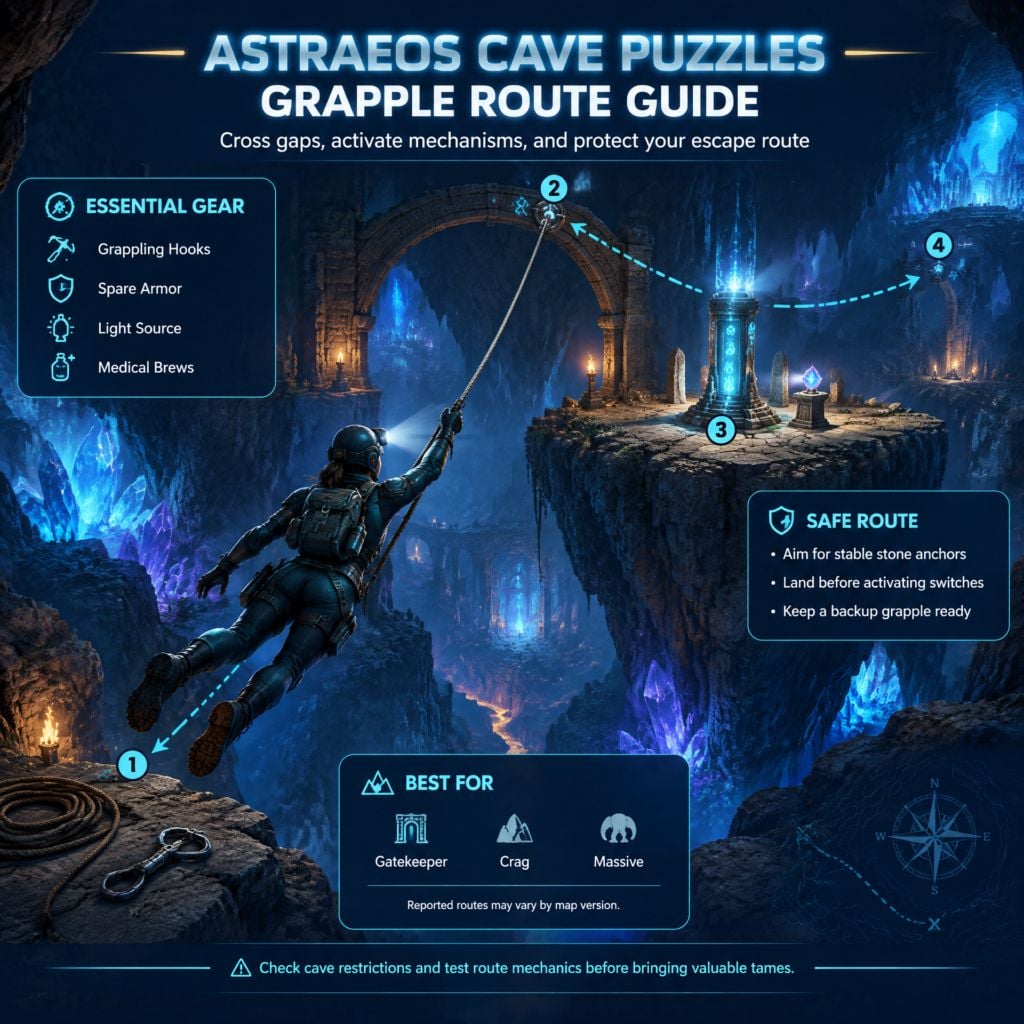
- Grappling and Environmental Hazard Run
- Combat Cave Run
- Desert and Boss Run
- FAQ (Frequently Asked Questions)
- How many artifacts are covered in this Astraeos guide?
- Are these Astraeos artifact coordinates exact?
- Which artifacts are best grouped into one water-cave run?
- Do I need grappling hooks for Astraeos artifact caves?
- Can a flying mount be used in the Skylord cave?
13 Reported Astraeos Artifacts
The table separates reported entrances from reported artifact areas where available. Coordinates may differ slightly across map versions or server configurations.
| Artifact | Reported Entrance / Area | Preparation Notes |
|---|---|---|
| Cunning | Entrance: 81 / 72; artifact area: 84.7 / 71 | SCUBA, cactus broth, water-capable mount |
| Immune | Entrance area: 31 / 85; artifact area: 29.8 / 85.4 | Gas mask, bug repellent |
| Skylord | Entrance: 2.5 / 98 | Warm gear, weapon, mobile mount |
| Strong | Entrance: 91 / 74 | Boss tribute items; verify encounter rules |
| Destroyer | Entrance area: 9 / 96; artifact area: 9 / 94 | Combat gear and a direct-route mount |
| Gatekeeper | Artifact area: 92 / 78 | Grappling hooks, healing supplies |
| Crag | Artifact area: 90 / 77 | Grappling hooks, fall protection |
| Pack | Entrance: 67 / 63; artifact area: 62 / 62 | Durable ground mount |
| Brute | Entrance: 49 / 49 | Basilosaurus, SCUBA, grappling hooks |
| Devourer | Entrance area: 22 / 43; artifact area: 23 / 43 | Armor, shotgun, stimulant |
| Hunter | Artifact area: 29 / 12 | Jump-capable mount, whip, shotgun |
| Massive | Entrance: 37 / 22 | Grappling hooks, shotgun, water gear |
| Clever | Entrance: 24 / 24 | Basilosaurus and SCUBA |
Important: Some values refer to entrances, while others refer to artifact areas. Confirm the destination on your current map before travelling.
Preparation Before Starting Artifact Runs
A single all-purpose kit is rarely efficient. Water caves, gas caves, puzzle caves, and boss routes demand different preparation.
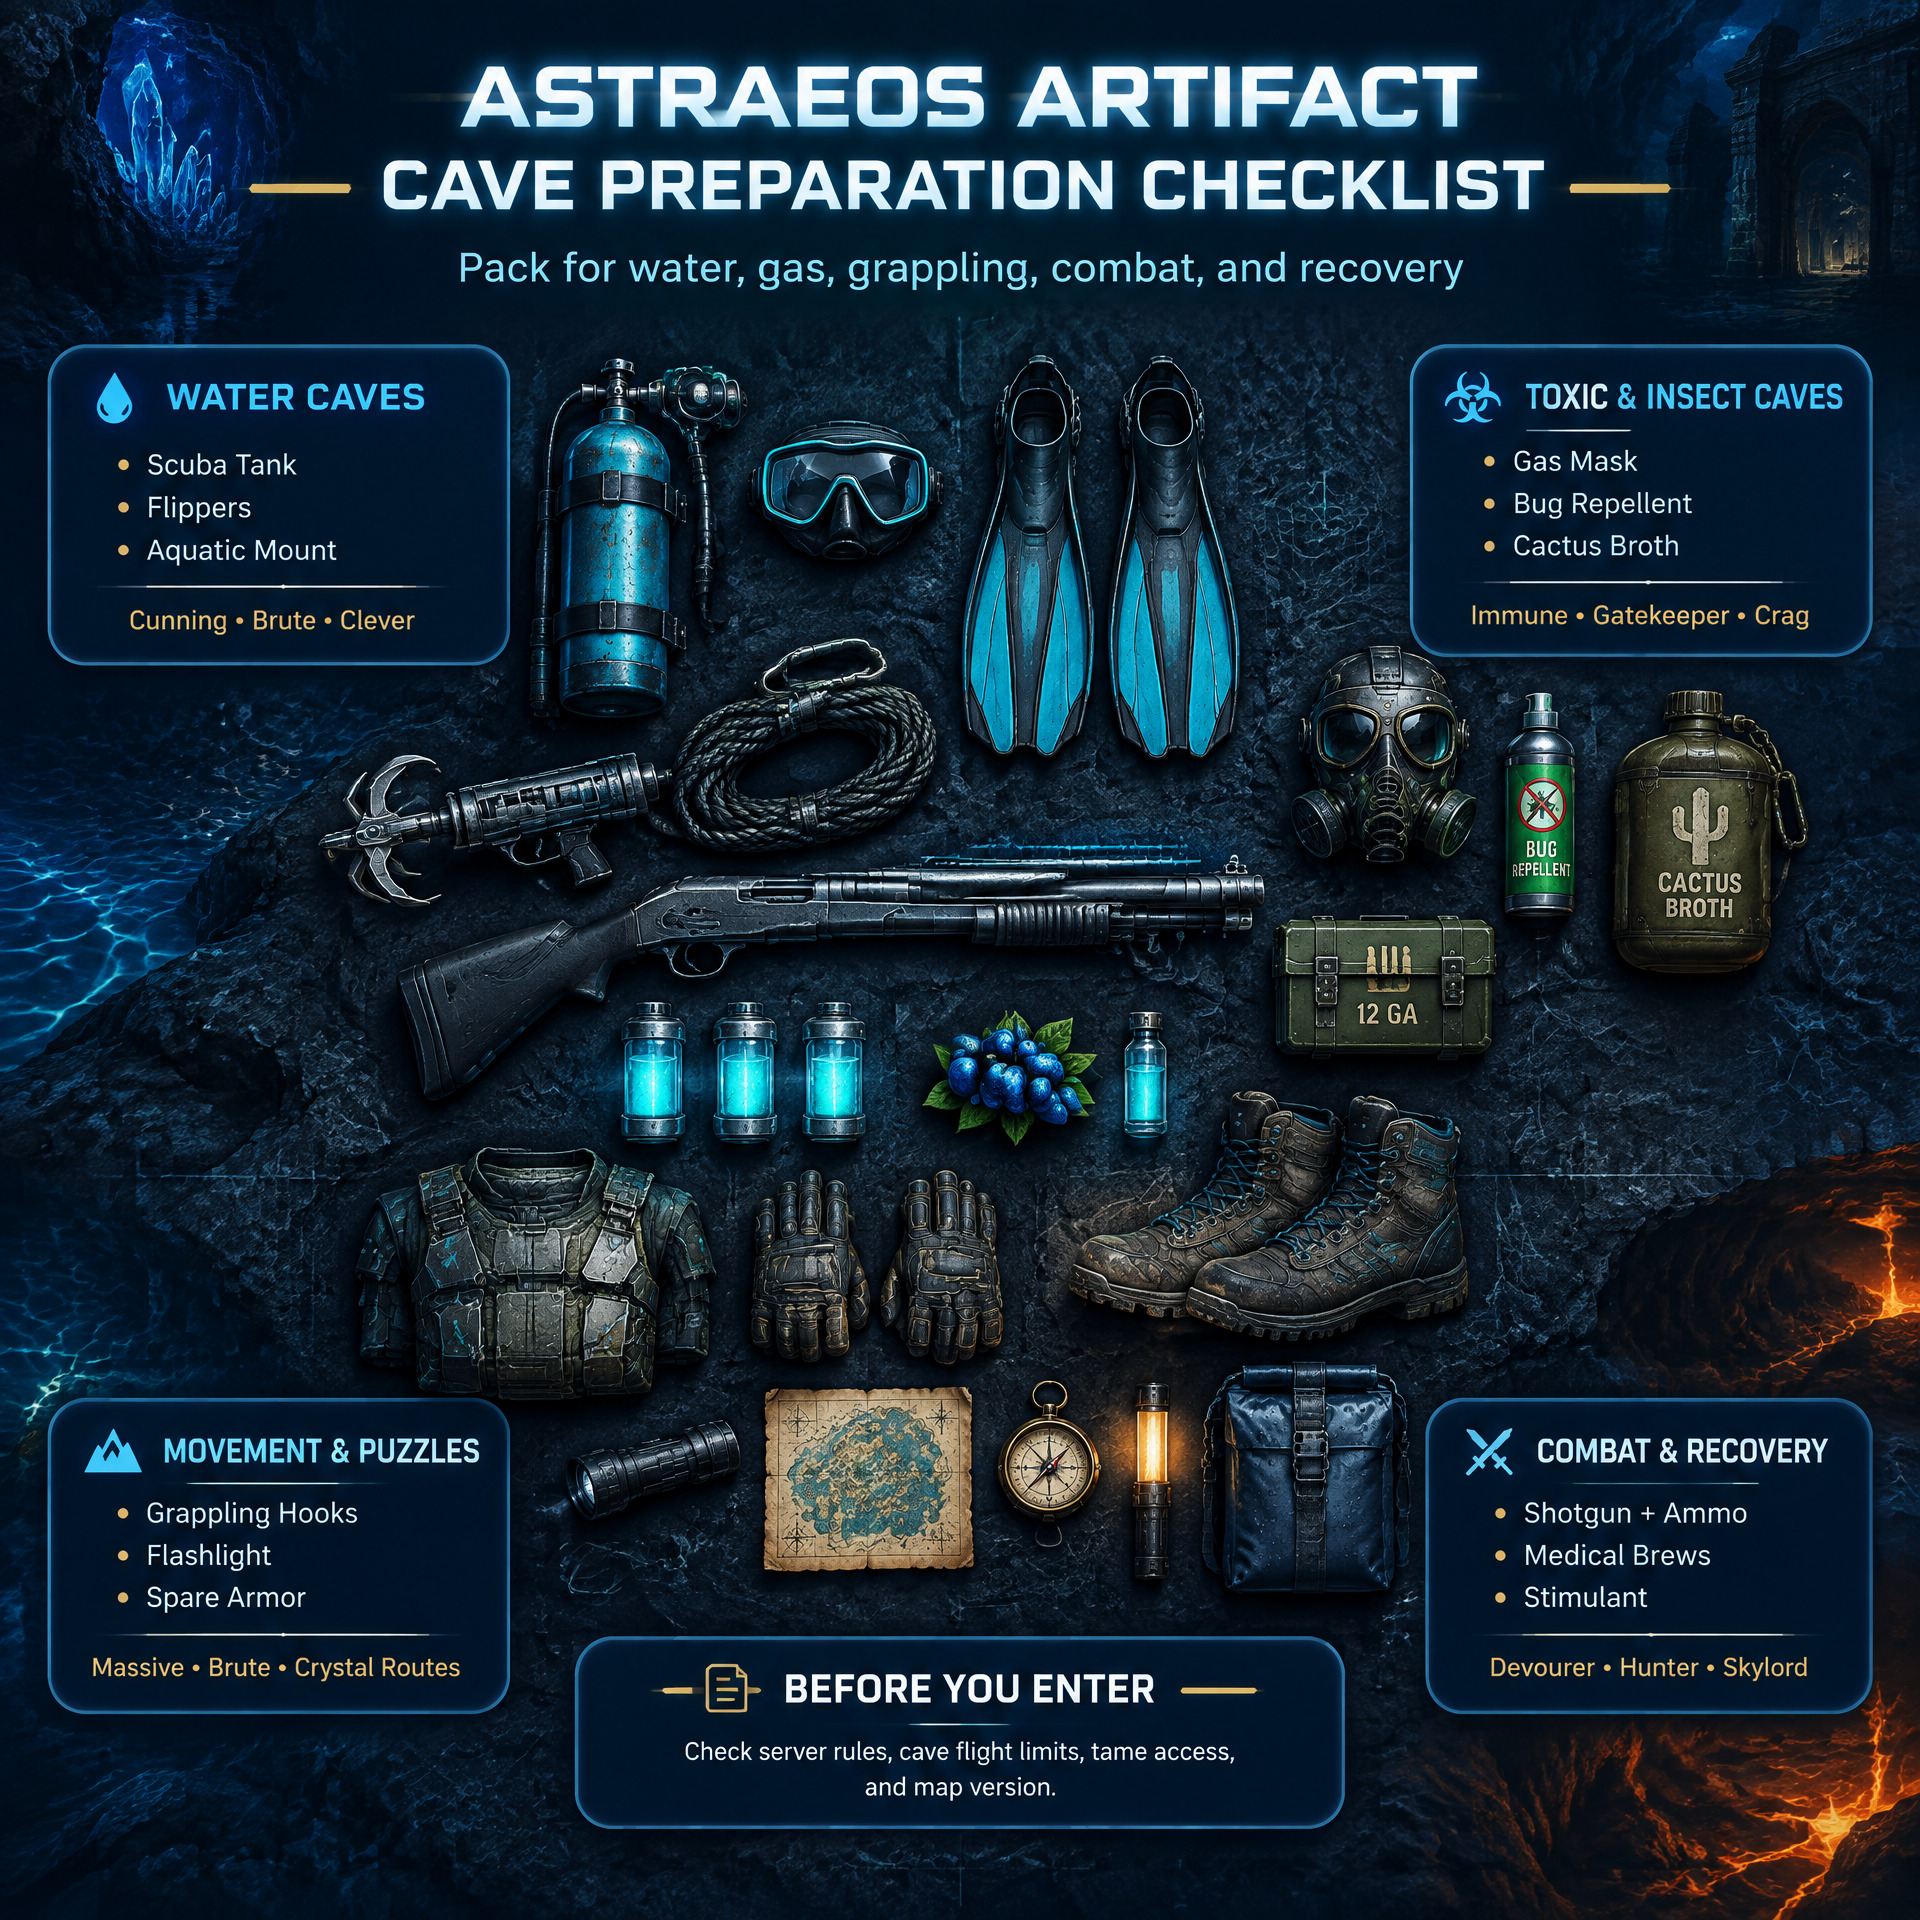
Recommended Equipment
- SCUBA tank and flippers: Useful for submerged tunnels and longer underwater sections.
- Gas mask: Recommended for reported toxic areas in the Immune cave.
- Bug repellent and cactus broth: May help reduce unwanted creature attention when you do not attack.
- Grappling hooks: Valuable for gaps, vertical sections, recovery after falls, and some puzzle routes.
- Shotgun and ammunition: A practical close-range option against hostile cave creatures.
- Medical brews and spare armor: Useful where poison, fall damage, or armor-damaging enemies are possible.
- Stimulant or stimberries: Helpful in caves where torpor is a concern.
- Whip: A possible recovery tool when dismounted by hostile creatures.
Mount Planning
| Mount | Reported Use | Reason to Consider It |
|---|---|---|
| Maewing | Cunning approach | Can support fast travel and controlled movement. |
| Basilosaurus | Brute and Clever | Useful in water caves and commonly preferred around electric eels. |
| Deinonychus | Strong encounter | Often selected for mobility and bleed-based damage potential. |
| Durable ground mount | Pack and Hunter | Helps with creature-dense land caves. |
| Flying mount | Skylord, where allowed | Can reduce exposure to ground threats if cave flight is permitted. |
Mount access is not universal. Official, private, modded, and single-player servers may apply different cave-flying rules or tame restrictions.
Water Cave Routes
Water routes become much more manageable when oxygen, mount safety, and escape options are planned before entering.
Artifact of the Cunning
Reported location: Entrance near 81 / 72; artifact area around 84.7 / 71.
- Equip SCUBA before beginning the underwater section.
- Use a visible shoreline structure as an approach landmark.
- Search around the right side of the nearby rock formation for the underwater entrance.
- Once inside, move toward the accessible upper route rather than descending into every chamber.
- Use cactus broth only as support; it is not a guarantee against aggression.
- Continue toward the reported artifact chamber and loot-crate area.
The reported shortcut is intended to reduce time in deeper water sections, where hostile aquatic creatures may appear.
Artifact of the Brute
Reported entrance: Around 49 / 49.
- Bring a Basilosaurus, SCUBA equipment, grappling hooks, and an emergency escape plan.
- Follow the initial underwater route upward.
- Continue through the submerged passages toward the lava-side section.
- Use the left wall as a navigation reference where the route opens up.
- Proceed carefully near puzzle or interaction areas.
- Collect the artifact after confirming that the chamber is active on your current server.
Some players report tight collision areas or mount-access issues on this route. Do not force a large mount into a narrow passage. Any reported workaround should be tested on the current version before relying on it.
Artifact of the Clever
Reported entrance: Near 24 / 24.
- Enter with SCUBA and a Basilosaurus or another water mount suited to your server.
- Follow the initial route downward and left.
- Continue into the larger area with pillars.
- Look for a purple-lit route on the left side.
- Follow that route toward the reported artifact chamber.
A Basilosaurus is commonly recommended because electric eels can create serious problems for many underwater mounts. Creature spawns and stun behavior should still be checked in your current game version.
Land, Gas, and Puzzle Cave Routes
These caves place more emphasis on movement, visibility, insects, toxic zones, and fall recovery.
Artifact of the Immune
Reported location: Entrance area near 31 / 85; artifact area around 29.8 / 85.4.
- Bring a gas mask, bug repellent, armor, and a reliable weapon.
- Locate the reported hidden entrance near trees and structures close to a lake.
- Equip the gas mask before entering any toxic-looking section.
- Follow the descending route while using the left wall as a reference.
- When the tunnel changes direction, continue along the right wall.
- Look for crystals and a narrow crouch passage leading toward the artifact area.
The main risk is environmental damage combined with insect pressure. Avoiding unnecessary combat can preserve armor, health, and time.
Artifact of the Devourer
Reported location: Entrance area near 22 / 43; artifact area around 23 / 43.
- Bring durable armor, a shotgun, ammunition, stimulant, and grappling hooks.
- Improve visibility with an in-game light source rather than relying solely on display settings.
- Use the reported major left turns route as a guide, not as a guaranteed solution.
- Watch for Arthropluera and other enemies that can damage armor.
- Use grapples to recover from risky drops or avoid uncertain jumps.
- Confirm the artifact chamber before retracing your route out.
The take every left method may simplify navigation, but cave layouts and blocked passages must be verified in the current map build.
Artifact of the Massive
Reported entrance: Around 37 / 22, near a prominent red landmark.
- Bring a shotgun, grappling hooks, medical brews, and water-breathing equipment if available.
- Use the first reported pillar mechanism to open the initial route.
- Take the left path after entering the cave.
- Move carefully through enemy and puzzle sections.
- Use grapples for central arches, raised platforms, or ladder-side areas.
- Cross the underwater section only after checking oxygen capacity.
- Continue to the reported artifact chamber.
This route is primarily a movement and interaction challenge. Grappling hooks are a safety tool, not just a shortcut.
Multi-Artifact, Desert, and Boss-Related Routes
These routes can save travel time when grouped correctly, but they also carry some of the highest preparation risks.
Artifact of the Strong
Reported entrance: Near 91 / 74, close to large statue-like structures.
- Follow the route downward from the entrance.
- Complete any map-name or terminal interaction only after confirming the current puzzle answer in-game.
- At the reported split, take the left route and then the first right.
- Continue toward the boss arena.
- Check the current tribute requirement before placing any items in the terminal.
- Defeat the encounter and collect the artifact if it drops as expected.
A Deinonychus is often suggested for its bleed-based damage potential. However, no universal health, melee, saddle, or tribute requirement can be confirmed from this guide alone.
Verification needed before publication: Current Minotaur mechanics, valid tribute items, allowed tames, and artifact-drop behavior.
Artifact of the Destroyer
Reported location: Entrance area near 9 / 96; artifact area around 9 / 94.
- Find the large desert statue or wall landmark.
- Enter through the reported crack on the right side.
- Follow the main route toward the far end of the cave.
- Clear, avoid, or lure hostile creatures according to your mount and weapon setup.
- Confirm the artifact at the end chamber.
This is often described as a direct route, but desert cave spawns can still make the run dangerous.
Artifact of the Gatekeeper and Artifact of the Crag
Reported shared cave area: Near 94 / 79.
Reported artifact areas: Gatekeeper around 92 / 78; Crag around 90 / 77.
Route to Gatekeeper
- Enter the cave and take the first reported right turn.
- Follow the descending route with grappling hooks ready.
- Cross gaps slowly and avoid blind drops into lower sections.
- Move past crystal formations and locate the reported blue-crystal area.
- Grapple toward the artifact ledge and collect Gatekeeper.
Route from Gatekeeper to Crag
- Turn back from the Gatekeeper chamber.
- Move toward brighter crystal formations.
- Watch for holes near glowing plants.
- Grapple across the gap and climb the next vertical section.
- Search the concealed ledge for Crag.
Collecting both artifacts in one trip can be efficient, but this cave punishes rushed movement. Carry enough grapples for failed shots and emergency recovery.
Artifact of the Pack
Reported location: Entrance near 67 / 63; artifact area around 62 / 62.
- Bring a durable ground mount that is allowed in the cave.
- Take the reported right route after entering.
- Follow the downward sections while checking for safe landing points.
- Continue toward the lava-side area.
- Search for the reported pillar landmark near the artifact chamber.
A powerful mount can reduce time spent fighting cave creatures. It does not eliminate fall, lava, or pathing risks.
Artifact of the Hunter
Reported artifact area: Around 29 / 12, near a waterfall and statue-like landmark.
- Bring a jump-capable mount, shotgun, whip, bug repellent, and cactus broth.
- Cross the first bridge after entering.
- Prepare for hostile Desmodus and possible dismounts.
- Use the whip only when it is safe and effective in your server version.
- At the major crossroads, take the reported left route.
- Prepare for any mini-boss or guardian encounter near the final section.
- Confirm the artifact chamber before leaving.
Artifact of the Skylord
Reported entrance: Near 2.5 / 98, beneath a distinctive structure and close to crystals.
- Bring cold-weather protection, a weapon, healing supplies, and a durable mount.
- Confirm whether cave flight is permitted before bringing a flying tame.
- Take the first reported right turn.
- At the next major split, use the left route.
- Continue toward the final right-side approach to the artifact chamber.
If cave flight is disabled, treat Skylord as a combat-and-survival route rather than a rapid pickup run.
Efficient Route Groups
Grouping artifacts by equipment reduces repeated base trips and lowers the chance of entering a cave with the wrong kit.
Water Equipment Run
- Cunning
- Brute
- Clever
Bring SCUBA, flippers, grappling hooks, medical supplies, and a suitable aquatic mount.
Grappling and Environmental Hazard Run
- Immune
- Gatekeeper
- Crag
- Massive
Bring grappling hooks, spare armor, healing supplies, bug repellent, cactus broth, and a gas mask.
Combat Cave Run
- Devourer
- Pack
- Hunter
- Skylord
Bring a shotgun, ammunition, armor, healing items, and a cave-legal mount suited to each route.
Desert and Boss Run
- Strong
- Destroyer
Confirm tribute requirements, boss behavior, desert-weather risks, and tame restrictions before leaving base.
FAQ (Frequently Asked Questions)
How many artifacts are covered in this Astraeos guide?
This guide covers 13 reported artifacts: Cunning, Immune, Skylord, Strong, Destroyer, Gatekeeper, Crag, Pack, Brute, Devourer, Hunter, Massive, and Clever.
Are these Astraeos artifact coordinates exact?
No. They are approximate navigation references based on reported route information. Map updates, server settings, mods, and coordinate display differences can affect accuracy. Verify every location in-game.
Which artifacts are best grouped into one water-cave run?
Cunning, Brute, and Clever are the most practical water-focused group. SCUBA, flippers, medical supplies, grappling hooks, and a suitable aquatic mount are recommended.
Do I need grappling hooks for Astraeos artifact caves?
Grappling hooks are strongly recommended for Gatekeeper, Crag, Massive, and Brute. They can also help recover from bad drops or difficult terrain in other caves.
Can a flying mount be used in the Skylord cave?
That depends on your server's cave-flight rules and tame restrictions. Confirm those rules before building your route around a flying mount.

I’m Benjamin Walsh, an Australian Senior Copy Editor at GGWTB focused on survival crafting, open-world exploration, and extraction games. My guides weigh base locations, supply routes, and what deserves the last slot in your backpack. When editing, I look for skipped prerequisites and unclear directions—a useful guide shouldn’t send you across the map without the right tools.

Most Popular Posts
- ARK: Survival Ascended Bjarnheim Farming Guide: Element, Pearls, Metal & Boss Routes
- ARK: Survival Ascended Lumina Dinos Guide: Spawn Locations, Taming Steps & Umbra Synergy
- ARK Astraeos Artifact Locations: 13 Caves, Routes, and Prep
- ARK Survival Ascended Desmodus Spawn Locations, Taming Method, and Best Uses
- ARK Survival Ascended August 2026: Bejornheim, Concavenator, Galleon & SOTF
- ARK: Survival Ascended Therizinosaurus Trap, Saddle, Combat & Harvesting Guides
Popular Category Lists
- ARC Raiders / (356)
- Grow a Garden / (294)
- CoD: Black Ops 7 / (167)
- Star Citizen / (163)
- MLB 26 / (159)
- Monopoly Go / (153)
- ARK Survival Ascended / (128)
- Steal a Brainrot / (99)
- Blox Fruits / (74)
- Adopt Me / (74)
- Forza Horizon 6 / (72)
- Sailor Piece / (68)
- Grow a Garden 2 / (68)
- Diablo IV / (62)
- CoD: BLACK OPS 6 / (55)
- Aion 2 / (53)
- Path of Exile 2 / (48)
- Monster Hunter Wilds / (46)
- Windrose / (44)
- COD: Modern Warfare 4 / (44)