0
0 Created: Jul 23,2026 | ARK Survival Ascended
ARK Survival Ascended Megachelon: Genesis Ocean Taming Guides

The Megachelon is a passive tame — no torpor, no hand-feeding. You lead a Microbe Swarm under its belly, let it feed, and defend it until the bar fills.
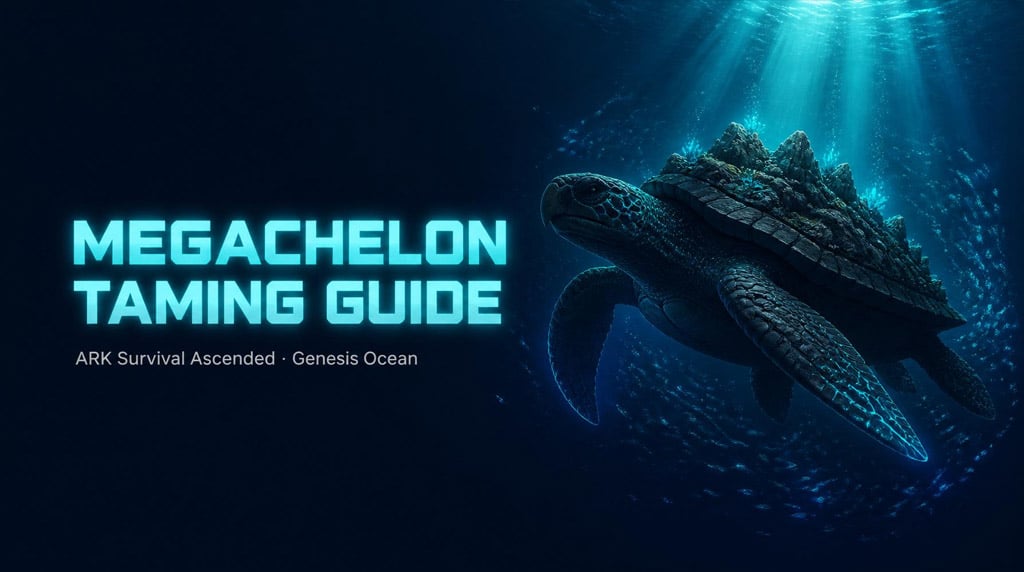
Sounds easy. It isn't. Three things ruin most attempts: slow swarms, hostile fish, and the surface attach bug. Fix those and this tame is a joke. Here's how.
- Megachelon Taming Basics
- Gear and Mounts That Actually Matter
- Step-by-Step: Taming the Megachelon
- Step 1: Pick the Right Megachelon
- Step 2: Clear the Area First
- Step 3: Aggro the Microbe Swarm
- Step 4: Lead It Under the Belly
- Step 5: Defend and Repeat
- Fixing the Surface Bug
- Open Ocean vs Trap Method
- Common Mistakes That Kill the Tame
- Is the Megachelon Worth It?
- FAQ
- How do you tame a Megachelon in ARK Survival Ascended?
- Where do Megachelons spawn in Genesis?
- Why isn't the Microbe Swarm taming my Megachelon?
- Can one Microbe Swarm fully tame a Megachelon?
- What's the best mount for the Megachelon tame?
- Summary
Megachelon Taming Basics
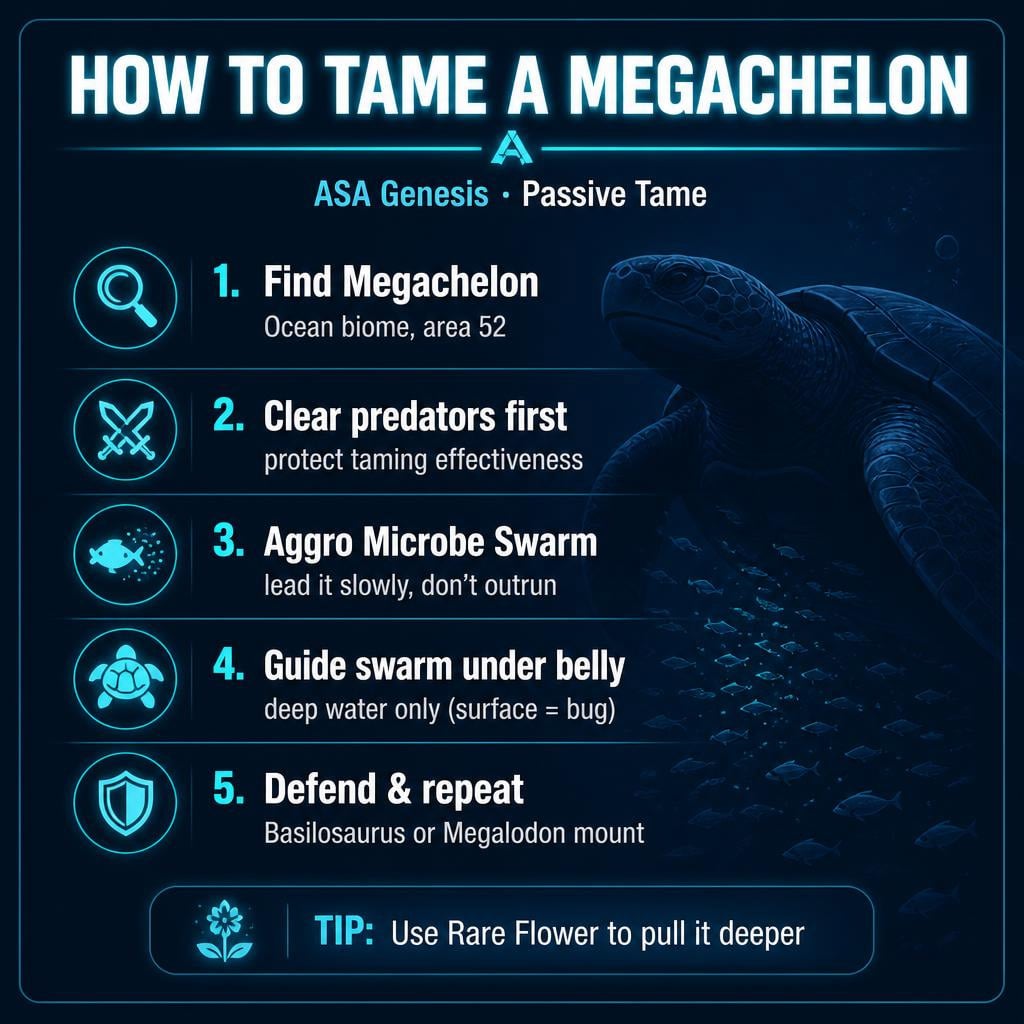
The whole tame is a four-step loop:
1. Find a Megachelon.
2. Aggro a nearby Microbe Swarm.
3. Lead the swarm under the Megachelon's belly.
4. Defend while taming progress builds.
| Requirement | Details |
|---|---|
| Taming type | Passive (Microbe Swarm feeding) |
| Knockout needed | No |
| Location | Genesis Ocean biome, ~52 coordinate range |
| Main threat | Hostile fish damaging the Megachelon |
| Biggest bug | Swarm won't attach near the surface |
Key rule: the swarm must reach the underside or front-belly. If it doesn't attach, nothing happens.
Gear and Mounts That Actually Matter
Don't start this tame swimming naked. You need to defend, not just observe.
| Item / Mount | Why |
|---|---|
| Basilosaurus | Tanky, safe, best all-around choice |
| Megalodon | Budget option, kills spawned fish fast |
| Scuba gear | Oxygen and control |
| Rare Flower | Pulls a surface-hugging Megachelon deeper |
| Harpoon Gun / Crossbow | Backup damage |
A Tuso or Mosasaur works too, but they're overkill. Skip the Ichthy — fast, but useless in a fight.
Step-by-Step: Taming the Megachelon
Step 1: Pick the Right Megachelon
Look for one that is:
- Not hugging the surface
- Near a Microbe Swarm (short pull = fewer problems)
- Away from Megalodon/Manta packs
Surface swimmers are trouble. No room under the shell = no attach.
Step 2: Clear the Area First
Kill everything hostile nearby — Sabertooth Salmon, Megalodons, Mantas, Eels.
Why? They attack the Megachelon mid-tame. Damage tanks your taming effectiveness. Clear first, tame second. Every time.
Step 3: Aggro the Microbe Swarm
Swim close until the swarm targets you. Then lead it — slowly.
The swarm is slow. Sprint away and you break aggro. Stay barely ahead, just outside bite range.
If it stops following, turn back, re-enter range, re-aggro, continue.
Step 4: Lead It Under the Belly
Guide the swarm to the Megachelon's underside or front belly. When it attaches, feeding starts and the taming bar begins.
| Problem | Fix |
|---|---|
| Swarm still targets you | Get closer to the belly, let it transfer |
| Swarm attached, no progress | Megachelon too shallow — pull it deeper |
| Megachelon swims off | Follow, keep the swarm on it |
| Fish spawn in | Kill them immediately |
Step 5: Defend and Repeat
Hostile fish will spawn during the tame. Kill them fast — this is where your Basilo or Meg earns its keep.
One swarm rarely finishes the tame. Expect to repeat with multiple swarms depending on level and rates. It's patience, not skill.
Fixing the Surface Bug
The #1 failed-tame cause: Megachelon too close to the surface. The swarm can't path under it.
The fix: Rare Flower.
1. Clear the area (flowers aggro everything nearby).
2. Eat the Rare Flower.
3. Pull the Megachelon down into deeper water.
4. Shake aggro, then bring in the swarm.
Skip step 1 and you'll turn the tame into an underwater brawl.
Open Ocean vs Trap Method
| Method | Pros | Cons |
|---|---|---|
| Open ocean | Fast, no building | Wandering tame, predator risk |
| Trap | Keeps it still, easier defense | Big structure, awkward setup |
In practice: open water is faster if you cleared the area. Trap only if the zone is a spawn nightmare.
Common Mistakes That Kill the Tame
| Mistake | Fix |
|---|---|
| Outrunning the swarm | Stay barely ahead of it |
| Taming at the surface | Move deeper first |
| Skipping the predator clear | Clear before you pull |
| Weak mount | Bring a Megalodon minimum |
| Letting spawned fish live | Kill on sight |
Tame not working? Check in this order: depth → swarm angle → aggro target.
Is the Megachelon Worth It?
Yes. It's a mobile ocean base — you can build on its shell (settings depending). Great for ocean expeditions, group travel, and PvE water operations. In PvP it's a big target, but with planning it's a legit platform.
Also, it's a giant turtle base. That alone counts.
FAQ
How do you tame a Megachelon in ARK Survival Ascended?
Lead a Microbe Swarm under its belly. Once it feeds, taming starts. Defend it from hostile fish until the bar completes. No knockout, no food needed.
Where do Megachelons spawn in Genesis?
The Ocean biome, commonly around the 52 coordinate range. Microbe Swarms spawn in the same zones — scout for both together.
Why isn't the Microbe Swarm taming my Megachelon?
Almost always the surface bug — the Megachelon is too shallow for the swarm to attach. Pull it deeper with a Rare Flower and lead the swarm under its belly.
Can one Microbe Swarm fully tame a Megachelon?
Rarely. On standard rates, expect multiple swarms, especially on high-level Megachelons. Budget the time.
What's the best mount for the Megachelon tame?
Basilosaurus for safety, Megalodon for budget. You need something that kills spawned fish fast while the tame is in progress.
Summary
The Megachelon tame isn't mechanically hard — it's a patience test against bad pathing and ocean spawns. The winning formula:
- Find a Megachelon near a swarm
- Clear predators first
- Keep it in deep water (Rare Flower if needed)
- Lead the swarm slowly under its belly
- Defend with a Basilo or Meg
- Repeat until tamed
Control the setup, and you walk away with one of the best mobile ocean platforms in the game. Rush it, and the ocean will make you pay.


The GGWTB Editorial Team features 10 full-time gaming editors and 23 specialist contributors, delivering hands-on tested walkthroughs, easter egg breakdowns, and game updates.
LUKE — who spearheads our in-depth ARK Survival Ascended, COD: Modern Warfare 4 guides, and patch notes—every guide is rigorously verified on live servers for accuracy.

Most Popular Posts
- ARK Genesis Part 1 Mission Loot Guide: Best Farms for Flak, Tech & Hazard Gear
- ARK Survival Ascended Lunar Biome Cave Locations: All 6 Caves From World Teleporter
- ARK: Survival Ascended Bjarnheim Farming Guide: Element, Pearls, Metal & Boss Routes
- ARK: Survival Ascended Lumina Dinos Guide: Spawn Locations, Taming Steps & Umbra Synergy
- ARK Survival Ascended Best Genesis Missions for Loot and Hexagons
- Thylacoleo Location on Genesis 1 (ASA): Spawn Coordinates, Force-Spawn Method & Fast Taming Guide
Popular Category Lists
- ARC Raiders / (345)
- Grow a Garden / (292)
- CoD: Black Ops 7 / (167)
- Star Citizen / (161)
- MLB 26 / (159)
- Monopoly Go / (152)
- ARK Survival Ascended / (126)
- Steal a Brainrot / (98)
- Blox Fruits / (74)
- Adopt Me / (73)
- Forza Horizon 6 / (72)
- Sailor Piece / (68)
- Grow a Garden 2 / (68)
- Diablo IV / (62)
- CoD: BLACK OPS 6 / (55)
- Path of Exile 2 / (48)
- Monster Hunter Wilds / (46)
- Aion 2 / (46)
- Windrose / (44)
- Donut SMP / (41)