0
Created: Apr 16,2026 | ARC Raiders
Best Spots to Find ARC Raiders Kinetic Converter, Horizontal Grip, Silencer 3, and Anvil Splitter

Some attachments in ARC Raiders feel less like loots and more like trophies. Kinetic Converter, Horizontal Grip, Silencer 3, and Anvil Splitter are the big ones. You can't reliably craft them, their drop rate is low, and once you finally get one, you usually think twice before putting it on a gun.
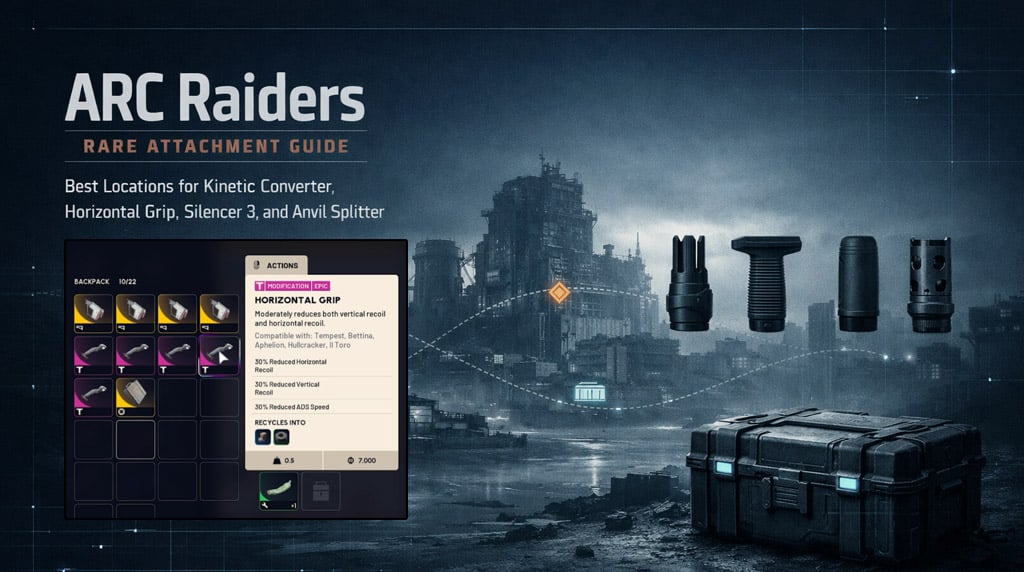
After repeated runs and comparing route results across maps, one thing stands out: these attachments are not purely random, but they also don't seem tied to just one magical room. Certain locations clearly perform better, especially spots with the right container types and tight loot density. That's where we should be farming.
- How These Attachments Seem to Spawn
- Best Maps and Locations
- Buried City
- Spaceport
- Dam Battlegrounds
- Best Farming Routes Right Now
- Best reliable route
- Best route for experienced players
- Best high-upside route
- Day Raids, Night Raids, and Scrappy
- FAQ
- Where is the best place to find Kinetic Converter in ARC Raiders?
- Is Silencer 3 the rarest attachment?
- Do I need key rooms to get these attachments?
- Are day raids good enough for farming?
- Final Thoughts
How These Attachments Seem to Spawn
From testing and player-reported results, the best working theory is simple:
- Attachment-capable containers may all have a chance to roll rare attachments
- Some breach rooms and residential-heavy areas appear much more reliable
- Silencer 3 feels noticeably rarer than the other three
- Fast, repeatable routes usually beat full-map clears
This matters because it changes how we farm. We're not just hunting one room — we're targeting the best container clusters.
| Attachment | Observed Rarity | Practical Advice |
|---|---|---|
| Kinetic Converter | Rare | Farmable with repeat runs |
| Horizontal Grip | Rare | Similar to Kinetic Converter |
| Anvil Splitter | Rare | Worth keeping, but less contested |
| Silencer 3 | Very rare | Save it for top builds |
The short version: if you loot one Silencer 3, don't treat it like a common attachment. It isn't.
Best Maps and Locations
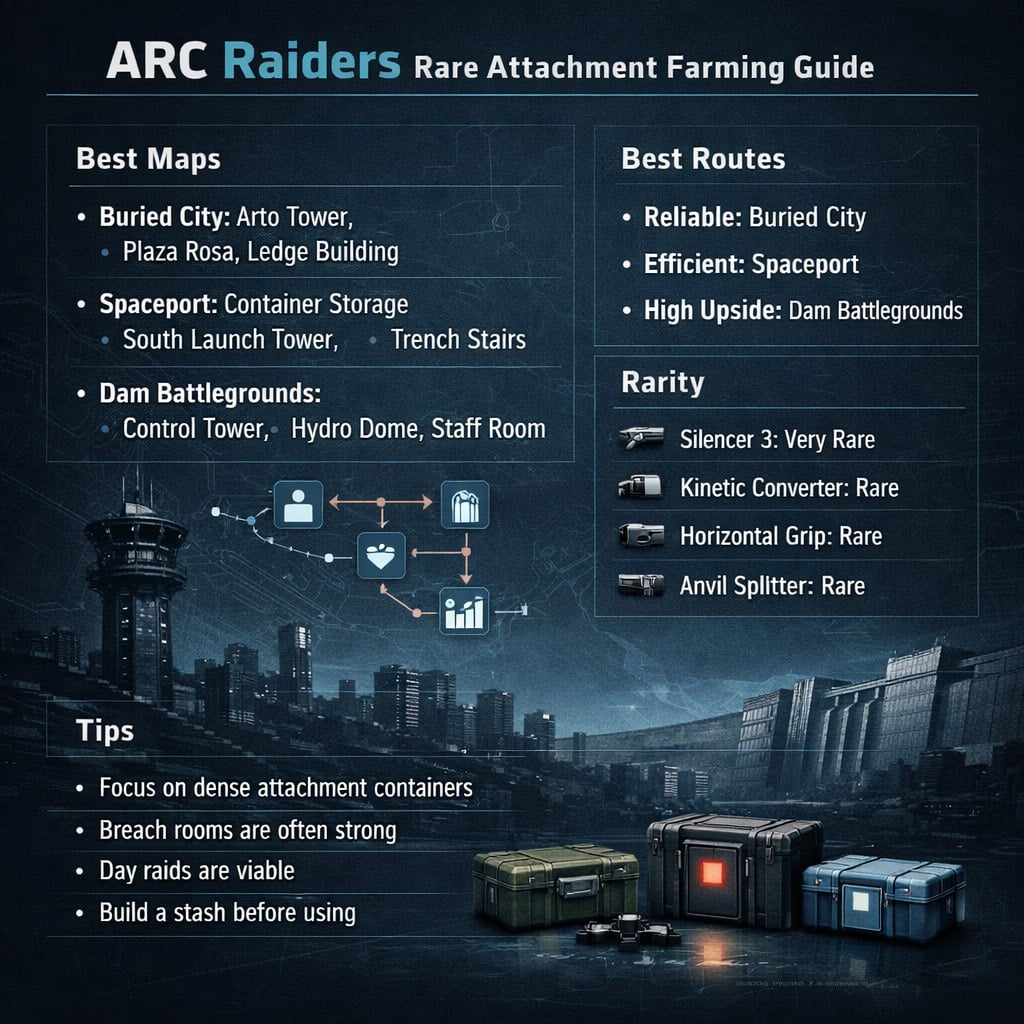
Here are the most useful spots right now, based on consistent results rather than one-off lucky finds.
Buried City
Buried City is still one of the most dependable maps for rare attachment farming.
Best spots:
- Arto Tower pharmacy breach room
- Plaza Rosa
- Zipline ledge building with residential containers
Why these work:
- Good residential container density
- Fast to hit in a short raid
- Strong history of dropping all four target attachments
If we want a straightforward farming map, Buried City is the safest recommendation.
Spaceport
Spaceport is better than it looks once you stop focusing only on key rooms.
Best spots:
- Container Storage breach room
- South Launch Tower
- North/South Trench Tower stair lockers
- Shipping Warehouse key room (secondary option)
The key point here is that some of the best loot is outside the obvious premium rooms. In practice, Container Storage has been one of the strongest attachment routes on the map.
Dam Battlegrounds
Dam Battlegrounds has some of the most interesting upside.
Best spots:
- Control Tower outer area
- Dam Staff Room key room
- West Hydroponic Dome Complex
- Testing Annex red lockers (lower confidence)
Control Tower is especially good because it can also offer Level 3 weapon upside, which makes the run more rewarding even when the attachment drop doesn't happen.
Here's the quick comparison:
| Map | Best Locations | Confidence |
|---|---|---|
| Buried City | Arto Tower, Plaza Rosa, zipline ledge building | High |
| Spaceport | Container Storage, South Launch Tower, Trench stairs | High |
| Dam Battlegrounds | Control Tower, Hydroponic Dome, Staff Room | Medium-High |
| Stella Montis | Medical Research / Sandbox recycling cans | Medium |
| Blue Gate | Maintenance Wing, Ruined Homestead | Low |
For pure consistency, Buried City and Spaceport are still the best places to start.
Best Farming Routes Right Now
If your goal is efficiency, these are the routes most worth repeating.
Best reliable route
Buried City:
- Arto Tower pharmacy
- Plaza Rosa
- Ledge building
This route is simple, known, and efficient.
Best route for experienced players
Spaceport:
- Container Storage
- South Launch Tower
- Trench Tower roof entry into stair lockers
This route rewards map knowledge and movement.
Best high-upside route
Dam Battlegrounds:
- Control Tower
- Outer Control Tower containers
- West Hydroponic Dome
This is the route I'd run if I wanted attachment chances plus the possibility of premium weapon loot.
| Goal | Best Map | Route |
|---|---|---|
| Most consistent farming | Buried City | Arto Tower → Plaza Rosa → ledge building |
| Best efficient rotation | Spaceport | Container Storage → South Launch → Trench stairs |
| Best loot upside | Dam Battlegrounds | Control Tower → outer area → Hydro Dome |
Day Raids, Night Raids, and Scrappy
There's still no solid evidence that night raids or storm conditions improve attachment drop rates. They might, but right now that's still theory, not proof. Day raids already produce enough successful drops that they remain the best baseline for testing and farming.
As for Scrappy, there does seem to be a small chance to get these attachments there too, but it's extremely low. The best reported option so far is Agave. I wouldn't build a farming strategy around it, but it's worth knowing.
FAQ
Where is the best place to find Kinetic Converter in ARC Raiders?
The best current options are Arto Tower pharmacy and Plaza Rosa in Buried City, with Container Storage in Spaceport close behind.
Is Silencer 3 the rarest attachment?
From current farming results, yes. It appears noticeably rarer than Kinetic Converter, Horizontal Grip, and Anvil Splitter.
Do I need key rooms to get these attachments?
No. Some of the best reported drops come from breach rooms, residential containers, and side-route loot spots, not just locked rooms.
Are day raids good enough for farming?
Yes. Day raids are already producing rare attachments consistently enough to make them worth running.
Final Thoughts
If we want the best balance of consistency, speed, and realistic results, we should start with Buried City, then move to Spaceport once we're comfortable with tighter route execution. Dam Battlegrounds is excellent when we want more upside per run, especially around Control Tower.
The biggest mistake is overcommitting to special rooms and ignoring efficient container routes. In ARC Raiders, rare attachment farming is less about one lucky chest and more about running the right path often enough to let probability finally work in our favor.
Most Popular Posts
- ARC Raiders Update 1.42: Phantom Targets Farming Guide (Glitched Wasps, Rewards, Regional Conditions)
- ARC Raiders Best Pop Trigger Strategy: Fast Phantom Targets Damage Guide
- ARC Raiders Subway Skin Guide: Unlock the Subterranean Outfit
- ARC Raiders Medium & Heavy Gun Parts Blueprint Guide: Best Farm Route, Locations, and Refiner Crafting
- ARC Raiders Ascending the Mountain: Fast Loot Routes and Item Guide
- ARC Raiders Frozen Trail Update Guide: Pendola Pass, Frigate & Meta Loadouts
Popular Category Lists
- ARC Raiders / (356)
- Grow a Garden / (295)
- CoD: Black Ops 7 / (167)
- Star Citizen / (163)
- MLB 26 / (159)
- Monopoly Go / (153)
- ARK Survival Ascended / (128)
- Steal a Brainrot / (99)
- Blox Fruits / (74)
- Adopt Me / (74)
- Forza Horizon 6 / (72)
- Sailor Piece / (68)
- Grow a Garden 2 / (68)
- Diablo IV / (62)
- CoD: BLACK OPS 6 / (55)
- Aion 2 / (54)
- Path of Exile 2 / (48)
- Monster Hunter Wilds / (46)
- Windrose / (44)
- COD: Modern Warfare 4 / (44)