0
0 Created: Sep 7,2026 | ARC Raiders
ARC Raiders Kinetic Converter Guide: Best Weapons, Builds & Stats

Choosing the right attachments in ARC Raiders often comes down to understanding the hidden costs of extra speed. The Kinetic Converter offers an enticing fire rate increase, but faster cycling can easily waste your ammunition if your handling fails to keep up.
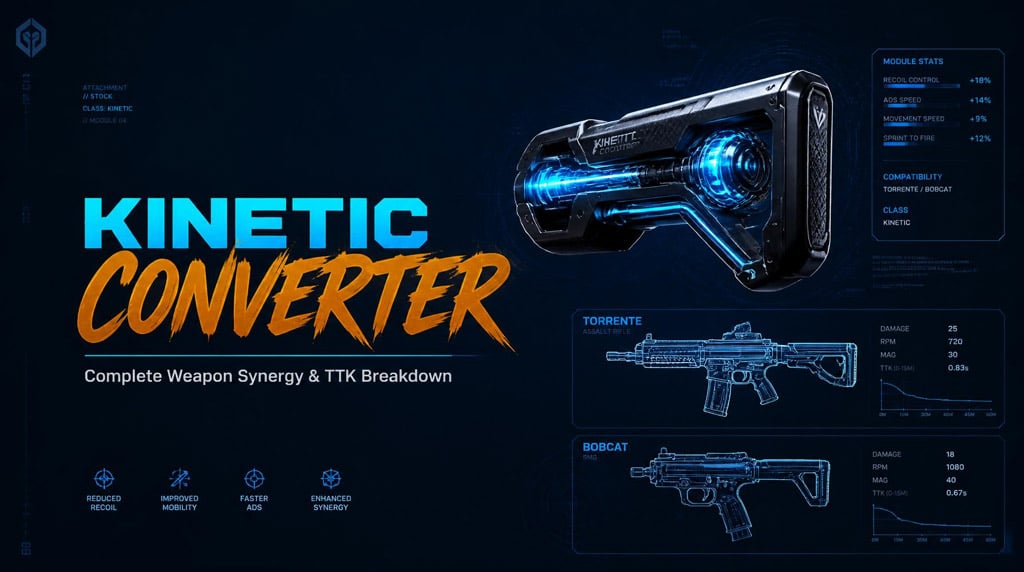
Below is an analytical breakdown of how the mod performs, the top weapons to pair it with, and how to build loadouts that turn raw fire rate into confirmed eliminations.
- Kinetic Converter Stats: Speed Comes at a Cost
- Why 15% Faster Firing Is Not 15% Faster Killing
- Best Weapons for the Kinetic Converter
- Comprehensive 15-Weapon Evaluation
- Top Builds & Tactical Execution
- 1. Torrente: The High-Capacity Suppression Build
- 2. Bobcat: The Close-Quarters Ambush Build
- 3. Hullcracker: The ARC Weakpoint Striker (PvE)
- Troubleshooting: Identifying Your Combat Bottlenecks
- FAQ (Frequently Asked Questions)
- What is the best overall weapon for the Kinetic Converter in ARC Raiders?
- Does the Kinetic Converter increase flat bullet damage?
- How do you counter the +20% recoil penalty from the Kinetic Converter?
- Does the Kinetic Converter work effectively on every compatible weapon?
- Is the Kinetic Converter worth using on the Hullcracker for PvE farming?
- Summary
Kinetic Converter Stats: Speed Comes at a Cost
Before mounting the Kinetic Converter to your primary weapon, you must evaluate whether your setup can absorb its penalties.
| Property | Modifier | Practical Tactical Impact |
|---|---|---|
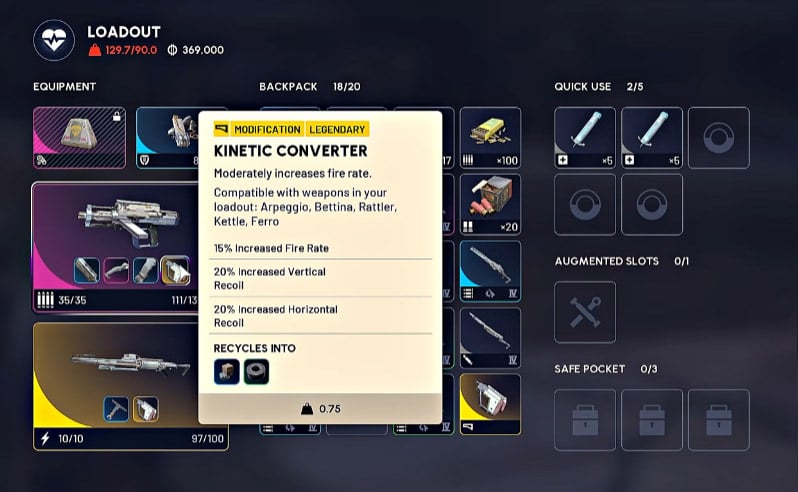
| Fire Rate | +15% | Shortens intervals between consecutive shots |
| Horizontal Recoil | +20% | Requires stronger lateral crosshair stabilization |
| Vertical Recoil | +20% | Demands sharper downward mouse/stick compensation |
| Damage Per Shot | +0% | Base damage per hit remains identical |
| Magazine Capacity | +0% | Empties the magazine faster without adding capacity |
| Slot Cost | Stock | Sacrifices stability or handling buffs from standard stocks |
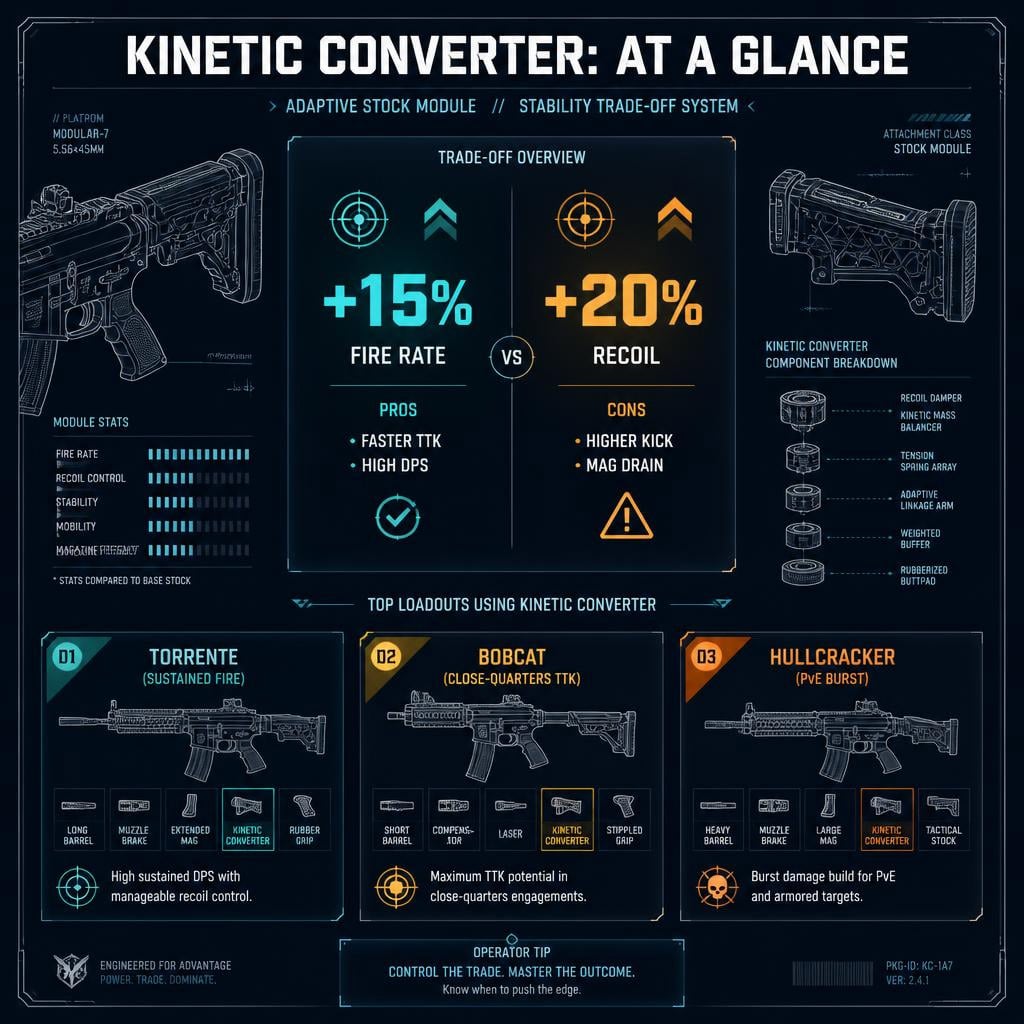
Why 15% Faster Firing Is Not 15% Faster Killing
At face value, a 15% fire rate increase shortens firing intervals by roughly 13%. However, actual Time-to-Kill (TTK) depends heavily on landed hits:
- Accuracy Thresholds: To break even on practical DPS, you must land at least 87% of the shots you normally hit. If your baseline hit rate is 60%, dropping below ~52% due to recoil wipes out your theoretical TTK advantage.
- Empty Magazine Syndrome: Faster cycle speed accelerates your reload cycle. If a magazine runs dry before an enemy drops, your target gains a counter-attack window while you reload.
Best Weapons for the Kinetic Converter
We rank weapon compatibility based on the tactical problem the Converter solves: winning pure 1v1 duels, wiping consecutive squads, or capitalizing on brief ARC core exposure windows.
Comprehensive 15-Weapon Evaluation
| Weapon | Observed Cadence Impact | Verdict | Primary Limitation |
|---|---|---|---|
| Torrente | Significant continuous boost | Top sustained-pressure pick | Heavy recoil; requires disciplined crouching |
| Bobcat | High instantaneous burst | Top close-range pick | Small magazine; punishing on missed rounds |
| Bettina | Steady automatic increase | High priority pick | Tracking discipline and reload vulnerability |
| Canto | Noticeable increase | Strong situational pick | High kick; verify platform compatibility |
| Il Toro | Moderate cadence step | Specialist pick | Only valuable during rapid double-tap windows |
| Stitcher | Clear fire-rate gain | Solid secondary pick | Base range and spread constraints persist |
| Rattler | Noticeable cadence step | Conditional pick | Limited magazine capacity causes reload deaths |
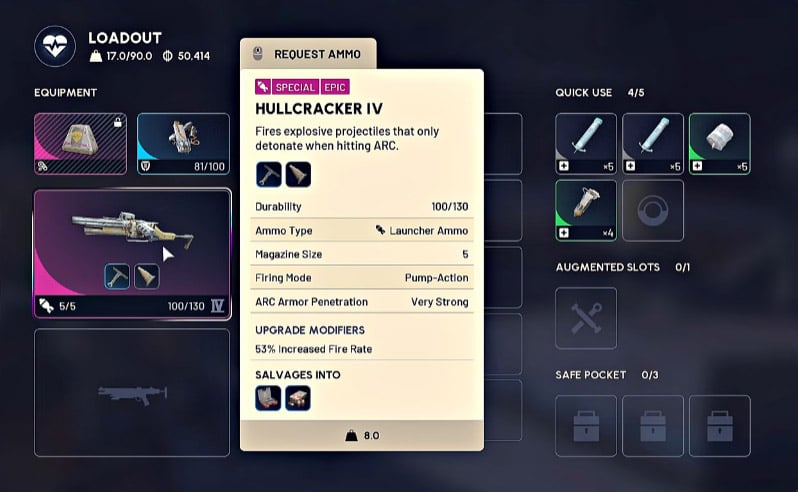
| Hullcracker | Reported cycle increase | Dedicated PvE pick | 5-round capacity limits sustained damage uptime |
| Kettle | Marginal practical gain | Low priority | Manual trigger rhythm limits effectiveness |
| Renegade | Minor cycle increase | Skip | Precision pacing matters more than cycle rate |
| Aphelion | No perceptible difference | Avoid | No practical return on investment |
| Arpeggio | No perceptible difference | Avoid | Burst delay mechanics mask fire-rate buffs |
| Ferro | Negligible return | Avoid | Single-shot reload cycle bypasses benefit |
| Osprey | No perceptible difference | Avoid | Bolt-action pacing negates fire rate |
| Vulcano | No perceptible difference | Avoid | Inherent spread recovery dictates shot pacing |
Top Builds & Tactical Execution
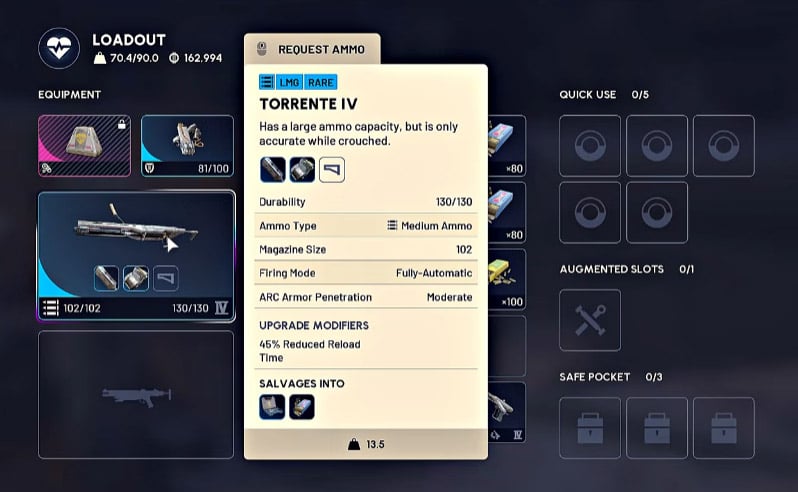
1. Torrente: The High-Capacity Suppression Build
- Recommended Setup: Torrente IV + Kinetic Converter + Extended Medium Mag III + Compensator
- Total Capacity: 102 Rounds
- Tactical Role: Clearing multi-target pushes and holding choke points.
- Execution Rules:
1. Position yourself behind solid cover before initiating fire.
2. Drop into a crouch immediately to negate the base dispersion bloom.
3. Pre-aim choke points and stop firing as soon as the target breaks line of sight.
2. Bobcat: The Close-Quarters Ambush Build
- Recommended Setup: Bobcat IV + Kinetic Converter + Extended Light Mag + Vertical Grip
- Tactical Role: Point-blank PvP assassinations.
- Execution Rules:
1. Close the distance using audio masking and terrain breaks.
2. Open fire only when the target is fully visible within optimal hip-fire/ADS range.
3. Instantly disengage to hard cover the moment the magazine reaches zero.
3. Hullcracker: The ARC Weakpoint Striker (PvE)
- Recommended Setup: Hullcracker + Kinetic Converter + Fast Reload Rig
- Tactical Role: Burning ARC heavy targets during vulnerable phases.
- Execution Rules:
1. Track boss animations to predict core exposure windows.
2. Dump the 5-round magazine rapidly into critical armor gaps.
3. Immediately reset your position and reload behind protective cover.
Troubleshooting: Identifying Your Combat Bottlenecks
Do not equip the Kinetic Converter if your setup suffers from fundamental mechanical issues:
| Primary Combat Issue | Root Cause | Recommended Action |
|---|---|---|
| Shots walk off-target after shot 3 | Insufficient recoil management | Swap the Converter for a Stability Stock or Muzzle Brake |
| Opponents escape with ~10% HP | Magazine runs out mid-duel | Equip Extended Magazines before boosting fire rate |
| Constantly killed mid-reload | Over-aggressive repositioning | Reset behind cover earlier; do not rely on fire rate to save you |
| Missed follow-ups on semi-autos | Finger rhythm conflicts with recoil | Practice trigger pacing instead of raising fire rate |
FAQ (Frequently Asked Questions)
What is the best overall weapon for the Kinetic Converter in ARC Raiders?
The Torrente is the strongest sustained-pressure weapon due to its massive 102-round capacity with extended magazines, while the Bobcat provides the highest close-range burst DPS for accurate aggressive players.
Does the Kinetic Converter increase flat bullet damage?
No. The Kinetic Converter grants a +15% fire rate increase, not bonus damage per bullet. It increases your damage per second (DPS) solely by shortening the time interval between shots.
How do you counter the +20% recoil penalty from the Kinetic Converter?
Offset the additional climb by equipping a Compensator or Vertical Foregrip, utilizing crouch stances during automatic fire, and manually adjusting your downward mouse or stick pull during the first 5 to 8 rounds of a spray.
Does the Kinetic Converter work effectively on every compatible weapon?
No. Weapons with inherent burst delays, single-shot cycles, or heavy bolt-action animations (such as the Aphelion, Arpeggio, Ferro, and Osprey) show virtually no practical TTK improvement when equipped with the Converter.
Is the Kinetic Converter worth using on the Hullcracker for PvE farming?
It is a viable specialist PvE choice for unloading quick bursts into exposed ARC weak points. However, because the Hullcracker carries only 5 rounds per magazine, it does not significantly improve overall run times unless paired with fast-reload mechanics.
Summary
The Kinetic Converter is a double-edged sword in ARC Raiders:
- Equip it on high-capacity automatic weapons like the Torrente or high-handling SMGs like the Bobcat, where the 15% rate-of-fire boost translates directly into winning duel trades.
- Avoid it on semi-automatic rifles, burst weapons, or loadouts lacking sufficient recoil compensation.
Fix your base accuracy and magazine bottlenecks first—speed only rewards you when your shots consistently connect.

I’m Sofia Bergström, a Swedish Managing Editor covering FPS, competitive shooters, and extraction shooters for GGWTB. My guides focus on loadout trade-offs, positioning, and when to commit—or cut your losses. A weapon’s stats tell only part of the story; I focus on how it fits your role and the fight ahead.

Most Popular Posts
- ARC Raiders Update 1.42: Phantom Targets Farming Guide (Glitched Wasps, Rewards, Regional Conditions)
- ARC Raiders Hullcracker Blueprints: Fastest Way to Complete The Major's Footlocker
- ARC Raiders Best Pop Trigger Strategy: Fast Phantom Targets Damage Guide
- ARC Raiders Subway Skin Guide: Unlock the Subterranean Outfit
- ARC Raiders Looting Mk. 3 Survivor Blueprint Guide: Best Blue Gate Route and Drop Locations
- ARC Raiders Medium & Heavy Gun Parts Blueprint Guide: Best Farm Route, Locations, and Refiner Crafting
Popular Category Lists
- ARC Raiders / (351)
- Grow a Garden / (294)
- CoD: Black Ops 7 / (167)
- Star Citizen / (162)
- MLB 26 / (159)
- Monopoly Go / (152)
- ARK Survival Ascended / (128)
- Steal a Brainrot / (99)
- Blox Fruits / (74)
- Adopt Me / (74)
- Forza Horizon 6 / (72)
- Sailor Piece / (68)
- Grow a Garden 2 / (68)
- Diablo IV / (62)
- CoD: BLACK OPS 6 / (55)
- Aion 2 / (50)
- Path of Exile 2 / (48)
- Monster Hunter Wilds / (46)
- Windrose / (44)
- Donut SMP / (41)