0
0 Created: Aug 16,2026 | Palworld
Palworld 1.0 Combat Builds: 5 Party Setups That Actually Clear Hard Mode

Stacking four Gobfins is dead. Palworld 1.0 nerfed duplicate-effect stacking, so your old one carry + four clones party is now actively weaker.
The new meta is layered synergy — elemental conversion, headshot multipliers, poison amplification, lifesteal, and partner-skill rotations working together instead of one number getting stacked to infinity.

Here are the 5 builds that hold up in hard mode towers and raid content, plus exactly when to use each one.
- Quick Comparison
- Build 1: Mounted Elemental Player DPS
- Party
- Build 2: Double Knocklem Rotation
- Party
- Build 3: Double Bellanoir Burst Rotation
- Party
- Build 4: Poison/Burn Hybrid
- Hybrid Party (Player + Pal)
- Build 5: Felbat Lifesteal — The Universal Safety Net
- Party
- Bonus: One-Shot / Burst Specialist Builds
- Which Build Fits You
- Gear Tips That Actually Matter
- FAQ
- Does poison work on raid bosses?
- Are Gobfin stacking builds still good?
- Why run two Knocklems instead of one?
- Is Bellanoir better than Knocklem?
- What should beginners run for endgame bosses?
- Summary
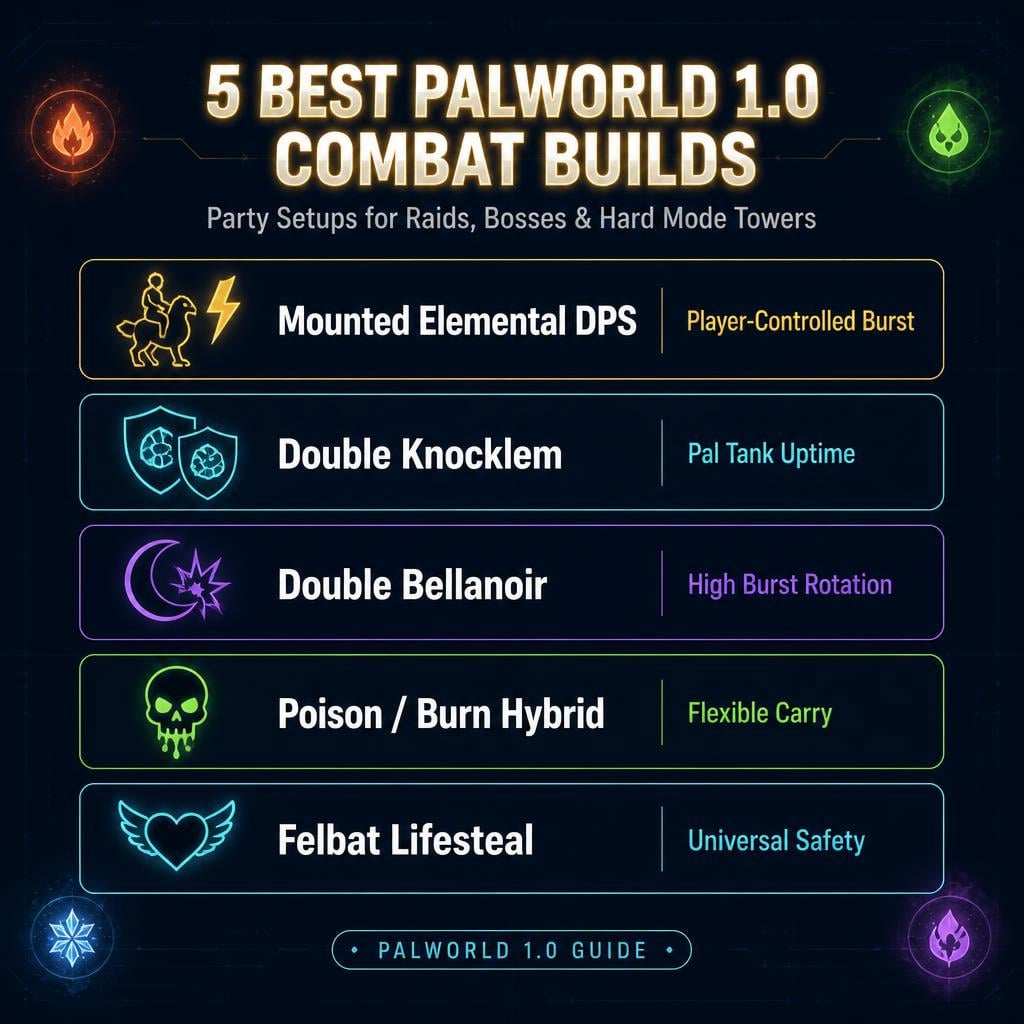
Quick Comparison
| Build | Carry | Best For | Weakness |
|---|---|---|---|
| Mounted Elemental DPS | Player + element mount | Towers, boss sniping | Needs new mount/booster per element |
| Double Knocklem | 2x Knocklem | Pal-focused bossing | Needs skill rotation |
| Double Bellanoir | 2x Bellanoir | Burst damage | Needs clean swap timing |
| Poison/Burn Hybrid | Any carry Pal | Towers, overworld bosses | Dead on raid bosses |
| Felbat Lifesteal | Felbat + player | Universal safety | Lower ceiling DPS |
Bottom line: highest DPS ≠ best build. The build that finishes the fight consistently beats the one that only works when every crit lines up.
Build 1: Mounted Elemental Player DPS
You become the weapon. Your Pal just converts and buffs.
Core loop: Ride a Pal that converts your player damage into the boss's weakness, then stack support around it.
Example: Chillet converts player damage to Dragon → devastating against Victor, Shadowbeak, and other Dark-type targets.
Party
| Slot | Pal | Job |
|---|---|---|
| 1 | Chillet (or matching element mount) | Converts damage to boss weakness |
| 2 | Relaxaurus (or matching booster) | Boosts super-effective damage |
| 3 | Selene | Unique-party attack bonus |
| 4-5 | Vanwyrm Cryst + Cryolinx Terra | Headshot damage boost |
Weapons: Plasma Rifle for reliable headshots. Drone Launcher and shotguns work if you've got the matching boosters.
If you can't land headshots consistently: ditch the headshot boosters for Gobfins or weapon-specific support. A missed bonus is worth zero.
Passives: Legend, Swift, Diamond Body. Your mount getting flinched by a beam it should've dodged is the difference between a clean kill and a wipe — prioritize survival over raw damage here.
Use when: you have good aim, know the boss's element, and want mobility over babysitting a Pal AI.
Build 2: Double Knocklem Rotation
Pal does the heavy lifting. You just manage the rotation.
Core loop: Run 2 Knocklems. Activate one's partner skill for a massive attack/defense buff, let it fight, swap to the second when the buff drops. Repeat forever.
Party
| Slot | Pal | Job |
|---|---|---|
| 1-2 | Knocklem / Fire Knocklem x2 | Rotate partner skill uptime |
| 3 | Orserk | Attack/defense support |
| 4-5 | Celestial Nox + elemental booster | Flex slots |
Pro tip: set Knocklem to Peaceful before engaging. Aggressive mode makes it throw a normal attack before triggering the partner skill — wasting your opener. Peaceful + manual activation = clean burst every time.
Passives: Demon God, Demon Body, Immortality, Serenity. Skip narrow picks like Eternal Flame unless you're fully committing to one element.
Use when: you want low-stress Pal-driven combat with strong uptime and don't mind managing a rotation.
Build 3: Double Bellanoir Burst Rotation
Chain the hardest-hitting exclusive attacks back-to-back.
Core loop: Two Bellanoirs, prioritizing Nightmare Bloom and Nightmare Ray. Swap between them to keep burst windows constant instead of waiting on cooldowns.
Party
| Slot | Pal | Job |
|---|---|---|
| 1-2 | Bellanoir / Bellanoir Libero x2 | Burst attackers |
| 3 | Orserk | Attack/defense support |
| 4-5 | Celestial Nox / Prickster / defensive flex | Match the fight |
Skill priority: Nightmare Bloom → Nightmare Ray → filler. Filler exists for downtime, not to compete for priority.
Passives: Siren of the Void, Diamond Body, Immortality. Serenity isn't required — you're swapping Pals, not waiting on natural cooldowns.
Timing note: if the boss teleports mid-cast, wait a beat before triggering the partner skill. Casting into empty space wastes the whole rotation.
Use when: the boss gives clean openings and you're comfortable swapping on timing rather than autopilot.
Build 4: Poison/Burn Hybrid
Makes almost any favorite Pal viable — just not against raid bosses.
Hard limitation upfront: poison does not work on raid bosses. This build is for hard mode towers and overworld fights only.
Core synergy:
- Beakon-style Pal → poisoned enemies deal reduced damage (survival)
- Prickster-style Pal → you deal bonus damage to poisoned targets (offense)
- Stack burn on top for a second damage-amp condition
Hybrid Party (Player + Pal)
| Slot | Pal | Job |
|---|---|---|
| 1 | Any favorite carry | Deals damage |
| 2 | Prickster-style | Poison damage amp |
| 3 | Beakon-style | Poison damage reduction |
| 4 | Orserk | Attack/defense |
| 5 | Selene / elemental booster | General damage boost |
Applying poison: Poison Crossbow for a simple opener, three-shot bow if you need faster reapplication, or Poison Fog bred onto your carry.
Rotation: poison arrow → confirm status → apply burn → summon carry → refresh poison as needed. UI often only shows one icon at a time — trust the damage ticks, not the icon.
Best carries: Felbat with Poison Fog (adds lifesteal too), Menasting-style tank, or literally your favorite high-DPS Pal — the poison shell carries weak matchups.
Use when: you want to run a favorite Pal, you're fighting poison-vulnerable content, and you need forgiving sustain in hard mode towers.
Build 5: Felbat Lifesteal — The Universal Safety Net
Not the highest DPS. The most reliable clear.
Core loop: Felbat's partner skill gives you lifesteal. You shoot, you heal, you don't disengage. Simple as that.
Party
| Slot | Pal | Job |
|---|---|---|
| 1 | Felbat | Lifesteal + contributes damage |
| 2 | Selene | Player attack boost |
| 3-4 | Vanwyrm Cryst + Cryolinx Terra | Headshot damage |
| 5 | Orserk | Keeps Felbat alive |
Gear matters more here: better armor and weapons = more value per heal tick. This build scales with your gear, not around it.
Swap headshot boosters if: the boss dodges erratically, hides its head, or has janky hitboxes (looking at you, Zoe/Grizzbolt and Shadowbeak). A missed headshot bonus does nothing — swap to general attack or defensive support instead.
Felbat's skills: run whatever's super-effective against the current boss, plus one reliable medium-cooldown attack for uptime.
Optional: breed Poison Fog onto Felbat for a poison-lifesteal hybrid — great except against raid bosses, where it loses value.
Use when: you're learning a new boss, want maximum forgiveness for mistakes, or don't want to rebuild your party every fight.
Bonus: One-Shot / Burst Specialist Builds
Full-send builds around one exclusive attack + one weakness + one perfect window. Stack super-effective bonuses, status amps, food, accessories, and boss-specific passives, then reset until it lands clean.
Worth it when: you already know the boss inside out and want cinematic, fast clears.
Not worth it when: you're still learning the fight — you'll just be resetting for an hour. Learn the boss on Felbat or poison hybrid first.
Which Build Fits You
| You are... | Run this |
|---|---|
| Good aim, strong weapons | Mounted Elemental DPS |
| Want Pal to do the work | Double Knocklem |
| Like precise burst timing | Double Bellanoir |
| Want to use a favorite Pal | Poison/Burn Hybrid |
| New to a boss, want safety | Felbat Lifesteal |
| Fully optimizing a known fight | One-shot specialist |
Recommended progression: Felbat first → then Mounted DPS or Double Knocklem as your second serious build.
Gear Tips That Actually Matter
Dying too much? More defense food, defense emblems, element resist.
Surviving but timing out? More attack food, attack emblems, headshot gear.
Don't force attack food into a fight you're losing because you keep dying — that's a survival problem, not a damage problem.
FAQ
Does poison work on raid bosses?
No. Poison builds are for hard mode towers and overworld bosses only. Don't build your raid strategy around it.
Are Gobfin stacking builds still good?
Gobfin itself is still useful as one piece, but 4 Gobfins + 1 carry is dead. Mix unique bonuses instead — elemental conversion, headshots, Selene's party bonus, weapon boosters.
Why run two Knocklems instead of one?
Uptime. Rotating partner skills between two means one is always buffed while the other's buff recharges — no downtime window.
Is Bellanoir better than Knocklem?
Bellanoir hits harder in bursts but needs tighter timing. Knocklem is sturdier and needs less micromanagement. Pick based on how much you enjoy swap-timing.
What should beginners run for endgame bosses?
Felbat Lifesteal. It's forgiving, scales with your gear, and works almost everywhere. Add Mounted DPS or Double Knocklem once you're comfortable.
Summary
Palworld 1.0 rewards layered builds, not duplicate stacking. Progression path:
1. Felbat Lifesteal — safe universal clears
2. Mounted Elemental DPS — player-controlled burst
3. Double Knocklem — Pal-focused bossing
4. Poison/Burn Hybrid — flexible tower content
5. Double Bellanoir or one-shot builds — optimized farming once you know the fight
Dying too much → Felbat or poison hybrid. Surviving but too slow → Mounted DPS, Knocklem, or Bellanoir. Know the fight cold and want a flex → one-shot builds.

Most Popular Posts
- Palworld 1.0 Combat Builds: 5 Party Setups That Actually Clear Hard Mode
- Palworld 1.0 Ranked Best Unique Base Locations
- Palworld 1.0 Gold Coins Farm Guide: Fastest Ways to Millions of Gold Coins
- Palworld 1.0 Items Farming Guides: Make Any Pal Broken OP Fast
- Palworld 1.0 Lore Guide: Astralym, Xynarra, the World Tree, and Real Ending Explained
- Palworld 1.0.3 Stat Fruit Farming Guides: Dusty Ravine Hybrid Route Hits
Popular Category Lists
- ARC Raiders / (350)
- Grow a Garden / (294)
- CoD: Black Ops 7 / (167)
- Star Citizen / (162)
- MLB 26 / (159)
- Monopoly Go / (152)
- ARK Survival Ascended / (127)
- Steal a Brainrot / (99)
- Blox Fruits / (74)
- Adopt Me / (74)
- Forza Horizon 6 / (72)
- Sailor Piece / (68)
- Grow a Garden 2 / (68)
- Diablo IV / (62)
- CoD: BLACK OPS 6 / (55)
- Aion 2 / (50)
- Path of Exile 2 / (48)
- Monster Hunter Wilds / (46)
- Windrose / (44)
- Donut SMP / (41)