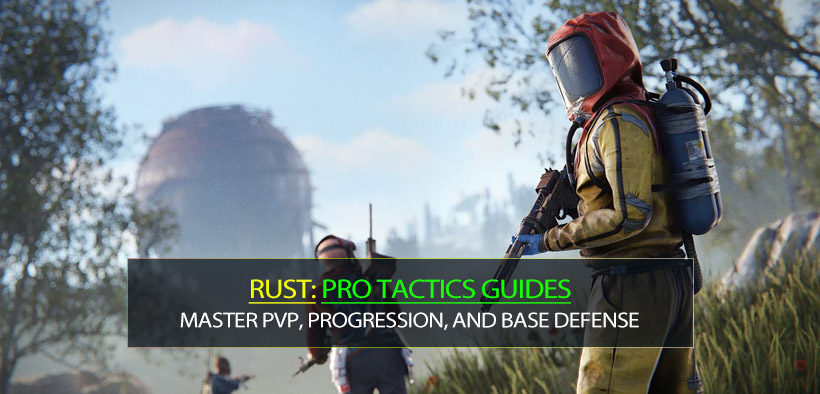
0
0Rust Pro Tactics Guides: Master PvP, Progression, and Base Defense
Winning more fights and surviving deeper into a wipe isn't about a single secret trick. It's about the cumulative effect of small, fundamental habits that work whether you're holding a crossbow or an AK-47. In this guide, we are moving past the basics to tighten the mechanics that actually decide the outcome of a raid or a roam. We'll break down how damage multipliers dictate your aim, why your base geometry creates or destroys safety, and the workflow optimizations that save minutes of downtime.
Because Rust is a game where everything goes wrong at the worst possible moment, we've structured these insights into actionable if/then triggers. This isn't just a list of tips; it's a framework for making better decisions under pressure.
- 1. Combat Fundamentals: The Math of Winning Fights
- 1.1 Projectile Multipliers & Aim Logic
- 1.2 Bow & Arrow Selection
- 2. Aim Training: The 20-Minute Daily Routine
- 2.1 The First Five Rule
- 3. Progression & Efficiency: The Pro Workflow
- 3.1 The Turret Reload Hack
- 3.2 Low-Drama Progression Routes
- 4. Base Defense: Making Raids Annoying
- 4.1 Smart Trap & Turret Placement
- 5. Tactical Positioning: The Aim Multiplier
- 5.1 The One-Peek Rule
- FAQ
- Closing Takeaways
↖ 1. Combat Fundamentals: The Math of Winning Fights
Most players lose engagements because they aim correctly for the wrong set of rules. Once we internalize how Rust calculates damage, we stop donating kits to players who simply understand the numbers better.
↖ 1.1 Projectile Multipliers & Aim Logic
You'd think a headshot is always the goal, but Rust applies different multipliers based on what you're firing.
| Projectile Type | Headshot Multiplier | Practical Meaning |
|---|---|---|
| Standard Bullets | ~2.0× | Head level is king; priority #1 for rifles. |
| Arrows (Bows) | ~1.5× | Headshots help, but body-shot consistency often wins early-game. |
| Shotgun Pellets | ~1.25× | Pellet density matters more than precision. Aim center-mass. |
| Incendiary Shells | ~1.0× | Headshots are a waste of effort; focus on maximum hit probability. |
If you notice you're losing close-quarters shotgun duels despite hitting the head, then lower your aim to the upper chest. Because shotguns are a pellet-collection problem, aiming for the head often causes half your spread to miss entirely, drastically increasing your time-to-kill.
↖ 1.2 Bow & Arrow Selection
Early wipe is decided by hit-rate, not just damage. Not all arrows are created equal, and choosing the wrong one for the distance is a common mistake.
Bone Arrows: These have a larger hitbox. If you struggle with accuracy, we use these to build confidence.
HV (High Velocity) Arrows: These reduce the need to lead your target. If an enemy is strafing at 30+ meters, we swap to HV immediately to remove the guesswork.
Standard Arrows: The reliable baseline.
If your arrows are consistently hitting the dirt in front of your target, then treat the bow like mortar math and aim significantly higher than you think. We use the first shot as a range-finder and the second as the punish.
↖ 2. Aim Training: The 20-Minute Daily Routine
We don't train to look cool on camera; we train to win the first 1.5 seconds of a fight. In our tests, consistency beats marathon sessions every time.
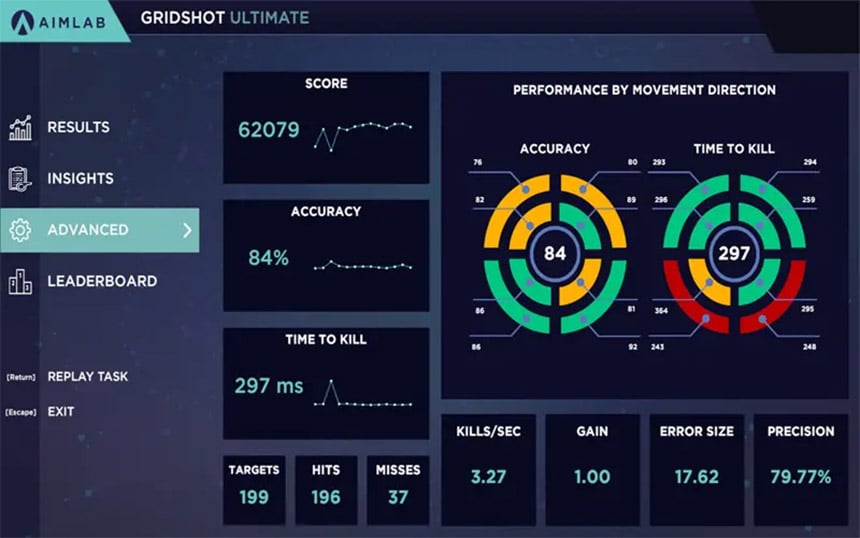
↖ 2.1 The First Five Rule
You don't need to master a 30-bullet spray to be dangerous. If your first 5–10 bullets are tight, most fights end before recoil becomes difficult to manage.
1. First, pick one weapon (e.g., Thompson or AK).
2. Then, practice standing recoil paths. Not crouching—standing.
3. Finally, drill 5-bullet bursts into a single point until it becomes muscle memory.
If you can only control recoil while crouched, then standing fights will feel impossible under pressure. Because Rust often forces you to fire while moving or peeking from behind awkward cover, we practice standing first and treat crouching as an optional accuracy buff.
↖ 3. Progression & Efficiency: The Pro Workflow
The difference between a rich group and a struggling group is often just their UI speed and movement efficiency.
↖ 3.1 The Turret Reload Hack
Reloading 50 weapons one by one is a massive time sink. Because we want to maximize our time outside the base, we use auto-turrets as temporary loading stations.
If you have a box of empty guns after a defense, then transfer them into a turret's inventory along with ammo. The turret's UI allows for faster batch processing than manual reloading. This isn't a glitch, but a smart use of inventory flow that can save you 5 minutes of prep time before the next roam.
↖ 3.2 Low-Drama Progression Routes
If monuments like Oil Rig or Launch Site are camped, don't keep throwing kits at them. If you are blocked from keycard puzzles, then switch to a metal detector loop near road/rail intersections. In our recent wipes, we've found that metal detecting provides a high-consistency, low-risk path to Blueprint fragments and early-tier tools without the monument tax of constant PvP.
↖ 4. Base Defense: Making Raids Annoying
A base that is hard to raid is good, but a base that is annoying to raid is better. Annoyance leads to raider fatigue and mistakes.
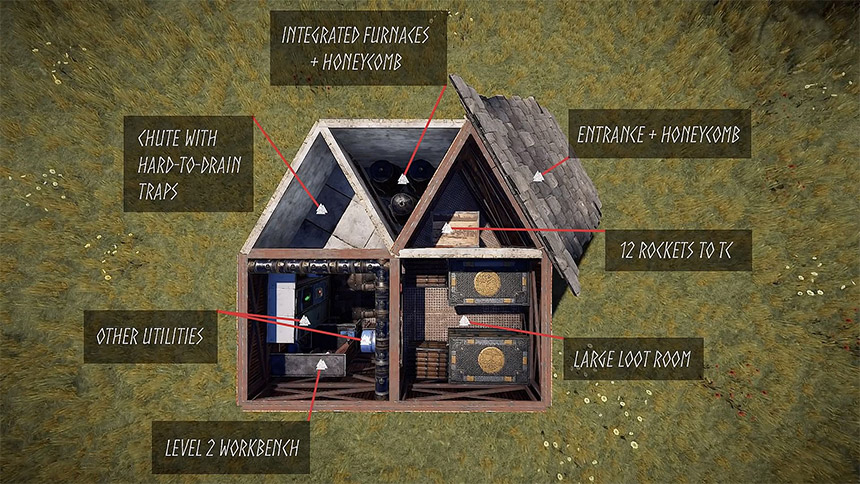
↖ 4.1 Smart Trap & Turret Placement
You'd think placing a turret on a low shelf is smart for coverage, but it's actually a gift to raiders.
Mount traps high: If a shotgun trap is at eye level, it's easily peeked and destroyed. If it's mounted high on a wall, the raider has to expose their head to even see it.
Block counter-building: Use electrical components or small deployables on walls to prevent raiders from placing twig cover to bypass your traps.
| Defense Element | Common Mistake | Pro Correction |
|---|---|---|
| Vending Machines | Using one as a simple door. | Double-stacking side-by-side for tighter interaction gaps. |
| Gun Traps | Placing them low near doors. | Mounting high on walls to force raider exposure. |
| External TCs | Forgetting them entirely. | Using Can Alarms around the perimeter for early warning. |
If you notice raiders are easily draining your turrets, then check your line-of-sight angles. Not every turret should see everything; they should cover each other's blind spots.
↖ 5. Tactical Positioning: The Aim Multiplier
Positioning doesn't replace aim; it multiplies it. Even a player with mediocre recoil control can win if they never take a fair fight.
↖ 5.1 The One-Peek Rule
If you peeked once and didn't get the kill, then do not repeek the same pixel. Competent players will pre-aim exactly where your head just was. Instead:
1. Break line of sight.
2. Rotate wide (even a 10-second flank is enough).
3. Re-engage from an angle they aren't holding.
Experience note: In our scrims, the team that rotates most frequently almost always wins, even if their raw accuracy is lower. Movement creates uncertainty, and uncertainty creates panic.
↖ FAQ
Q: Should I always aim for the head with a Crossbow?
Not necessarily. Because the multiplier is only 1.5×, a guaranteed body shot is often better than a missed headshot, especially if the target is already wounded.
Q: Is the metal detector actually worth the inventory slot?
If you are a solo or small group, yes. It allows you to farm progression in dead areas of the map where larger groups don't bother looking.
Q: Why should I melt tuna cans?
If you haven't found a furnace yet, melting empty tuna cans in a campfire gives you small amounts of metal fragments. It's the difference between a wooden door and a metal door on your first night.
Q: What is the most important keybind for PvP?
A dedicated Quick Craft Bandage bind. If you can heal without opening your inventory, you can keep your eyes on the enemy and stay mobile.
Q: How do I stop getting doorcamped?
Place Can Alarms around your airlock. If you hear the jingle, you know someone is crouching outside before you even open the door.
↖ Closing Takeaways
We improve at Rust when we stop treating it like a pure shooter and start treating it like a series of calculated risks. By tightening your damage fundamentals, optimizing your base defense geometry, and committing to a short, focused aim routine, you move from surviving to controlling the wipe.
The real win is that these habits are patch-resistant. While specific glitches or meta bases might disappear in the next update, the logic of repositioning, pellet density, and workflow efficiency will always remain the foundation of a pro-level playstyle. Apply these if/then triggers during your next session, and you'll notice the game feels significantly less chaotic.

Most Popular Posts
- Rust Apartment Raid Guide: Master Key, Room Value, Costs & Best Targets
- Rust Console World 2.0 Update Guide: 4.5K Maps, Rock Bases, Oasis Spots, Roads
- Rust Raid Guide: The Starter Base TC Tactic That Wins Wipes
- Rust M16A2 Rifle Guide: Best Attachments, Stats, Recoil, and Ammo
- Rust Swimming Pool Loot Storage Guide: Is It Actually Safe?
- Rust Raiding Guide: Abuse Starter Base TC Range to Lock Down Enemy Compounds
Popular Category Lists
- Grow a Garden / (286)
- ARC Raiders / (266)
- CoD: Black Ops 7 / (166)
- Monopoly Go / (146)
- MLB 26 / (145)
- Star Citizen / (116)
- Steal a Brainrot / (89)
- ARK Survival Ascended / (74)
- Sailor Piece / (68)
- Forza Horizon 6 / (63)
- Diablo IV / (61)
- Blox Fruits / (60)
- CoD: BLACK OPS 6 / (55)
- Adopt Me / (53)
- Path of Exile 2 / (48)
- Monster Hunter Wilds / (46)
- Windrose / (44)
- Grow a Garden 2 / (42)
- Path of Exile / (40)
- Bee Swarm Simulator / (36)