0
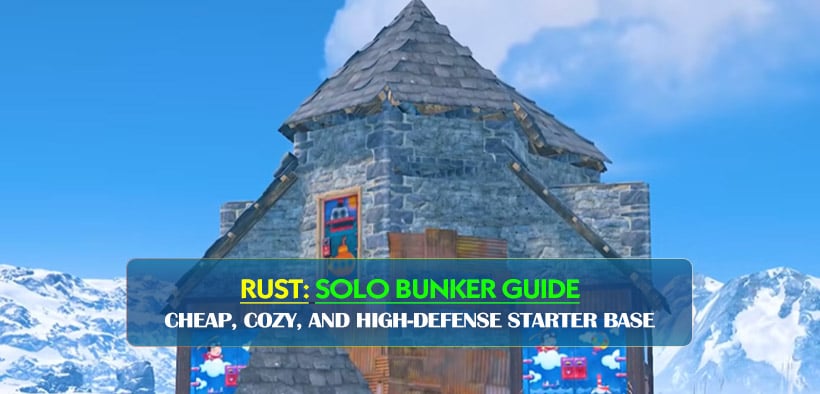
0Rust Solo Bunker Guide: Cheap, Cozy, and High-Defense Starter Base
You have done the grind for the Rust experience, farmed for hours, and built the massive base only to see it gone the next day. Getting the balance of secure and expensive when it comes to building a base is a big pain for any solo/gaming duo. For that reason, we are going to analyze a design that can do a lot more than other base designs.
It is a bit more than the generic 2x1. The base is a stability bunker with the unique property of 360 shooting plus all the perks of a full atmosphere bunker, and a storage density that is one of the highest of any base around. The farm/run for the base is outstanding and balances out. The total costs are probably around 18k stone, 5k metal, and 200 HQM.
We're going to take you through how to build this and more importantly how to build in a high pop wipe.
- The Core: Starting Small but Smart
- How the Stability Bunkers Work
- The Shooting Floor & External Defense
- Comfort & Utility: The Hidden Refinery
- Resource Breakdown & Raid Cost
- Summary
↖ The Core: Starting Small but Smart
Starting small means you can build a footprint that is deceptively simple-- one high triangle and one high square.
Why begin like this?
Placing your Tool Cupboard (TC) in the far right corner of the triangle and locking it right away secures your claim for $2,000 wood and $1,000 stone. This is a game changer in the chaotic early wipe.
With the footprint established, the immediate to-do's are as follows:
- 1. The Shelf Mechanic: Building a shelf inside doubles your storage footprint instantly.
- 2. Loot Density: You can fit a max of four large boxes, small boxes, and furnaces in the space. If you own the Jungle DLC, using barrels can squeeze in more than the standard boxes.
- 3. The Airlock: Expanding with two low triangles creates your airlock. If you open both, they block the passage which physically makes it impossible for deep-raiders to sprint inside if you die in the doorway.
↖ How the Stability Bunkers Work
Let's talk about the Stability Bunker. This is the feature which allows this base to perform effectively against raiders.
What many players might not realize is that most people find bunkers intimidating due to their complexity. This one is the out of the box stability bunker, and it works flawlessly on both the PC and Console versions of the game.
Mechanics of this Bunker:
The Bunker operates using a ceiling and a twig half wall.
- To Seal: You build a half wall, and cover it with a ceiling. This is enough to upgrade it to an HQM. Your path to the TC is now behind a substantial High-Quality Metal wall.
- To Open: You just spawn in your TC room (with a sleeping bag) and break the twig half wall that is supporting the ceiling structure. The bunker ceiling vanishes and your path is opened.
Why is this Effective?
It requires raiders to break through a High Quality Metal floor to get access to the TC. This is expensive to break to and will likely cost about 15 Rockets. Most likely, the base will look small to a raider and they will not think it is worth the cost to break through. This is particularly valid due to the higher cost associated with targeting an observed, higher value base.
↖ The Shooting Floor & External Defense
Bunkers keep loot safe, Shooting Floors keep players safe. Many starter bases shoot blind, this one offers a fully integrated 360 shooting view with minimal upkeep.
We use a roof shooting floor system. With low walls and floor frames, then roofed, peaks are created that are hard to detect and shoot from below.
Benefits:
- One-Way Visibility. You can see down from above, but from below, there's just a dark pixel.
- Vertical Control. There's a custom gap on the second floor to see down on your front door. If someone's door camping, you can take them out without leaving the safety of your upper levels.
- The Panic Workbench. If you're being raided unloaded and you need to buy time, pick up your workbench and place it on top to block the passage between levels. This gives you seconds to heal or reload.
↖ Comfort & Utility: The Hidden Refinery
Some bases require a compound just to safely place an Oil Refinery. Not this one.
Using the space available beneath the roof jump-ups, we have even managed to fit a small Oil Refinery inside the honeycomb area. This means you can cook low-grade fuel during the night without having to put your kit at risk outside.
Storage Breakdown:
Even without the pay-to-win DLC items, this base feels like a warehouse.
- TC Room: 2 Large Boxes + Drop Boxes.
- Core: 4 Large Boxes + Furnaces.
- Shooting Floor: Beds + Lockers + Spare Kits.
Respawn Rooms: We place two outside wings (flank towers) with sleeping bags and kits. This way, if they take your roof, you can spawn outside and flank them.
↖ Resource Breakdown & Raid Cost
Here is the information you need to plan your wipe.
Here is a table showing the cost, along with some attributes, for specific components
| Component | Approximate Cost | Notes |
|---|---|---|
| Build Cost (Stone) | ~18,000 | Includes honeycomb |
| Build Cost (Metal) | ~5,000 | Doors and key upgrades |
| Build Cost (HQM) | ~200 | For the bunker core |
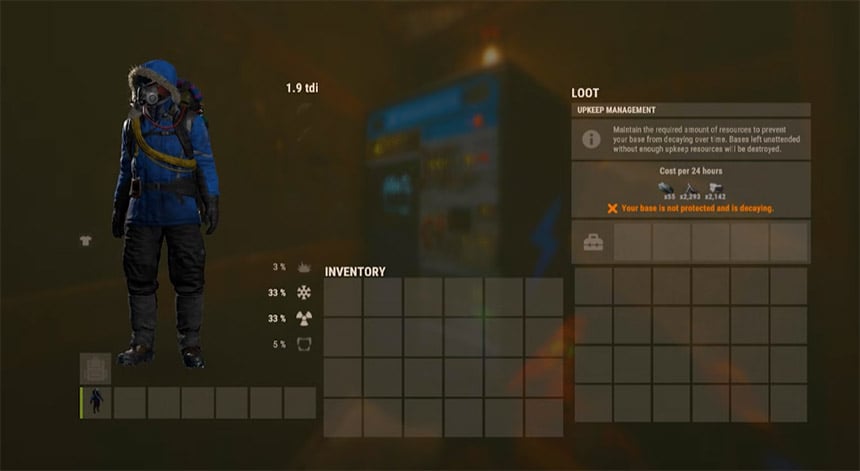
| Upkeep | Very Low | Easily managed by one person |
| Raid Cost (to TC) | 23+ Rockets | Assuming full honeycomb + HQM bunker |
The costs of a component and the attributes are listed. The build costs and components vary based on the materials used and for the HQM (High Quality Metal) bunker core, there is an additional cost. For the core, the metal build cost is also different because upgrades for the doors and keys may be needed.
The upkeep for the bunker is easily manageable by a single person, and is therefore low, with the exception of one component which is the raid cost.
For the raid costs, it depends on the route the raider takes, and there are additional costs for the HQM bunker and honeycomb. The raid cost is also an estimate.
Q: Can I build this on a server with strict building rules?
A: Yes, this uses standard vanilla building mechanics. It does not rely on pixel gaps or exploits that get patched; it relies on stability, which is a core game mechanic.
Q: What if I don't own the Jungle DLC for the barrels?
A: That's fine. The guide states the DLC provides optimized storage. Although standard large boxes will do perfectly. You'll just have less total storage, but the protection will be the same.
Q: How do I exit the bunker if I seal it from the inside?
A: You don't seal it from the inside. You seal it from the outside before logging off. When you log back in, you spawn inside with a bag. Break the twig and the bunker will open. Always remember to have a bag in the TC room!
Q: Is the shooting floor viable against large clans?
A: It gives you a fighting chance. A solo player will struggle against a zerg, but the tight angles and peek-downs help you kill bad players. The goal is to make the raid so annoying and costly that they just give up.
↖ Summary
This base design is perfect for solo/duo players in Rust as it solves the most important aspect in the game. Combining a cheap footprint with high-tier mechanics such as the internal refinery and stability bunker, you get a base that is cozy for players and fortress-like when attacked.
Now you can concentrate on the fun aspects of the game instead of grinding for upkeep. You can finally go PVP, roam, and do monuments instead of hitting sulfur nodes every wipe. Try this design on your next wipe and your loot and sanity will definitely appreciate this.
Most Popular Posts
- Rust Apartment Raid Guide: Master Key, Room Value, Costs & Best Targets
- Rust Console World 2.0 Update Guide: 4.5K Maps, Rock Bases, Oasis Spots, Roads
- Rust Raid Guide: The Starter Base TC Tactic That Wins Wipes
- Rust M16A2 Rifle Guide: Best Attachments, Stats, Recoil, and Ammo
- Rust Swimming Pool Loot Storage Guide: Is It Actually Safe?
- Rust Raiding Guide: Abuse Starter Base TC Range to Lock Down Enemy Compounds
Popular Category Lists
- Grow a Garden / (286)
- ARC Raiders / (266)
- CoD: Black Ops 7 / (166)
- Monopoly Go / (146)
- MLB 26 / (145)
- Star Citizen / (116)
- Steal a Brainrot / (89)
- ARK Survival Ascended / (74)
- Sailor Piece / (68)
- Forza Horizon 6 / (63)
- Diablo IV / (61)
- Blox Fruits / (60)
- CoD: BLACK OPS 6 / (55)
- Adopt Me / (53)
- Path of Exile 2 / (48)
- Monster Hunter Wilds / (46)
- Windrose / (44)
- Grow a Garden 2 / (42)
- Path of Exile / (40)
- Bee Swarm Simulator / (36)