0
Created: Oct 29,2026 | Star Citizen
Star Citizen 4.10.2 Combat Gauntlet 7-6-5: Making aUEC Route

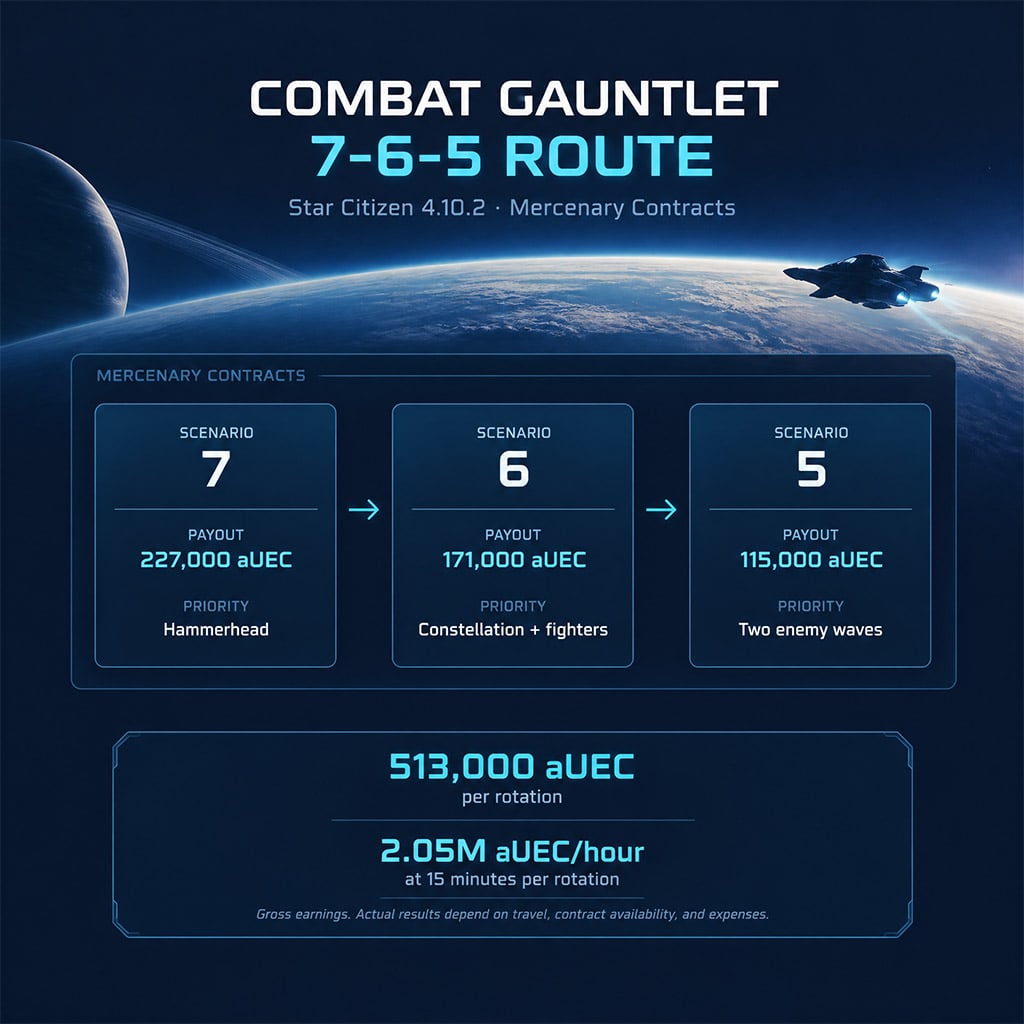
The Combat Gauntlet 7-6-5 rotation pays 513,000 aUEC gross using the listed mission rewards. We reach 2.05 million aUEC per hour only if each complete rotation takes 15 minutes, including travel and time waiting for contracts.
- Payouts and Rotation
- What 2M per hour requires
- Centaurus Setup and Costs
- Contract Preparation
- Combat Tactics
- Scenario 7: Concentrate fire on the Hammerhead
- Scenario 6: Take clean fighter shots
- Scenario 5: Stay for the second wave
- FAQ (Frequently Asked Questions)
- Can we make 2 million aUEC per hour with this route?
- Can we use a rented Corsair for Scenario 7?
- How long do four M7A cannons take to pay for themselves?
- What should we do when Scenario 7 is unavailable?
- Should we use M7As or Deadbolt V cannons?
The demonstrated setup uses a Constellation Mk V Centaurus with four M7A cannons. The route's earnings and equipment prices are patch-dependent; check the official 4.10.2 patch notes and your in-game offers before spending.
Payouts and Rotation
Scenario 7 pays the most, but it may not be ready when you finish Scenario 5. We check the board after every mission and take the highest available offer rather than waiting at a station.
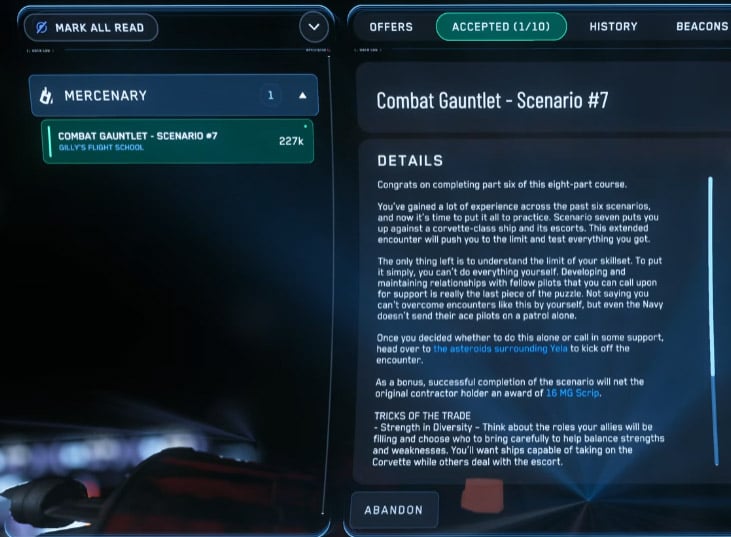
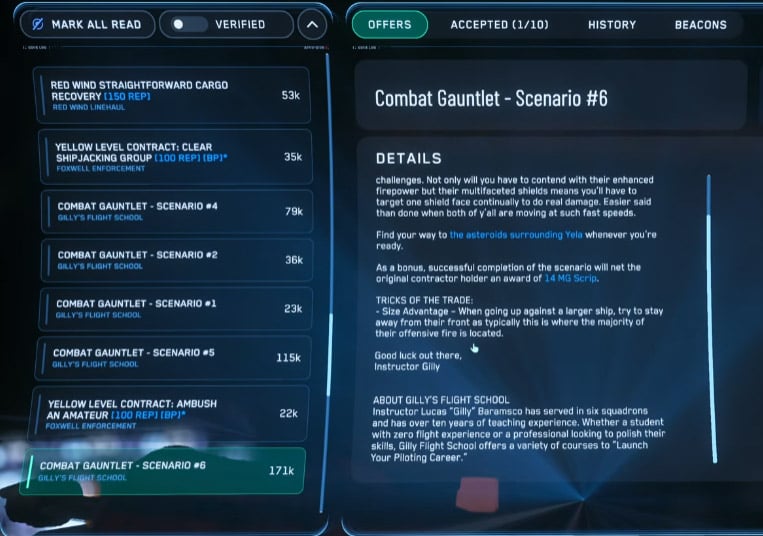
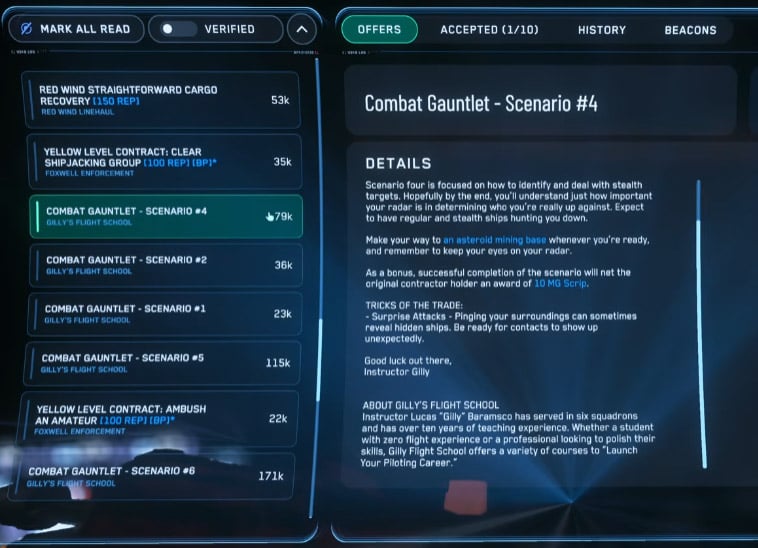
These are the rewards used for the route's calculations:
| Scenario | Payout | Priority |
|---|---|---|
| 7 | 227,000 aUEC | First choice; Hammerhead encounter |
| 6 | 171,000 aUEC | Second choice; Constellation and fighters |
| 5 | 115,000 aUEC | Third choice; two waves |
| 4 | 79,000–80,000 aUEC | Fallback when higher offers are missing |
Take Scenario 4 if the alternatives are unavailable; waiting earns nothing.
The Scenario 7 mission listing also lists a 227,000 payout, though offers can change between builds.
What 2M per hour requires
Completion speed—not the reward screen—determines your hourly rate. These figures assume uninterrupted rotations and exclude expenses.
| Time per 7-6-5 rotation | Gross per hour |
|---|---|
| 15 minutes | 2,052,000 aUEC |
| 20 minutes | 1,539,000 aUEC |
| 30 minutes | 1,026,000 aUEC |
Use the 20-minute figure or slower for planning until your own timed runs prove otherwise.
Here is the catch: in the gameplay demonstration, Scenario 7 was not immediately available after the first rotation. Four uninterrupted rotations are a target, not a guaranteed result.
For your real rate, record your starting balance and time, then divide your balance increase after expenses by elapsed hours. Include travel, repairs, waiting, and failed missions.
Centaurus Setup and Costs
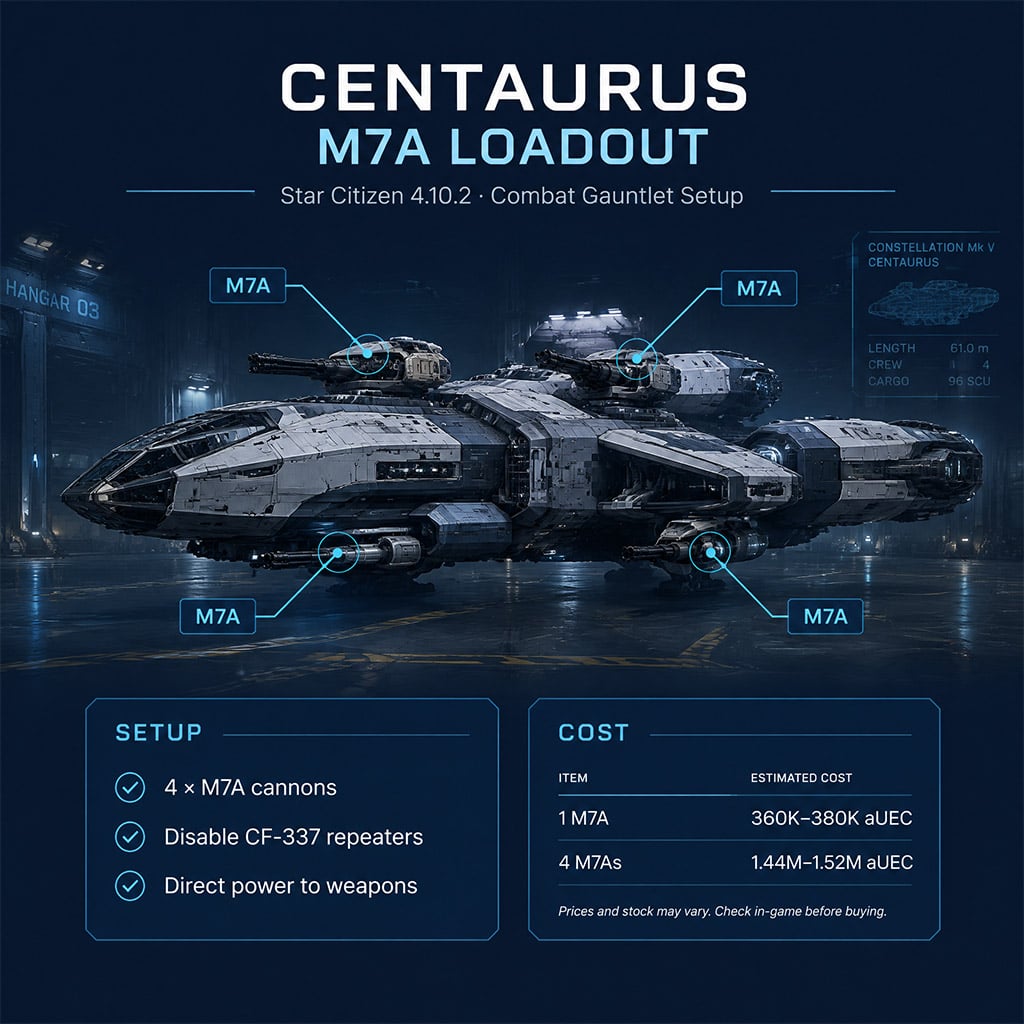
The Hammerhead is the obstacle that makes Scenario 7 different from the lower-tier loop. The demonstrated Centaurus setup uses four M7A cannons, with the CF-337 repeaters disabled through diagnostics and power directed toward weapons.
Budget for the cannons before counting mission profits:
| Item | Price used for planning | Consideration |
|---|---|---|
| One M7A | 360,000–380,000 aUEC | Confirm current shop price and stock |
| Four M7As | 1.44–1.52 million aUEC | Main weapon investment |
| Corsair rental | 155,000 aUEC | Scenario 7 performance remains unverified |
Prioritize the demonstrated Centaurus setup over a Corsair rental if your goal is to reproduce the Hammerhead run.
Three full rotations gross 1.539 million aUEC, just above the high-end cannon estimate. That does not include repairs or other costs, so three rotations are a minimum gross payback calculation, not guaranteed profit.
Contract Preparation
If Scenario 7 is missing from your board, work through the earlier Combat Gauntlet offers first. We use Crusader as the operating area and Seraphim Station as a nearby respawn point.
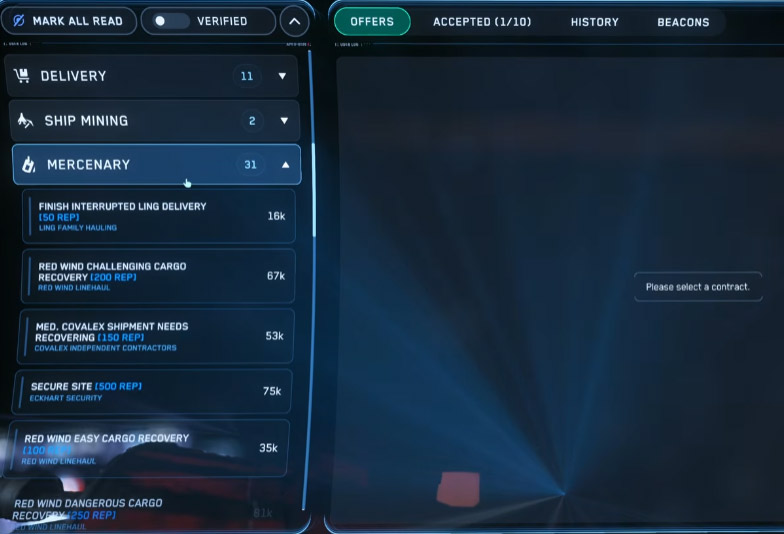
1. Open the Mercenary contract tab.
2. Complete Scenario 1, then work through Scenarios 2–6 as they appear.
3. Check Scenario 7's reward and location before accepting.
4. After each mission, check the board for the next highest-paying offer.
The exact prerequisites and offer timing are not independently confirmed for every account. If a mission does not appear, check your contract progress rather than assuming a fixed respawn timer.
Combat Tactics
Each mission has a different time sink: the Hammerhead's durability, fast fighters, or a second wave. We adjust target priority to the encounter instead of treating every contract as a straight damage race.
Scenario 7: Concentrate fire on the Hammerhead
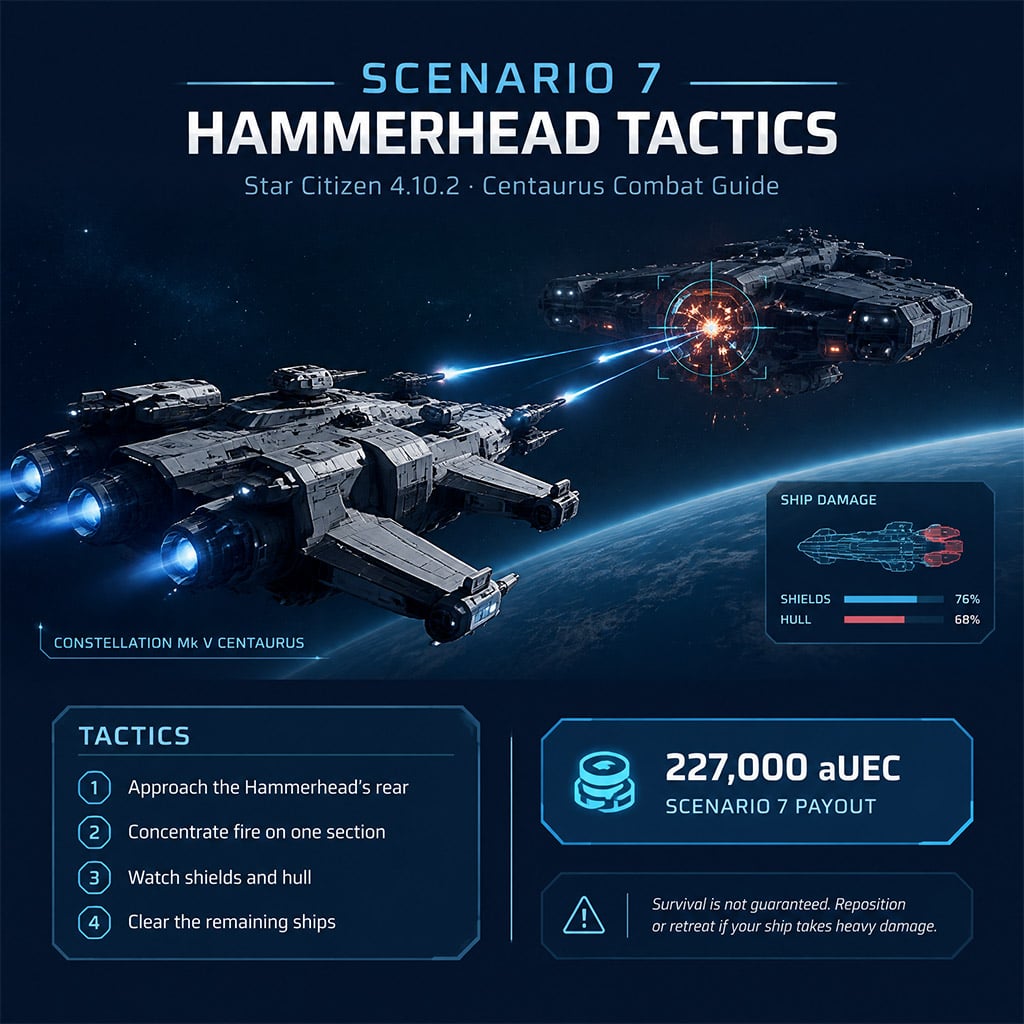
In the demonstration, the pilot attacks the rear of the Hammerhead, keeps firing into that area, and clears the smaller ships afterward. We follow that pattern when the rear is exposed, while watching our shields and hull.
Do not rely on immunity. The Centaurus survives the demonstrated engagement, but lag, other enemies, armor condition, and balance changes make that one fight a poor guarantee for your next run.
Scenario 6: Take clean fighter shots
The demonstrated encounter includes two Gladius fighters and a Constellation. The pilot removes the fighters first, then turns sustained fire on the larger ship.
If a Gladius presents a clean approach, shoot it; if it is difficult to track, reposition instead of draining the weapon capacitor on misses. A brief pause to regain charge is cheaper than losing time to inaccurate fire.
Scenario 5: Stay for the second wave
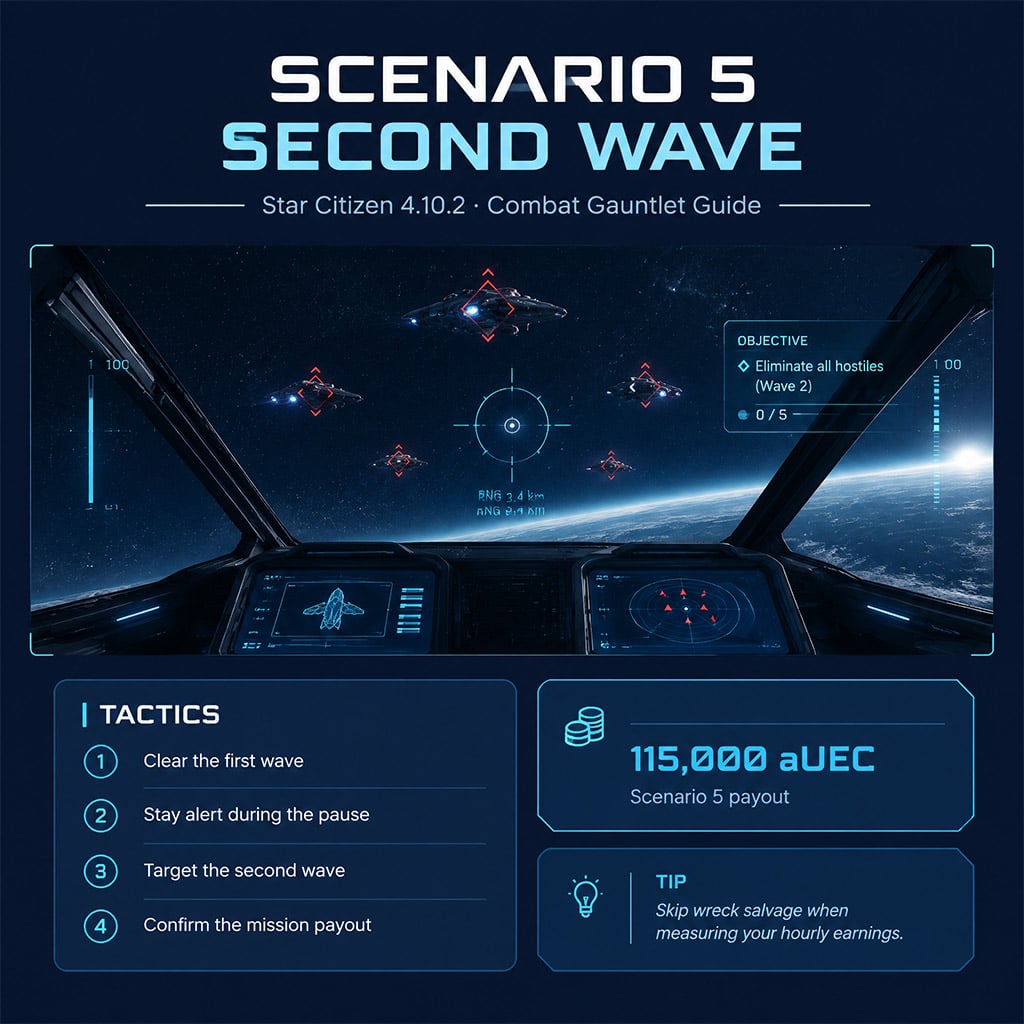
Scenario 5 has two waves, so the first kill is not the finish. In the demonstration, a short pause follows the first wave before the remaining enemies appear.
Stay alert and clear the second wave before checking the payout. The encounter may offer a chance to recover a Deadbolt V, but tracking wreckage adds time that the 7-6-5 earnings calculation does not include.
FAQ (Frequently Asked Questions)
Can we make 2 million aUEC per hour with this route?
Yes, at a 15-minute average per complete 7-6-5 rotation, using the listed payouts. That is gross income and depends on contracts appearing in time; repairs and delays reduce the result.
Can we use a rented Corsair for Scenario 7?
The Corsair's Scenario 7 performance is unverified for this route. The cited rental price is 155,000 aUEC, but the demonstrated Hammerhead kill used a Centaurus.
How long do four M7A cannons take to pay for themselves?
Three complete rotations gross about 1.539 million aUEC, enough to cover the quoted high-end cannon cost before expenses. At 15 minutes per rotation, that is 45 minutes of ideal runs; repairs and delays extend it.
What should we do when Scenario 7 is unavailable?
Run Scenario 6 or 5, then use Scenario 4 as a fallback. Check the board after each mission and calculate your rate from the contracts you actually complete.
Should we use M7As or Deadbolt V cannons?
Use M7As to follow the demonstrated route without ballistic restocks. Deadbolt Vs are an alternative, but the available evidence does not establish that their damage advantage outweighs ammunition and recovery time for this loop.

I’m Benjamin Walsh, an Australian Senior Copy Editor at GGWTB focused on survival crafting, open-world exploration, and extraction games. My guides weigh base locations, supply routes, and what deserves the last slot in your backpack. When editing, I look for skipped prerequisites and unclear directions—a useful guide shouldn’t send you across the map without the right tools.

Most Popular Posts
- Star Citizen 4.10 Quantum Drive Guide: Best Drives for Speed, Range, and Crafting
- Star Citizen Alpha 4.10 Guide: Recco Battaglia Missions, Siege of Orison, Regen Crisis
- Star Citizen 4.9.0: Fastest Way to Farm Size 3 NDB Repeaters - Combat Gauntlet 5 Guide
- Star Citizen 4.10 Weapons and Components Guide: Best Quantum Drives, Ballistics, Distortions, and Ship Loadouts
- Star Citizen 4.10 aUEC Ship Guide: Hull B, Aurora MR II, Golem OX, L22, UTV Prices & Locations
- Star Citizen Ship Update: Galaxy, Kraken and 2026 Release Forecast
Popular Category Lists
- ARC Raiders / (359)
- Grow a Garden / (295)
- CoD: Black Ops 7 / (167)
- Star Citizen / (164)
- MLB 26 / (159)
- Monopoly Go / (153)
- ARK Survival Ascended / (128)
- Steal a Brainrot / (99)
- Blox Fruits / (74)
- Adopt Me / (74)
- Forza Horizon 6 / (72)
- Sailor Piece / (68)
- Grow a Garden 2 / (68)
- Diablo IV / (62)
- CoD: BLACK OPS 6 / (55)
- Aion 2 / (55)
- Path of Exile 2 / (48)
- Monster Hunter Wilds / (46)
- Windrose / (44)
- Maplestory Classic / (44)