



 0
0 Created: Apr 21,2026 | ARC Raiders
ARC Raiders Damage Fireflies Trial Guide: Best Farm Method on Buried City Night Raid


If you're trying to finish the Damage Fireflies Trial efficiently, the cleanest method right now is Buried City Night Raid from the Santa Maria Houses rooftop. After testing a full run with this setup, we found it gives the best mix of visibility, Firefly spawns, and safe repositioning. Even with some mistakes and an unoptimized loadout, the route still produced 24,760 points, which is a strong sign that the method is reliable.
- Why This Method Works
- Best Map Condition
- Best Position: Santa Maria Houses Roof
- Recommended Loadout
- How to Farm Fireflies Faster
- Practical Tips From Testing
- Quick Loadout Summary
- FAQ
- What is the best map for the Damage Fireflies Trial in ARC Raiders?
- Where should we stand for this trial?
- Should we only kill Fireflies?
- Is Jupiter worth using?
- Is this method actually reliable?
- Final Takeaway
Why This Method Works
The big advantage of this route is simple: from the top of Santa Maria Houses, we can scan a huge section of the map and pick out Fireflies before they drift away. More importantly, this spot lets us cycle flyer spawns by clearing Wasps and Hornets too.
That matters because Fireflies don't seem to appear as consistently if the air is already clogged with other flying ARC. In practice, if we clear the full flying rotation instead of tunnel-visioning only Fireflies, we get more repeat spawns over the course of the raid.
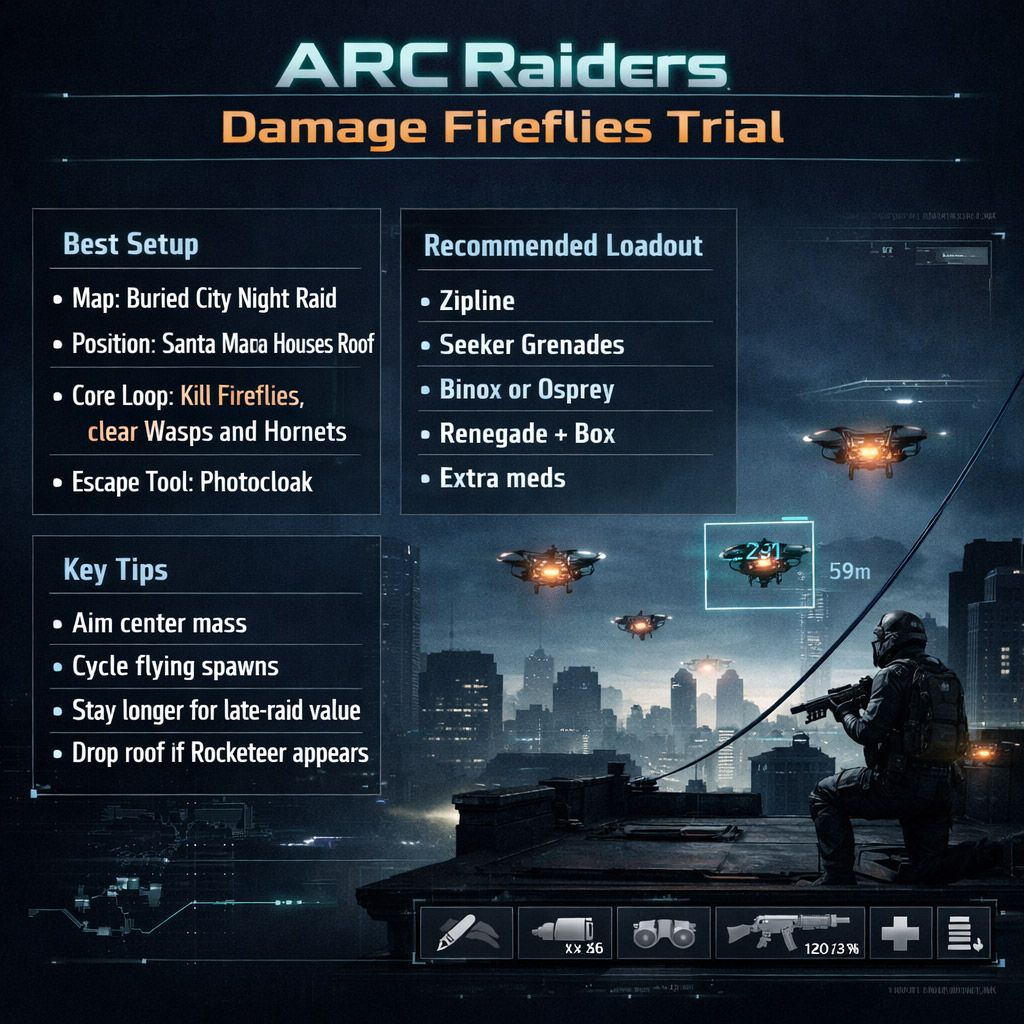
Best Map Condition
From everything we tested, Buried City Night Raid feels like the best condition for this trial.
| Map Condition | How It Feels | Verdict |
|---|---|---|
| Buried City Night Raid | Best sightlines, strong flyer density, easiest rooftop setup | Best option |
| 2x event variants | Can work, but less consistent | Backup choice |
| Close Scrutiny | Too chaotic, harder to farm cleanly | Not recommended |
If Night Raid is available, that should be the first choice.
Best Position: Santa Maria Houses Roof
We want to zipline onto the top of Santa Maria Houses and use that roof as our anchor point.
Why this spot works:
- Wide view over common flyer lanes
- Easy to scout with Binox or Osprey
- Good angle on multiple Firefly spawns
- Fast drop-off route if a Rocketeer or swarm pushes us
This is not a stand still and hold forever spot. It's more of a control point. If pressure starts building, we drop, reset, heal, and go back up.
Recommended Loadout
The strategy worked with a test setup, but it can be cleaner with a few changes.
| Slot | Recommended Pick | Why It Helps |
|---|---|---|
| Mobility | Zipline | Needed for rooftop setup |
| Survival | Photocloak | Best emergency disengage tool |
| Utility | Seeker Grenades | Excellent for swarm pressure |
| Scout Tool | Binox / Osprey | Makes spotting Fireflies easier |
| Main Weapons | Renegade + Box | More efficient overall |
| Optional | Jupiter | Usable, but less consistent at range |
In our run, Jupiter was workable, but it felt less reliable at long distance than expected. If we were running this again purely for efficiency, Renegade + Box would probably be the better choice.
How to Farm Fireflies Faster
The main trick is not just killing Fireflies. It's managing the entire flying spawn cycle.
Here's the basic loop:
1. Reach the Santa Maria roof
2. Scan with Osprey or Binox
3. Kill visible Fireflies
4. Clear nearby Wasps and Hornets
5. Re-scan the area
6. Reset immediately if a Rocketeer pushes
If you notice that Fireflies stop appearing for a bit, that usually means you need to clear the other flyers first. Once we started doing that consistently, the run felt much smoother.
Practical Tips From Testing
A few things stood out during the test run:
- Aim center mass, not the wings
- Bring more Seeker Grenades than you think you need
- Late raid felt better for spawns, especially after the 10-minute mark
- Don't overstay bad pressure just because the roof is strong
- More meds and shield sustain would have improved the run a lot
One of the easiest mistakes here is getting greedy. The rooftop gives great value, but once a Rocketeer locks in or multiple flyers stack pressure, it's better to disengage early than throw the run.
Quick Loadout Summary
| Priority | What to Bring |
|---|---|
| Mandatory | Zipline |
| High Priority | Photocloak, Seeker Grenades |
| Very Useful | Binox or Osprey |
| Best Weapon Pair | Renegade + Box |
| Optional | Barricades, Jupiter |
This setup gives us mobility, scouting, and enough emergency tools to stay in the raid long enough for the later spawns to pay off.
FAQ
What is the best map for the Damage Fireflies Trial in ARC Raiders?
Buried City Night Raid is the best option we've tested. It offers the most reliable Firefly farming setup thanks to rooftop vision and strong flyer density.
Where should we stand for this trial?
The best spot is the Santa Maria Houses rooftop. Use a zipline to get there and scout the area from above.
Should we only kill Fireflies?
No. We should also kill Wasps and Hornets to keep the flying spawns cycling. This seems to improve how often Fireflies appear.
Is Jupiter worth using?
It can work, but it's not essential. In our testing, Renegade + Box felt more efficient overall, especially when the raid got messy.
Is this method actually reliable?
Yes. A test run with several mistakes still ended at 24,760 points, which shows the route is strong even before full optimization.
Final Takeaway
The simplest and most reliable way to clear the Damage Fireflies Trial is to run Buried City Night Raid, hold the Santa Maria Houses rooftop, and keep the flyer spawns moving by clearing Wasps and Hornets along with Fireflies. That's the real key. Once the rotation starts flowing, the trial becomes much more consistent.
If you're farming this challenge seriously, the biggest upgrades are easy: bring more utility, play for late-raid value, and don't get greedy when the roof gets hot.

Most Popular Posts
- ARC Raiders Update 1.42: Phantom Targets Farming Guide (Glitched Wasps, Rewards, Regional Conditions)
- ARC Raiders Hullcracker Blueprints: Fastest Way to Complete The Major's Footlocker
- ARC Raiders Best Pop Trigger Strategy: Fast Phantom Targets Damage Guide
- ARC Raiders Subway Skin Guide: Unlock the Subterranean Outfit
- ARC Raiders Looting Mk. 3 Survivor Blueprint Guide: Best Blue Gate Route and Drop Locations
- ARC Raiders Medium & Heavy Gun Parts Blueprint Guide: Best Farm Route, Locations, and Refiner Crafting
Popular Category Lists
- ARC Raiders / (354)
- Grow a Garden / (294)
- CoD: Black Ops 7 / (167)
- Star Citizen / (163)
- MLB 26 / (159)
- Monopoly Go / (153)
- ARK Survival Ascended / (128)
- Steal a Brainrot / (99)
- Blox Fruits / (74)
- Adopt Me / (74)
- Forza Horizon 6 / (72)
- Sailor Piece / (68)
- Grow a Garden 2 / (68)
- Diablo IV / (62)
- CoD: BLACK OPS 6 / (55)
- Aion 2 / (53)
- Path of Exile 2 / (48)
- Monster Hunter Wilds / (46)
- Windrose / (44)
- COD: Modern Warfare 4 / (43)






