0
0 Created: Aug 10,2026 | ARC Raiders
ARC Raiders Electromagnetic Storm Guide: Best Condition to Farm Blueprints

Electromagnetic Storm is one of the best conditions in ARC Raiders for farming blueprints and making money. It is not safe. It is not quiet. But if you know where to loot and when to leave, even an average storm raid can pay out hard.
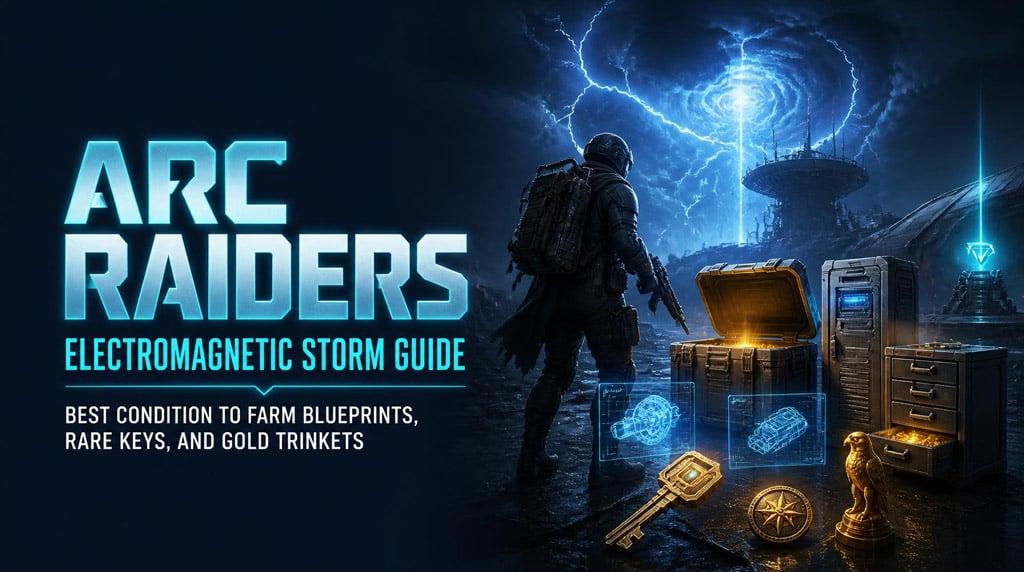
The core plan is simple: hit dense loot zones fast, prioritize blueprint containers, skip junk, extract once the bag is worth protecting.
- Best Condition for Blueprints in ARC Raiders
- Best Loot Containers for Blueprints and Money
- What to pick up first
- What to drop
- Best Spaceport Route for Electromagnetic Storm
- Control Tower
- Departure Building
- Arrival Building
- Tunnels and Checkpoints
- How to Play Late Spawns and Crashes
- PvP and PvE Rules for Storm Farming
- PvP rules
- PvE threats
- When to Extract in Electromagnetic Storm
- Electromagnetic Storm Loot Plan
- First 3 minutes
- Minutes 4-10
- After 10 minutes
- FAQ
- Is Electromagnetic Storm the best condition for blueprints in ARC Raiders?
- What containers should I check first for blueprints?
- What is the best Spaceport location for storm farming?
- Should I extract after finding one blueprint?
- What should I do if I spawn late?
- Summary
Best Condition for Blueprints in ARC Raiders
Electromagnetic Storm is worth farming because it boosts the value of a run even when blueprint RNG misses.
In real runs, we pulled:
- 3 blueprints across a messy Spaceport raid
- Multiple gold trinkets
- A Kinetic Converter
- Rare keys, including a strong archive-style key
- Valuable sell items from basic drawers and lockers
That matters because storm raids do not need to be perfect. If the blueprint does not drop, the money often does.
| Run Type | Best Finds | Blueprints | Takeaway |
|---|---|---|---|
| Fast Control Tower run | Gold trinkets, Kinetic Converter, key | 0 | Still highly profitable |
| Longer Spaceport run | Betina, Torrente, extra blueprint | 3 | Strong blueprint potential |
| Late raid start | Partially looted buildings | Low | Rotate fast or leave |
Pain point: normal raids can feel empty.
Storm solution: more high-value loot chances in the same time window.
Best Loot Containers for Blueprints and Money
Do not loot everything. Storm raids punish slow players.
Focus on containers that can actually pay.
| Container | Why It Matters | Priority |
|---|---|---|
| Drawers | Blueprints, keys, trinkets | Very High |
| Green industrial drawers | Industrial loot, utility blueprints | Very High |
| Med bags | Can drop blueprints and meds | High |
| Lockers | Gear, valuables, components | High |
| Breach boxes | Often skipped, strong loot chance | High |
| Computers | Electronics, sellables | Medium |
| Trash cans | Inconsistent but worth quick checks | Medium |
| Weapon cases | Parts, weapon value | Medium-High |
What to pick up first
Always make room for:
- Blueprints
- Gold trinkets
- Rare keys
- Kinetic Converter
- Expedition materials
- Purple rarity progression items
- Weapon blueprints and weapon parts
What to drop
Drop these when the bag gets tight:
- Common junk
- Extra ammo
- Low-value single-slot materials
- Cheap duplicate consumables
- Weak trinkets
If you have one blueprint, one rare key, and several gold items, your bag is already valuable. Stop treating the raid like a shopping trip.
Best Spaceport Route for Electromagnetic Storm
Spaceport works well because its best loot zones are close enough to chain. The risk is obvious: other players rotate there too.
Control Tower
Control Tower is a top early target.
Hit it if you spawn nearby.
Loot order:
1. Drawers
2. Lockers
3. Med bags
4. Small containers
5. Exit before players collapse on the building
Why it works: the building is compact. You can loot fast and extract fast. In one run, Control Tower produced multiple gold items and a Kinetic Converter in minutes.
If you hear footsteps below, slow down. Staircases are death funnels.
Departure Building
Departure Building has some of the best loot density on Spaceport.
It is also where players camp, rat, and third-party fights.
| Strength | Weakness |
|---|---|
| High loot density | Very contested |
| Strong blueprint chance | High PvP risk |
| Many drawers and bags | Often looted early |
| Great close-spawn target | Bad late-raid target |
If you spawn close, rush it.
If doors are open 10 minutes in, do not deep-clear it. Check a few high-value containers and rotate.
Arrival Building
Arrival Building is the backup high-value zone.
Check:
- Med area
- Drawers
- Computers
- Lockers
- Side rooms
- Breach rooms if available
If the med area is empty and upstairs is stripped, leave. Do not spend five minutes confirming you are late.
Tunnels and Checkpoints
Tunnels save bad raids.
They are good when the main buildings are already looted.
Look for:
- Breach boxes
- Weapon cases
- Computers
- Lockers
- Small checkpoint containers
This is where missed loot lives. One blueprint came from a less obvious tunnel/checkpoint route, which is exactly why these areas matter.
How to Play Late Spawns and Crashes
Late spawn? Reconnect after a crash? Your route changes.
Assume the main buildings are already touched if you see:
- Open doors
- Dead ARC enemies
- Destroyed turrets
- Empty obvious containers
- Breached rooms already opened
- Players moving away from loot zones
Do not force the original route. Adapt.
| Situation | Best Move | Reason |
|---|---|---|
| Major building already open | Check only premium containers | Saves time |
| Players nearby | Avoid stairs and tight doors | Prevents ambush |
| Main zones looted | Rotate tunnels/checkpoints | Finds leftovers |
| Bag has gold loot | Extract | Locks profit |
| Found rare key | Secure or leave | Key value beats greed |
The worst play is arriving late and pretending you are first.
PvP and PvE Rules for Storm Farming
Electromagnetic Storm brings players. Better loot means more rats, more ambushes, and more desperate fights.
PvP rules
Use this simple logic:
- Empty bag: take risks.
- Valuable bag: avoid ego fights.
- Blueprint found: play quieter.
- Rare key found: stop gambling.
- Building already looted: do not fight for scraps.
A weapon like the Betina is excellent here because it handles both ARC enemies and players. It gives enough control without slowing the route down.
PvE threats
Watch for:
- Hornets
- Shredders
- Fireballs
- Leapers
- Bombardiers
- Rocketeers
- Turrets
Small ARC enemies are not harmless. They make noise, burn meds, and expose your position. Kill fast or move.
When to Extract in Electromagnetic Storm
Greed kills more storm runs than bad aim.
Extract when you have:
- 1+ blueprints
- Rare key
- Multiple gold trinkets
- Kinetic Converter
- Needed expedition materials
- Full backpack within the first 5 minutes
A five-minute extract with high-value loot beats dying at minute fifteen with a heroic backpack.
Stay longer only if:
- Your bag is still weak
- Nearby zones look untouched
- You have meds
- You have ammo
- Extraction is reachable
- Player activity is low
The stronger your bag gets, the less you should gamble.
Electromagnetic Storm Loot Plan
Use this route logic instead of wandering.
First 3 minutes
- Rush closest premium zone
- Loot drawers, med bags, lockers, breach boxes
- Skip junk
- Listen for players
- Leave once value is secured
| Spawn | First Move |
|---|---|
| Near Control Tower | Rush Control Tower |
| Near Departure | Rush Departure Building |
| Near Arrival | Clear Arrival Building |
| Near Container Storage | Check green drawers |
| Bad outer spawn | Hit tunnels/checkpoints |
Minutes 4-10
- Rotate based on open doors
- Check containers players skip
- Use tunnels if main buildings are stripped
- Avoid loud fights
- Secure blueprints and keys
After 10 minutes
- Stop deep-clearing looted zones
- Avoid risky stairwells
- Hit side rooms and tunnels
- Extract if bag is strong
That is the loop: fast loot, smart rotation, clean extract.
FAQ
Is Electromagnetic Storm the best condition for blueprints in ARC Raiders?
It is one of the best. The condition consistently creates higher-value loot opportunities and can produce blueprints from common containers like drawers, med bags, and lockers.
What containers should I check first for blueprints?
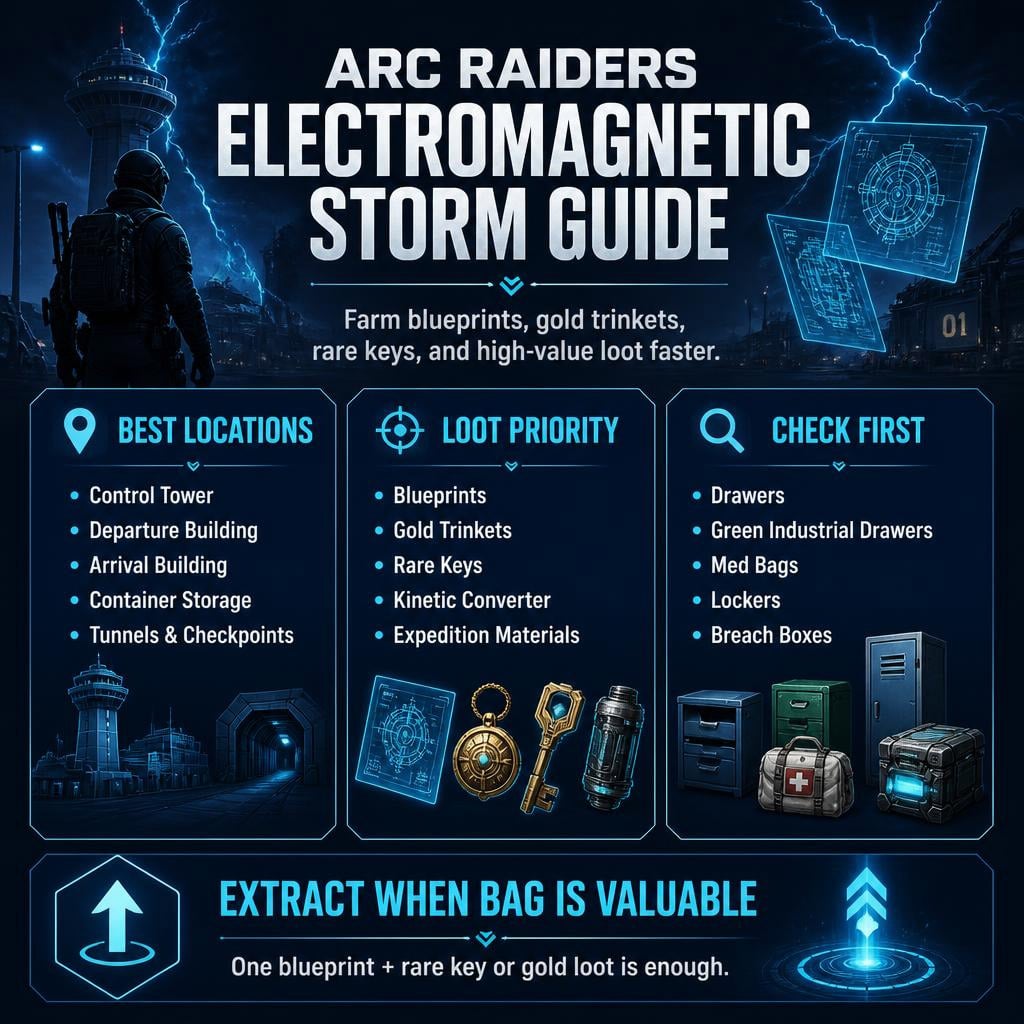
Prioritize drawers, green industrial drawers, med bags, lockers, and breach boxes. These give the best mix of blueprints, keys, valuables, and progression items.
What is the best Spaceport location for storm farming?
Departure Building has the best density, but it is heavily contested. Control Tower is safer for fast value. Tunnels and checkpoints are best when you spawn late or find open doors everywhere.
Should I extract after finding one blueprint?
Usually, yes if the bag also has value. One blueprint plus gold trinkets or a rare key is enough reason to leave. Do not turn a good raid into a donation.
What should I do if I spawn late?
Skip full clears. Check only premium containers, then rotate to tunnels, checkpoints, breach boxes, and side rooms. Late raids are about recovering value, not competing for rooms already emptied.
Summary
Electromagnetic Storm is a top-tier condition for farming ARC Raiders blueprints, gold trinkets, rare keys, and expensive components.
Best targets:
- Control Tower
- Departure Building
- Arrival Building
- Container Storage
- Tunnels and checkpoints
Best containers:
- Drawers
- Green industrial drawers
- Med bags
- Lockers
- Breach boxes
Best rule: extract when the bag is already good.
Storm farming is not about clearing the whole map. It is about taking the best loot before the raid turns bad. Fast route. Smart picks. No greed.


The GGWTB Editorial Team features 10 full-time gaming editors and 23 specialist contributors, delivering hands-on tested walkthroughs, easter egg breakdowns, and game updates.
ELSA — who spearheads our in-depth COD: BLACK OPS 7, ARC Raiders guides, and patch notes—every guide is rigorously verified on live servers for accuracy.

Most Popular Posts
- ARC Raiders Update 1.42: Phantom Targets Farming Guide (Glitched Wasps, Rewards, Regional Conditions)
- ARC Raiders Hullcracker Blueprints: Fastest Way to Complete The Major's Footlocker
- ARC Raiders Best Pop Trigger Strategy: Fast Phantom Targets Damage Guide
- ARC Raiders Subway Skin Guide: Unlock the Subterranean Outfit
- ARC Raiders Looting Mk. 3 Survivor Blueprint Guide: Best Blue Gate Route and Drop Locations
- ARC Raiders Medium & Heavy Gun Parts Blueprint Guide: Best Farm Route, Locations, and Refiner Crafting
Popular Category Lists
- ARC Raiders / (345)
- Grow a Garden / (292)
- CoD: Black Ops 7 / (167)
- Star Citizen / (161)
- MLB 26 / (159)
- Monopoly Go / (152)
- ARK Survival Ascended / (126)
- Steal a Brainrot / (98)
- Blox Fruits / (74)
- Adopt Me / (73)
- Forza Horizon 6 / (72)
- Sailor Piece / (68)
- Grow a Garden 2 / (68)
- Diablo IV / (62)
- CoD: BLACK OPS 6 / (55)
- Path of Exile 2 / (48)
- Monster Hunter Wilds / (46)
- Aion 2 / (46)
- Windrose / (44)
- Donut SMP / (41)