



 0
0 Created: Mar 6,2026 | ARC Raiders
Arc Raiders Fast & Safe Epic Weapon & Blueprint Farming Guide

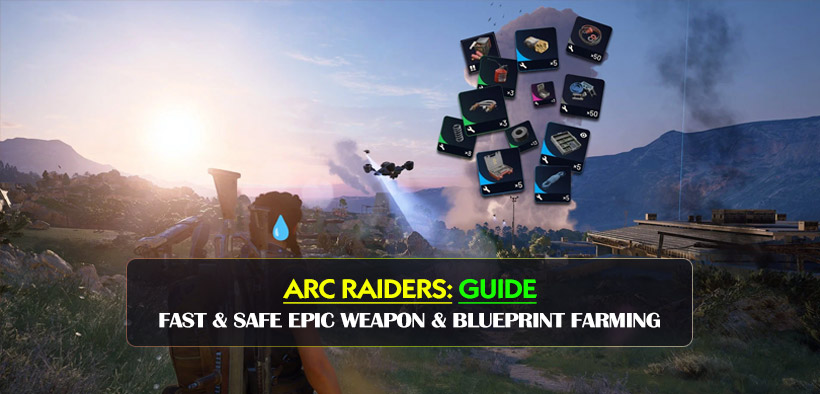
Here is a structured overview of the most efficient farming routes we use to secure epic weapons and rare blueprints in Arc Raiders. Rebuilding your arsenal after a wipe does not have to be a grind. In our recent runs, we managed to secure over 40 blueprints in just 12 hours of gameplay. By targeting specific high-yield zones on Dam Battlegrounds and understanding hidden loot mechanics, we consistently extract with high-tier gear while avoiding unnecessary risks. Let's break down the exact paths you need to take.
The Testing Annex: Augments & Medical Gear
If you spawn near the Testing Annex, you must prioritize this building immediately. Why do players consistently miss the best loot here? Because they ignore the details and rush for larger landmarks. This specific area is a goldmine for medical supplies and rare augment blueprints.
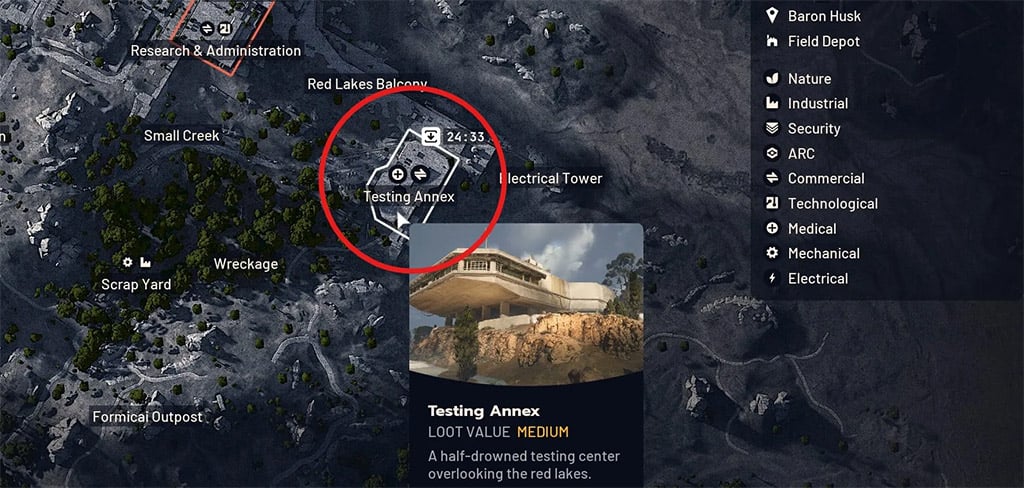
- The Left-Side Cabinets: Push to the left side of the room toward the medical area upon entering. These medical containers frequently drop Survivor Backpacks and defensive augments.
- Hidden Drawers: Always check the back side of the blue drawers. Players rush past the front, but we frequently find Silencer 2 blueprints hidden on the reverse side.
- Trash Cans: Do not skip the trash. It is exactly in these overlooked receptacles that the highly coveted Tempest blueprint spawns.
Testing Annex Loot Profile
| Container Type | Primary Loot Pool | Notable High-Value Drops |
|---|---|---|
| Medical Cabinets | Defibs, Stem Shots | Survivor Backpack, Defensive Augments |
| Blue Drawers (Back) | Attachments, Parts | Silencer 2 Blueprint |
| Trash Cans | Scrap, Consumables | Tempest Blueprint |
Research & Administration: Exploiting Player Habits
We frequently arrive at the Research and Administration building late in a match, only to find the entrance completely unlooted. Because most players rush directly into the main building for lockers, they leave the entrance drawers completely untouched. What does this mean for you? Free, uncontested loot.
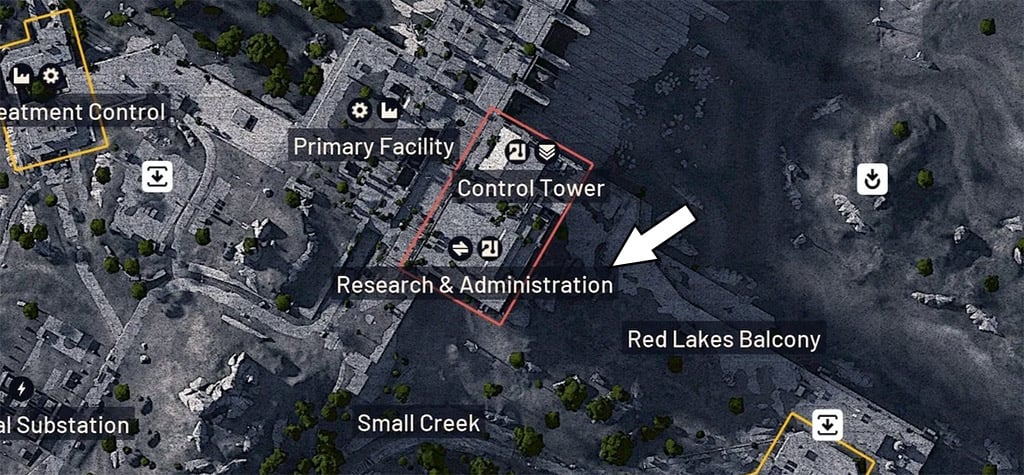
If you find the main doors open, check the drawers near the entrance for weapon attachments. Furthermore, always check behind the main counters. We consistently find weapon cases and backpacks tucked away in these corners that the initial looters missed.
High-Value Key Rooms
Keys are your ticket to massive wealth in this game. We started a recent run with a basic 35k loadout, and we managed to extract with over 120k in value simply by utilizing the right keys.
If you possess the Control Tower key, make it your primary objective. Leave the tripwires active at the entrance; they serve as an excellent early warning system while you loot multiple purple weapons inside.
Key Value Assessment
| Key Name | Tier | Loot Density | Expected Drops |
|---|---|---|---|
| Staff Room Key | Green | Extremely High | Snap Hooks, Kinetic Converters |
| Control Tower Key | Variable | Very High | Purple Weapons (Tempest, Renegade) |
| Dam Access Key | Blue | Medium-High | Betina, Vita Sprays, Osprey |
Frequently Asked Questions (FAQ)
Are key drops guaranteed in specific map locations?
No. Keys spawn randomly across all containers in the game. You cannot farm a specific building to guarantee a drop. This means you must loot thoroughly and never discard high-tier keys when you find them.
What should I do if my primary loot route is already hit?
If you find open doors and empty lockers, pivot immediately to the blind spots. Check the backs of drawers, behind counters, and exterior carts. Most players loot inefficiently, leaving significant value behind.
Final Takeaways
Maximizing your extraction value relies entirely on map knowledge and efficiency. Prioritize the Testing Annex for augments, exploit unlooted entrances at Research & Administration, and leverage your best keys in the Control Tower. Apply these targeted routes in your next drop to rapidly rebuild your stash and dominate the battleground.

Most Popular Posts
- ARC Raiders Update 1.42: Phantom Targets Farming Guide (Glitched Wasps, Rewards, Regional Conditions)
- ARC Raiders Hullcracker Blueprints: Fastest Way to Complete The Major's Footlocker
- ARC Raiders Best Pop Trigger Strategy: Fast Phantom Targets Damage Guide
- ARC Raiders Subway Skin Guide: Unlock the Subterranean Outfit
- ARC Raiders Looting Mk. 3 Survivor Blueprint Guide: Best Blue Gate Route and Drop Locations
- ARC Raiders Medium & Heavy Gun Parts Blueprint Guide: Best Farm Route, Locations, and Refiner Crafting
Popular Category Lists
- ARC Raiders / (354)
- Grow a Garden / (294)
- CoD: Black Ops 7 / (167)
- Star Citizen / (163)
- MLB 26 / (159)
- Monopoly Go / (153)
- ARK Survival Ascended / (128)
- Steal a Brainrot / (99)
- Blox Fruits / (74)
- Adopt Me / (74)
- Forza Horizon 6 / (72)
- Sailor Piece / (68)
- Grow a Garden 2 / (68)
- Diablo IV / (62)
- CoD: BLACK OPS 6 / (55)
- Aion 2 / (52)
- Path of Exile 2 / (48)
- Monster Hunter Wilds / (46)
- Windrose / (44)
- Maplestory Classic / (42)






