0
0 Created: Jul 26,2026 | ARC Raiders
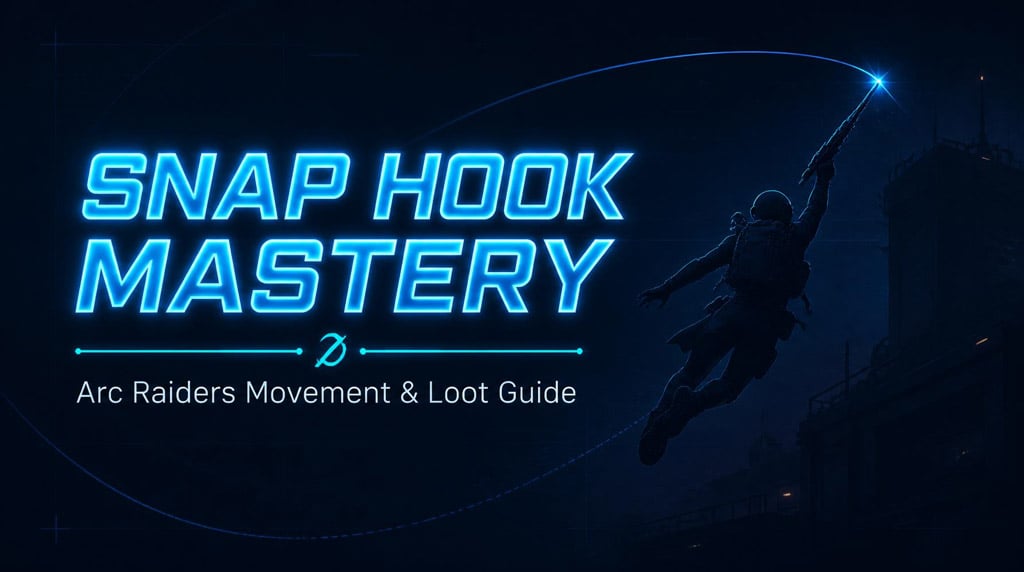
Arc Raiders Snap Hook Guide: Farming, Master, Move Like a Pro Raider

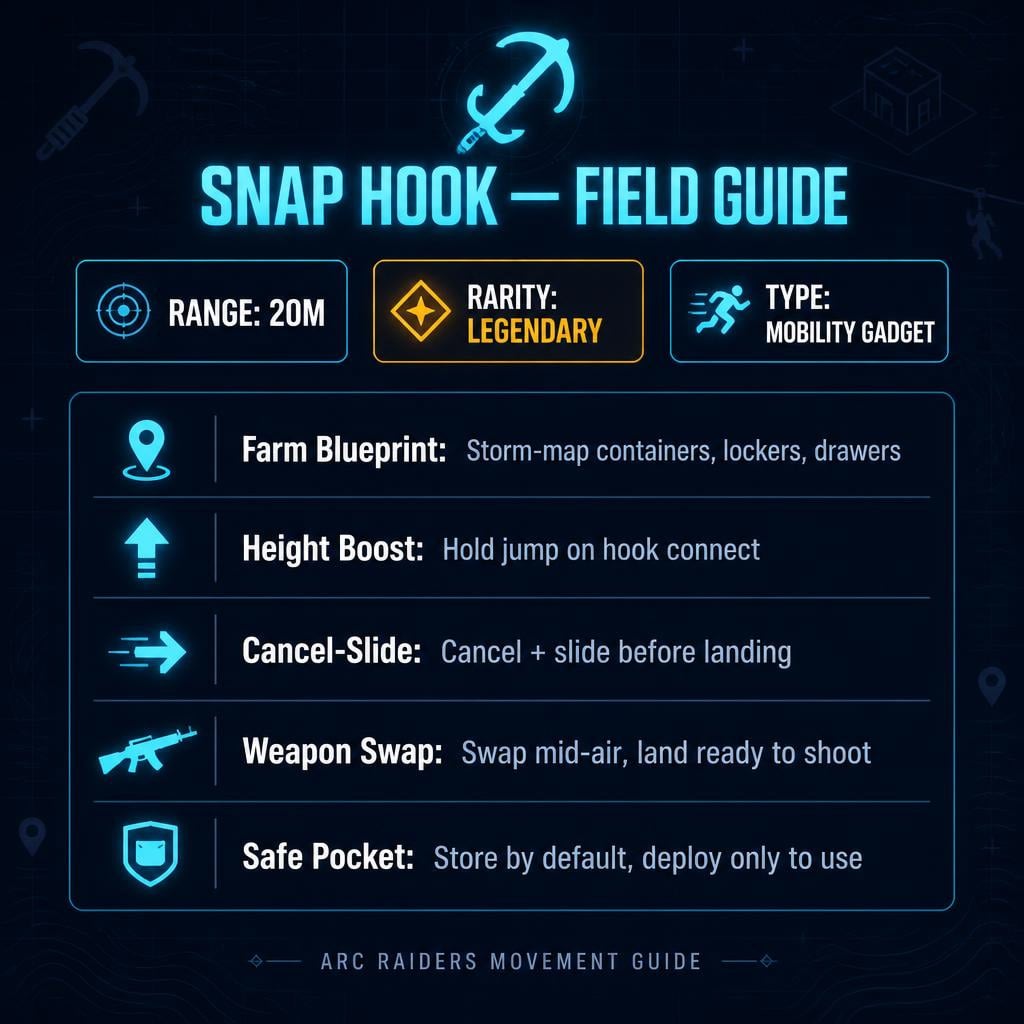
The Snap Hook isn't just a rooftop gadget. It's the difference between a Raider who moves and a Raider who gets moved on. 20-meter range, Legendary rarity, and a skill ceiling most players never touch. Here's what actually works.
- What the Snap Hook Actually Does
- How to Get the Snap Hook
- Best Farming Spots
- Core Mechanics: Aim, Pull, Land
- The Techniques That Actually Matter
- Basic Vault
- Height Boost
- Cancel-Slide
- Weapon Swap Mid-Grapple
- Safe Pocket Discipline
- Practical Use Cases
- Taking High Ground
- Loot Shortcuts
- PvP Decision-Making
- Mistakes That Get You Killed
- Practice Drills (Do These First)
- FAQ
- How do you get the Snap Hook in Arc Raiders?
- What is the Snap Hook's range?
- Can the Snap Hook help in PvP?
- How do you height boost?
- Should you keep it in the safe pocket?
- Bottom Line
What the Snap Hook Actually Does
Forget the flavor text. In practice, this gadget:
- Grapples you to high ground in under a second
- Skips doors — windows and ledges become entry points
- Cancels falls into slides so you don't eat fall damage
- Breaks enemy tracking with unpredictable arrival angles
- Wins loot races on vertical routes everyone else ignores
Gear matters less than movement here. A geared-up camper loses to a Snap Hook player who knows how to arrive from the side instead of straight into their crosshair.
How to Get the Snap Hook
Skip the treasure-hunt mindset. Get the blueprint first — crafting beats scavenging every time.
| Method | Reliability | Notes |
|---|---|---|
| Standard containers (drawers, lockers, cabinets) | High | Best during Electromagnetic Storm maps |
| Raider Deck rewards | Medium | Passive progression |
| Quest rewards | Medium | Chain-dependent |
| Locked rooms | Low-Medium | Better at night |
| Rare spawns (hospitals, facilities) | Low | Bonus, not a plan |
Best Farming Spots
- Dam Battlegrounds — north apartment buildings (container density)
- Bluegate — Manticor facility, back locker room
- Spaceport — departure building
- Buried City — hospital, night raids
- Dam Battlegrounds — Pumping Station high-value rooms
Farming route: Storm map → hit small-container buildings → drawers first, lockers second, cabinets third → extract the moment you find the blueprint. Don't get greedy after the find.
Core Mechanics: Aim, Pull, Land
Three phases, every time:
1. Aim at a reachable surface (check the 20m range — hold aim if unsure)
2. Pull connects and drags you toward target
3. Exit — vault, slide, cancel, or weapon-swap
If the hook won't connect, you're either too far or the surface is bad. Move closer. Don't spam it in a fight — a whiffed Snap Hook mid-engagement is a death sentence.
The Techniques That Actually Matter
Basic Vault
Aim at a ledge, fire, let the pull carry you. Character auto-vaults. This is your foundation — drill it until it's boring.
Height Boost
Hold jump as the hook connects for a higher arc. Add backward input for max lift.
| Input | Result |
|---|---|
| None | Straight pull |
| Jump | Higher arc |
| Jump + backward | Max height, clears rooftops |
Why it matters: enemies pre-aim your expected landing spot. A boosted arrival breaks that read.
Cancel-Slide
Fire → cancel mid-pull (press hook input again) → slide on landing (sprint + crouch). Turns a risky fall into smooth momentum. This is your go-to when a landing looks bad.
Weapon Swap Mid-Grapple
Fire hook → confirm connection → swap weapon before landing. Arrive shooting, not fumbling with a gadget. This is the single best PvP habit in this guide.
Safe Pocket Discipline
Default state: safe pocket. Pull it into quick use only right before firing, swap back after connection.
| Habit | Risk |
|---|---|
| Safe pocket by default | Low |
| Left in quick use all raid | High — lose it on death |
| Swap back after each use | Low, takes practice |
Practical Use Cases
Taking High Ground
Rooftop campers expect stairs or ziplines. Grapple in from a side angle, not straight at their crosshair. Predictable arrivals get you killed.
Loot Shortcuts
Windows, rooftops, and side entries skip the crowded main routes. Less contested loot, faster grabs.
| Location Type | Advantage |
|---|---|
| Apartment buildings | Roof/window skip |
| Spaceport | Cuts zipline/stairs |
| Facility back rooms | Fast locker access |
PvP Decision-Making
| Situation | Do | Don't |
|---|---|---|
| Enemy above | Side-angle grapple | Straight-line pull |
| Being chased | Hook up + cancel-slide | Climb in a straight line |
| Pushing | Hook → swap weapon → land shooting | Land with gadget still out |
| Low health | Break line of sight | Force a risky fight |
Mistakes That Get You Killed
| Mistake | Fix |
|---|---|
| Firing out of range | Hold aim to check distance first |
| Grappling straight at enemies | Always arrive at an angle |
| Leaving it in quick use | Swap to safe pocket after every use |
| Opening inventory too early | Wait for the hook to fully connect |
| No cancel on bad landings | Practice cancel-slide until automatic |
If you keep dying right after using the hook, it's not the gadget's fault. It's your landing choice.
Practice Drills (Do These First)
1. Vault repetition — same ledge, 10 reps, until it's muscle memory
2. Jump-boost timing — fire, hold jump, watch the arc shift
3. Cancel-slide — hook forward, cancel early, slide on landing
4. Safe pocket swap — pocket → quick use → fire → pocket, repeat until instant
5. Combat entry — hook to ledge, swap weapon mid-air, land aiming
FAQ
How do you get the Snap Hook in Arc Raiders?
Farm the blueprint in standard containers — drawers, lockers, cabinets — during Electromagnetic Storm maps. Crafted ones also drop from Raider Deck rewards, quests, and locked rooms.
What is the Snap Hook's range?
~20 meters. If it won't connect, close the distance or hold aim to confirm the target is valid.
Can the Snap Hook help in PvP?
Yes — it's built for it. Fire, confirm connection, swap to your weapon before landing. Arrive at an angle, not head-on.
How do you height boost?
Hold jump as the hook connects. Add backward input for maximum lift over tall structures.
Should you keep it in the safe pocket?
Always, especially without the blueprint. Pull it out right before use, put it back the moment you land.
Bottom Line
Farm the blueprint on storm maps, hit small containers over flashy loot rooms, and drill the five techniques until they're reflex: vault, height boost, cancel-slide, weapon swap, safe pocket discipline.
Once that clicks, the Snap Hook stops being a fragile rare item you're scared to use. It becomes the reason you win fights other Raiders can't even see coming.

Most Popular Posts
- ARC Raiders Update 1.42: Phantom Targets Farming Guide (Glitched Wasps, Rewards, Regional Conditions)
- ARC Raiders Hullcracker Blueprints: Fastest Way to Complete The Major's Footlocker
- ARC Raiders Best Pop Trigger Strategy: Fast Phantom Targets Damage Guide
- ARC Raiders Subway Skin Guide: Unlock the Subterranean Outfit
- ARC Raiders Looting Mk. 3 Survivor Blueprint Guide: Best Blue Gate Route and Drop Locations
- ARC Raiders Medium & Heavy Gun Parts Blueprint Guide: Best Farm Route, Locations, and Refiner Crafting
Popular Category Lists
- ARC Raiders / (350)
- Grow a Garden / (294)
- CoD: Black Ops 7 / (167)
- Star Citizen / (162)
- MLB 26 / (159)
- Monopoly Go / (152)
- ARK Survival Ascended / (127)
- Steal a Brainrot / (99)
- Blox Fruits / (74)
- Adopt Me / (74)
- Forza Horizon 6 / (72)
- Sailor Piece / (68)
- Grow a Garden 2 / (68)
- Diablo IV / (62)
- CoD: BLACK OPS 6 / (55)
- Aion 2 / (49)
- Path of Exile 2 / (48)
- Monster Hunter Wilds / (46)
- Windrose / (44)
- Donut SMP / (41)