0
Created: Oct 31,2026 | ARC Raiders
ARC Raiders Frigate Guide: Trio Routes, Core Clears and Cargo Breaches

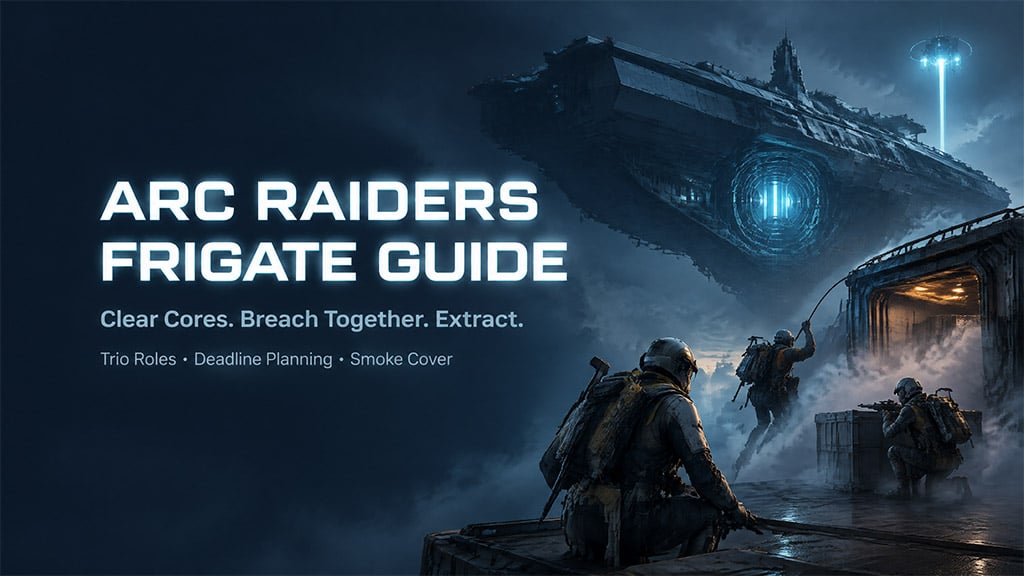
To complete the Frigate, we split a trio between the upper and lower routes, destroy the required cores, then regroup for paired cargo breaches under smoke. Your priorities are clear: allocate Deadlines before boarding, avoid rushed traversal, and preserve protection for the cargo phase.
- Assign Routes Before Packing Explosives
- Make the Reserve Accessible
- Clear Cores by Room, Not by Side
- Complete the Lower Route Deliberately
- Spend Deadlines on Confirmed Targets
- Finish Upper Objectives Without Extra Exposure
- Breach Cargo Before Your Protection Runs Out
- Use Cloak for the Approach and Smoke for the Interaction
- Call the Next Position Before Leaving
- Stop Looting While You Still Have an Exit
- FAQ (Frequently Asked Questions)
- Can You Complete the Frigate Solo?
- How Many Deadlines Should a Trio Bring?
- Do You Need an Upgraded Equalizer?
- Why Can't You Breach Frigate Cargo Alone?
- What Should You Do When Smoke Runs Out?
Assign Routes Before Packing Explosives
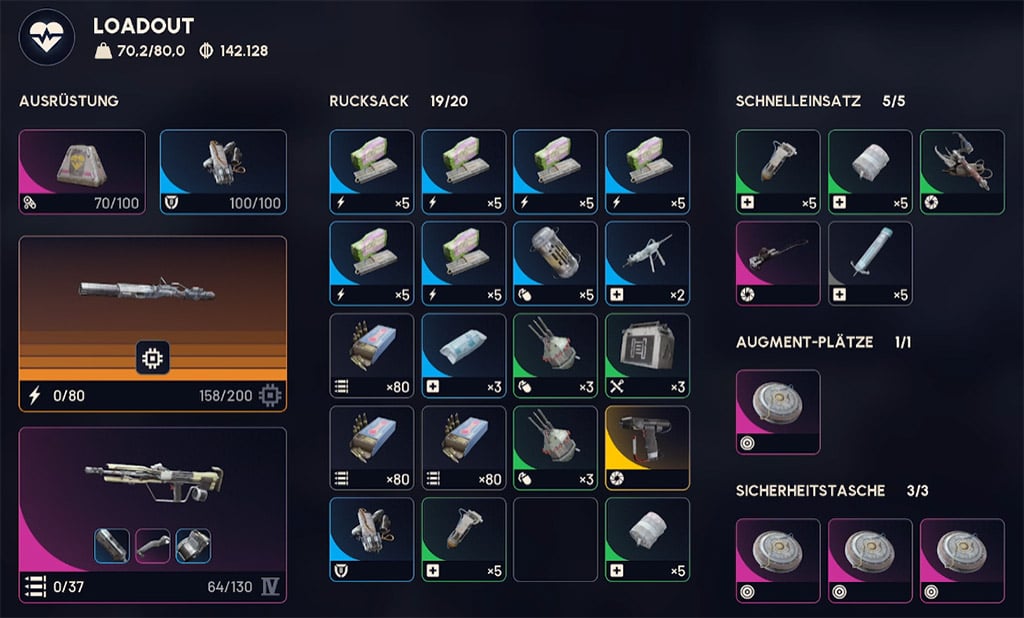
If your upper players need Deadlines while the lower player carries the reserve, then your team loses time transferring supplies or clearing cores with weapons. We prevent that by assigning two players upper and one lower, then distributing equipment around those jobs.
Before boarding, each player confirms route, Deadline count, and smoke supply.
Use this loadout as a planning baseline—not a minimum-cost clear.
| Equipment | Planning target | Primary job | Decision rule |
|---|---|---|---|
| Deadlines | 9–10 across the trio | Accelerate core destruction | Allocate by route; do not leave the reserve with one isolated player |
| Equalizer | Main core-damage weapon | Clear cores without explosives | A normal version is sufficient; upgrading is optional |
| Smoke grenades | 1–2 stacks per carrier | Cover cargo interactions | Ring-fence a cargo reserve before fighting |
| Photo Cloak | Recommended | Approach exposed positions | Treat it as approach protection, not guaranteed safety |
| Grappling Hook | Recommended | Lower traversal and vertical movement | Practice attachment points before committing expensive gear |
| Snap Hook | Optional traversal support | Accelerate familiar routes | Skip unfamiliar shortcuts under pressure |
| Secondary weapon | Choose for your lobby's threats | Handle combat outside core destruction | Do not expect the Equalizer to solve every encounter |
| Lure grenades / barricades | Optional utility | Distract enemies or create cover | Never sacrifice essential smoke to carry extras |
Prioritize cargo protection over an optional weapon upgrade; reaching the containers without smoke wastes the entire clear.
Make the Reserve Accessible
We keep backup explosives with a player who can support the unfinished route. If one player finishes early, they confirm what remains before moving—not simply sprint toward the nearest teammate.
Supplies need a destination.
Clear Cores by Room, Not by Side
Calling a side done is dangerous when several rooms share that side. We use a fixed callout: location, core status, remaining work.
Upper opposite room: core alive, access open, one player needed gives the team an actionable task.
Complete the Lower Route Deliberately
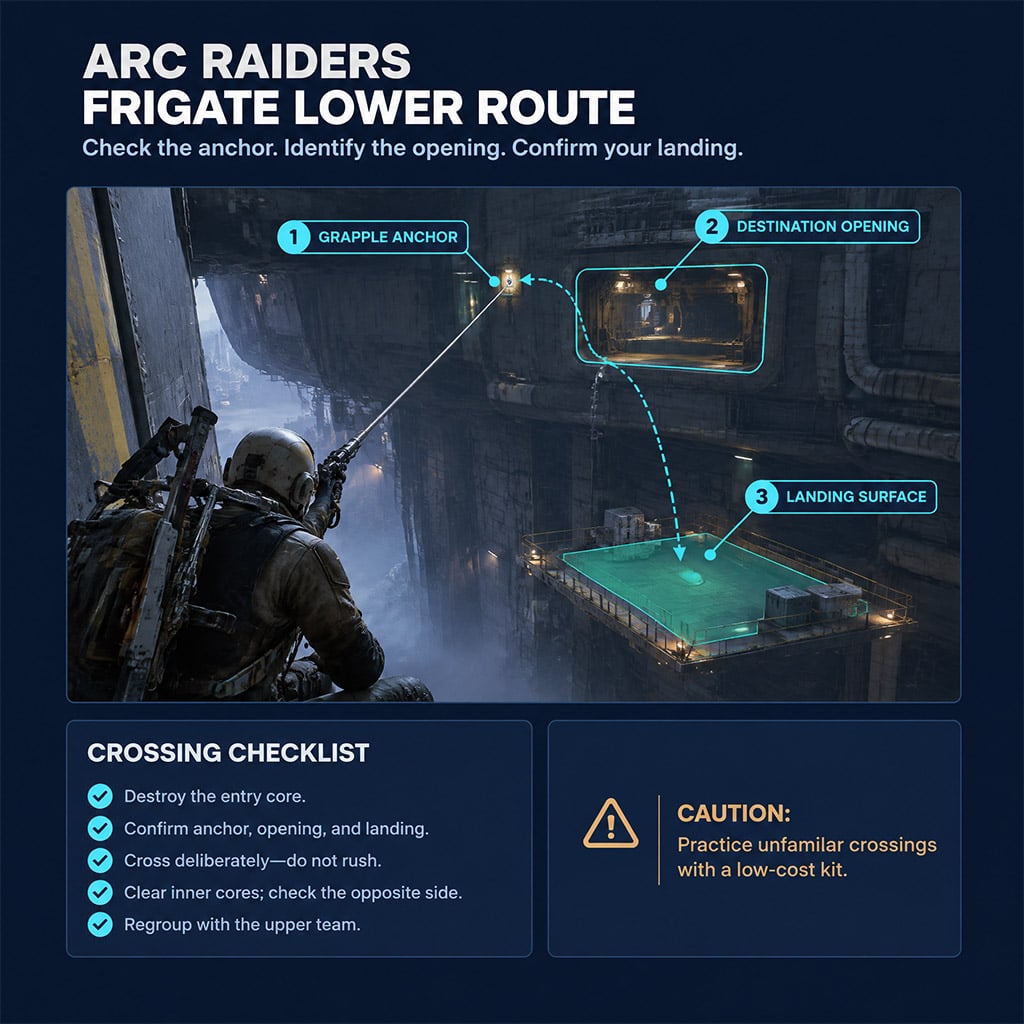
The lower player destroys the first core, crosses to the next opening, clears the inner objectives, and checks the corresponding opposite route.
Follow this order:
1. Destroy the entry core.
2. Identify the next opening and grapple attachment point.
3. Cross only after confirming the landing area.
4. Clear the cores inside.
5. Check the opposite side before regrouping.
6. Return through the connecting route to support unfinished upper objectives.
If you cannot repeat the grapple crossing reliably, rehearse it with a low-investment kit first. A slightly slower crossing is cheaper than losing your explosives to a fall.
Spend Deadlines on Confirmed Targets
We use explosives when the required access is open and the intended cores are exposed. If you cannot identify the shared-damage placement, use the Equalizer rather than gambling on blast coverage.
Check every target afterward.
An explosion is not a completion signal. Weapon damage also gives the lower player a useful fallback when the upper route needs the remaining Deadlines.
Finish Upper Objectives Without Extra Exposure
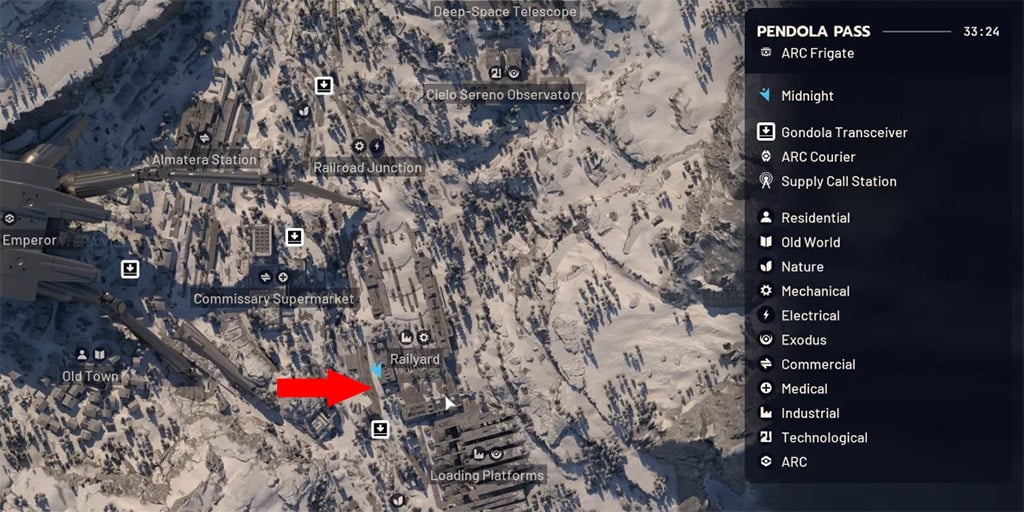
The middle arena uses three activation points to expose its central core. Regroup for that interaction, then work through the elevated and opposing-room objectives.
Choose the approach that removes avoidable pressure.
| Objective | Execution | Failure to avoid |
|---|---|---|
| Central arena core | Coordinate the three activation points, then destroy exposed damageable sections | Assuming one player can handle every interaction |
| Elevated objectives | Use the normal climbing route or a familiar hook shortcut | Learning a shortcut while under fire |
| Opposing rooms | Check access and core destruction separately in each room | Calling both rooms complete after clearing one |
| Cores visible from below | Check the lower firing angle before climbing | Taking unnecessary exposure on the upper deck |
| Opposite lower route | Confirm whether its objectives remain intact | Assuming another team completed them |
Take the lower firing angle when it gives a clean shot; uninterrupted damage beats repeatedly abandoning an exposed position.
Breach Cargo Before Your Protection Runs Out
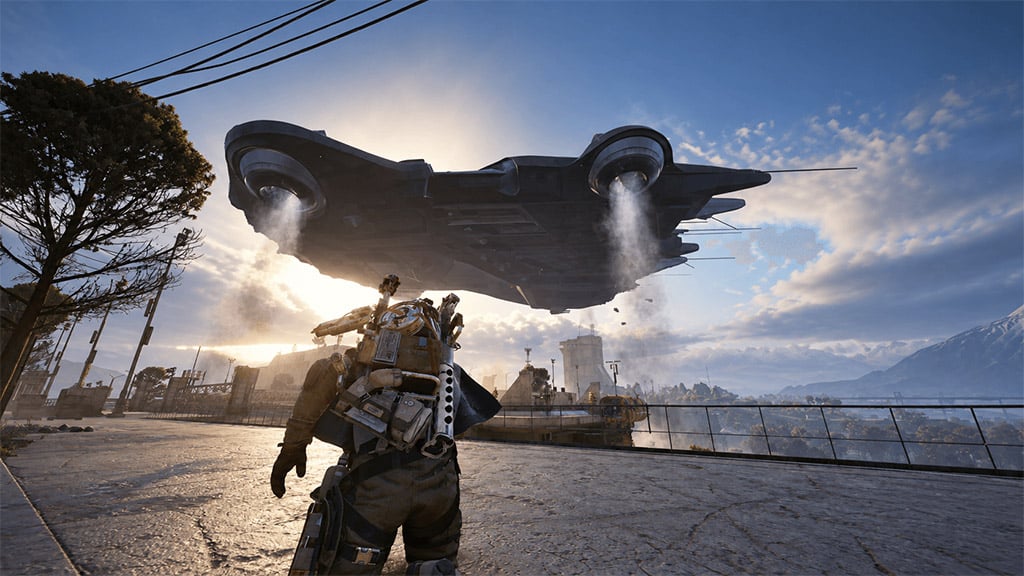
Cargo access requires two coordinated operators. If one player reaches the interaction while the other is still fighting or moving, your protection expires before the breach starts.
We position first, establish cover, then commit together.
Use Cloak for the Approach and Smoke for the Interaction
Follow this sequence at each paired breach:
1. Assign two operators and identify their corresponding positions.
2. Approach with Photo Cloak where available.
3. Deploy smoke over the working positions.
4. Confirm both players are ready.
5. Start the paired breach together.
6. Confirm completion before moving to the next interaction.
The third player watches threats, refreshes protection, or prepares a covered revive.
Smoke buys time—not immunity.
If enemies already have you under heavy pressure, stabilize the position before interacting. Do not assume throwing smoke automatically makes an exposed breach safe.
Call the Next Position Before Leaving
After every breach, we announce next location, operator pair, and remaining smoke. That prevents a completed interaction from turning into three separate fights.
Place barricades only where they protect the operators without obstructing movement or access.
Stop Looting While You Still Have an Exit
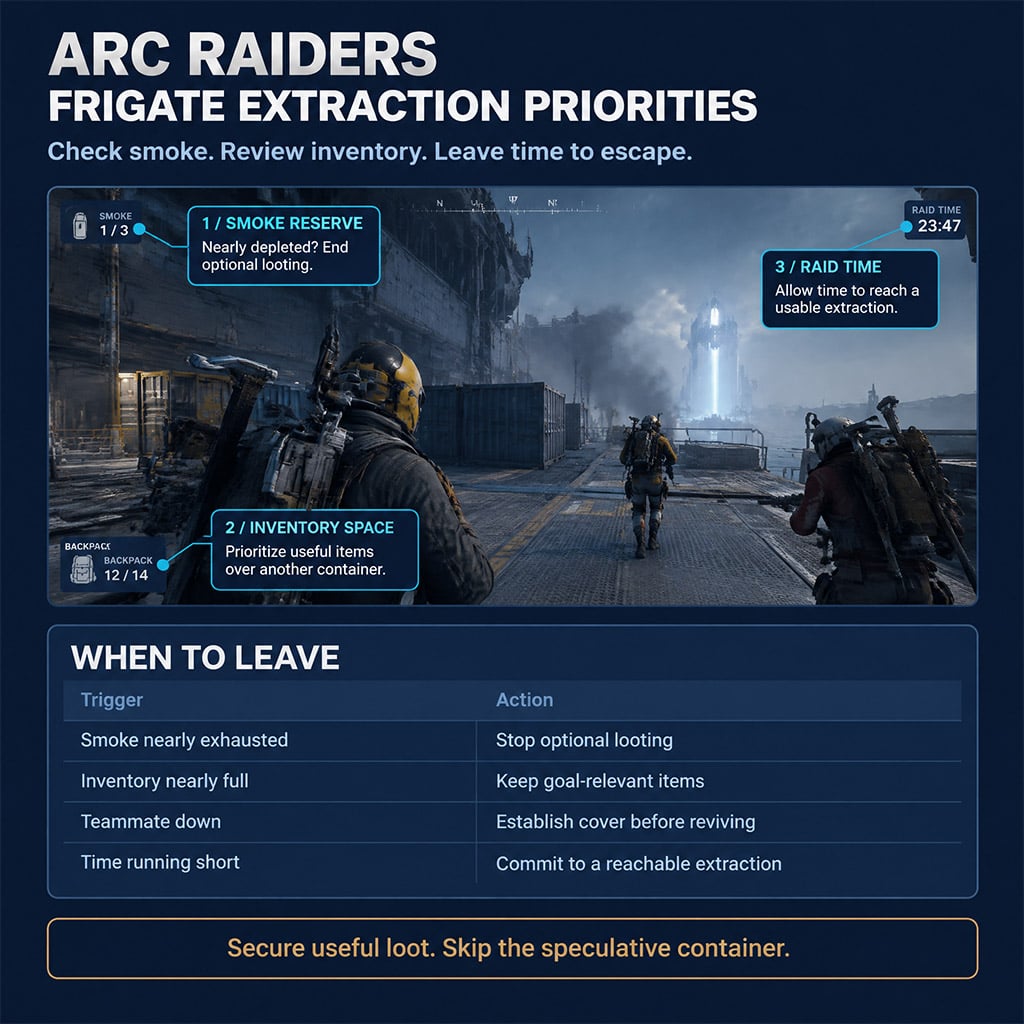
If your inventory already contains what you came for, extra searching needs a reason. We judge each additional interaction against remaining smoke, team condition, and travel time.
Use these exit triggers rather than waiting for the situation to collapse.
| Trigger | Immediate action | Why it wins |
|---|---|---|
| Research progression is your goal | Prioritize relevant diagnostic items and read their tooltips | Useful progression can outweigh rarity |
| Inventory is nearly full | Replace low-priority items instead of extending the route | More containers do not guarantee better value |
| Smoke is nearly exhausted | End the loot phase | Your next exposed interaction has less protection |
| A teammate is down | Establish cover before attempting a revive | A blind rescue can cost the whole squad |
| Time is tight | Commit to a reachable extraction | Carried loot becomes valuable only when secured |
Leave with useful loot before protection runs out; do not trade a completed clear for one speculative container.
FAQ (Frequently Asked Questions)
Can You Complete the Frigate Solo?
A reliable full cargo clear requires cooperation because the cargo breaches use paired interactions. You can attempt core clearing alone, but we recommend a coordinated trio rather than depending on another Raider at the final stage.
How Many Deadlines Should a Trio Bring?
Plan for 9–10 Deadlines across the trio, but do not treat that allowance as a mandatory minimum. We use the Equalizer for weapon-based clears when explosives need to be saved for other objectives.
Do You Need an Upgraded Equalizer?
No—a normal Equalizer can handle core destruction. We prioritize smoke and traversal equipment before paying for an optional upgrade.
Why Can't You Breach Frigate Cargo Alone?
Cargo access uses paired breach interactions that need two operators. Position one player at each corresponding point, cover the working area, and begin together.
What Should You Do When Smoke Runs Out?
Stop optional looting and move toward a reachable extraction. We use available hard cover, cloak, and coordinated movement to leave rather than committing to another exposed interaction.

I’m Tomás Ferreira, a Portuguese SEO Content Editor at GGWTB covering Roblox competitive games, tower defense, and resource-control modes. I organize guides around the decisions that matter in a short match: when to push, where to defend, and whether to spend resources now or save for an upgrade. The goal is to make the answer easy to find before the next round starts.
Most Popular Posts
- ARC Raiders Update 1.42: Phantom Targets Farming Guide (Glitched Wasps, Rewards, Regional Conditions)
- ARC Raiders Best Pop Trigger Strategy: Fast Phantom Targets Damage Guide
- ARC Raiders Subway Skin Guide: Unlock the Subterranean Outfit
- ARC Raiders Frozen Trail Update Guide: Pendola Pass, Frigate & Meta Loadouts
- ARC Raiders Ascending the Mountain: Fast Loot Routes and Item Guide
- ARC Raiders Broken Guidance System and Dual Anvil Build Guide
Popular Category Lists
- ARC Raiders / (362)
- Grow a Garden / (296)
- CoD: Black Ops 7 / (167)
- Star Citizen / (164)
- MLB 26 / (159)
- Monopoly Go / (153)
- ARK Survival Ascended / (129)
- Steal a Brainrot / (99)
- Blox Fruits / (74)
- Adopt Me / (74)
- Forza Horizon 6 / (72)
- Sailor Piece / (68)
- Grow a Garden 2 / (68)
- Diablo IV / (62)
- Aion 2 / (58)
- CoD: BLACK OPS 6 / (55)
- Path of Exile 2 / (48)
- COD: Modern Warfare 4 / (47)
- Monster Hunter Wilds / (46)
- Maplestory Classic / (45)