



 0
0GGWTB Editorial Team - Tischler
Created: Aug 23,2026 | ARK Survival Ascended

GGWTB Editorial Team - Tischler
The Lunar Biome punishes oversized bases. Meteors hit randomly. Low gravity makes large interiors annoying to navigate. Terrain is uneven.
A compact outpost solves all three problems.
Use this base for:
Skip it for breeding or mass storage. This is not that base.
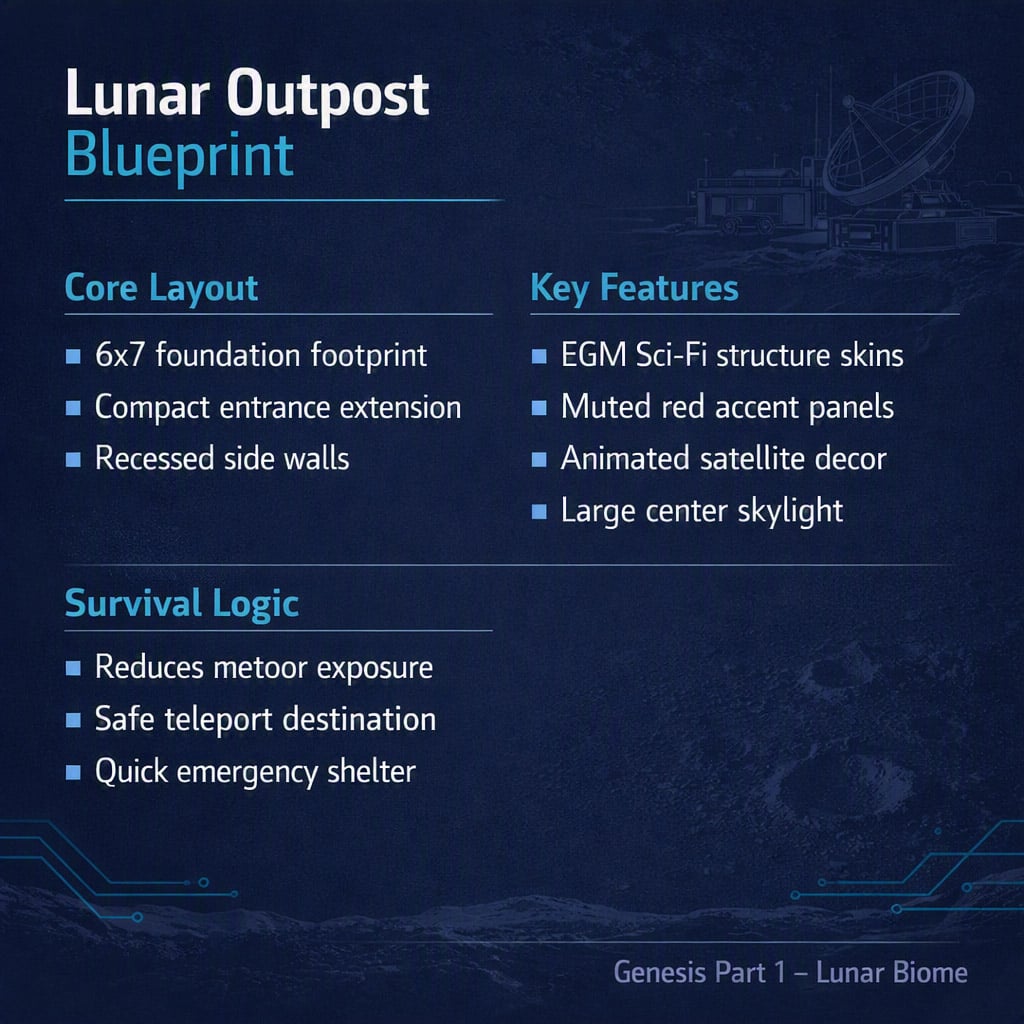
Core footprint: 6 foundations long, 7 wide.
Front extension: 1 foundation in the center, plus two quarter pieces on each side.
If terrain blocks the front extension, use ceilings instead. The point is a slight visual break, not structural support.
| Section | Count | Purpose |
|---|---|---|
| Left line | 6 | Main structure edge |
| Right line | 6 | Mirrors left |
| Center cross | 7 | Connects both sides |
| Front extension | 1 + 2 quarters per side | Entrance step |
The layered side profile is what makes this look like a sci-fi outpost instead of a box.
Build order:
1. Sloped roof at the outer edge
2. Two walls on top
3. Roof back inward
4. Connect with ceilings
5. Add sloped walls
6. Raise walls by two
7. Repeat slope pattern
Mirror the same process on both sides.
Why this matters: Flat walls look terrible in the Lunar Biome. The recessed middle section breaks up the silhouette and gives you natural spots for windows.
The structure skins are premium. Most decor and utility skins are free.
Install the mod even if you don't buy the skins. The free animated pieces are worth it.
| Cosmetic | Free/Premium | Use |
|---|---|---|
| Structure skins | Premium | Floors, walls, ceilings |
| Fabricator skin | Free | Crafting room |
| Vault skins | Free | Storage variety |
| Smithy skin | Free | Animated printing effect |
| Satellite dish | Free | Roof detail |
| Radar | Free | Interior wall |
| Vents | Free | Exterior movement |
Key advantage: You can cycle variants before placing. No post-placement skinning required.
Use muted red or rust. Bright colors flatten under Lunar lighting.
Paint only the side sections and entrance frames. Leave the roof neutral. Too much color hides the structure skin detail.
Use the last window variant.
Rotate 180 degrees so the frame sits top and bottom. This gives a wider view without weakening the visual border.
Long sightlines matter here. You want to spot threats before leaving the door.
The back wall uses ramps to create a curved profile.
1. Ramps across the back edge
2. Walls raised by two
3. Quarter walls on top
4. Ramps back toward the building
Skin the ramps with the third variant for texture.
On the middle wall, use the radar skin. On Genesis Part 1, it may show the ocean biome above. That's normal. It still looks great.
Skin the stairs with the fourth variant to separate them visually.
Keep the entrance narrow. A wide entry makes the interior feel exposed.
1. Two walls at the front
2. Ceilings across the front edge
3. Ceilings across the back edge
4. Quarter ceilings to connect
5. Fill the center
6. Turn the center into a large skylight window
| Roof Section | Skin | Purpose |
|---|---|---|
| Front edge | Standard | Clean boundary |
| Back edge | Standard | Clean boundary |
| Side sections | Turbine variant | Movement |
| Center | Large window | Natural light |
The skylight keeps the small interior from feeling cramped.
Animated pieces make the base feel alive. The Lunar Biome is too quiet without them.
Must-add items:
If you only add one piece, choose the satellite dish. It's visible from a distance and helps you spot the base when returning.
| Mistake | Why It Happens | Fix |
|---|---|---|
| Building too wide | Assuming flat terrain | Stick to the 6x7 core |
| Skipping sloped walls | Rushing early steps | Complete each side fully |
| Bright paint colors | Expecting normal color behavior | Test muted tones |
| Decor before structure | Wanting the final look early | Finish walls and roof first |
| Forgetting foundation skins | Focusing on visible walls | Skin foundations before walls |
Yes. The layout works with standard metal or tek. You only lose the visual identity.
Any structure in the Lunar Biome can be hit. This compact design reduces exposed surface area. It is not meteor-proof.
Bright colors wash out under Lunar lighting. Muted tones keep contrast without looking artificial.
Yes. The side platforms can extend outward. The core layout is a starting point.
Yes. The animated vents, radar, and utility skins add movement and detail even on standard structures.
This Lunar Outpost works because it respects the biome. Small footprint. Layered side walls. Animated decor. Muted accent paint.
It's not a mega base. It's a safe, functional foothold in one of the harshest areas of Genesis Part 1.
Build it tight. Skin it clean. Move on to exploring.


Prepare for the ARK Survival Ascended Enigmasaur launch on November 6, 2026. Master the form-matching taming loop, ability retention rules, and cryo-prep strategy.

Learn the reported Magmasaur cryopod breeding trick, fix common failures, and check compatibility before moving breeders. Start with one eligible pair.
Compare Therizino and Mantis farming setups, avoid misleading yield claims, and measure Element per minute before spending resources on a replacement.

Follow Gargantar's taming cycle, prepare exact feeding sources, and troubleshoot swallowing, gear demands, and keratin rounds before risking valuable equipment.

Separate verified ARK patch mechanics from speculative leaks. Real data on the Therizinosaurus jump, Giga TLC status, and breeding baseline survival prep.

Check which DLC unlocks Cerberax and Gargantar, then follow the taming sequence for each. Includes prep checklists, failure points and a quick-reference table.

We use cookies to ensure website functionality and enhance your experience. Click "Accept All" to consent, or "Customize" to manage your preferences. See our Privacy Policy.