0
0 Created: Aug 16,2026 | COD: Black Ops 2
CoD: Black Ops 2 Zombies Max Rank: The Shotgun Rank Grind That Actually Works

Shotgun Rank isn't luck. It's 30+ hours of clean play, smart map picks, and zero early-round downs. Here's the exact route that gets you there in a week without wasting nights on dead-end games.
- What Max Rank Actually Means
- Can You Actually Hit Shotgun Rank in 7 Days?
- The 7-Day Route
- Map-by-Map Breakdown
- Buried — Fastest Setup, Best Foundation
- Origins — Highest Ceiling, Slowest Start
- Die Rise — Good Weapon, Bad Deaths
- TranZit — Skip Unless You Know the Jet Gun
- Mob of the Dead — Long Sessions, Ratio Trap
- Town & Nuketown — Filler, Not Grind
- Bus Depot & Farm — Skip for Rank
- Solo vs. Public Lobbies
- Down Management: The Real Skill
- The 30-Hour Time Split
- Setup Discipline (Your Real Loadout)
- FAQ
- How long does Shotgun Rank actually take?
- What's the fastest map for ranking up?
- Do early downs really hurt more?
- Can public matches help with rank?
- Why am I stuck at Knife Rank?
- Bottom Line
.jpg)
What Max Rank Actually Means
The game never shows you a progress bar. You just see icons.
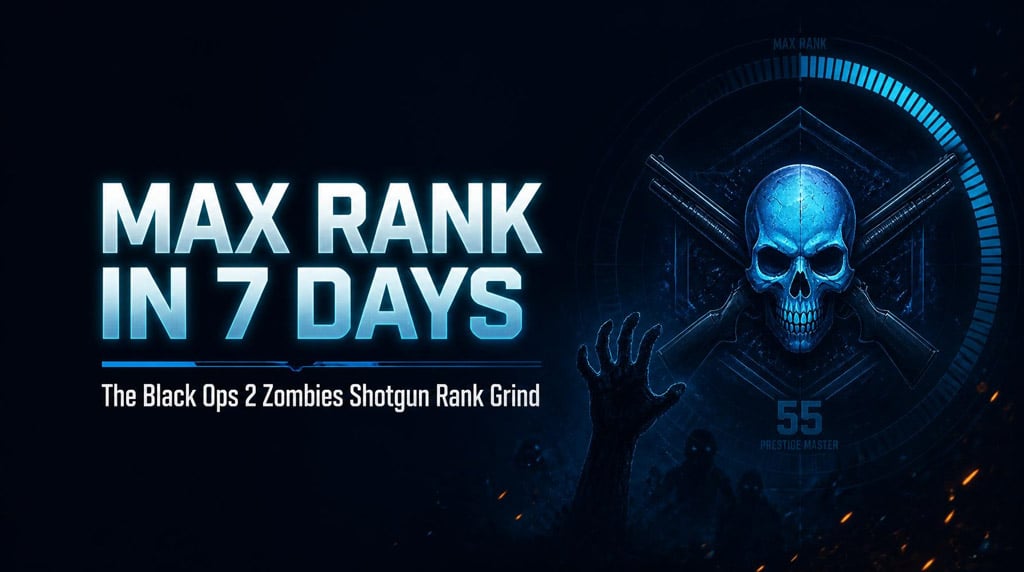
Shotgun Rank = skull with shotguns behind it. Add blue eyes if you've been grinding recently.
What actually moves the needle:
| Factor | Impact |
|---|---|
| Kills | Core stat builder |
| Downs | Early downs hurt way more than late ones |
| Rounds survived | Round 50+ games carry weight |
| Playtime | ~30 hours needed for Shotguns |
| Recent activity | Controls blue eyes, not rank tier |
The rule that matters most: a round 70 game with a few late downs beats a round 8 game with three early ones. Every time.
Can You Actually Hit Shotgun Rank in 7 Days?
Yes — if you treat it like a job, not a hobby session.
Target numbers:
| Goal | Number |
|---|---|
| Total playtime | 30+ hours |
| Game type | Solo, high-round focus |
| Round target | 50–100 |
| Downs before round 20 | Zero |
| Core maps | Buried, Origins, Mob, Die Rise |
Rank progression feels like this:
One Bone → Crossbones → Knife Rank → Shotgun Rank.
Knife Rank shows up around the halfway mark. Don't celebrate there — Shotguns need a stronger kill/down ratio, not just more hours.
The 7-Day Route
| Day | Goal | Map | Target |
|---|---|---|---|
| 1 | Build stats | Buried, Origins | Round 40–70 |
| 2 | Big push | Origins | Round 70–100 |
| 3 | Add volume | Die Rise, TranZit | Round 40–60 |
| 4 | Endurance | Mob of the Dead | Round 60–80 |
| 5 | Safe filler | Nuketown, Town | Round 30–50 |
| 6 | Final push | Buried, Mob | Until Shotguns |
| 7 | Buffer day | Best personal map | Close the gap |
Don't mix strategies within a day. Slow setup maps burn hours. Chaos maps burn downs. Balance is the whole game.
Map-by-Map Breakdown
Buried — Fastest Setup, Best Foundation
Why it works: bank points, Paralyzer, buildable traps, strong camp spots.
Do this in order:
1. Spend bank points immediately
2. Juggernog before anything else
3. Box for Paralyzer
4. Build turbine/resonator combo
5. Skip risky routes during Insta-Kill
Warning: Paralyzer slows down late-game. Treat it as crowd control, not a kill button.
Buildable breaks mid-round? Throw monkeys, create space, rebuild. Panic kills runs, not zombies.
Origins — Highest Ceiling, Slowest Start
Setup eats the first hour. Payoff is round 70–100 territory once the Ice Staff is upgraded.
Priority list:
1. Juggernog first
2. Build a staff before the first Panzer
3. Ice Staff upgrade = top priority
4. Shield up, always
5. Never delay Quick Revive if you've lost one
Advanced move: two-staff trick (pull revive tool, interact with a pedestal staff) lets you hold two staffs for ammo insurance. Optional, not required.
Comparison: Origins is slower than Buried early on, but it forgives bad starts better than any other map. Stabilize by round 30 and the run is saved.
Die Rise — Good Weapon, Bad Deaths
The Sliquifier (upgraded via sign-shooting) makes this map fast. But it creates weird deaths nobody plans for.
| Risk | Level | Fix |
|---|---|---|
| Who's Who revive | High | Only revive with a clear path |
| Elevator jumps | High | Never rush |
| Public lobby | Very High | Expect chaos |
Taking silly downs here? Switch maps. Die Rise punishes fatigue hard.
TranZit — Skip Unless You Know the Jet Gun
Setup is slow, fog is annoying, Jet Gun is unforgiving.
Jet Gun rules:
- Don't face the horde while sucking zombies in
- Control your angle, not just your aim
- Never let it break mid-round unless you're ready to travel across the map to rebuild
Useful once mastered. Not worth learning mid-grind.
Mob of the Dead — Long Sessions, Ratio Trap
Afterlife makes downs feel free. They're not. Rank still counts them.
| Strategy | Speed | Safety |
|---|---|---|
| Safe route | Slow | High |
| Risky route | Fast | Low |
| Cafeteria control | Fast early | Medium |
Best used Day 4 or Day 6 for volume — not right after a break. Cold reflexes plus Mob's chaos equals bad downs.
Town & Nuketown — Filler, Not Grind
Use these when tired or need short sessions. Nuketown's box RNG (M27, Mark II) makes it fun. Town is just clean and simple.
Warning sign: if you catch yourself thinking let me try something funny — that's your brain telling you a down is coming.
Bus Depot & Farm — Skip for Rank
No Pack-a-Punch on either. Bus Depot has no perks at all. Great for laughs, terrible for stats.
Solo vs. Public Lobbies
Public games are entertaining. They're also unreliable.
What can go wrong: teammates leaving, refusing doors, bad revives, host migration, AFK players, disconnects after one down.
| Mode | Best For |
|---|---|
| Solo | Full control — default choice |
| 2-player w/ friend | Fast revives, good balance |
| Public lobby | Fun, not rank progress |
| 4-player serious | Great if the team is reliable |
Rule: public lobbies are bonus content. Never rely on strangers for your final Shotgun push.
Down Management: The Real Skill
A round 5 down costs you way more than a round 65 down.
| Situation | Action |
|---|---|
| Down before round 10 | Consider resetting |
| Lost Quick Revive before round 20 | Slow down immediately |
| Down after round 50 | Keep going if setup's intact |
| Tired, taking careless hits | Stop the serious run |
Fix the route, not your focus. Buy Jug before staff steps. Use wall weapons instead of gambling on the box. Skip power-ups sitting in dangerous spots.
Most bad downs aren't one mistake — they're three small mistakes stacking together.
The 30-Hour Time Split
| Session | Hours | Purpose |
|---|---|---|
| Buried setup | 4–6 | Bank, early stats |
| Origins push | 6–8 | Major stat boost |
| Mob long run | 4–6 | Playtime, rounds |
| Die Rise/TranZit | 3–5 | Variety |
| Town/Nuketown filler | 3–4 | Controlled sessions |
| Final push map | 4–6 | Secure the rank |
Realistic pace: 4–5 hours/day with one long high-round session mixed in.
Setup Discipline (Your Real Loadout)
| Rule | Why |
|---|---|
| Juggernog first, always | Cuts early-down risk |
| Shield always active | Saves runs constantly |
| Wall weapons over box gambling | Reduces RNG risk |
| Save wonder weapon ammo | Prevents late-round panic |
| Know your escape route | Avoids trap deaths |
| Ignore style points | Rank doesn't score clips |
The best rank grinders aren't flashy. They just make boring, correct decisions for hours straight.
FAQ
How long does Shotgun Rank actually take?
Roughly 30 hours of strong gameplay on a fresh account. Fewer hours if your kill/down ratio stays clean; more if you're eating early downs regularly.
What's the fastest map for ranking up?
Buried and Origins. Buried for fast setup and bank access. Origins for high-round ceiling once the Ice Staff is upgraded.
Do early downs really hurt more?
Yes. A round 5 down is far worse than a round 60 down. Play the first 20 rounds boring and safe — no exceptions.
Can public matches help with rank?
They can, but they're risky. Random teammates cause more failed runs than skill issues do. Solo or coordinated private lobbies are the reliable path.
Why am I stuck at Knife Rank?
Knife Rank sits around the midpoint of the grind. Shotgun Rank needs more hours and a stronger kill/down ratio — not just more games.
Bottom Line
Shotgun Rank in 7 days is real, but it demands roughly 30 hours of clean, focused play.
The route: Buried for setup, Origins for high rounds, Mob for volume, Town/Nuketown when tired. Skip public lobbies for anything serious.
Protect your first 20 rounds like they decide the entire run — because they usually do.

Most Popular Posts
- Black Ops 2 Zombies Easter Egg Guide: Beat Every BO2 Quest in One Brutal Sitting
- Black Ops 2 Zombies Perma Perks: Unlocking and Keeping Every Persistent Upgrade
- Black Ops 2 Best PS5 Controller Settings: Low Input Delay, Better Aim, Smoother Gameplay
- Black Ops 2 Diamond Snipers Guide: Fast Camo Grind, Best Classes, Perks, Maps, and FFA Tips
- Black Ops 2 Leveling Fast Guides: Best Modes, Weapons, Scorestreaks, and Hidden XP Sources
- Black Ops 2 AN-94 Class Setup: Best Attachments, Perks, and Hardpoint Strategy
Popular Category Lists
- ARC Raiders / (350)
- Grow a Garden / (294)
- CoD: Black Ops 7 / (167)
- Star Citizen / (162)
- MLB 26 / (159)
- Monopoly Go / (152)
- ARK Survival Ascended / (127)
- Steal a Brainrot / (99)
- Blox Fruits / (74)
- Adopt Me / (74)
- Forza Horizon 6 / (72)
- Sailor Piece / (68)
- Grow a Garden 2 / (68)
- Diablo IV / (62)
- CoD: BLACK OPS 6 / (55)
- Aion 2 / (50)
- Path of Exile 2 / (48)
- Monster Hunter Wilds / (46)
- Windrose / (44)
- Donut SMP / (41)