0
0 Created: Aug 16,2026 | Star Citizen
Star Citizen Ship in Distress Guide: Fast Recco Battaglia Rep, Free Gear

You don't need a loadout for this one. Grab a suit, a helmet, and whatever ship you've got — the mission gears you up on arrival. That's the whole appeal.
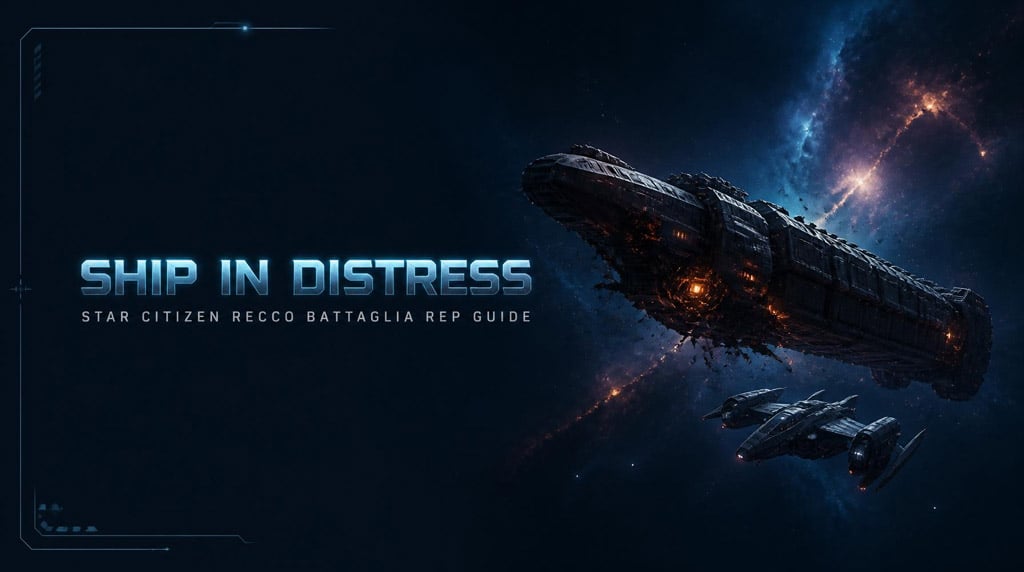
Ship in Distress sends you to a boarded Drake Caterpillar. Pirates hold the ship, the crew's locked in the command module, and a Cutlass Black sitting nearby is stuffed with the exact loot you need to clear it. Rifle, armor, MedPens — all free, all before you even step on the Caterpillar.
Runs average 13 minutes. That's contract accept, travel, clear, repair, and out. Here's the route that makes it that fast.
- Why This Mission Beats Scanning/Mining for Rep
- Step 1: Accept the Contract, Check Distance
- Step 2: Don't Shoot the Caterpillar
- Step 3: Loot the Cutlass Black First
- Step 4: Enter Through the Rear, Not the Front
- Step 5: Build a Kill Zone, Don't Hunt Room-to-Room
- Step 6: Loot the Bodies
- Step 7: Find and Complete the Repair
- Reputation & Efficiency
- Best Ships for the Run
- Mistakes That Slow You Down
- The Repeatable Loop
- FAQ
- Is Ship in Distress good for new players?
- Do I need to bring my own gun?
- Why enter from the rear of the Caterpillar?
- How many enemies are inside?
- Can I farm this mission back to back?
- Summary
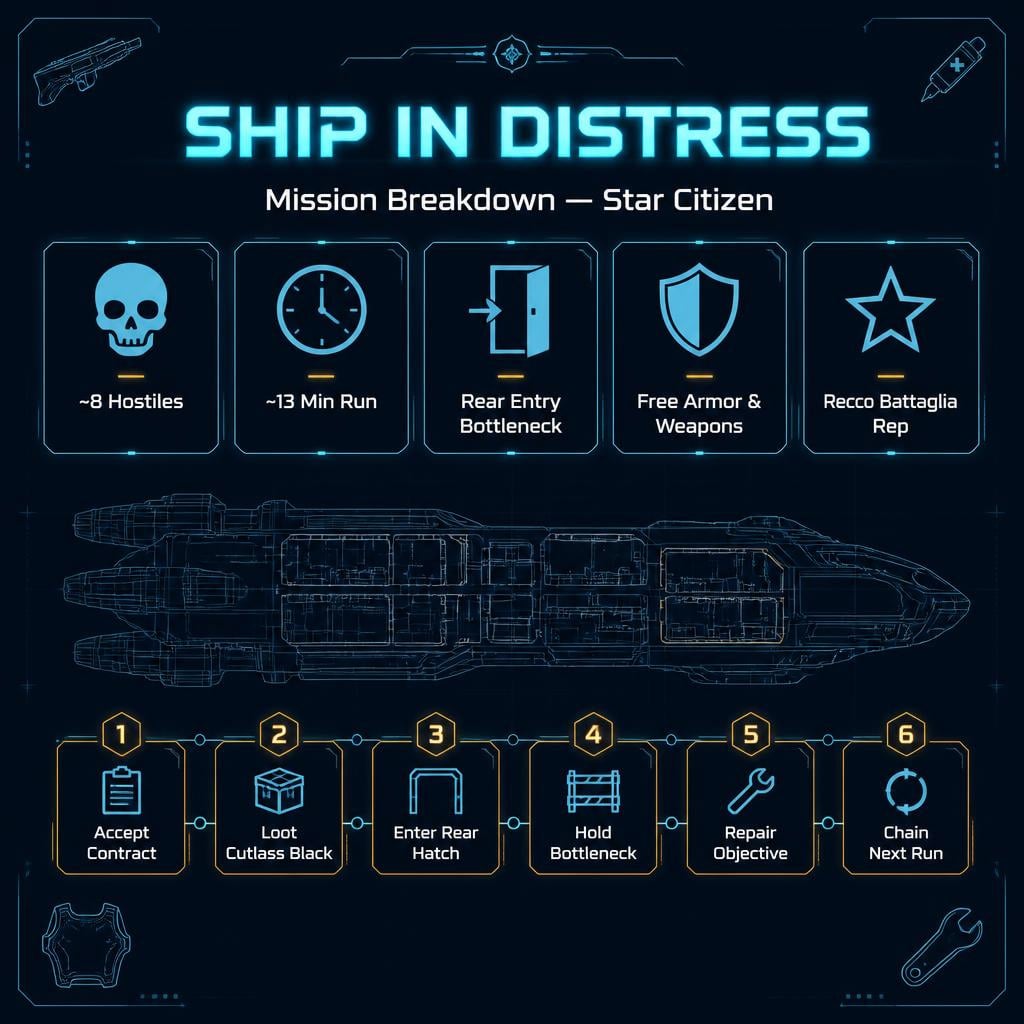
Why This Mission Beats Scanning/Mining for Rep
- Zero gear investment — the Cutlass Black arms you
- ~8 hostiles, predictable AI behavior once you know the layout
- Combat + loot + rep in one loop, not three separate grinds
- Works fine in a starter ship — Aurora, Cutter, Pisces, whatever
Bottom line: it's more active than scanning, more accessible than heavy combat contracts.
Step 1: Accept the Contract, Check Distance
Pull it from your Recco Battaglia contract board.
| Distance | Verdict |
|---|---|
| 1–3 Gm | Ideal — chain these back to back |
| 4–15 Gm | Still worth it |
| 20+ Gm | Only run it if nothing closer is available |
Shorter distance = more completions per hour = faster rep.
Step 2: Don't Shoot the Caterpillar
It shows up as a red contact. That's a UI quirk, not a threat marker.
Do not open fire on it. You're rescuing it, not destroying it. Shooting the target ship is the single fastest way to mess up your own mission.
Step 3: Loot the Cutlass Black First
EVA over before you touch the Caterpillar. This wreck is your free gear shop.
| Priority | Grab This |
|---|---|
| High | Rifle/LMG with a big mag (Demko-type is great — fewer reloads) |
| High | Matching ammo |
| High | MedPens |
| High | Armor pieces |
| Medium | Backpack, tractor beam attachment |
| Low | Cosmetics — skip if you're farming fast |
Grab one solid weapon, ammo, meds, move on. Don't loot every crate — you're not running a gun shop.
Step 4: Enter Through the Rear, Not the Front
Front door = multiple angles = you get flanked. Rear engineering = one chokepoint, and the AI pathing does the work for you.
Once alerted, pirates push toward noise. That means you hold position, they come to you.
| Approach | Watch For |
|---|---|
| Ladder | Footsteps above/below — aim there |
| Stairs | Door sounds, voice lines |
| Side passage | Sudden close-range rush |
| Upper deck | Voices — don't chase early |
If you hear a door cycle, stop looting, hold your angle. Sound is your early warning system here.
Step 5: Build a Kill Zone, Don't Hunt Room-to-Room
1. Push in through the rear.
2. Drop the first hostile near the ladder.
3. Post up at the bottleneck.
4. Watch ladder/stairs/side door.
5. Fire only on clean sightlines.
6. Reload in the lulls.
7. Loot only when it's quiet.
Expect ~8 NPCs. Server tick can make them look sluggish one second and aggressive the next — don't get comfortable just because nobody moved for a few seconds.
Step 6: Loot the Bodies
| Source | What's There |
|---|---|
| Pirate corpses | Guns, ammo, armor |
| Cutlass crates | Weapons, utility gear |
| Caterpillar interior | Ammo boxes, mission items |
| Nearby components | Sellable/salvageable if you brought a tractor beam |
Fill your bag with ammo and meds first. Armor's nice but eats space fast — don't overpack if you're farming speed.
Step 7: Find and Complete the Repair
Push deeper after the fight. You'll find the dead crew member and, nearby, a multi-tool + repair canister if you didn't bring your own.
Equip it, hold the repair action on the flagged component, wait for confirmation. Mission pays out on completion — it's not instant, so don't walk away early.
Reputation & Efficiency
One solid run visibly moves the rep bar. In practice, 4–5 repeat runs from a mid-rank point is enough to hit the next prestige tier — exact numbers shift with patches, but the consistency is the real value here.
What you walk away with every time:
- Recco Battaglia reputation
- Free weapons + armor
- Med supplies
- Optional component profit
- A route that doesn't need a combat ship
Best Ships for the Run
| Ship | Verdict |
|---|---|
| Starter ship | Fine — this is an FPS mission |
| Small cargo hauler | Best pick — more loot storage |
| Medical ship | Solid backup option |
| Heavy fighter | Overkill, skip it |
Ship combat isn't the point. Storage space is the only real factor.
Mistakes That Slow You Down
| Mistake | Fix |
|---|---|
| Shooting the Caterpillar | It's the rescue target, not a threat |
| Skipping the Cutlass Black | You're skipping your free loadout |
| Entering from the front | More angles, more risk |
| Chasing pirates room to room | Hold the bottleneck instead |
| Looting mid-fight | Clear first, loot after |
| No multi-tool/canister | Grab one before heading to the repair point |
| Overlooting on a rep run | Slows your completions per hour |
The Repeatable Loop
| Step | Action |
|---|---|
| 1 | Accept contract, check distance |
| 2 | Fly to marker |
| 3 | Loot Cutlass Black (weapon, ammo, meds, armor) |
| 4 | Enter Caterpillar rear |
| 5 | Hold the bottleneck |
| 6 | Repair objective |
| 7 | Loot selectively |
| 8 | Chain next contract |
FAQ
Is Ship in Distress good for new players?
Yes. You start with almost nothing and gear up on-site from the Cutlass Black. The rear-entry chokepoint makes the combat forgiving even for less experienced players.
Do I need to bring my own gun?
Not strictly. The Cutlass Black usually has weapons and ammo. Bringing a basic rifle just adds a safety net if loot spawns are thin or another player already looted the wreck.
Why enter from the rear of the Caterpillar?
It's a natural chokepoint. Fewer approach angles means you hold cover, listen for cues, and let enemies come to you instead of getting flanked room to room.
How many enemies are inside?
Roughly 8 hostiles. Server performance affects how reactive they seem, but plan for pushes from ladders, stairs, and side doors regardless.
Can I farm this mission back to back?
Yes — check contracts again right after completion. If another Ship in Distress spawns close, chain it immediately. If it's far, weigh the travel time against other local contracts.
Summary
Cheap entry, predictable fights, real loot. Loot the Cutlass Black, breach the Caterpillar's rear, hold your chokepoint, repair the objective, and cash in the rep. Skip the heroics — don't shoot the target ship, don't rush the front door, don't chase pirates through the whole hull. Let the mission's own loot gear you up, control the fight on your terms, and this stays one of the most efficient Recco Battaglia grinds in rotation.

Most Popular Posts
- Star Citizen 4.9 Ship Buying Guide: What to Buy, Skip, and Prioritize
- Star Citizen 4.9 Salvage Guide: Easy AUEC from Battaglia Ship in Distress + Golem Module Fix
- Star Citizen 4.9 Hull C Cargo Hauling Guide: Make Millions aUEC Without Autoload
- Star Citizen 4.9 Alleso Money Guide: Best Pyro Trade Route for Fast aUEC
- Star Citizen 4.9 Battaglia Missions: CQ7 Rifle Locations, Loot Routes & Bug Fixes
- Star Citizen 4.9 Money Guide: Best Beginner Combat Gauntlet Farm for Millions of aUEC
Popular Category Lists
- ARC Raiders / (351)
- Grow a Garden / (294)
- CoD: Black Ops 7 / (167)
- Star Citizen / (162)
- MLB 26 / (159)
- Monopoly Go / (152)
- ARK Survival Ascended / (128)
- Steal a Brainrot / (99)
- Blox Fruits / (74)
- Adopt Me / (74)
- Forza Horizon 6 / (72)
- Sailor Piece / (68)
- Grow a Garden 2 / (68)
- Diablo IV / (62)
- CoD: BLACK OPS 6 / (55)
- Aion 2 / (50)
- Path of Exile 2 / (48)
- Monster Hunter Wilds / (46)
- Windrose / (44)
- Donut SMP / (41)