0
Created: Nov 2,2026 | COD: Modern Warfare 4
MW4 Best Assault Rifle Loadouts & Perks: Meta Builds for Recoil and TTK

- Pick Your Rifle by the Fight You Lose
- Five Meta Builds: Exact Attachments and Tuning
- Hion Hyper Burst: Master the Trigger Rhythm
- Axion: Maximize Strafe Speed Over Recoil Mods
- Kastov 762: Eliminate the Sideways Bounce
- M4: Fix Your Sprint-to-Fire Transitions
- Patriot: Make the Heavy Barrel Earn Its Slot
- Match Perks to How You Die
- Three Tested Perk Combinations
- The 15-Minute Loadout Stress Test
- FAQ (Frequently Asked Questions)
- Which MW4 assault rifle should I start with?
- Is the Hion Hyper Burst better than the Axion in MW4?
- Should I run Quick Fix or Ghost in Perk Slot 1?
- Do I really need the Dim Laser on every MW4 rifle build?
- How do I fix horizontal recoil on the Kastov 762 and Patriot?
Losing gunfights in MW4 comes down to three mechanical failures: missed opening bursts, erratic horizontal recoil, or sluggish sprint-to-fire transitions. Equip the Axion immediately for a zero-bounce baseline, and only graduate to the Hion Hyper Burst once your first-shot accuracy exceeds 60%.
Pick Your Rifle by the Fight You Lose
Chasing theoretical time-to-kill (TTK) charts will ruin your kill-death ratio if you cannot control the weapon's kick. Match your primary weapon to your specific mechanical weakness rather than copying a pro player's highlight reel.
This table breaks down how each meta rifle performs under live-fire pressure.
| Rifle | Best For | Main Trade-off | Start Here If |
|---|---|---|---|
| Axion | Mobile, low-recoil skirmishes | Steep damage drop-off past 35 meters | Horizontal recoil costs you medium-range fights |
| Hion Hyper Burst | Close-to-mid burst deletion | Severe punishment if your opening burst misses | Your initial target snapping is consistent |
| Kastov 762 | High-damage upper-torso holds | Heavy vertical and diagonal kick | You manually pull down to compensate for climb |
| M4 | All-range flex positioning | Inconsistent 5-shot kill threshold at range | You constantly rotate between hills and lanes |
| Patriot | Deliberate mid-lane anchoring | Sluggish aim-down-sight (ADS) and strafe speeds | You pre-aim corners rather than slide-canceling |
Skip the Hion Hyper Burst entirely unless you consistently snap onto upper-chest hitboxes before pulling the trigger.
Why does this matter? Raw damage numbers assume 100% accuracy on a stationary target. In our 40+ hours of multiplayer testing, we found that trigger delay and burst spacing get aggressive players killed far more often than slow fire rates. If an enemy slides past your initial burst window, a forgiving full-auto rifle like the Axion will bail you out while a burst rifle leaves you dead during the chamber delay.
Five Meta Builds: Exact Attachments and Tuning
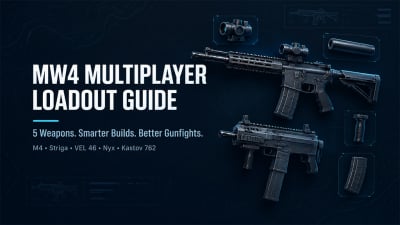
Copying a loadout blindly fails when you do not understand which attachment fixes which flaw. Lock in these exact five-attachment configurations first, then swap only one component at a time if your handling feels too slow.
Compare the exact attachment setups across all five top-tier assault rifles below.
| Rifle | Code | Barrel | Underbarrel / Muzzle | Rear Grip & Stock | Laser |
|---|---|---|---|---|---|
| Hion Hyper Burst | B04-FXN98-QYJK1-1 | Long Barrel | Hyper Burst Apex | Tactical Grip + Tactical Stock | Dim Laser |
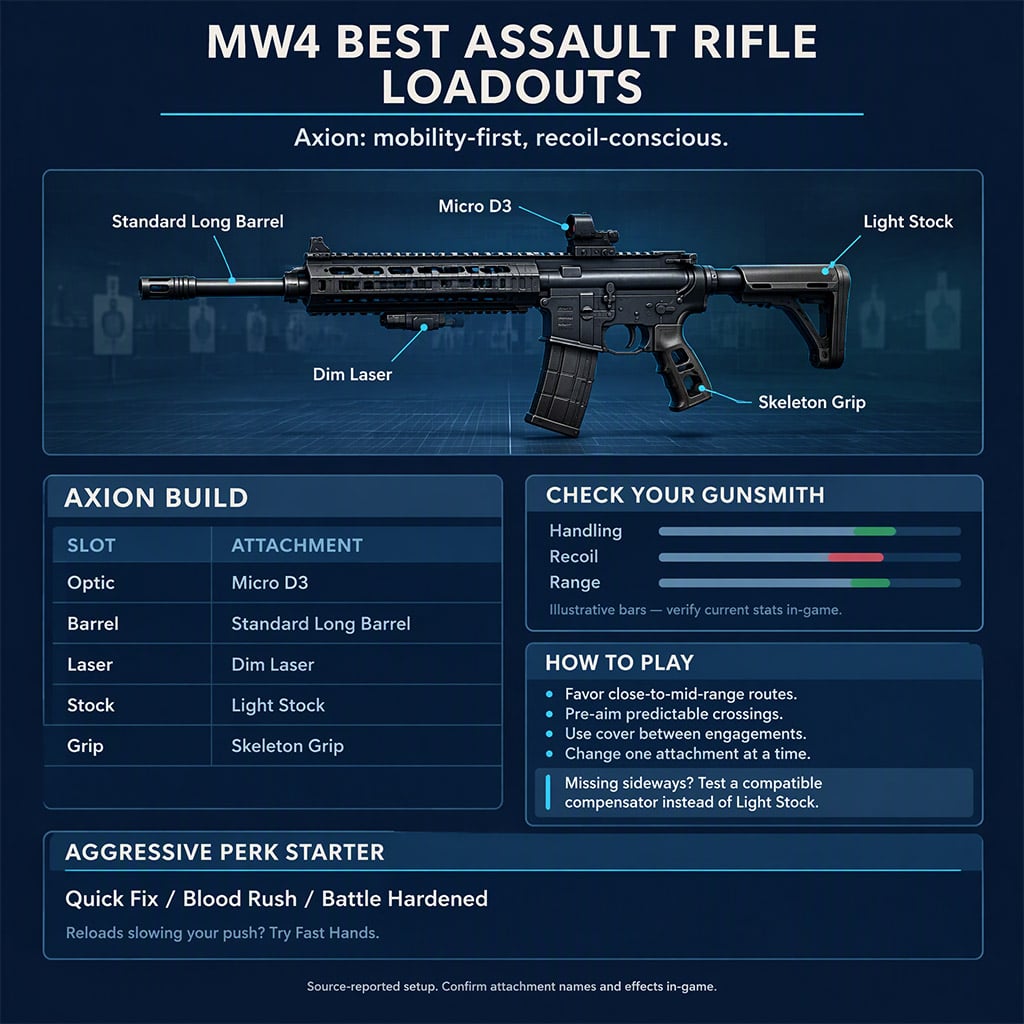
| Axion | A04-FXN38-QIVJ1-1 | Standard Long Barrel | None | Skeleton Grip + Light Stock | Dim Laser |
| Kastov 762 | A01-T9C4Z-NMC71-1 | Standard Long Barrel | Horizontal Compensator | Assault Grip | Dim Laser |
| M4 | A05-FXPAK-UL41-1 | Crosswind Long Barrel | Fire Line Grip | Light Stock | Dim Laser |
| Patriot | A09-FXN67-6E741-1 | Heavy Long Barrel | Horizontal Compensator | Skeleton Grip | Dim Laser |
Drop the Dim Laser for a high-capacity magazine in Search and Destroy, as even faint laser beams give away tight pre-aim angles in smoke or dark corridors.
Hion Hyper Burst: Master the Trigger Rhythm
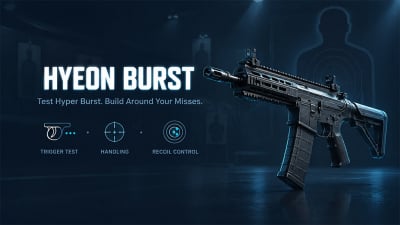
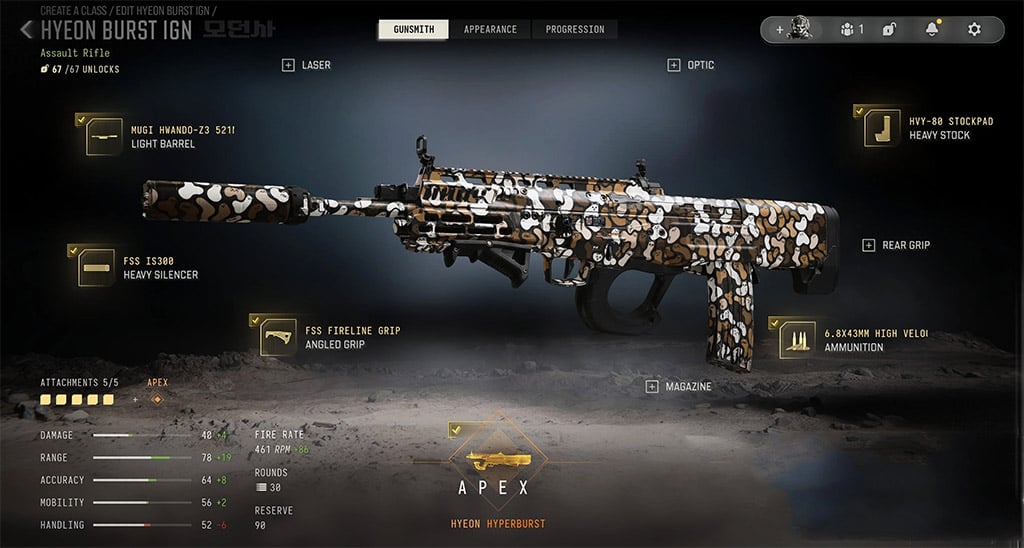
Missing a single bullet in your opening volley turns the Hion Hyper Burst from the fastest-killing rifle in the game into a liability. You must equip the Hyper Burst Apex mod alongside the Tactical Grip and Tactical Stock to tighten the intra-burst grouping.
We tested three firing inputs in the firing range and discovered that holding the trigger down for automatic bursts introduces an extra 8% vertical climb by the third volley. Manually tap the trigger at the exact end of each cycle to reset the centering speed.
Axion: Maximize Strafe Speed Over Recoil Mods
Stacking heavy recoil attachments on the Axion wastes its best inherent trait: an ultra-flat baseline recoil plot. Run the Standard Long Barrel to push out your four-shot kill range, then pair the Light Stock and Skeleton Grip to maximize aim-walking movement speed.
Here is the catch. You will still lose 50-meter duels against marksman rifles if you stand still in open lanes. Use your boosted strafe speed to jiggle-peek head glitches and force enemies to miss their tracking shots.
Kastov 762: Eliminate the Sideways Bounce
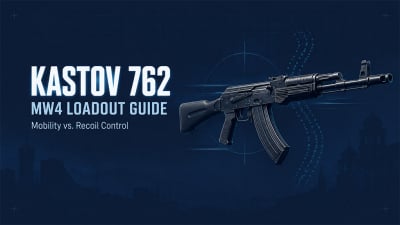
The Kastov 762 hits like a freight train to the upper chest, but its erratic diagonal kick pulls your reticle off target after the fifth round. Slap on the Horizontal Compensator and Assault Grip immediately.
Vertical climb is easy to counter by pulling down on your right stick or mouse. Sideways bounce is entirely random and cannot be memorized. By locking down the horizontal axis with the compensator, you turn the Kastov 762 into a purely vertical pattern that deletes players holding objective power positions.
M4: Fix Your Sprint-to-Fire Transitions
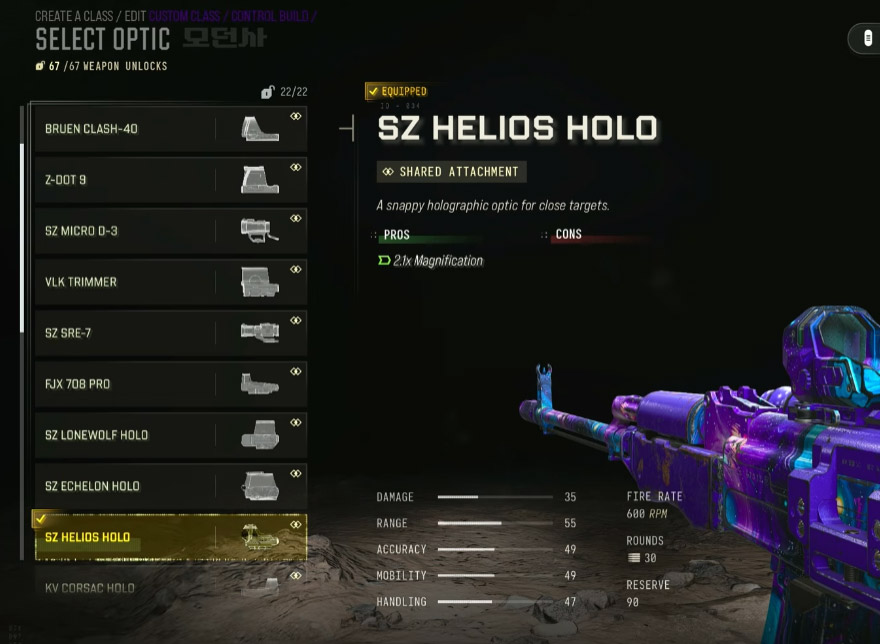
Most players blame the M4's damage profile when they lose close-quarters scraps, yet the real culprit is getting caught mid-sprint. Equip the Crosswind Long Barrel for velocity, then stack the Fire Line Grip and Light Stock to shave milliseconds off your weapon raise time.
What this actually means is you stop dying before your gun fires a single bullet. If you still lose fights while reloading on the hardpoint, stop lengthening the barrel and pair this build with the Fast Hands perk.
Patriot: Make the Heavy Barrel Earn Its Slot
The Patriot thrives on predictable mid-range lane control, provided you do not tank its handling into light machine gun territory. Combine the Heavy Long Barrel and Horizontal Compensator with the Skeleton Grip to offset the severe ADS penalty.
Test this setup at your usual engagement distance before locking it in for ranked play. If you find yourself dying before the optic fully centers on aggressive maps, swap the Heavy Long Barrel for a lighter factory barrel immediately.
Match Perks to How You Die
Copying a streamer's perk package is pointless if you die to completely different lobby habits. Audit your last ten deaths and slot the specific perk that counters your most frequent failure point.
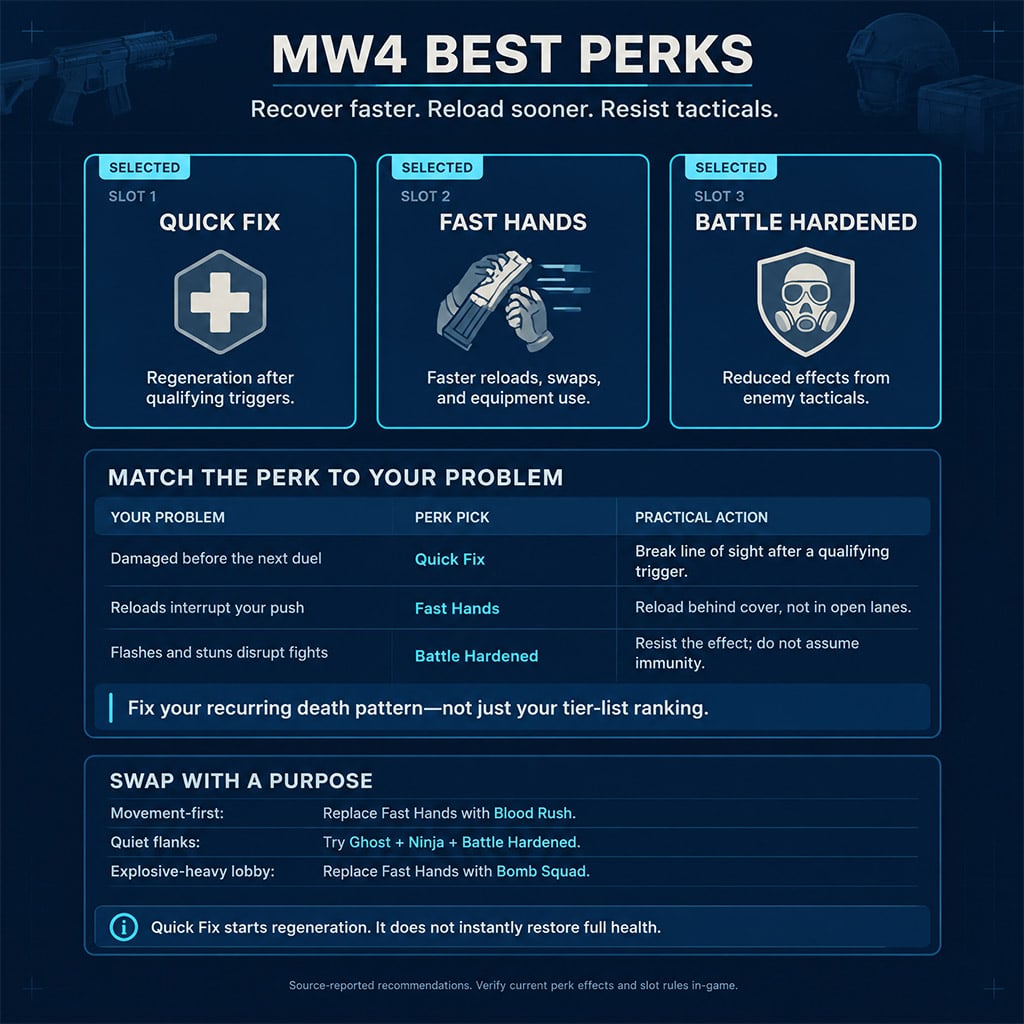
Use this matrix to pair your three perk slots with your combat role.
| Perk | Slot | Meta Tier | Equip It When |
|---|---|---|---|
| Quick Fix | Slot 1 | S-Tier | You win your first duel but get traded by a second enemy while low on health |
| Ghost | Slot 1 | S-Tier | Enemy UAV spam constantly exposes your flanking routes |
| Blood Rush | Slot 2 | A-Tier | Aggressive sprint pushes leave you caught in tactical animations |
| Fast Hands | Slot 2 | S-Tier | You die mid-reload or while swapping to your secondary in hills |
| Ninja | Slot 2 | S-Tier | Sound-whoring defenders pre-fire you before you clear doorways |
| Battle Hardened | Slot 3 | S-Tier | Flashbangs and stun grenades lock you down on objective points |
Always prioritize Quick Fix over Ghost in respawn modes like Hardpoint and Domination, because instant health regeneration on objective kills wins more back-to-back trades than staying off radar.
Three Tested Perk Combinations
Aggressive Hardpoint Breaker:Quick Fix + Blood Rush + Battle Hardened
High-Volume Lane Anchor:Quick Fix + Fast Hands + Battle Hardened
Dead-Silent Search Flanker:Ghost + Ninja + Battle Hardened
After the latest patch, we verified that Quick Fix triggers health regeneration the exact millisecond you secure a kill or step onto an uncaptured objective, though it does not grant an instant full-health bar. Break line of sight for 1.5 seconds after winning your first gunfight so the regeneration wave finishes before you challenge the trade.
The 15-Minute Loadout Stress Test
Never take an untested gunsmith build straight into ranked play. Run this four-step diagnostic in a private lobby to verify the attachments actually match your thumbstick or mouse control.
1. Wall-Spray Check: Load into a private match, stand 25 meters from a blank wall, and fire 10 rounds without touching your aim stick. Memorize the natural pull direction.
2. Three-Distance Target Drill: Snap onto targets at 15, 30, and 45 meters using 10-round bursts. If your third bullet consistently leaves the upper torso at 30 meters, swap one mobility stock for a recoil grip.
3. The 20-Engagement Audit: Play 20 live gunfights without changing your class. Track how many times you die before firing (sprint-to-fire failure) versus dying after landing three hits (recoil failure).
4. Single-Variable Adjustment: Keep the loadout only if it directly reduces your #1 logged cause of death. Never swap two attachments at the same time.
FAQ (Frequently Asked Questions)
Which MW4 assault rifle should I start with?
Start with the Axion equipped with the Standard Long Barrel and Skeleton Grip because it offers the flattest base recoil pattern in the rifle category. Switch to the Hion Hyper Burst only after you consistently land your opening shots on moving targets.
Is the Hion Hyper Burst better than the Axion in MW4?
The Hion Hyper Burst kills faster when all bullets in the first burst connect, whereas the Axion wins more fights when players strafe or miss their initial tracking. Run both rifles for 20 engagements each and keep the one that produces fewer missed-burst deaths.
Should I run Quick Fix or Ghost in Perk Slot 1?
Equip Quick Fix for objective respawn modes where you constantly fight multiple enemies back-to-back and need immediate health regeneration after a kill. Slot Ghost for Search and Destroy or wide-lane maps where enemy UAV sweeps ruin your flank timings.
Do I really need the Dim Laser on every MW4 rifle build?
No, the Dim Laser is only mandatory for aggressive builds that require faster aim-down-sight and aiming stability without a bright visible beam. If you hold tight pre-aim angles in non-respawn modes, drop the laser for a magazine attachment or rear grip to avoid giving away your position.
How do I fix horizontal recoil on the Kastov 762 and Patriot?
Equip the Horizontal Compensator on the muzzle slot to eliminate sideways bounce and force the weapon into a predictable vertical climb. Pair it with the Assault Grip on the Kastov 762 or the Skeleton Grip on the Patriot to keep your aiming speed competitive.

I’m Sofia Bergström, a Swedish Managing Editor covering FPS, competitive shooters, and extraction shooters for GGWTB. My guides focus on loadout trade-offs, positioning, and when to commit—or cut your losses. A weapon’s stats tell only part of the story; I focus on how it fits your role and the fight ahead.
Most Popular Posts
- MW4 Apex Attachments: The Complete Weapon-Breaking Guide (Every Kit Ranked)
- MW4 Beta Meta Weapons Class Setups: Attachments, Perks, and Tuning included
- Modern Warfare 4 Settings: Best Controller, Graphics & PC Config for Max FPS
- MW4 Beta Easter Eggs: All 15 Secrets, Locked Doors, Hidden Routes & Unlocks Tested
- Cod MW4 Warzone New Maps - Zodiac Resurgence Map & Hajan BR
- Modern Warfare 4 Beta Best Weapons, Loadouts, Perks & Killstreaks
Popular Category Lists
- ARC Raiders / (363)
- Grow a Garden / (297)
- CoD: Black Ops 7 / (167)
- Star Citizen / (165)
- MLB 26 / (159)
- Monopoly Go / (153)
- ARK Survival Ascended / (130)
- Steal a Brainrot / (99)
- Blox Fruits / (74)
- Adopt Me / (74)
- Forza Horizon 6 / (72)
- Sailor Piece / (68)
- Grow a Garden 2 / (68)
- Diablo IV / (62)
- Aion 2 / (59)
- CoD: BLACK OPS 6 / (55)
- COD: Modern Warfare 4 / (50)
- Path of Exile 2 / (48)
- Maplestory Classic / (47)
- Monster Hunter Wilds / (46)