0
Created: Nov 17,2026 | COD: Modern Warfare 4
MW4 DMZ Boss Guide: Melt Humanoid Bosses with Shock Sticks & Thermite

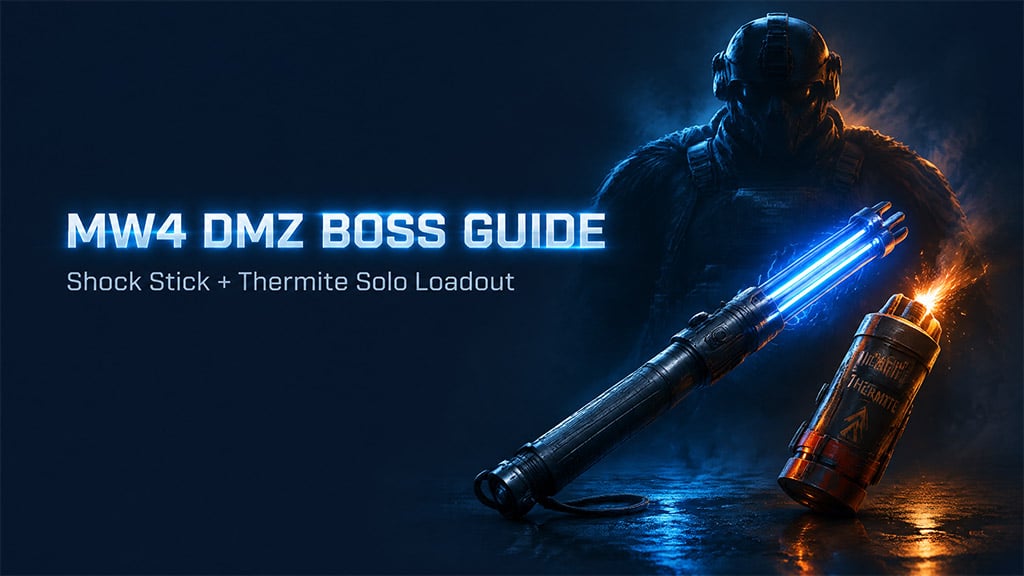
Equip Shock Sticks (Tactical) and Thermite (Lethal) to solo every humanoid boss in Call of Duty: Modern Warfare 4 DMZ without spending cash on Killstreaks. Shock Sticks freeze boss movement, while Thermite burns straight through Colossus and Commander armor.
- Loadout Setup & Execution Loop
- Boss-by-Boss Kill Thresholds
- Surviving the Commander Execution Bug
- FAQ (Frequently Asked Questions)
- Do I need crafting recipes for Shock Sticks and Thermite in DMZ?
- How many Thermites does it take to kill Heavy Armored Bosses?
- Why did the Enemy Elite escape while stunned?
- Can Shock Sticks break the Warden's shield?
- Did the latest patch fix the Commander solo execution bug?
Loadout Setup & Execution Loop
Killstreaks require crafting recipes, drain cash, and miss indoor targets. In our DMZ testing, Shock Sticks and Thermite cleared bosses faster with zero recipe requirements.
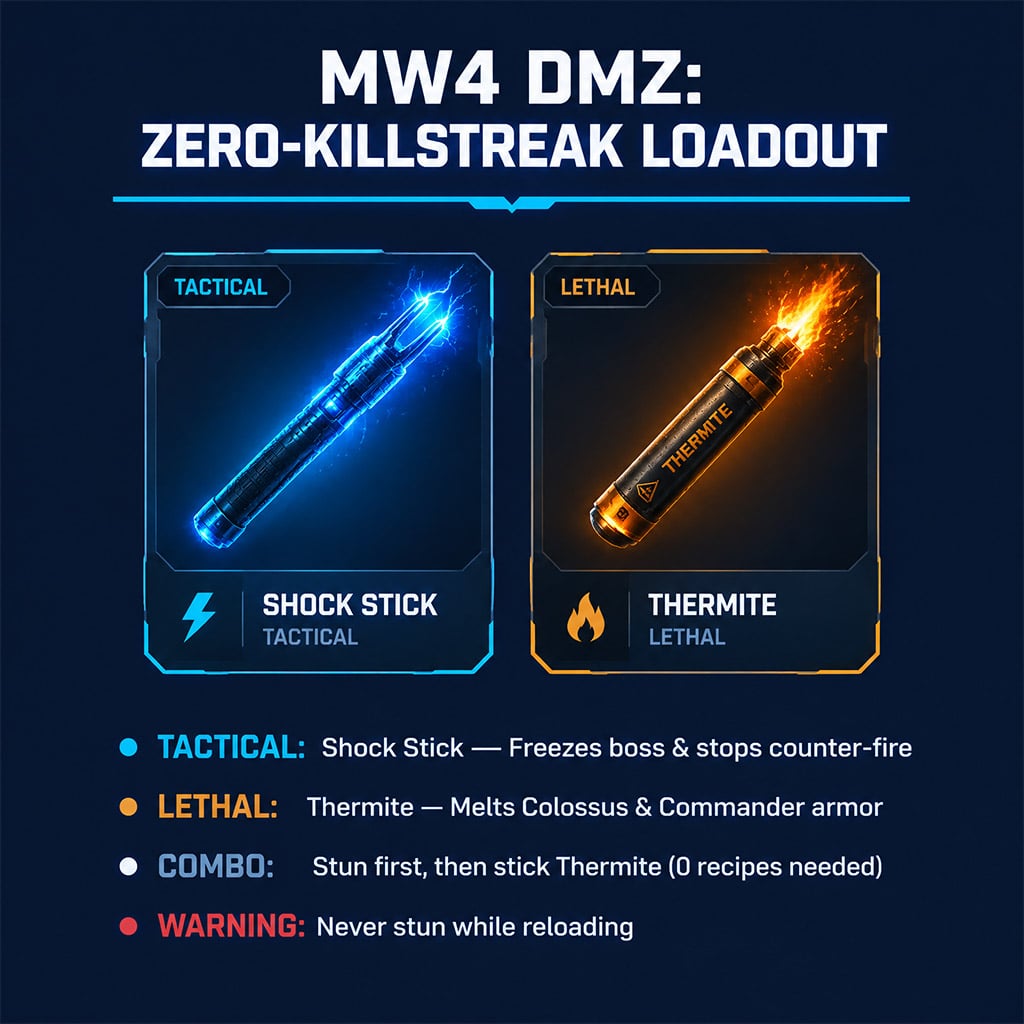
Tactical Slot: Equip Shock Stick to lock down boss movement and stop counter-fire.
Lethal Slot: Equip Thermite to bypass heavy armor plating after stunning.
Action Trigger: Throw the Shock Stick first, then immediately stick Thermite to the stationary hitbox.
Pro Tip: Never throw a Shock Stick while reloading, or you will waste the brief stun window.
Boss-by-Boss Kill Thresholds
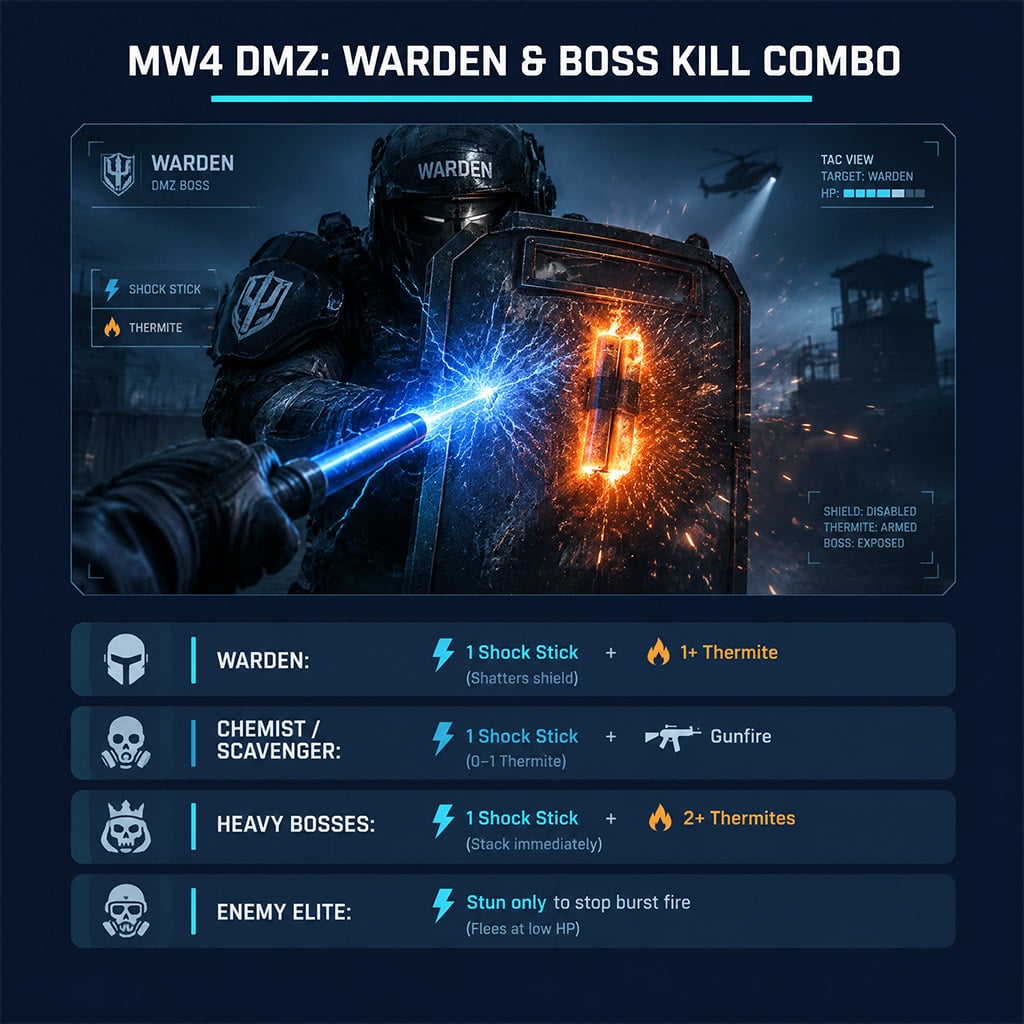
We tested this combo against every major humanoid boss to map exact throwable requirements.
| Boss Target | Shock Stick Effect | Thermite Required | Tactical Verdict |
|---|---|---|---|
| Chemist | Stuns ~5 seconds | 0–1 | Drops to one Shock Stick plus standard gunfire. |
| Scavenger | Full stun | 0 | Dies within a single Shock Stick window; save Thermite. |
| Enemy Elite | Brief stun | 0 | Pops smoke and flees at low HP; use Shock Stick only to stop burst fire. |
| Warden | Full stun | 1+ | Stick Thermite to the shield to shatter it or finish the kill. |
| Heavy Armored Bosses | Full stun | 2+ | Stack two Thermites immediately after stunning. |
| Dr. X01 | Full stun | 1+ | Bring both throwables for a clean, fast clear. |
Skip straight gunfights against heavy armored bosses unless you want to burn through your reserve plates.
Environmental Trap Tip: In zones with Railgun Sentries and Sensor Mines, stun the boss upon entry to secure the kill before traps force you out of cover.
Surviving the Commander Execution Bug
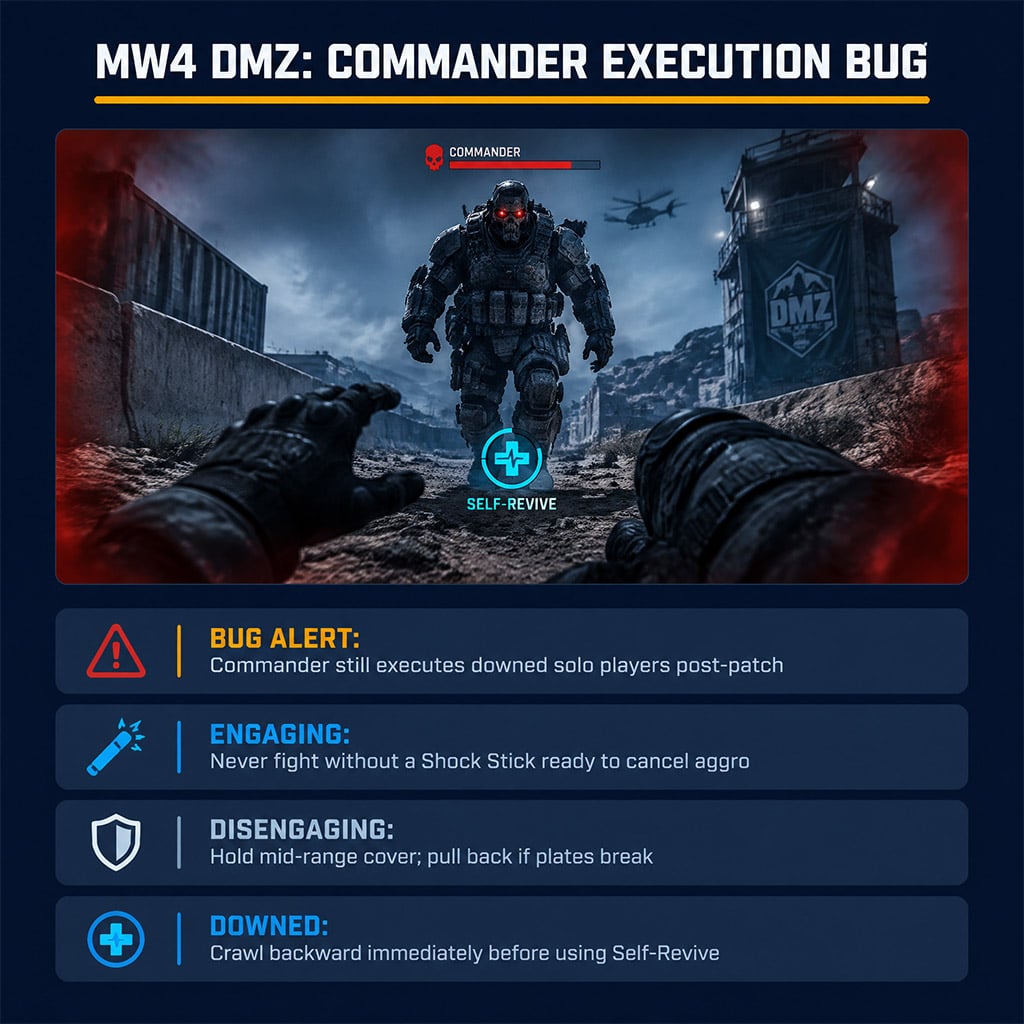
Do not rely on a Self-Revive when fighting a Commander solo. We verified post-patch that getting downed while facing him still triggers an instant execution animation, ending your run.
Engaging: Never challenge a Commander without a Shock Stick ready to cancel his aggro.
Disengaging: Hold mid-range cover and pull back immediately if your armor plates break.
Downed Protocol: Crawl backward instantly to break line-of-sight before triggering your Self-Revive.
FAQ (Frequently Asked Questions)
Do I need crafting recipes for Shock Sticks and Thermite in DMZ?
No, both items require zero crafting recipes. You can equip them directly in your loadout or buy them cheaply at Buy Stations.
How many Thermites does it take to kill Heavy Armored Bosses?
Bring at least two Thermites. Hit the boss with a Shock Stick first, then stack two Thermites to melt their armor.
Why did the Enemy Elite escape while stunned?
Enemy Elites automatically pop smoke and flee once they hit a low-HP threshold. Save your Shock Stick strictly to interrupt their burst fire.
Can Shock Sticks break the Warden's shield?
No, Shock Sticks only freeze the Warden in place. Stick Thermite directly onto his shield while stunned to shatter it.
Did the latest patch fix the Commander solo execution bug?
No, the bug remains active despite patch notes. Always keep a Shock Stick ready and maintain mid-range spacing when fighting him solo.

I’m Sofia Bergström, a Swedish Managing Editor covering FPS, competitive shooters, and extraction shooters for GGWTB. My guides focus on loadout trade-offs, positioning, and when to commit—or cut your losses. A weapon’s stats tell only part of the story; I focus on how it fits your role and the fight ahead.
Most Popular Posts
- MW4 Beta Meta Weapons Class Setups: Attachments, Perks, and Tuning included
- MW4 Beta Easter Eggs: All 15 Secrets, Locked Doors, Hidden Routes & Unlocks Tested
- Modern Warfare 4 Settings: Best Controller, Graphics & PC Config for Max FPS
- Modern Warfare 4 Beta Best Weapons, Loadouts, Perks & Killstreaks
- MW4 Beta Guide: Maps, Weapons, Perks, and the Fastest Way to Level 20
- Modern Warfare 4 Beta Rewards: Full Unlock List, Level Requirements & Fastest Grind Guide
Popular Category Lists
- ARC Raiders / (374)
- Grow a Garden / (301)
- Star Citizen / (172)
- CoD: Black Ops 7 / (168)
- MLB 26 / (159)
- Monopoly Go / (153)
- ARK Survival Ascended / (132)
- Steal a Brainrot / (101)
- Adopt Me / (79)
- Blox Fruits / (74)
- Forza Horizon 6 / (72)
- Sailor Piece / (68)
- Grow a Garden 2 / (68)
- Aion 2 / (66)
- Diablo IV / (62)
- COD: Modern Warfare 4 / (60)
- CoD: BLACK OPS 6 / (55)
- Maplestory Classic / (50)
- Path of Exile 2 / (48)
- Monster Hunter Wilds / (46)