0
0Rust Beat Roofcampers: Best Horse and Shield Strategy for Early to Mid Game
Roofcampers are hard to deal with for one reason: they control the pace if we let them. If we stand still, re-peek the same angle, or build too close to their sightline, we usually lose the trade before the fight really starts.
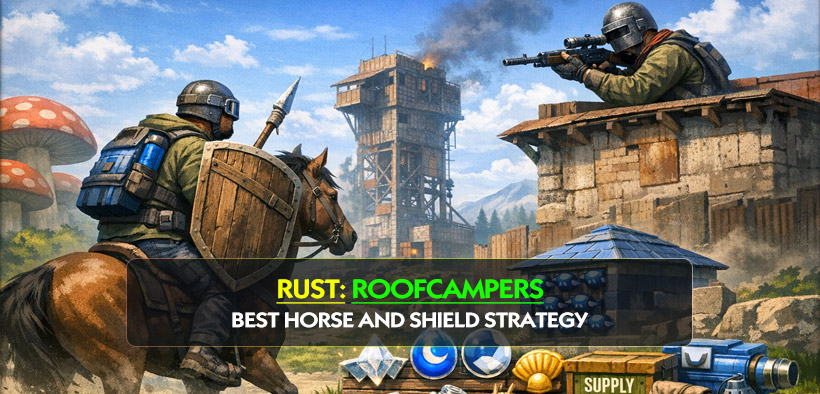
What worked best for us was much simpler than people think: use horses for fast angle changes, use shields to survive the opening burst, and only commit when there's real value to take. That turns a frustrating area into a farmable one. Here's the practical version of that strategy.
- Why This Strategy Works
- What roofcampers want
- What we want
- Best Loadout for This Playstyle
- What we prioritize
- How We Fight Roofcampers
- 1. Don't stare at the roof
- 2. Kill the ground player first
- 3. Use horses for angle changes, not just travel
- How to Use Shields Properly
- The simple rule
- When to Stay in the Area and When to Move
- Stay if:
- Move if:
- The Best Loot Loop Against Roofcampers
- Our basic loop
- Quick Anti-Roof Checklist
- FAQ
- Is horse + shield really good in Rust?
- Should we always push a roofcamper base?
- What's the biggest mistake against roofcampers?
- Is it worth building near a roofcamper?
- Final Takeaway
↖ Why This Strategy Works
The main idea is to stop fighting roofcampers on their terms.
↖ What roofcampers want
- stationary targets
- predictable re-peeks
- long open retreats
- players distracted by another fight
↖ What we want
- fast side rotations
- short loot windows
- pressure on ground players first
- quick resets before the roof can stabilize
In real fights, this matters more than raw aim. A roof player with height is dangerous. A roof player with height and predictable targets is much worse.
↖ Best Loadout for This Playstyle
We don't need a fancy setup. We need a setup that survives the first mistake and still lets us punish.
| Role | Recommended Gear | Why It Works |
|---|---|---|
| Front rider | Horse, shield, shotgun/SMG, meds | Takes first pressure and closes distance |
| Support | Horse, SAR/P2/Tommy, meds | Covers swings and finishes tagged players |
| Loot/reset player | Horse, mid-range gun, extra inventory space | Secures bodies and depots quickly |
↖ What we prioritize
1. Mobility first
2. Enough meds for a second fight
3. Cheap guns early, better guns after control
4. Fast banking over greedy looting
If you find yourself carrying too much after one win, that usually means it's already time to go home.
↖ How We Fight Roofcampers
This is the part most guides skip. Saying just rotate is not enough. The real question is how.
↖ 1. Don't stare at the roof
If someone is shooting from above, our first job is not to ego peek. Our first job is to figure out:
- Can they push off roof?
- Do they have turrets?
- Are there ground players nearby?
- Can we loot safely if we win?
If the answer is messy, we change the fight instead of forcing it.
↖ 2. Kill the ground player first
Most roofcamp bases create traffic. That means the easier kill is often:
- the farmer
- the door swinger
- the late responder
- the guy looting outside
That's where the real profit usually comes from.
↖ 3. Use horses for angle changes, not just travel
A horse is not only transportation. It's a way to:
- cross open ground fast
- bait shots
- swing wide
- scoop loot and leave
If you keep fighting in a straight line, the roof gets stronger.
If you keep changing lanes, their advantage drops fast.
↖ How to Use Shields Properly
A lot of players use shields badly and then think shields are weak. Usually the issue is positioning.
↖ The simple rule
Keep the enemy on your shield side while moving.
Not after stopping. While moving.
| Common Mistake | What Happens | Better Fix |
|---|---|---|
| Facing too square | You still eat body shots | Angle your body before contact |
| Holding shield too long | You lose all pressure | Use it to cross, then swing |
| Mounting in the open | Easy death on transition | Mount after cover or teammate fire |
| Solo shield push | You get isolated | Pair shield user with support gunner |
From experience, shields are best for surviving the first burst. That's often all we need to turn the fight.
↖ When to Stay in the Area and When to Move
This is where many teams throw their wipe. They win a few fights, like the location, then ignore that the nearby roof can see everything.
↖ Stay if:
- your base entrance is not fully exposed
- horses can be stored safely
- the enemy roof can be punished
↖ Move if:
- turret lasers show up early
- your door path is always visible
- your horses keep dying outside
- every recycle or farm run becomes predictable
| Situation | Decision |
|---|---|
| Nearby roof but weak coverage | Stay and pressure them |
| Strong roof + early turrets | Move early |
| Good fights, bad build safety | Fight there, don't live there |
| Safe base + lootable area nearby | Best-case scenario |
That last line is the sweet spot. We'd rather fight near danger than live inside it.
↖ The Best Loot Loop Against Roofcampers
The biggest improvement for most groups is not aim. It's conversion.
↖ Our basic loop
1. Kill the exposed ground player
2. Loot guns, ammo, meds first
3. Expect the revenge peek
4. Take one more fight if needed
5. Depot early
That last step matters. A lot of teams lose good runs because they overstay for scraps.
If you kill one geared player and bank it, that's a win.
If you kill three and die looting roadsign gloves, Rust has successfully scammed you again.
↖ Quick Anti-Roof Checklist
Before we re-engage, we usually check these fast:
| Question | If No | What We Do |
|---|---|---|
| Do we know the roof angle? | Unsafe | Rotate |
| Do we have meds? | Weak reset | Back off |
| Is a horse still usable? | Slow escape | Shorten fight |
| Can we actually loot bodies? | Low value push | Don't force it |
| Are turrets active? | High risk | Use utility or leave |
This keeps the decision-making clean.
If the fight is no longer profitable, we stop pretending it is.
↖ FAQ
↖ Is horse + shield really good in Rust?
Yes, especially early to mid game. It gives us better movement, safer disengages, and more ways to punish players outside the base.
↖ Should we always push a roofcamper base?
No. We push only if there's a real opening, like weak turret placement, a dead defender, or a bad side angle. Otherwise, we farm the players outside.
↖ What's the biggest mistake against roofcampers?
Re-peeking the same angle and overcommitting to bad terrain. That gets teams wiped more than bad aim does.
↖ Is it worth building near a roofcamper?
Only if your build remains functional. If they control your front door, horses, and farming paths, the area is not worth living in.
↖ Final Takeaway
The best way to beat roofcampers in Rust is to break their rhythm. We do that with mobility, shield discipline, fast loot resets, and smarter fight selection. That approach is more reliable than ego peeking a roof and hoping for a miracle.
When this style works, it works because we stop treating the roof like the whole fight. We hit the weak points around it, take the value, and leave before the area collapses on us. That's usually where the real advantage starts.
Most Popular Posts
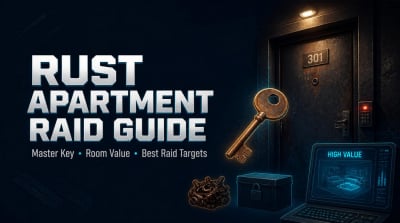
- Rust Apartment Raid Guide: Master Key, Room Value, Costs & Best Targets
- Rust Console World 2.0 Update Guide: 4.5K Maps, Rock Bases, Oasis Spots, Roads
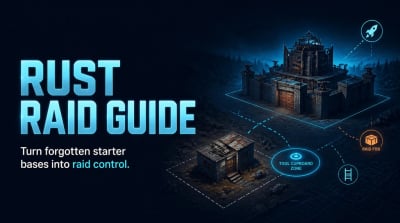
- Rust Raid Guide: The Starter Base TC Tactic That Wins Wipes
- Rust M16A2 Rifle Guide: Best Attachments, Stats, Recoil, and Ammo
- Rust Swimming Pool Loot Storage Guide: Is It Actually Safe?
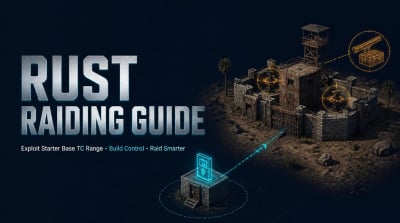
- Rust Raiding Guide: Abuse Starter Base TC Range to Lock Down Enemy Compounds
Popular Category Lists
- ARC Raiders / (291)
- Grow a Garden / (286)
- CoD: Black Ops 7 / (166)
- MLB 26 / (150)
- Monopoly Go / (148)
- Star Citizen / (129)
- ARK Survival Ascended / (91)
- Steal a Brainrot / (90)
- Sailor Piece / (68)
- Forza Horizon 6 / (67)
- Diablo IV / (62)
- Blox Fruits / (62)
- Adopt Me / (58)
- Grow a Garden 2 / (57)
- CoD: BLACK OPS 6 / (55)
- Path of Exile 2 / (48)
- Monster Hunter Wilds / (46)
- Windrose / (44)
- Path of Exile / (40)
- Bee Swarm Simulator / (37)