0
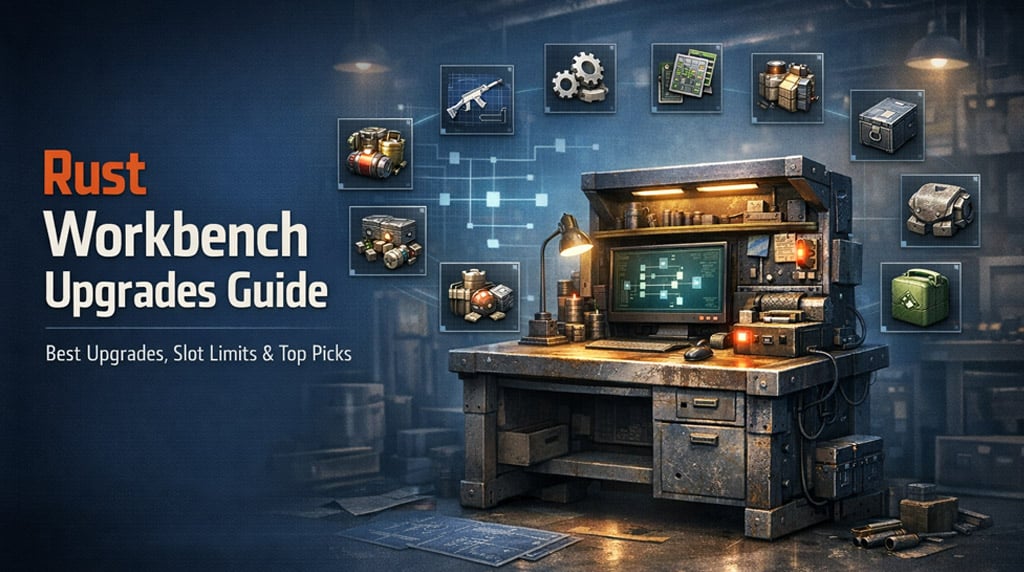
0Rust Workbench Upgrades Guide: Best Upgrades, Slot Limits, and What to Use First
Workbench Upgrades are one of the more interesting systems added to Rust staging in a while. Instead of your bench being just a requirement for crafting, it now acts more like a station you can customize for progression, economy, and base utility.
The core idea is simple: we place upgrade items inside the workbench inventory, and each one adds a passive effect. In testing, the system already feels meaningful because the bonuses are not cosmetic—they change how we craft, tech, and even defend parts of the base.
The important limitation is that duplicates do not stack. If you try to place the same upgrade twice, the bench will not allow it. That keeps the system from turning into pure stat stacking and forces real choices instead.
- Workbench Slot Limits
- All Rust Workbench Upgrades
- Best Workbench Upgrades to Use First
- 1. Prototype
- 2. Salvage
- 3. Efficiency
- 4. Accelerated
- Upgrades That Are More Situational
- Reinforced
- Defensive
- Recycling
- Extended
- Comfort
- Surplus
- Best Upgrade Setups by Playstyle
- Are Workbench Upgrades Worth It?
- FAQ
- How do Workbench Upgrades work in Rust?
- Can you stack the same Workbench Upgrade twice?
- What is the best Workbench Upgrade in Rust?
- How many upgrade slots does each workbench have?
- Is Reinforced Workbench Upgrade useful?
- Final Thoughts
↖ Workbench Slot Limits
Each bench has its own number of upgrade slots.
| Workbench | Slots | Practical impact |
|---|---|---|
| Workbench Level 1 | 4 | Enough to shape early-game utility |
| Workbench Level 2 | 5 | More room for progression-focused builds |
| Workbench Level 3 | 6 | Best bench for full optimization |
| Engineering Workbench | 4 | Tighter choices, still useful |
In practice, Tier 3 is where this system gets the most interesting. Six slots is enough to build around a real strategy instead of just taking the obvious utility pick.
↖ All Rust Workbench Upgrades
Here's the clean overview first, then the best picks below.
| Upgrade | Effect | Best for |
|---|---|---|
| Reinforced | +150% max HP and explosive resistance | Defensive base setups |
| Accelerated | Faster crafting for completed items in the same batch | Bulk crafting |
| Comfort | 100% comfort near the bench | Healing and indoor resets |
| Defensive | Crafted clothing gets at least one armor plate insert slot | PvP gear crafting |
| Efficiency | 10% chance for a free bonus item in batches | Doors, meds, ammo, deployables |
| Prototype | Unlock any tech tree item, double cost, 10% fail chance | Fast progression skips |
| Salvage | 20% lower scrap cost on tech tree unlocks | Scrap efficiency |
| Extended | Doubled crafting radius | Larger base layouts |
| Recycling | Chance to refund 0–10% of craft cost in raw materials | Expensive crafting |
| Surplus | 20% chance to create a random surplus part | Alternative recipe systems |
That's the full list currently seen on staging, and a few already stand out much more than the others.

↖ Best Workbench Upgrades to Use First
From a practical Rust perspective, not every upgrade has the same impact. Some are nice quality-of-life picks. Others can change wipe tempo.
↖ 1. Prototype
This is the most aggressive upgrade in the set.
Being able to unlock any tech tree item regardless of progression is a big deal, especially early wipe. Yes, the cost is doubled and there is a 10% failure chance, but if you need one key item right now, that trade can still be worth it.
My take: this is strongest when we are rushing a specific goal, not when we are trying to tech normally.
↖ 2. Salvage
This one is much less flashy, but probably more reliable over an entire wipe.
A flat 20% scrap discount on tech tree unlocks adds up fast. In testing, a 120 scrap unlock dropped to 96. That kind of savings matters if you unlock a lot of items instead of gambling on one big skip.
If you are the kind of player who farms monuments and recycles efficiently, this is one of the safest upgrades in the system.
↖ 3. Efficiency
Efficiency gives a 10% chance to craft an extra item in a batch, and that has real value over time.
It does not work on rockets or C4, which is a fair limitation. Still, for things like:
- sheet doors
- meds
- ammo
- deployables
it can quietly save a lot of resources over a wipe.
↖ 4. Accelerated
This upgrade feels best in group play or in any base where we are mass-crafting regularly.
If you are making large batches after a farm run, raid prep, or expansion session, faster crafting is not just convenience—it saves time during the busiest part of a wipe.
↖ Upgrades That Are More Situational
Not every upgrade deserves a default slot. Some depend heavily on your playstyle.
↖ Reinforced
This one is better than it sounds if your workbench sits in a tight core, bunker, or movement block. A Tier 3 bench going from 750 HP to 1875 HP is not trivial. If raiders have to break through it, the value is real.
↖ Defensive
If armor insert slots stay important, this could become a very strong PvP pick. Right now, it looks promising, especially for players who craft lots of clothing for fights.
↖ Recycling
A partial raw material refund sounds small, but on expensive crafts it can add up. This is one of those upgrades that feels better the more often you craft.
↖ Extended
Very simple, but surprisingly handy in larger bases. If your crafting room layout is awkward, this saves irritation more often than you would expect.
↖ Comfort
Useful, especially for compact solo bases. Still, it competes with stronger progression upgrades, so I would not treat it as a priority pick.
↖ Surplus
This is the hardest one to rate right now. It may become much better once surplus parts and alternative recipes are fully understood. At the moment, it looks more experimental than essential.
↖ Best Upgrade Setups by Playstyle
The strongest setup depends on what kind of wipe you are playing.
| Playstyle | Recommended upgrades | Why it works |
|---|---|---|
| Solo / Duo | Salvage, Prototype, Efficiency, Comfort | Better progression and smoother resets |
| PvP-focused | Defensive, Efficiency, Accelerated, Salvage | Better gear output and faster prep |
| Large group | Accelerated, Efficiency, Recycling, Extended | Best for high-volume crafting |
| Defensive base | Reinforced, Extended, Salvage, Comfort | Better core utility and survivability |
The big thing to remember is this: build around the problem you need to solve. If you are short on scrap, take economy upgrades. If you are short on time, take production upgrades. If your base design is vulnerable, utility and defense matter more.
↖ Are Workbench Upgrades Worth It?
Yes—if they stay close to their current staging form, they are absolutely worth learning.
From my perspective, the strongest part of this system is that it adds meaningful choice without being overly complicated. We are not just crafting at a bench anymore. We are deciding what role that bench plays in the base.
That changes how we think about progression. It also makes workbench placement more important than before.
For most players, the best starting point is simple:
- Salvage for long-term scrap value
- Prototype for timing-based unlocks
- Efficiency for batch value
- Accelerated for production speed
That combination gives the most practical return in normal Rust gameplay.
↖ FAQ
↖ How do Workbench Upgrades work in Rust?
We place them inside the workbench inventory. Each one gives a passive bonus, and every bench has a limited number of upgrade slots.
↖ Can you stack the same Workbench Upgrade twice?
No. Duplicate upgrades are not allowed in the same workbench.
↖ What is the best Workbench Upgrade in Rust?
Right now, Prototype and Salvage look like the strongest overall picks. Prototype is best for fast unlock skips, while Salvage gives better long-term value.
↖ How many upgrade slots does each workbench have?
Workbench Level 1 has 4, Level 2 has 5, Level 3 has 6, and the Engineering Workbench has 4.
↖ Is Reinforced Workbench Upgrade useful?
Yes, especially in compact or defensive base layouts. The HP increase is large enough to matter if the bench is part of your core structure.
↖ Final Thoughts
Workbench Upgrades already feel like more than a gimmick. The best ones save scrap, save time, or let us force earlier progression than usual, and that is exactly why they matter in Rust.
If you are testing the system for the first time, start with Salvage, Prototype, Efficiency, and Accelerated. That setup gives the clearest value and the easiest read on how strong this feature could become once it reaches live servers.

Most Popular Posts
- Rust Apartment Raid Guide: Master Key, Room Value, Costs & Best Targets
- Rust Console World 2.0 Update Guide: 4.5K Maps, Rock Bases, Oasis Spots, Roads
- Rust Raid Guide: The Starter Base TC Tactic That Wins Wipes
- Rust M16A2 Rifle Guide: Best Attachments, Stats, Recoil, and Ammo
- Rust Swimming Pool Loot Storage Guide: Is It Actually Safe?
- Rust Raiding Guide: Abuse Starter Base TC Range to Lock Down Enemy Compounds
Popular Category Lists
- ARC Raiders / (291)
- Grow a Garden / (286)
- CoD: Black Ops 7 / (166)
- MLB 26 / (150)
- Monopoly Go / (148)
- Star Citizen / (128)
- ARK Survival Ascended / (90)
- Steal a Brainrot / (90)
- Sailor Piece / (68)
- Forza Horizon 6 / (67)
- Diablo IV / (62)
- Blox Fruits / (62)
- Adopt Me / (58)
- Grow a Garden 2 / (57)
- CoD: BLACK OPS 6 / (55)
- Path of Exile 2 / (48)
- Monster Hunter Wilds / (46)
- Windrose / (44)
- Path of Exile / (40)
- Bee Swarm Simulator / (37)