0
Created: Nov 25,2025 | Star Citizen
Star Citizen Make aUEC With Combat Gauntlets Guides (No Cargo Bugs!)

Welcome back, Citizens. If you clicked this, you're here for one reason: you want to make money, and you want to make it fast.
Let's be real for a second—we are all a little sick of the current state of hauling. Between the resource drive events and the freight elevators deciding to eat your cargo, making honest money feels like a chore right now. So, I'm going to share my personal favorite get rich quick scheme.
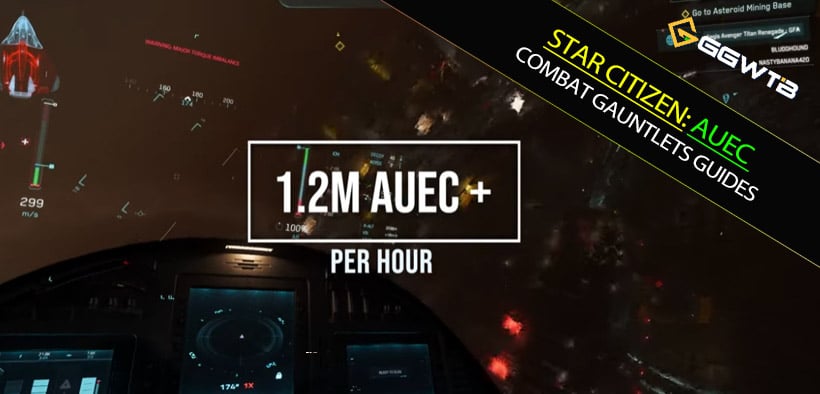
It's not a secret exploit, and it's not complex. It's the Combat Gauntlet. It is criminally overlooked, completely solo-friendly, and it nets you over 1.2 million aUEC per hour. Plus, you get to blow things up instead of stacking boxes.
Here is how to turn your fighter into a money printer.
The Setup: What You Actually Need
You might be thinking you need an F8C Lightning or a fully crewed Redeemer for this. You don't.
The Ship Requirement is Low
If you have a half-decent fighter, you are good to go.
- Starter Tier: Avenger Titan (Yes, really).
- Mid Tier: Gladius, Arrow, Saber.
- Top Tier: Hornet F7A/C or Vanguard.
Don't have a ship?
If you are currently grounded, just head to a Vantage Rental terminal (like the one in Lorville). Renting an Arrow or Avenger costs peanuts compared to what you are about to make.
Veteran Tip: Avoid ballistic loadouts. Why? Because this loop is all about speed. If you have to fly back to a station to rearm every three missions, you are killing your hourly profit. Stick to laser repeaters or cannons to keep the loop running non-stop.
The Strategy: The Combat Gauntlet Loop
Open your MobiGlas, go to Contracts, select Mercenary, and scroll down to Combat Gauntlet.
Phase 1: The Warm-Up (Levels 1-4)
If you haven't touched these yet, you'll start at Level 1. The pay is low (~20k), but the enemies are paper-thin.
Goal: Blitz through these. Do not loot, do not sightsee. Just kill and warp.
Time: It should take you about 20-30 minutes to grind through the lower levels.
Phase 2: The Gold Mine (Level 5)
Once you unlock Level 5, stop climbing. This is where we live now.
Payout: 102,000 aUEC + 12 MG Script.
The Targets: 2 Freelancers, 1 Vanguard, 1 Saber Firebird.
Why is this the sweet spot?
The enemy AI is currently... let's call it optimistic. The Saber Firebird, which should be a stealth missile boat, usually just sits there like a duck. The Freelancers pop instantly.
The Math:
In an Avenger Titan, I can clear a Level 5 mission in under 3 minutes.
Add 2 minutes for Quantum Travel and mission refresh, and you are running a cycle every 5 minutes.
12 runs per hour x 102,000 aUEC = 1,224,000 aUEC/hour.
You are also farming MG Script, which is great for Wiccolo favors, essentially double-dipping on rewards.
The Efficiency Trap: Why You Should Avoid Level 6
Naturally, you'll see Level 6 (151,000 aUEC) and think, Bigger number better, right? Wrong.
Here is the reality of Level 6:
1. The Boss: You have to kill a Constellation (Connie). It is tanky, has a massive shield pool, and hits hard.
2. The Minions: You also face two Gladius fighters. They are agile, annoying, and will chip away at your hull while you focus on the Connie.
The Result?
In a light fighter, Level 6 takes 7-10 minutes and often leaves you with red hull segments. You will waste time repairing or, worse, reclaiming your ship if the Connie gets a lucky shot.
The Verdict:
Stick to Level 5. It's a cakewalk. You can do it while watching Netflix on a second monitor. Level 6 adds stress and risk that actually lowers your hourly average unless you are in a top-tier heavy fighter.
FAQ: Refining Your Run
Do I need head tracking (Tobii) or dual sticks (Virpil)?
No, but they help.
I use a Tobii Eye Tracker 5 and Virpil sticks because they offer incredible situational awareness and immersion. Being able to look at your target while flying perpendicular to them makes the dogfight much easier. However, for Level 5 farming? Mouse and keyboard is perfectly fine.
What if I run out of fuel?
It happens more than you think.
Because the missions spawn locally around the planet, you never really leave the area. I've done this loop so many times in a row that I actually ran my Saber dry on Hydrogen fuel and had to backspace because nobody in Global Chat would save me. Keep an eye on your fuel gauge!
Can I do this in a Corsair?
Absolutely.
Actually, the Corsair makes this even easier because of the pilot DPS. Plus, you have a cargo hold if you want to loot the wrecks (though looting slows down your aUEC/hour).
Your Next Move
Star Citizen can be frustrating when the tech doesn't work, but ship combat remains the most stable loop in the game (working 90-95% of the time).
Here is your checklist for tonight:
1. Grab a fighter (Rent it if you have to).
2. Grind the Gauntlet to Level 5.
3. Stay there and farm until your wallet is full.
It's simple, it's profitable, and it beats staring at a broken elevator. Fly safe, Citizens, and I'll see you in the verse

Most Popular Posts
- Star Citizen Ship Update: Galaxy, Kraken and 2026 Release Forecast
- Star Citizen 4.10 Weapons and Components Guide: Best Quantum Drives, Ballistics, Distortions, and Ship Loadouts
- Star Citizen 4.10 Industry Guide: Cargo, Hull C, Salvage, Mining Modules and Battaglia Blueprints
- Star Citizen 4.10 Farming Guides: aUEC Farming Route and FPS Attachment Loot Spots
- Star Citizen 4.10 Cargo Hauling Guide: What Works, What's Still Broken
- Star Citizen Ship Showdown: Top Bracket, Free Fly Rules, Idris-P Sale & Alpha 4.10 Timing
Popular Category Lists
- ARC Raiders / (374)
- Grow a Garden / (300)
- Star Citizen / (172)
- CoD: Black Ops 7 / (168)
- MLB 26 / (159)
- Monopoly Go / (153)
- ARK Survival Ascended / (132)
- Steal a Brainrot / (101)
- Adopt Me / (78)
- Blox Fruits / (74)
- Forza Horizon 6 / (72)
- Sailor Piece / (68)
- Grow a Garden 2 / (68)
- Aion 2 / (65)
- Diablo IV / (62)
- COD: Modern Warfare 4 / (59)
- CoD: BLACK OPS 6 / (55)
- Maplestory Classic / (50)
- Path of Exile 2 / (48)
- Monster Hunter Wilds / (46)