


 0
0Grow A Garden Huge Pets Hatching Strategy: Weight, Cooldowns, and Mechanic
- Jordan
- Share
- Grow a Garden
- 11/25/25
- 3614
Let's be real for a second: the new Trader update is arguably the worst update Grow A Garden has seen in a while. Aside from submitting a quest once an hour, there is absolutely nothing to do.
But that boredom creates an opportunity. Since there's no new content to grind, it's the perfect time to focus on the real endgame: getting Huge Pets.
In this guide, I'm going to skip the fluff and show you exactly how to turn your garden into a factory for Huge, Titanic, and even Godly pets.
- Birth Weight Determines Destiny
- The Kg Per Level Secret (Weight vs. Cooldown)
- The Invisible Wall (Dev Caps)
- The True Value of Huge Pets
- Understanding Base Weight (The Golden Rule)
- Strategy A: The Shop & Chest Method (For Semi-Huge)
- Strategy B: The Hatching Method (The Only Way for Godly)
- Strategy C: The Pay-to-Win Method (Rainbow Hatched Elephant)
- FAQ
- Summary
↖ Birth Weight Determines Destiny
Many players think you can just level up any pet to make it OP. The reality is harsh: Size at Birth (Level 1) is the single most important modifier.
Think of it like genetics. My testing revealed a massive gap in growth potential:
- A pet born at 2kg grows slowly, gaining less than 0.2kg - 0.3kg per level.
- A pet born at 8kg (Titanic tier) grows aggressively, gaining a minimum of 0.6kg per level.
You cannot fix a bad pet. If it starts small, it stays relatively weak compared to a pet that started huge. The initial framework dictates the entire growth curve.
↖ The Kg Per Level Secret (Weight vs. Cooldown)
We all want heavy pets, but do you know why?
compared two distinct data points:
- 78kg Sea Turtle uses its ability every 29 seconds.
- A standard 13kg pet uses the same ability every 9 minutes.
So, is total Kg the determining factor?
Yes and No.
The real magic comes from Kg per level.
- High growth (e.g., 0.8kg per level) reduces Cooldown (CD) drastically.
- Low growth (e.g., 0.2kg per level) barely touches the CD.
The Total Weight you see on the stat sheet is just a weight check; the rate of growth is what actually calculates the speed reduction.
↖ The Invisible Wall (Dev Caps)
If you think you can grind a pet until it has a 0-second cooldown, think again. The developers have installed hard limits to prevent the game from breaking.
Hit these walls personally during testing:
- Huge Mole: Capped at 5 seconds per ability use. Why? Because the digging animation takes time. If it went faster, the animation would glitch.
- Sea Turtle: Capped at 10 seconds for its wet application around Level 70. It never went faster, no matter how much I leveled it.
The Law of Diminishing Returns:
This is crucial. My Sea Turtle, Ceri, reduced her CD by 12 seconds per age between levels 25-50. But once she hit level 90? She was only shaving off 5-6 seconds per age. My Titanic Wasp, Mole, and Night Owl all suffered the same fate.
↖ The True Value of Huge Pets
If there are caps and diminishing returns, why bother getting a Huge Pet?
The Answer: Slot Efficiency.
The biggest benefit of a Huge/Titanic pet isn't just that it's strong—it's that it saves you pet slots.
Imagine a Titanic Butterfly that does the work of 3 normal butterflies.
The Result: You get the output of 3 pets while using only 1 slot.
The Strategy: This frees up your other 2 slots for utility pets like a T-Rex or Polar Bear to apply mutations to your farm.
You are buying space and efficiency, not just raw power. (Also, let's be honest, a pet that covers 1/4 of your screen looks incredibly cool.)
↖ Understanding Base Weight (The Golden Rule)
Before you start hatching, you need to know what you are looking for. A lot of players get tricked by high-level pets.
Here is the rule: A pet's Huge status is determined only by its Base Weight at Age 1.
If your pet is 21kg at Age 100, it's not Huge—it's just old. A true Huge pet starts heavy.
You can verify this on the Grow A Garden Calculator, but here is the cheat sheet you need:
| Tier | Base Weight (at Age 1) | Weight at Lvl 100 (Approx) |
|---|---|---|
| Normal | < 4 kg | ~20 kg (Not Huge) |
| Semi-Huge | 4 kg - 5 kg | - |
| Huge | 5 kg - 7 kg | 50 kg - 70 kg |
| Semi-Titanic | 7 kg - 8 kg | - |
| Titanic | 8 kg - 10 kg | - |
| Godly | > 10 kg | Massive |
Always check the weight at Age 1. If it's under 4kg, it will never be a Huge pet, no matter how much you level it up.
↖ Strategy A: The Shop & Chest Method (For Semi-Huge)
If you want something bigger than normal but don't want to rely on insane RNG, you can use specific pets to buff Shop and Chest drops.
Note: This method caps out at Semi-Huge. You cannot get a Titanic this way.
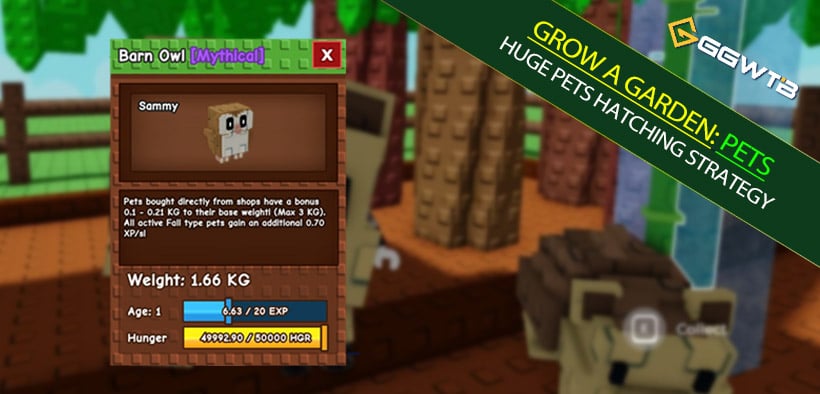
1. Shop Pets: The Barn Owl
If you are buying pets from the shop, you need the Barn Owl.
- The Buff: Adds 0.1kg to 0.4kg to the base weight of shop-bought pets (Max +3kg).
- The Result: With this buff active, you can pull Semi-Huge pets (like the Semi Reaper) directly from the shop. Without the Owl, you're just wasting currency.
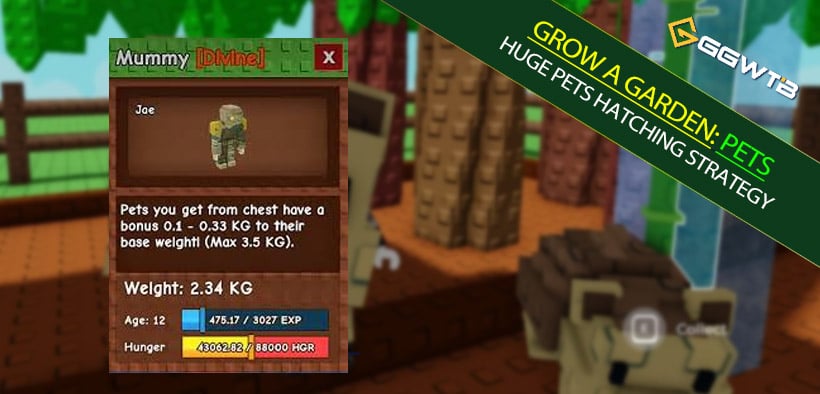
2. Chest Pets: The Mummy (And The Trap)
You can also get buffed pets from chests using the Mummy.
- The Buff: Adds 0.1kg to 0.5kg to base weight (Max +3.5kg).
- The Catch: This pet has a strict condition. If you do not have the Sarcophagus cosmetic in your garden, the ability does not work.
- Warning: If you missed the Halloween event and didn't buy the Sarcophagus, the Mummy is useless to you. Do not trade for it if you don't have the cosmetic.
↖ Strategy B: The Hatching Method (The Only Way for Godly)
This is where the real magic happens. Normally, eggs hatch pets between 0.88kg and 2.3kg. To get a Huge (5kg+), you need to beat the odds (1 in 1,000 or worse).
To win here, you need two things: Size Buffs and Speed.
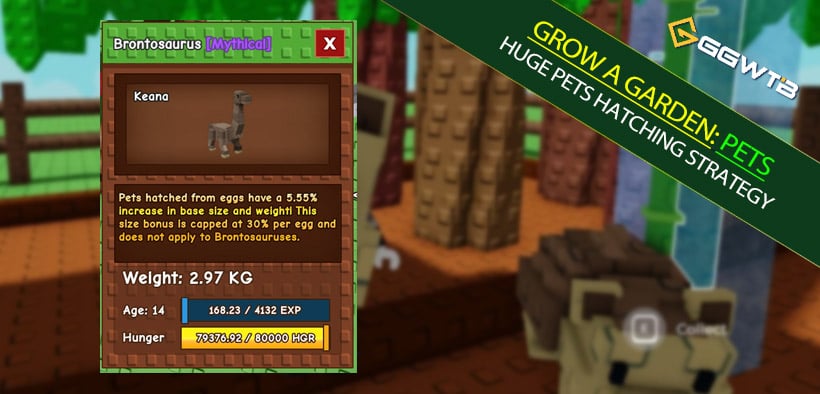
1. Maximize Size: The Brontosaurus
You should never hatch without a Brontosaurus equipped.
- The Ability: Increases base size and weight of hatched pets by 8.27%.
- The Cap: The bonus is capped at 30% per egg.
Why it matters: Imagine you roll a rare 4kg pet. Without the Bronto, it's just a Semi-Huge. But with the 30% buff, that 4kg becomes over 5kg—congratulations, you just got a Huge Pet.
2. Maximize Speed: Bald Eagle vs. Rooster
Since the drop rate is so low, you need to open as many eggs as possible. Speed is everything.
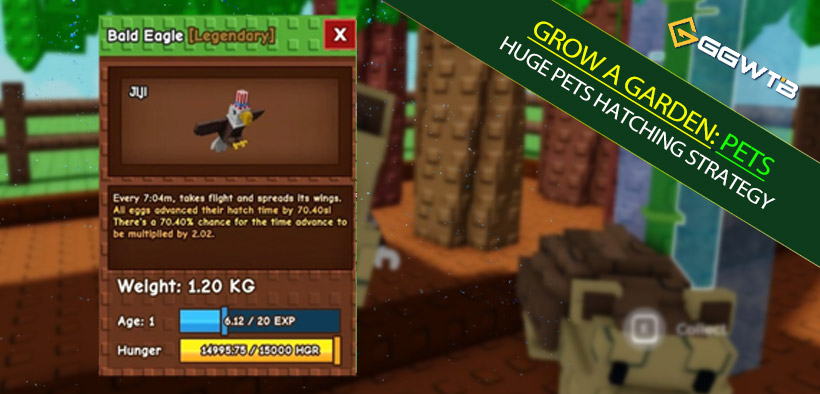
The King: Bald Eagle
This is the best hatching pet in the game.
- Performance: It can reduce an 8-hour gem egg timer down to about 1.5 hours.
- Strategy: If you can, stack multiple Bald Eagles. This allows you to cycle through thousands of eggs daily.
The Budget Option: Rooster
If you are new or poor, buy Roosters from the Pet Egg Shop.
Performance: Increases hatch speed by 20%. Stacking 8 Roosters gives you a 160% speed boost. It's not as broken as the Eagle, but it helps.
↖ Strategy C: The Pay-to-Win Method (Rainbow Hatched Elephant)
There is one specific pet that can artificially create Huge pets, but it is reserved for the 1%.
Normal Elephant:
Don't bother. It resets Age 50 pets to Age 1 with a weight boost, but it caps at ~3.5kg. It cannot make a Huge pet.
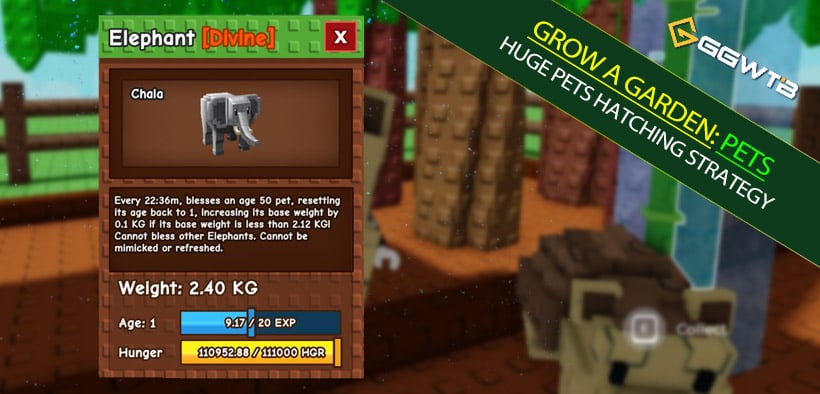
Rainbow Hatched Elephant: This is the holy grail.
Cooldown: Every 10 minutes.
Target: Resets an Age 40 pet.
Potential: It can push a pet's base weight to 5.5kg+.
The Reality: This pet was extremely expensive and is now incredibly rare. Owners rarely trade them. Unless you are rich in Robux or assets, you likely won't get this, but it's good to know it exists.
↖ FAQ
Q: Can I stack Brontosaurus buffs infinitely?
A: No. The size bonus is strictly capped at 30% per egg. Once you hit that cap, adding more Brontosauruses won't make the pets any bigger.
Q: I hatched a 3kg pet. Is that good?
A: It's better than average (which is ~2.3kg), but it's still considered a Normal pet. You need to cross the 4kg line to hit Semi-Huge.
Q: Does the Mummy work if I visit a friend's garden who has a Sarcophagus?
A: No. The Sarcophagus cosmetic must be in your garden for the Mummy's ability to trigger on your chest opens.
↖ Summary
While the Trader update might be a disappointment, the hunt for Huge pets is still alive and well.
Here is your action plan:
1. Check your inventory: Do you have the Sarcophagus? If yes, use Mummies on chests. If no, ignore them.
2. Equip for Hatching: Get your Brontosaurus buff to 30% and fill the rest of your slots with Bald Eagles (or Roosters).
3. Grind: Hatch as many eggs as possible. It's a numbers game.

Most Popular Posts
- Grow a Garden 2 Release Date Guide: Why Saturday Is the Likely Launch Window
- Grow a Garden Bizzy Bee Event: Honey Coins, Bee Eggs, Seeds, Upgrades, and Rewards
- Grow a Garden Bee Dungeon Guide: Best Wave 100 Strategy, Bee Shards, and Team Setup
- Grow A Garden Best Pet Mutations 2026: Ranked Guide for Power, Trading, and AFK Farming
- Grow a Garden Bee Stats Guide: Best Bees Ranked by Damage, HP, and DPS
- Grow a Garden Busy Bee Part 2 Guide: Royal Jelly, Best Pets, New Seeds, and Prep Strategy
Popular Category Lists
- Grow a Garden / (286)
- ARC Raiders / (262)
- CoD: Black Ops 7 / (166)
- Monopoly Go / (146)
- MLB 26 / (145)
- Star Citizen / (112)
- Steal a Brainrot / (89)
- Sailor Piece / (68)
- ARK Survival Ascended / (67)
- Diablo IV / (61)
- Forza Horizon 6 / (60)
- Blox Fruits / (60)
- CoD: BLACK OPS 6 / (55)
- Adopt Me / (53)
- Path of Exile 2 / (48)
- Monster Hunter Wilds / (46)
- Windrose / (44)
- Path of Exile / (40)
- Grow a Garden 2 / (40)
- Bee Swarm Simulator / (36)


