0
0 Created: Oct 16,2026 | ARC Raiders
ARC Raiders Amplified Rattler Guide: Best Build, PvE Tactics & Limits

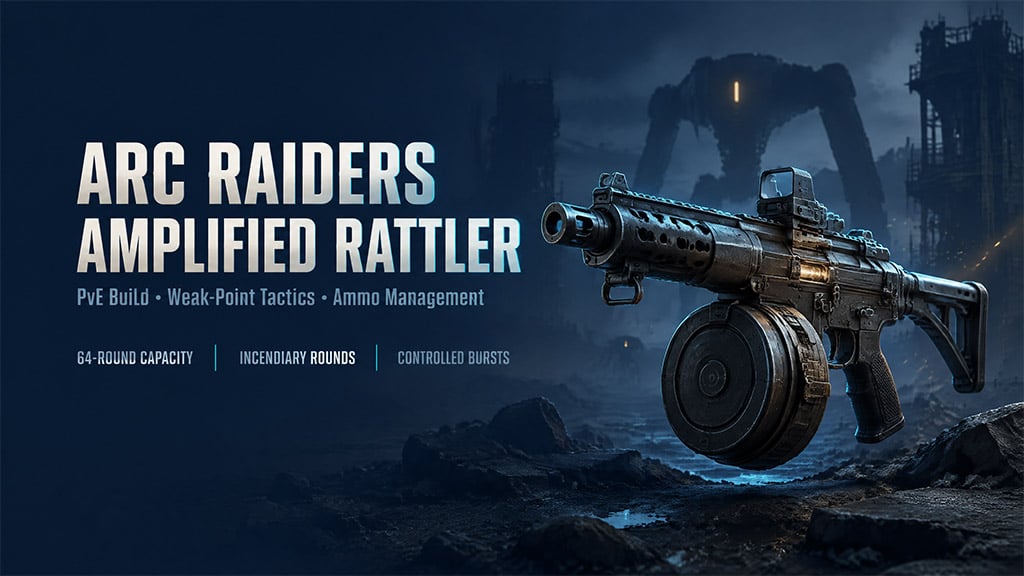
We recommend the Amplified Rattler for sustained fire against exposed ARC components, not as a proven leading PvP choice. Start with More Reload, Drum Mag, and Incendiary Rounds, then prioritize controlled hits over emptying its 64-round magazine.
- Recommended Build and Requirements
- Perks and Attachments
- Requirements Before Spending Materials
- PvE Tactics: Shoot Useful Parts, Then Reposition
- Target-Specific Execution
- PvP and Upkeep: Know What the Numbers Cannot Prove
- Evidence Limits
- FAQ (Frequently Asked Questions)
- Is the Amplified Rattler worth upgrading?
- What is the recommended Amplified Rattler setup?
- Does More Reload halve the reload time?
- Does incendiary damage stack across ARC components?
- How much ammunition should you bring?
Recommended Build and Requirements
If reloads interrupt your damage windows, this combination adds capacity and reload support. We would pair it with the demonstrated control-focused attachments, while avoiding claims that the setup is mathematically optimal.
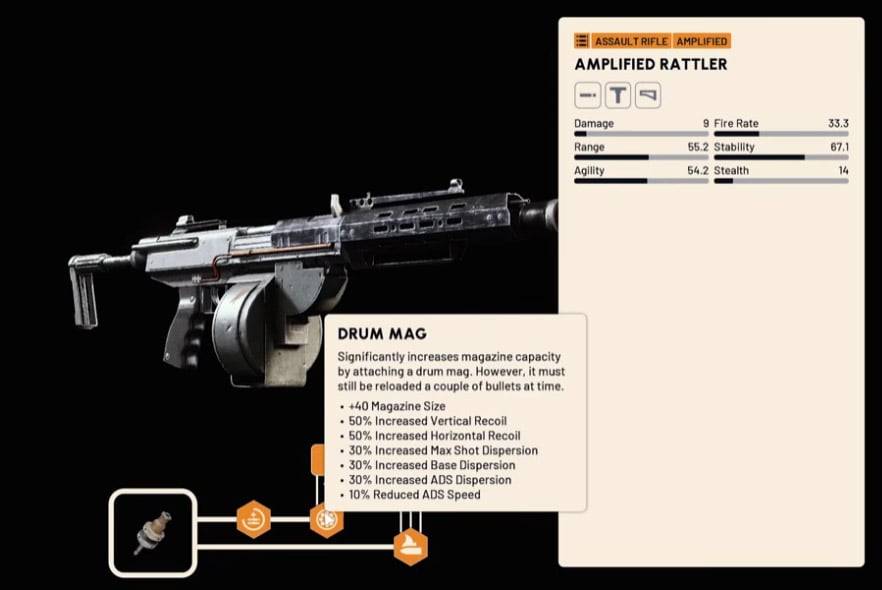
Perks and Attachments
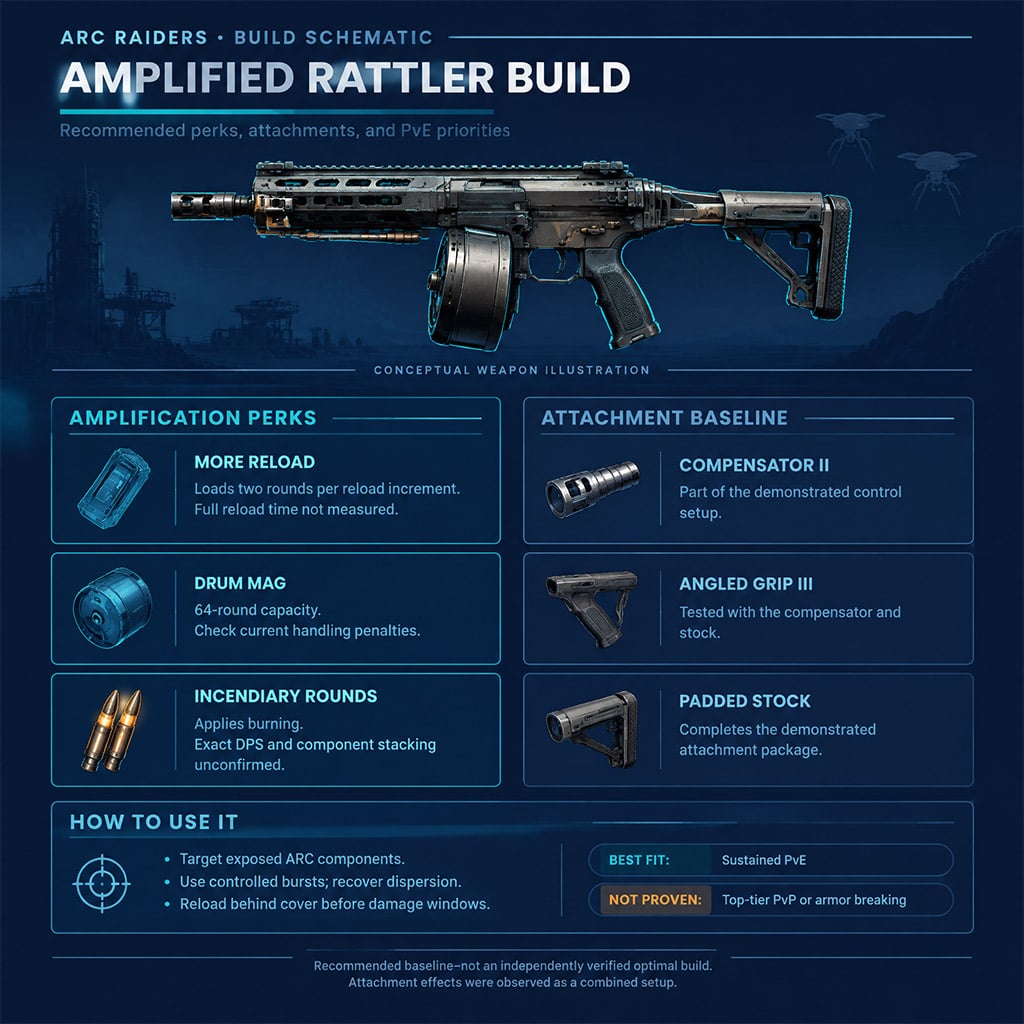
The published amplification guide confirms the three-perk combination; attachment performance comes from the supplied gameplay account, not independent testing.
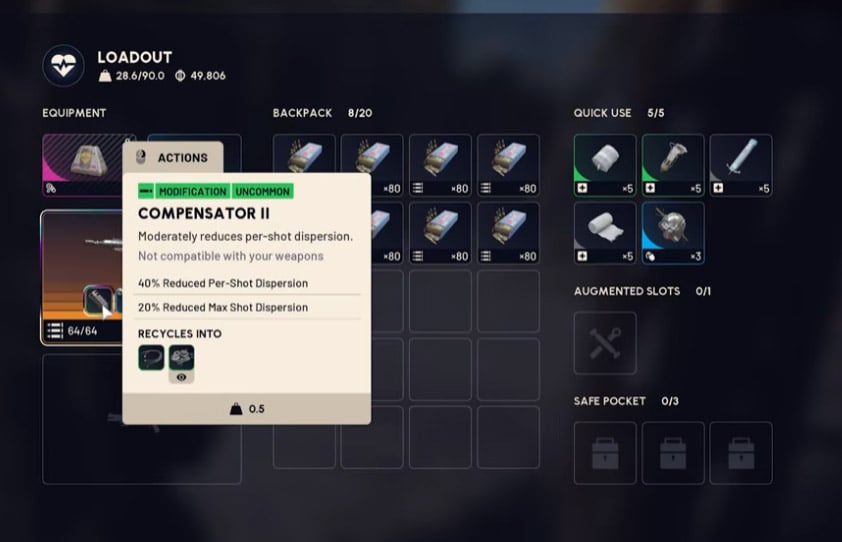
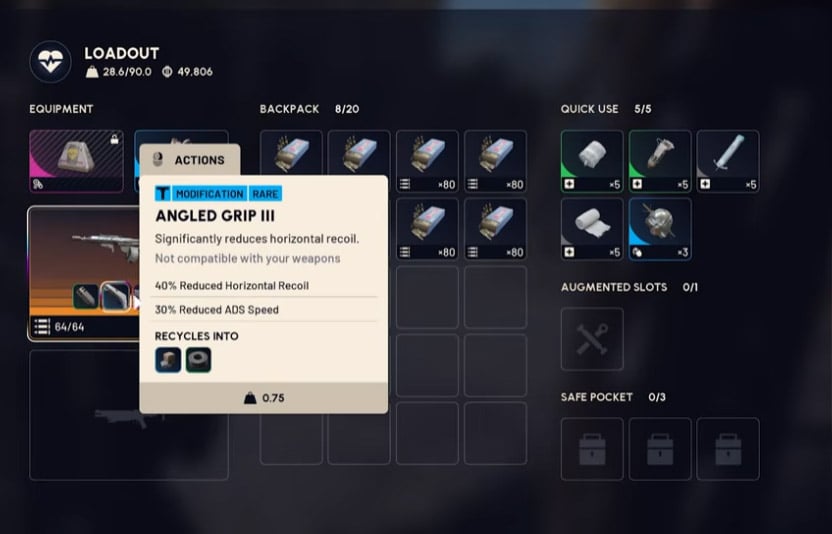
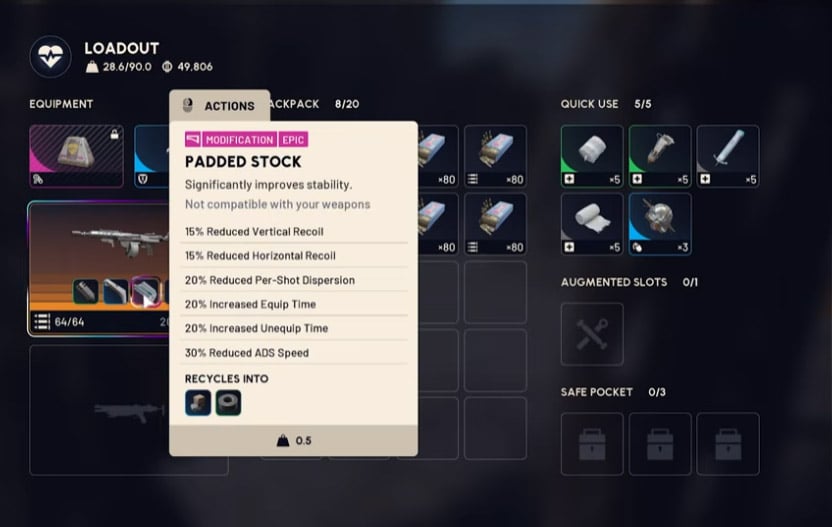
Here is the practical starting setup.
| Slot | Selection | Evidence and Trade-Off |
|---|---|---|
| Reload perk | More Reload | Two-round reload increments reported; full reload time unmeasured |
| Magazine perk | Drum Mag | 64-round capacity; handling penalties require checking the tooltip |
| Ammo perk | Incendiary Rounds | Burning observed; exact DPS and component stacking unconfirmed |
| Muzzle | Compensator II | Part of the demonstrated tighter-grouping combination |
| Grip | Angled Grip III | Tested with the compensator and stock, not in isolation |
| Stock | Padded Stock | Completes the demonstrated attachment setup |
Use this as a baseline, not proof that every attachment beats its alternatives.
Requirements Before Spending Materials
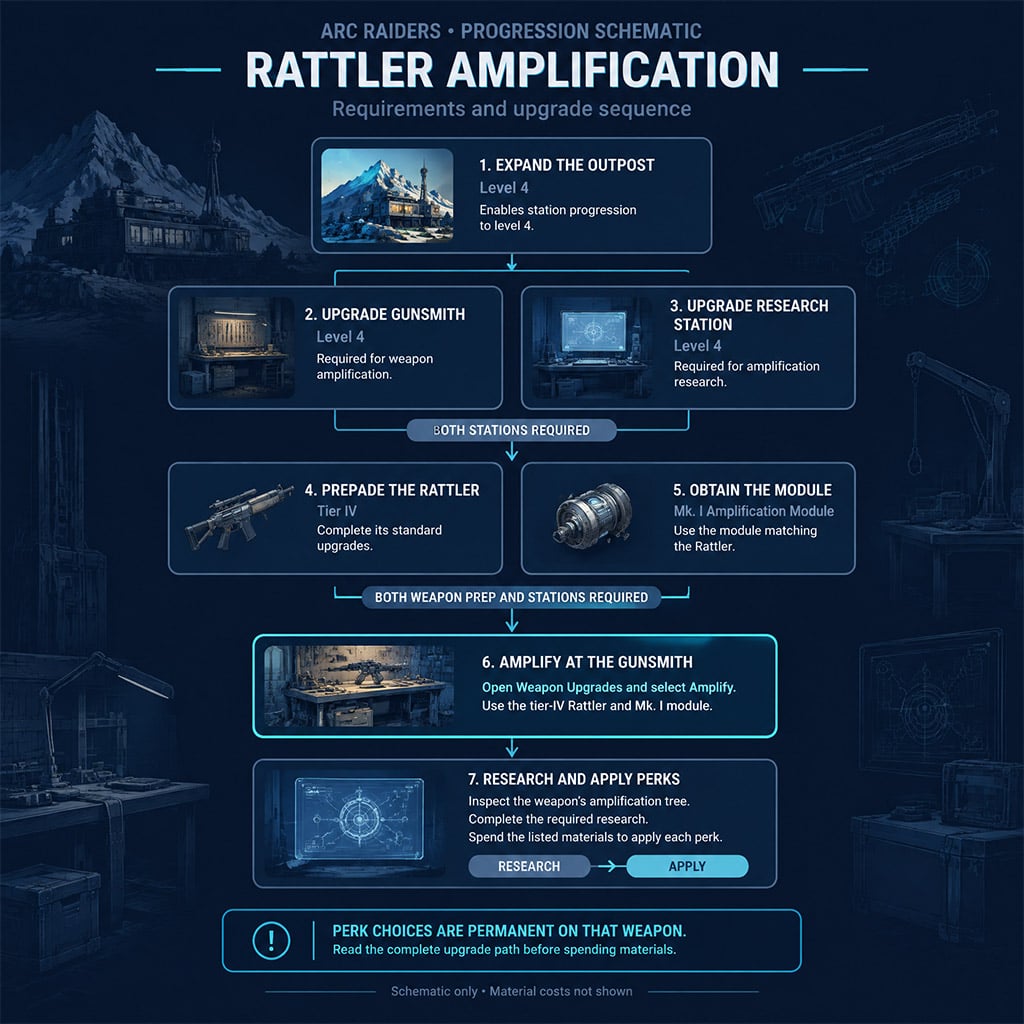
Published guides specify Outpost level 4, Gunsmith level 4, Research Station level 4, a tier-IV Rattler, and a Mk. I Amplification Module. Applied perks are permanent on that weapon.
Inspect the complete tree before applying a perk. Opening amplification and purchasing individual upgrades are separate steps.
PvE Tactics: Shoot Useful Parts, Then Reposition
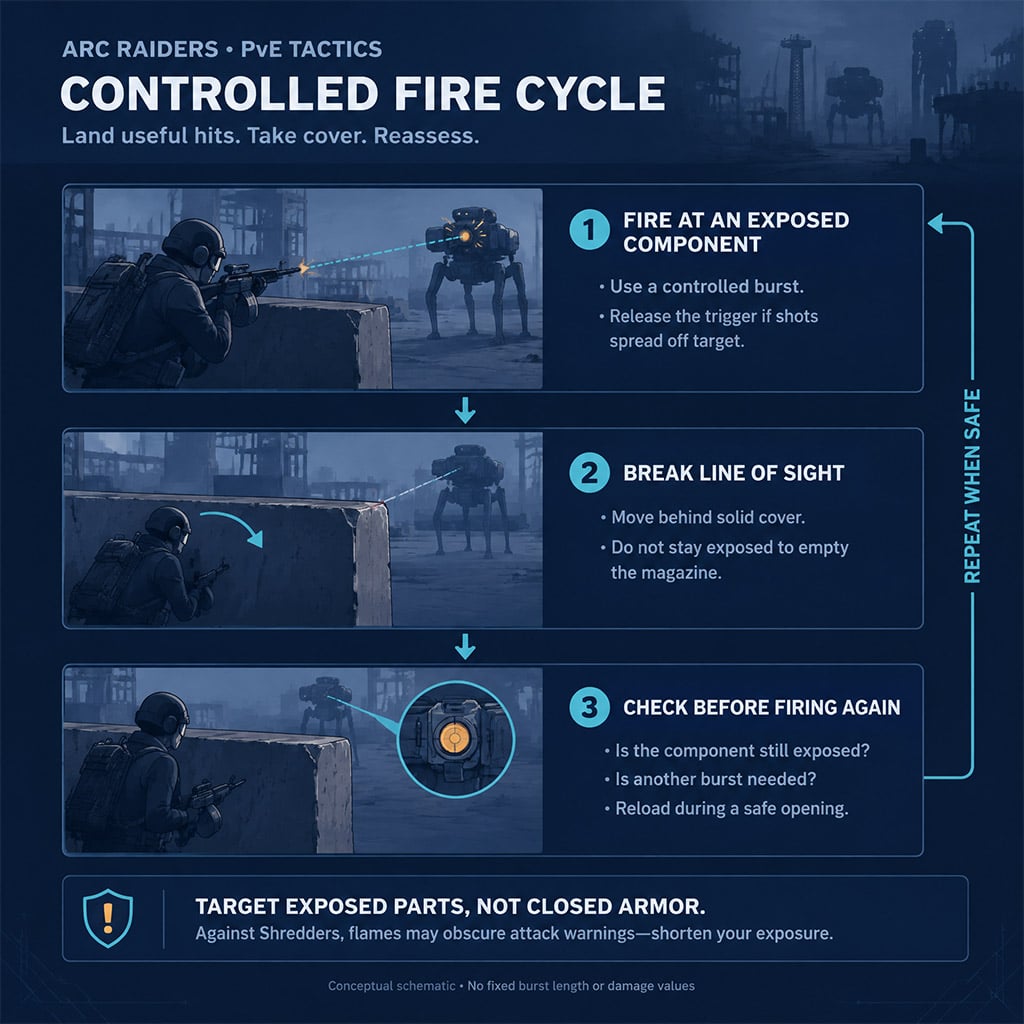
If a drum disappears with little progress, check whether you are hitting armor or missing components. We would reserve sustained fire for accessible weak points rather than assume incendiary rounds solve armor removal.
Target-Specific Execution
The supplied encounters support different firing approaches, but not universal shot-count guarantees.
| Target | Recommended Action | Failure Point |
|---|---|---|
| Ticks | After a hit, let burning finish the target when safe | One recorded kill does not guarantee every Tick dies |
| Wasps and Hornets | Use controlled shots on exposed thrusters | Multiple flame effects do not prove stacked damage |
| Sentry turrets | Tap fire from cover and confirm destruction | The reported 4–5 shots are not a verified breakpoint |
| Shredders | Keep cover nearby and shorten exposure | Flames can obscure attack warnings |
| Bullies and Leapers | Prioritize accessible weak points | Assisted kills do not establish solo efficiency |
| Matriarch | Reload before an exposed-core opportunity | Firing into closed armor wastes the opening's preparation |
Choose an armor-breaking alternative when exposing the weak point is the problem.
Why does this matter? The drum extends your firing opportunity; it does not improve your target selection.
PvP and Upkeep: Know What the Numbers Cannot Prove
We would not use the recorded shield counts to rank this weapon for PvP. Spaced shots allowed burning to tick, and training-room behavior was uncertain.
Evidence Limits
These observations are useful only within their recorded conditions.
| Observation | What It Does Not Establish |
|---|---|
| 14 spaced headshots on light and medium targets; 16 on heavy | Reliable kill thresholds or continuous-fire time-to-kill |
| Hits at approximately 70 m and 112 m | Retained damage at those distances |
| 22 durability remaining after two heavy-use raids | A fixed two-raid lifespan or wear per shot |
| Suggested four stacks, or eight for heavy ARC activity | Minimum ammunition requirements |
Plan from your route and weapon condition, not these numbers alone.
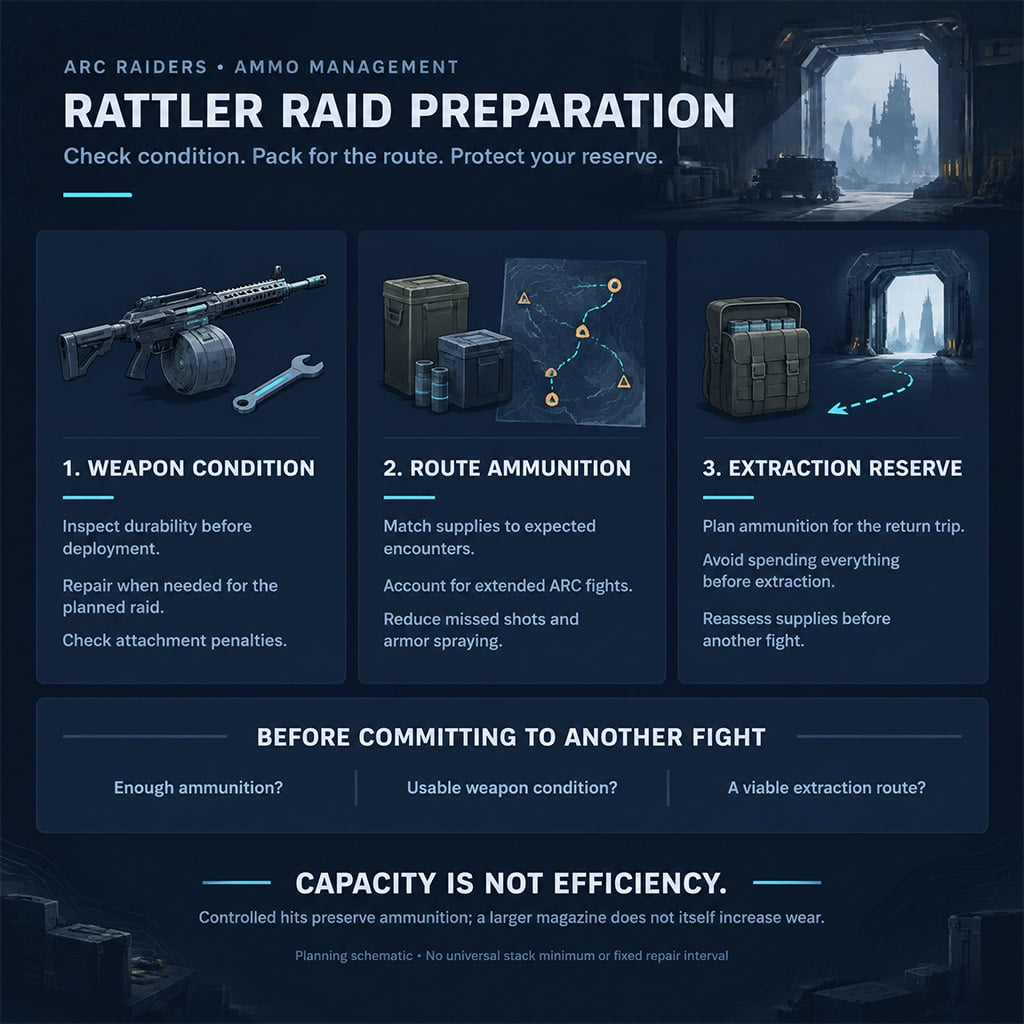
A larger magazine does not itself cause faster wear. Firing more rounds does—and fewer reload interruptions can make that expenditure easier to overlook.
Before deployment, inspect durability and carry ammunition for your planned encounters plus extraction. If you keep exhausting supplies, count missed shots and armor hits before adding more stacks.
FAQ (Frequently Asked Questions)
Is the Amplified Rattler worth upgrading?
It is worth considering for sustained PvE against exposed ARC components. We would choose another option if your main need is armor removal or a verified competitive PvP build.
What is the recommended Amplified Rattler setup?
Use More Reload, Drum Mag, and Incendiary Rounds with Compensator II, Angled Grip III, and Padded Stock as a starting configuration. The attachments were demonstrated together, so their individual advantages remain unmeasured.
Does More Reload halve the reload time?
Two-round reload increments do not establish a halved full-reload time. We need a timed comparison under matching conditions before assigning a percentage improvement.
Does incendiary damage stack across ARC components?
Independent burn stacking across components is not confirmed. Burning on multiple parts is a visual observation, not proof of multiplied damage.
How much ammunition should you bring?
There is no verified universal minimum; match ammunition to your route, expected fights, and extraction risk. The reported four- and eight-stack suggestions are starting estimates, and heavy fighting exhausted the larger supply.

I’m Lucas Moreau, a French Features Editor at GGWTB covering urban open-world games, life simulations, and role-playing experiences. My features explore city activities, everyday routines, and the freedom to take a different path. I look at what a new job, home, or neighborhood lets you do—not just what it costs to unlock.

Most Popular Posts
- ARC Raiders Update 1.42: Phantom Targets Farming Guide (Glitched Wasps, Rewards, Regional Conditions)
- ARC Raiders Hullcracker Blueprints: Fastest Way to Complete The Major's Footlocker
- ARC Raiders Best Pop Trigger Strategy: Fast Phantom Targets Damage Guide
- ARC Raiders Subway Skin Guide: Unlock the Subterranean Outfit
- ARC Raiders Looting Mk. 3 Survivor Blueprint Guide: Best Blue Gate Route and Drop Locations
- ARC Raiders Medium & Heavy Gun Parts Blueprint Guide: Best Farm Route, Locations, and Refiner Crafting
Popular Category Lists
- ARC Raiders / (350)
- Grow a Garden / (294)
- CoD: Black Ops 7 / (167)
- Star Citizen / (162)
- MLB 26 / (159)
- Monopoly Go / (152)
- ARK Survival Ascended / (127)
- Steal a Brainrot / (99)
- Blox Fruits / (74)
- Adopt Me / (74)
- Forza Horizon 6 / (72)
- Sailor Piece / (68)
- Grow a Garden 2 / (68)
- Diablo IV / (62)
- CoD: BLACK OPS 6 / (55)
- Aion 2 / (49)
- Path of Exile 2 / (48)
- Monster Hunter Wilds / (46)
- Windrose / (44)
- Donut SMP / (41)