0
0 Created: Aug 9,2026 | ARC Raiders
ARC Raiders Beretta Guide: PvP Positioning, Coin Farming & Extraction Rules for a Million-Coin Run

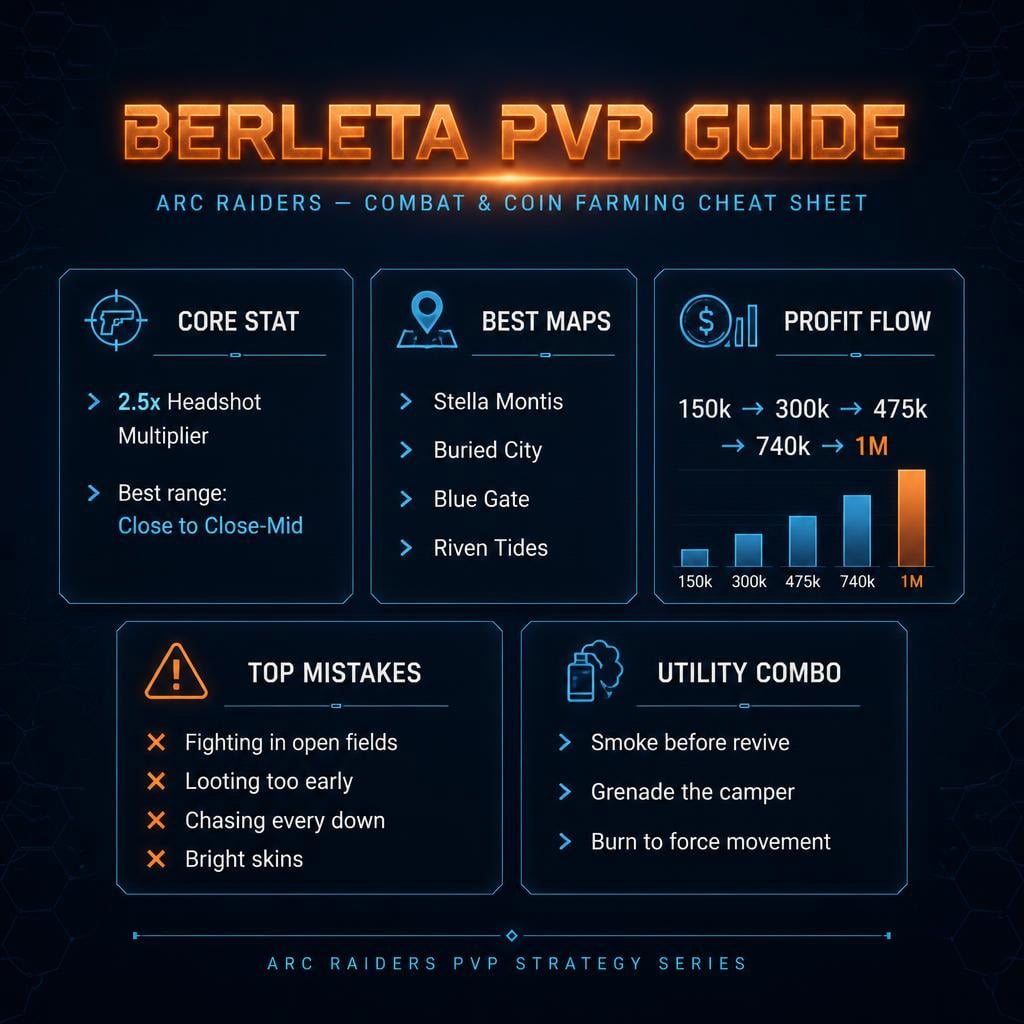
2.5x headshot multiplier. That single stat turns a cheap sidearm into a geared-player killer — if you play it right.
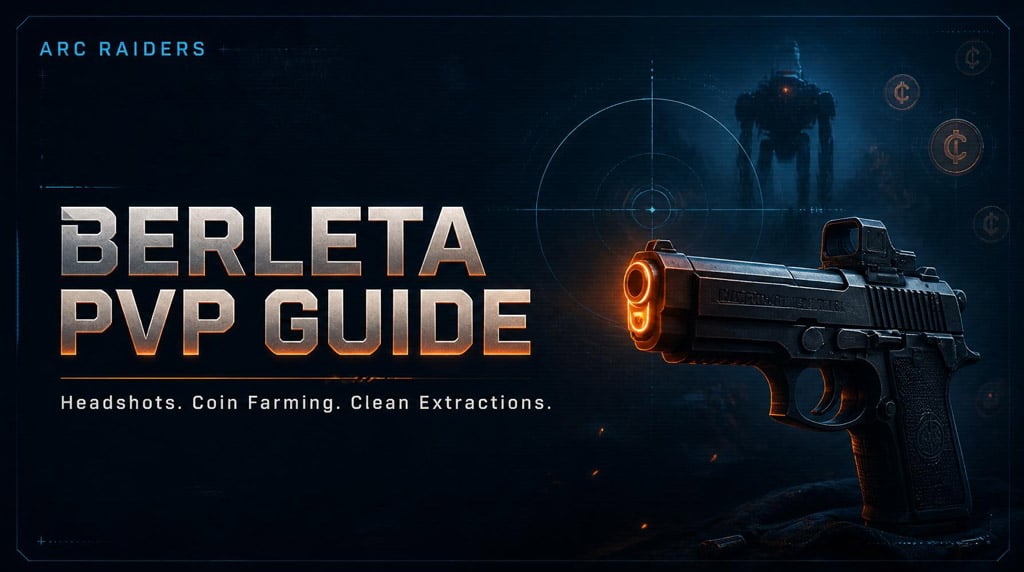
Miss your shots and you're just a loot pinata with a holster. This is the field-tested breakdown: aim, ranges, team roles, loot discipline, and the exact decisions that separate a 150k raid from a million-coin run.
- Why the Beretta Punches Above Its Weight
- Combat Mindset: Push On Information, Reset On Chaos
- Best Combat Ranges
- Farming Coins: Profit That Survives Extraction
- Map-by-Map Beretta Strategy
- Stella Montis — Tunnels & Lobby Chaos
- Buried City — Rat Rooms & Hatch Campers
- Blue Gate — Early Stacked Fights
- Riven Tides — Vertical Pressure
- Dam Battleground — Open Ground Punishes Everything
- Team Roles With the Beretta
- Utility Pairings
- Looting Without Throwing the Win
- Extraction: The Skill Nobody Talks About
- Mistakes That Kill Beretta Runs
- Million-Coin Progression Plan
- Is the Beretta better than the Bobcat?
- What's the best aim technique for the Beretta?
- Can you run Beretta solo?
- Which maps suit the Beretta best?
- How much profit before extracting?
Why the Beretta Punches Above Its Weight
| Trait | Why It Matters | How To Use It |
|---|---|---|
| 2.5x headshot multiplier | Turns fast clicks into fast kills | Aim upper chest, let recoil climb into the head |
| Fast follow-up shots | Rewards rhythm over panic | Click clean, not fast |
| Lightweight | Easy repositioning | Play corners, stairs, tight rotations |
| Cheap | Better risk-to-reward | Farm geared players without over-investing |
The rule: land headshots, beat better gear. Miss, and you're the loot delivery service.
Combat Mindset: Push On Information, Reset On Chaos
Don't sprint into open ground like you're carrying a Bobcat. The Beretta wins tight fights — doorways, stairwells, rooftops.
| Situation | Do This | Why |
|---|---|---|
| Enemy healing behind cover | Push with a teammate | They can't shoot and heal |
| Enemy reviving | Grenade or hard swing | Revives = predictable positioning |
| You're third-partied | Smoke and reposition | Middle of a 3-way = dead squad |
| Downed one enemy | Watch the trade before looting | Early loot = free kill for them |
| Low, no shield | Break LOS immediately | Aim can't fix bad survivability |
Let enemies make the first mistake. Campers hold rooms. Chasers overpeek. Patience wins more fights than aggression does.
Best Combat Ranges
| Range | Effectiveness | Play Style |
|---|---|---|
| Point-blank | Medium | Movement > hip-fire |
| Close | Very High | Fast headshots, clean downs |
| Close-mid | High | Only with cover and sightlines |
| Long | Low | Poke only exposed targets |
| Open field | Avoid | No smoke, no numbers, no fight |
Crosshair height: neck to upper chest. Let micro-recoil carry you into the head. If they strafe hard, hit body first, correct up.
Farming Coins: Profit That Survives Extraction
Kills mean nothing if you die holding the bag. Track only loot taken from other players — weapons, shields, chargers, attachments, materials.
Sample profit run:
| Map | Kills | PvP Profit | Running Total |
|---|---|---|---|
| Stella Montis | 14 | 155k | 155k |
| Buried City | 7 | 142k | 297k |
| Blue Gate | 4 | 179k | 476k |
| Riven Tides | Multi-team | 264k | 740k |
| Dam Battleground | Failed run | 0 | Run over |
Lesson: extraction beats wipe count every single time.
Map-by-Map Beretta Strategy
Stella Montis — Tunnels & Lobby Chaos
Smoke tunnel contacts, isolate one target. Hold height on stairs. After a wipe, loot fast and reset — a wipe attracts the next squad.
Buried City — Rat Rooms & Hatch Campers
Camper in a room? Grenade or split angle first. Never front-door a held position solo. Off-angle every hatch camper — they watch the obvious route.
Blue Gate — Early Stacked Fights
Fast, geared teams show up early. Clear spawns, confirm every down (crawlers hide), loot only after full area control. Extract once profit's real.
Riven Tides — Vertical Pressure
Don't climb into a pre-aimed angle. If you're 1v3 after a teammate dies, don't fight three at once — break line of sight, punish the first overextender, repeat.
Dam Battleground — Open Ground Punishes Everything
Bright skins get you seen. Chasing every knock gets you third-partied. Rotate cover to cover, or don't go. This map ends more runs than bad aim does.
Team Roles With the Beretta
| Role | Job | Beretta's Fit |
|---|---|---|
| Entry | Draws attention | Beretta cleans up damaged targets |
| Angle holder | Watches exits/revives | Multiplier punishes every peek |
| Utility | Smoke/burn/grenade | Forces enemies into pistol range |
| Finisher | Confirms downs | Fast clean-up on weak targets |
| Loot carrier | Extracts safely | Skips unnecessary final fights |
Comms that work:One broken left. Smoke first, then res. Don't loot yet. Third team behind. Short and specific beats detailed and slow.
Utility Pairings
| Utility | Use Case |
|---|---|
| Smoke | Revives, retreats, open crossings |
| Grenades | Room clears, revive denial |
| Fire/burn | Anti-camper pressure |
| Barricades | Buy time mid-revive |
| Shield chargers | Re-peek sustain |
Rule: don't fight fair. Make them uncomfortable, then take the clean shot.
Looting Without Throwing the Win
1. Confirm every enemy is dead or accounted for. Crawlers restart fights.
2. Heal and reload before opening bags.
3. One player loots, one watches.
4. Grab weapons and shields first.
5. Leave once profit is real. Stop hunting one more team.
Priority order: kitted weapons > high-tier shields > attachments > shield chargers > grenades. Skip the clutter.
Extraction: The Skill Nobody Talks About
| Trigger | Action |
|---|---|
| 100k+ clean profit | Strongly consider leaving |
| Multiple wipes done | Leave before the lobby rotates in |
| Utility/revives low | Stop taking optional fights |
| Near your coin target | One clean fight, then out |
Hatch campers can be profitable — but not while overloaded. Off-angle approach, force movement with utility, confirm no second team's watching before you loot.
Mistakes That Kill Beretta Runs
| Mistake | Fix |
|---|---|
| Spamming shots | Aim upper chest, control rhythm |
| Fighting in open fields | Force close-mid engagements |
| Looting too early | Clear, heal, reload — then loot |
| Chasing every down | Push with team support only |
| Re-peeking same angle | Shoot, move, re-angle |
| Bright skins | Use muted cosmetics |
| Hoarding utility | Use it to win the fight you're in |
| Overstaying after profit | Extract once the goal's realistic |
The pistol doesn't fix bad decisions. It amplifies good ones.
Million-Coin Progression Plan
| Stage | Range | Playstyle |
|---|---|---|
| Early | 0–250k | Take controlled fights in contested zones |
| Mid | 250k–600k | Target geared teams, clean extractions only |
| Late | 600k–850k | Cut unnecessary risk, avoid open chaos |
| Final | 850k–1M | One profitable fight, then out |
Ask yourself in the late stage: Does this help me extract, or am I just chasing noise? If it's noise, leave.
FAQ
Is the Beretta better than the Bobcat?
Not overall. The Bobcat is more forgiving in sustained fights. The Beretta has scarier burst potential thanks to its 2.5x headshot multiplier — but only in accurate hands.
What's the best aim technique for the Beretta?
Crosshair at upper chest/neck, controlled firing rhythm. Aiming too low wastes the pistol's biggest advantage.
Can you run Beretta solo?
Yes, but it's unforgiving. Isolate enemies, avoid full-team fights, reset constantly. Split a squad into 1v1s or you're relying on luck.
Which maps suit the Beretta best?
Stella Montis, Buried City, and Blue Gate for close-range chaos. Riven Tides works with good vertical play. Dam Battleground is the riskiest — open ground punishes pistol users hard.
How much profit before extracting?
100k+ in clean PvP profit is a real trigger to leave. Closer to your challenge target, leave even sooner. Greed ends more runs than enemies do.
Summary
The Beretta rewards precision over volume — 2.5x headshot damage turns a cheap pistol into a geared-player killer. But it punishes every sloppy habit twice as hard.
Fight close-mid. Use utility to break campers and deny revives. Skip open-field ego fights. Loot clean, extract early, and stop chasing one more team once the run's already good.
Accuracy wins fights. Discipline wins raids.

Most Popular Posts
- ARC Raiders Update 1.42: Phantom Targets Farming Guide (Glitched Wasps, Rewards, Regional Conditions)
- ARC Raiders Hullcracker Blueprints: Fastest Way to Complete The Major's Footlocker
- ARC Raiders Best Pop Trigger Strategy: Fast Phantom Targets Damage Guide
- ARC Raiders Subway Skin Guide: Unlock the Subterranean Outfit
- ARC Raiders Looting Mk. 3 Survivor Blueprint Guide: Best Blue Gate Route and Drop Locations
- ARC Raiders Medium & Heavy Gun Parts Blueprint Guide: Best Farm Route, Locations, and Refiner Crafting
Popular Category Lists
- ARC Raiders / (345)
- Grow a Garden / (292)
- CoD: Black Ops 7 / (167)
- Star Citizen / (161)
- MLB 26 / (159)
- Monopoly Go / (152)
- ARK Survival Ascended / (126)
- Steal a Brainrot / (98)
- Blox Fruits / (74)
- Adopt Me / (73)
- Forza Horizon 6 / (72)
- Sailor Piece / (68)
- Grow a Garden 2 / (68)
- Diablo IV / (62)
- CoD: BLACK OPS 6 / (55)
- Path of Exile 2 / (48)
- Monster Hunter Wilds / (46)
- Aion 2 / (46)
- Windrose / (44)
- Donut SMP / (41)