0
0 Created: Jul 17,2026 | ARC Raiders
ARC Raiders Best Renegade Shotgun Build: PvP Loadout, Tips, and Raid Strategy

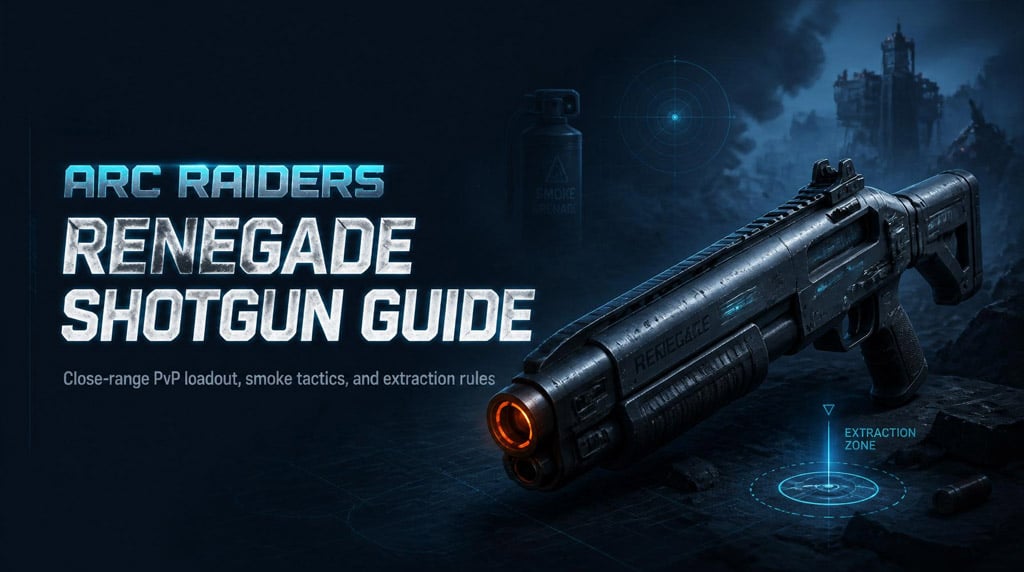
The Renegade is not a comfort weapon. It is a fight-ending shotgun for players who know how to force close range, punish bad pushes, and reset before the lobby collapses on them.
Play it wrong and you get farmed in open ground.
Play it right and it deletes raiders in buildings, containers, rooftops, and extraction rooms.
- Why the Renegade Shotgun Is So Strong in ARC Raiders
- Renegade vs Toro: Which Shotgun Is Better?
- Best Renegade Loadout in ARC Raiders
- Best Renegade PvP Loadout
- Best Weapon Pairings
- How to Win PvP With the Renegade
- Core Renegade Rules
- When to Push
- When to Stop Pushing
- Best Maps and Areas for Renegade PvP
- Blue Gate Renegade Strategy
- Extraction Fight Strategy
- Utility Makes the Renegade Work
- Smoke Rules
- Looting Rules for Renegade Raids
- PvP Loot Priority
- When to Extract
- FAQ
- Is the Renegade the best shotgun in ARC Raiders?
- Is the Renegade better than the Toro?
- What is the best Renegade loadout?
- Should I hip-fire or ADS with the Renegade?
- How do I stop dying after getting a Renegade knock?
- Summary
Why the Renegade Shotgun Is So Strong in ARC Raiders
The Renegade wins because most real PvP does not stay clean. Fights break into stairs, doors, rooftops, smoke clouds, bodies, and panic reloads.
That is where this gun shines.
| Renegade Strength | In-Game Value |
|---|---|
| High burst damage | Fast knocks before third parties arrive |
| Strong hip-fire | Better panic defense indoors |
| Corner pressure | Punishes door swings and stair pushes |
| Close-range control | Forces enemies to respect tight spaces |
| Great finisher | Pairs well with a rifle opener |
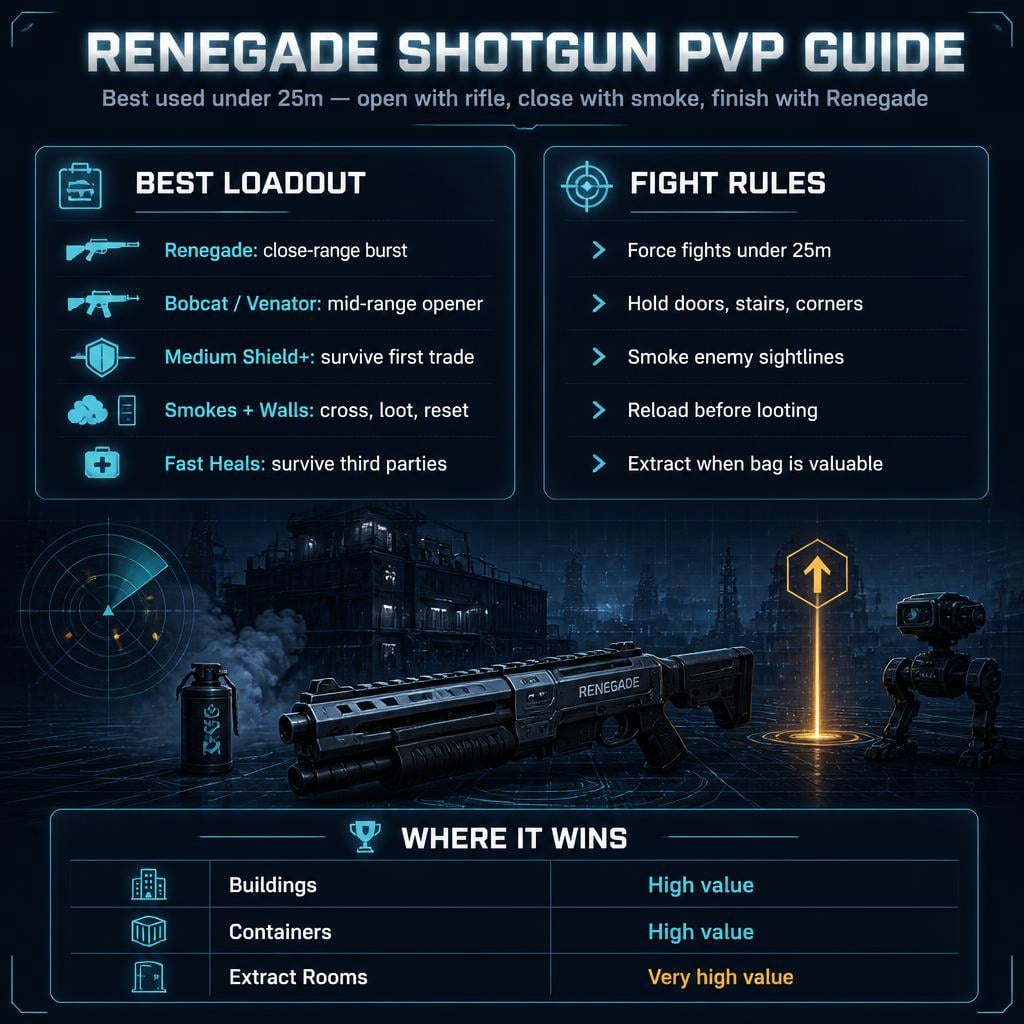
The key rule: force fights under 25 meters.
If the enemy looks small on your screen, stop ego-shooting the Renegade. Swap to your rifle.
Renegade vs Toro: Which Shotgun Is Better?
The Toro is safer.
The Renegade is meaner.
| Category | Toro | Renegade |
|---|---|---|
| Ease of use | More forgiving | Less forgiving |
| Best range | Close to short-mid | Close |
| Fight style | Controlled trades | Fast collapses |
| Burst threat | Good | Excellent |
| Best player type | Safer PvP players | Aggressive pushers |
Use the Toro if you want consistency.
Use the Renegade if you can hit shots and control distance.
In real raids, the Renegade feels stronger when we create the fight instead of reacting to it.
Best Renegade Loadout in ARC Raiders
Do not run the Renegade as your only real answer. It needs a mid-range partner.
Best Renegade PvP Loadout
| Slot | Best Pick | Reason |
|---|---|---|
| Close-range weapon | Renegade | Burst, room clearing, defensive swaps |
| Mid-range weapon | Bobcat / Venator / Anvil | Opens fights before the push |
| Shield | Medium shield or better | Survives first contact |
| Utility | Smokes + walls | Lets you cross, loot, reset |
| Heals | Fast heals + stronger heals | Needed after every close fight |
Best Weapon Pairings
| Pairing | Best Use |
|---|---|
| Renegade + Bobcat | Best all-around PvP setup |
| Renegade + Venator | Better for precise ranged taps |
| Renegade + Anvil | Strong mid-range pressure |
| Renegade + Stitcher | Aggressive close-mid fighting |
The cleanest setup is Renegade + Bobcat.
The Bobcat handles rooftops, hills, courtyards, and players trying to leave. The Renegade handles anyone dumb enough to push your building.
How to Win PvP With the Renegade
The Renegade is not about running forward. It is about making the enemy fight where your shotgun is strongest.
Core Renegade Rules
| Rule | Execute It Like This |
|---|---|
| Stay under 25 meters | Use cover, walls, and smoke to close |
| Avoid open fields | Rotate instead of crossing naked |
| Hold doors and stairs | Force enemies into easy pellets |
| Shoot then strafe | Never stand still after firing |
| Reload behind cover | Empty shotgun = dead raider |
| Reset after every knock | Heal, reload, listen, then loot |
If you knock one player, assume another heard it.
Do not loot first. Reload first.
When to Push
Push when the enemy has a problem.
- If they are cracked, close distance.
- If they are healing, throw utility.
- If they are fighting ARC, wait half a second, then collapse.
- If they are looting, punish the greed.
- If they are trapped in a room, hold exits first.
The best Renegade push is not brave.
It is unfair.
When to Stop Pushing
Back off when the fight turns into rifle territory.
- No smoke.
- No shield.
- No reload.
- Enemy has high ground.
- Multiple footsteps nearby.
- ARC enemies are already targeting you.
If you ignore those signs, you are not being aggressive.
You are donating gear.
Best Maps and Areas for Renegade PvP
The Renegade loves dense cover. It hates long sightlines.
| Area Type | Renegade Value | How to Play |
|---|---|---|
| Buildings | High | Hold corners, stairs, doors |
| Containers | High | Swing tight gaps |
| Rooftops | High | Punish climbs and drops |
| Extract rooms | Very high | Control entrances |
| Hillsides | Medium | Rifle first, shotgun second |
| Open roads | Low | Smoke or rotate |
| Courtyards | Medium-low | Do not long-trade |
Blue Gate Renegade Strategy
Blue Gate creates constant third-party fights. Good for kills. Bad for greed.
Use this rule set:
- Fight fast.
- Loot only essentials first.
- Take smokes, heals, ammo, keys, blueprints.
- Use bodies as bait.
- Leave after multiple wins.
A huge kill raid means nothing if you die overloaded next to extract.
Extraction Fight Strategy
The Renegade is one of the best extract weapons because enemies must enter predictable angles.
If we arrive first:
- Hold a doorway.
- Keep the Renegade loaded.
- Smoke outside sightlines.
- Do not sit in the obvious corner.
If we arrive late:
- Do not walk through the main door blind.
- Smoke the angle, not your own feet.
- Clear corners slowly.
- Enter ready to shoot instantly.
At extract, patience wins. Panic gets folded.
Utility Makes the Renegade Work
Without utility, the Renegade depends on enemies making mistakes.
With utility, we force those mistakes.
| Utility | Priority | Best Use |
|---|---|---|
| Smoke grenades | Very high | Cross, loot, extract, reset |
| Deployable walls | Very high | Create instant cover |
| Explosive grenades | High | Clear rooms and boxes |
| Scouting tools | Medium | Confirm campers |
| Heals | Very high | Survive third parties |
Smoke Rules
Most players waste smokes.
Use them like this:
| Situation | Correct Smoke Use |
|---|---|
| Crossing open space | Smoke the enemy sightline |
| Looting a body | Smoke before exposing yourself |
| Extracting | Smoke the lane enemies must shoot through |
| Resetting | Smoke, move, then heal |
| Pushing a building | Smoke windows and roof angles |
Bad smoke blinds you.
Good smoke blinds the shooter.
Looting Rules for Renegade Raids
The Renegade creates loot piles. Greed kills more raiders than bad aim.
PvP Loot Priority
| Priority | Take First |
|---|---|
| 1 | Heals |
| 2 | Smokes / walls |
| 3 | Ammo for current guns |
| 4 | High-tier weapons |
| 5 | Blueprints / keys |
| 6 | Attachments |
| 7 | Heavy value items |
If you are already heavy, stop chasing every gunshot.
Switch from hunter mode to extract mode.
When to Extract
Leave when:
- You have a blueprint, key, or high-tier gun.
- You are low on smokes.
- You are low on heals.
- You have won two or more fights in the same area.
- ARC pressure is building.
- The safe window is closing.
The best raid is the one that pays.
FAQ
Is the Renegade the best shotgun in ARC Raiders?
The Renegade is one of the best close-range shotguns. It is strongest in buildings, containers, rooftops, and extraction fights. It is not ideal for open-field duels.
Is the Renegade better than the Toro?
The Renegade has better burst and push potential. The Toro is more forgiving. Pick Renegade for aggressive PvP. Pick Toro for safer, steadier fights.
What is the best Renegade loadout?
Run Renegade + Bobcat, medium shield or better, smokes, walls, and enough heals to survive third parties. This gives you range, burst, and reset tools.
Should I hip-fire or ADS with the Renegade?
Hip-fire at point-blank range. ADS when the target is slightly farther away. If you ADS too much indoors, you slow yourself down and lose reaction fights.
How do I stop dying after getting a Renegade knock?
Stop looting instantly. After a knock: reload, heal, listen, check angles, then loot. Shotgun fights are loud. Someone is probably already rotating toward you.
Summary
The Renegade shotgun is a raid-winning PvP weapon when we control range.
Use a rifle to open.
Use smoke to close.
Use the Renegade to finish.
Reload before looting.
Extract when the bag is worth money.
That is the whole loop.
Played with discipline, the Renegade is not just a shotgun. It is a close-range insurance policy for ARC Raiders PvP.

Most Popular Posts
- ARC Raiders Update 1.42: Phantom Targets Farming Guide (Glitched Wasps, Rewards, Regional Conditions)
- ARC Raiders Expedition Damage Guide: Fastest Way to Farm Damage
- ARC Raiders Hullcracker Blueprints: Fastest Way to Complete The Major's Footlocker
- ARC Raiders Best Pop Trigger Strategy: Fast Phantom Targets Damage Guide
- ARC Raiders Subway Skin Guide: Unlock the Subterranean Outfit
- ARC Raiders Spaceport Open Containers Guide: 19K+ Solo Trial Route
Popular Category Lists
- ARC Raiders / (339)
- Grow a Garden / (292)
- CoD: Black Ops 7 / (167)
- Star Citizen / (160)
- MLB 26 / (159)
- Monopoly Go / (152)
- ARK Survival Ascended / (125)
- Steal a Brainrot / (98)
- Blox Fruits / (74)
- Adopt Me / (72)
- Forza Horizon 6 / (72)
- Sailor Piece / (68)
- Grow a Garden 2 / (68)
- Diablo IV / (62)
- CoD: BLACK OPS 6 / (55)
- Path of Exile 2 / (48)
- Monster Hunter Wilds / (46)
- Windrose / (44)
- Aion 2 / (42)
- Donut SMP / (40)