0
0 Created: Jul 17,2026 | ARC Raiders
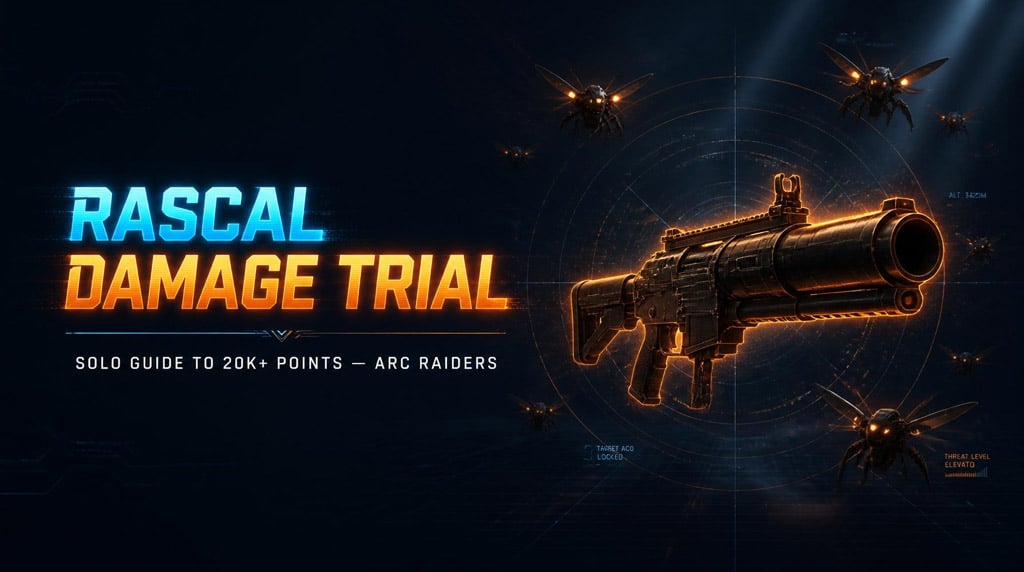
ARC Raiders Rascal Damage Trial Solo Guides: Best Points on Stella, Bird City, and Bluegate

Slower reload. Slower projectile. Lower damage per shot. If you're expecting Hullcracker numbers, you'll be disappointed every single time.
What the Rascal does give you: less aggro from raiders hunting Hullcracker drops. That's the entire trade. If that's not your problem, grab a Hullcracker instead.
196 shots is roughly a level 4 Rascal's lifespan. Plan your ammo around that number, not a guess.
- Loadout — Don't Overthink This
- Map Tier List — Where the Points Actually Are
- Stella: The Shredder Loop
- Bird City: The Oldtown Circuit
- Enemy Priority — What's Worth Your Ammo
- The Snitch Trick Nobody Uses
- Don't Blow Your Extraction
- Is the Rascal actually better than the Hullcracker?
- Which map has the highest score ceiling?
- How many Rascals should I bring?
- Should I fight rocketeers with the Rascal?
- Can I hit 20K+ with only one bombardier spawn?
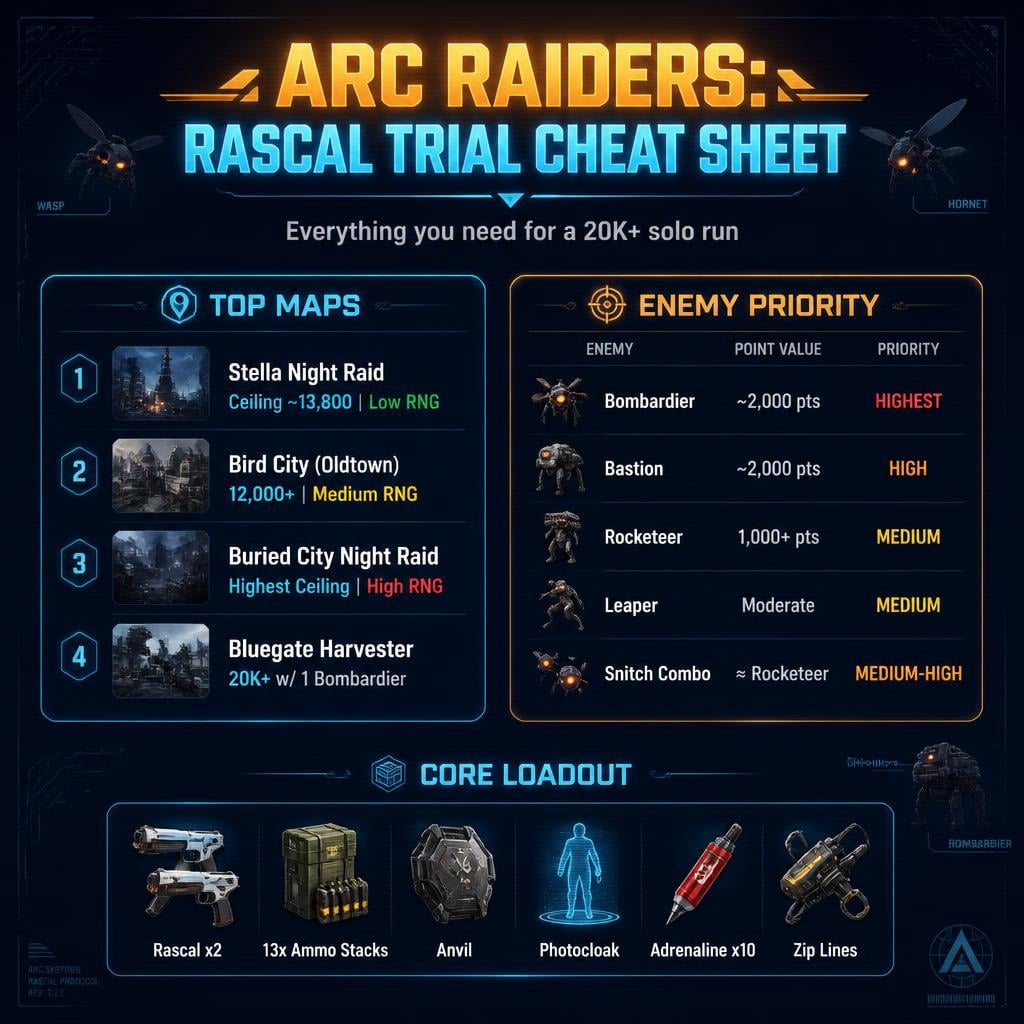
Loadout — Don't Overthink This
| Slot | Item | Why |
|---|---|---|
| Perk | Survivor | Crawl out if downed |
| Backup | Anvil | Clears spotters, handles PvP |
| Launcher | Rascal Lv.4 x2 | Second one saves the run when the first breaks |
| Ammo | 13 stacks | Full raid, zero looting downtime |
| Utility | Zip lines (10–15) | Spaceport eats these fast |
| Utility | Photocloak | Slip past leapers/rocketeers mid-bombardier-timer |
| Consumable | Adrenaline x10 | Six is risky. Ten is safe. |
Running Bird City? Bring a raider hatch key. Extraction sits right next to your farm zone.
Map Tier List — Where the Points Actually Are
| Map | Ceiling | RNG | Difficulty |
|---|---|---|---|
| Stella Night Raid | ~13,800 | Low | Needs a clean lobby |
| Bird City (Oldtown) | 12,000+ | Medium | Hitting flying ARC is hard |
| Buried City Night Raid | Highest | High | Needs favorable spawns |
| Spaceport Night Raid | High | Medium-high | Zip-line heavy, eats inventory |
| Bluegate Harvester | 20K+ with one bombardier | Medium | Queen fight distracts everyone else |
Bad zip-line skills? Skip Spaceport. It's built on ziplining between bombardier spawns. Bad positioning here costs more than any single kill is worth.
Stella: The Shredder Loop
Route: Cultural Archives → Robotic Sandbox → Metro → Lobby → Business Center → repeat.
This loop is timed to shredder respawns. Run it clean, and you're rarely walking into empty rooms.
- Cultural Archives: 3 shredders
- Robotic Sandbox: 3–4 shredders
- Metro: 1
- Lobby: 2
- Business Center: Random. If nothing spawns early, nothing spawns late.
- Atrium: Can rarely hold 3 shredders at once. See it? Drop the route immediately. That RNG is worth more than the whole loop.
Queue trick: Cancel matchmaking right before 45 seconds, restart from zero. Do this in the event's final minutes. You'll land in lobbies with no join-in-progress players — nobody stealing your shredders.
Bird City: The Oldtown Circuit
Less precision-dependent than Stella. Volume beats aim here.
Spot: Oldtown, near Plaza de Rosa, right by extraction.
- Bombardier = ~2,000 points, 12–14 Rascal shots. That's 150–200 points per shot. Best value target on the map.
- Bombardier spawned at the parking garage instead? Consider requeuing. Chasing it off-position wastes rotation time.
- Rocketeers: Skip them unless your aim is dialed in. Inconsistent hits, bad ammo-to-point ratio.
- Leaper: Aggro to a doorway. Clear pops/fireballs first. Hit the eye, not the legs. Leg shots just stretch the fight for nothing.
Enemy Priority — What's Worth Your Ammo
| Enemy | Value | Priority |
|---|---|---|
| Bastion | ~2,000 | High (50/50 spawn vs. vaporizer) |
| Bombardier | ~2,000 | Highest — best points-per-shot on any map |
| Rocketeer | 1,000+ | Medium — only if you're consistent |
| Leaper | Moderate | Medium — easy from a doorway |
| Snitch + reinforcements | ≈ Rocketeer | Medium-high, situational |
| Small ARC | Low solo | Low — but stacks fast in volume |
The Snitch Trick Nobody Uses
Aggro a snitch. Let it call reinforcements. Kill it right as the call goes out, before it flies off.
Result: the snitch kill + two wasps + one hornet that spawn in. Total value rivals a full rocketeer — with none of the precision headache.
Scared of rocketeers? Farm snitches instead. Same points, way less frustration.
Don't Blow Your Extraction
We lost a 12K run chasing one extra bombardier cycle. Lesson: enter the raider hatch with 5 seconds left, not 5 seconds left on your walk there.
Mid-animation when the timer hits zero = you still die. Doesn't matter if you're visibly inside the hatch.
FAQ
Is the Rascal actually better than the Hullcracker?
No. Fewer shots, faster projectile — Hullcracker wins on raw efficiency every time. Rascal's only edge: less raider aggro over the weapon itself.
Which map has the highest score ceiling?
Buried City Night Raid, on paper. But it needs heavy RNG cooperation. Stella is the more consistent high scorer.
How many Rascals should I bring?
Two, level 4. One will break mid-raid. Running dry kills your run faster than any enemy will.
Should I fight rocketeers with the Rascal?
Only if you're landing shots reliably. If not, redirect that ammo to snitches — similar payout, much easier execution.
Can I hit 20K+ with only one bombardier spawn?
Yes. Bluegate Harvester proved it — stack snitch kills and small ARC volume around your one bombardier cycle to close the gap.
Bottom Line
The Rascal punishes wasted shots, not bad aim. Know your target priority before you pull the trigger: bombardiers first, snitches second, small ARC as filler. Pick Stella for consistency, Bird City if your zip-line game is shaky, and never — ever — cut your extraction timing close.


The GGWTB Editorial Team features 10 full-time gaming editors and 23 specialist contributors, delivering hands-on tested walkthroughs, easter egg breakdowns, and game updates.
ELSA — who spearheads our in-depth COD: BLACK OPS 7, ARC Raiders guides, and patch notes—every guide is rigorously verified on live servers for accuracy.

Most Popular Posts
- ARC Raiders Update 1.42: Phantom Targets Farming Guide (Glitched Wasps, Rewards, Regional Conditions)
- ARC Raiders Expedition Damage Guide: Fastest Way to Farm Damage
- ARC Raiders Hullcracker Blueprints: Fastest Way to Complete The Major's Footlocker
- ARC Raiders Best Pop Trigger Strategy: Fast Phantom Targets Damage Guide
- ARC Raiders Subway Skin Guide: Unlock the Subterranean Outfit
- ARC Raiders Spaceport Open Containers Guide: 19K+ Solo Trial Route
Popular Category Lists
- ARC Raiders / (339)
- Grow a Garden / (292)
- CoD: Black Ops 7 / (167)
- Star Citizen / (160)
- MLB 26 / (159)
- Monopoly Go / (152)
- ARK Survival Ascended / (125)
- Steal a Brainrot / (98)
- Blox Fruits / (74)
- Adopt Me / (72)
- Forza Horizon 6 / (72)
- Sailor Piece / (68)
- Grow a Garden 2 / (68)
- Diablo IV / (62)
- CoD: BLACK OPS 6 / (55)
- Path of Exile 2 / (48)
- Monster Hunter Wilds / (46)
- Windrose / (44)
- Aion 2 / (42)
- Donut SMP / (40)