0
0 Created: Oct 8,2026 | ARC Raiders
ARC Raiders Frozen Trail Weapons & Gadgets: What to Choose and Avoid

We'd choose the Stiletto for paced ranged fire, consider the Bantam for close encounters, and use the Grappling Hook for routes with a checked landing. For Amplified weapons, investigate the scoped Renegade for ranged aiming or the 64-round Rattler for fewer firing interruptions, rather than assuming a damage upgrade.
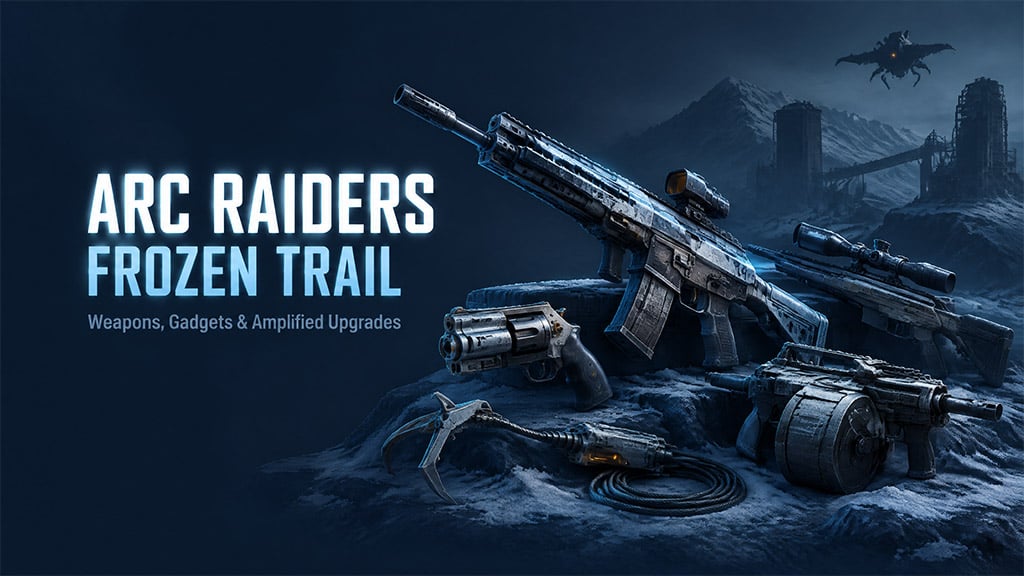
Evidence scope: Embark's official Frozen Trail preview confirms the announced features below. Handling observations attributed to the creator remain early-access impressions, not independent live-build tests.
- Weapons: Pick the Problem You Need to Solve
- Stiletto: Pace Follow-Up Shots
- Bantam: Check Timing Before Relying on Reactive Shots
- Grappling and Tethers: Plan What Happens After Activation
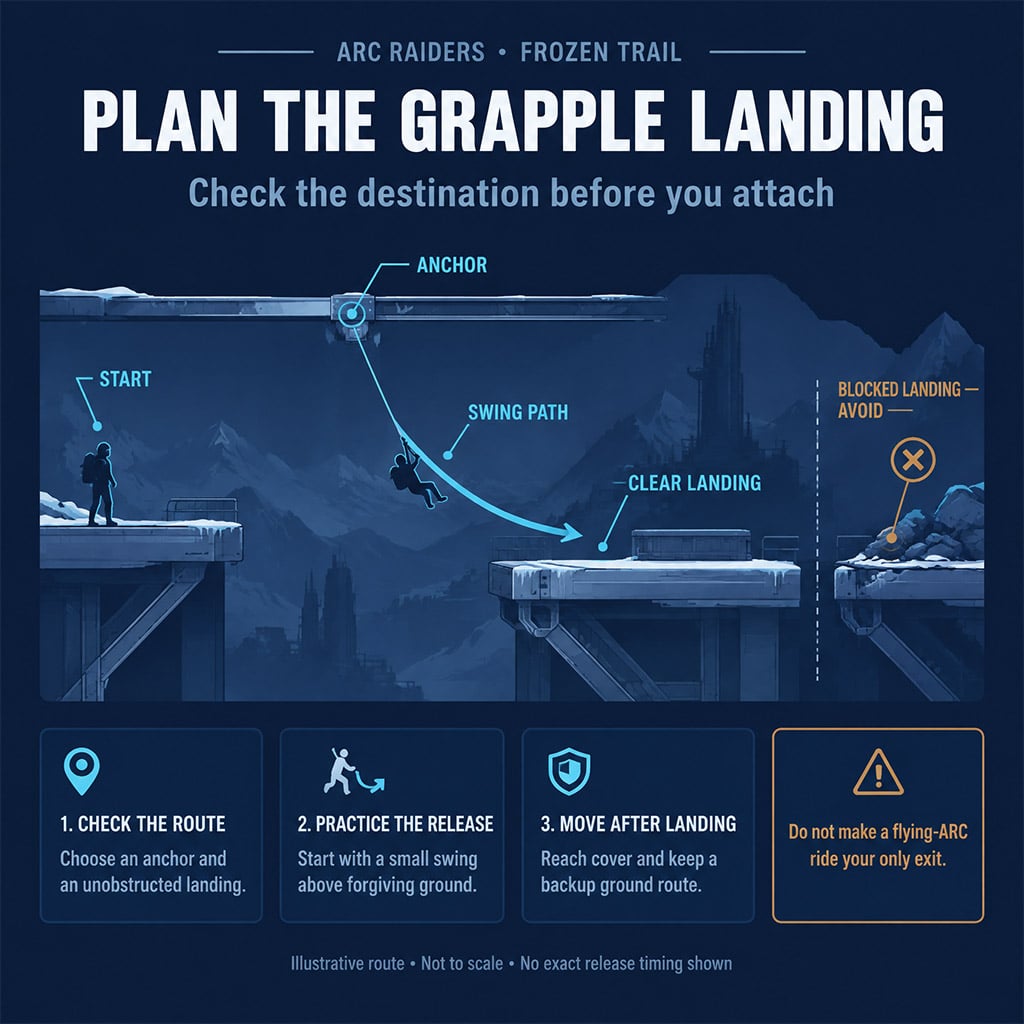
- Grappling Hook: Check the Landing, Not Just the Anchor
- Tether Launcher: Choose Both Connections Before Firing
- Amplified Weapons: Inspect the Branch Before Spending
- Scoped Renegade: Separate Visibility From Accuracy
- Drum Rattler: Capacity Does Not Measure Reload Downtime
- FAQ (Frequently Asked Questions)
- Is the Stiletto better than the Renegade?
- Should you always hip-fire the Bantam?
- Is the Grappling Hook cheaper than the Snap Hook?
- How do you access Amplified Weapons?
- Can the Rattler combine a 64-round drum with incendiary ammunition?
Weapons: Pick the Problem You Need to Solve
If your loadout fails, identify whether the problem is missed shots, limited visibility, or reload interruptions. We'd choose around that failure before spending materials.
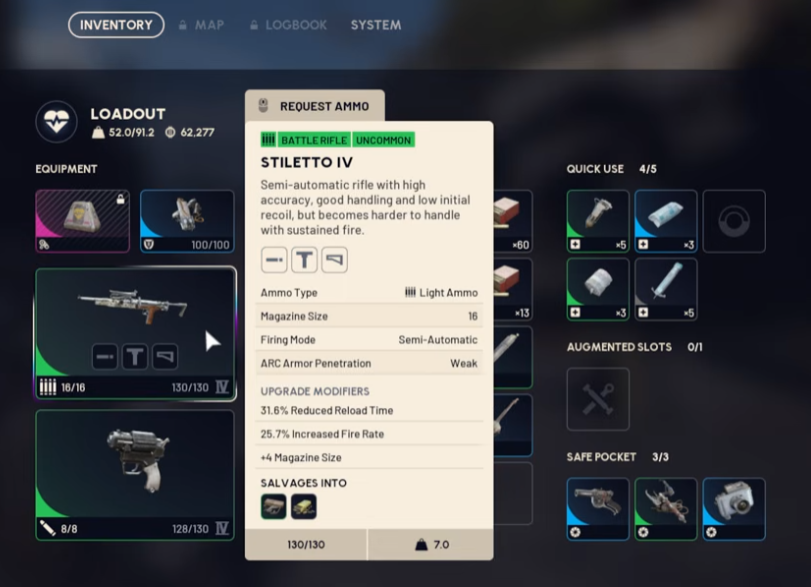
This table separates announced features from our recommended use.
| Weapon | Officially announced feature | Our recommended use | Reason to reconsider |
|---|---|---|---|
| Stiletto | Light-ammo battle rifle; early-game Renegade alternative; rapid firing reduces accuracy | Deliberate ranged shots | You habitually mash the trigger |
| Bantam | Heavy-ammo revolver with distinctive hip-fire capability | Investigate for nearby engagements | You need proven ranged consistency |
| Scoped Renegade | Amplified configuration with a scope | Improve your view of distant targets | Your main problem is close-range handling |
| Drum Rattler | Amplified configuration advertised with 64 rounds and incendiary ammunition | Reduce interruptions during sustained fire | Reload downtime or reserve ammunition already limits your runs |
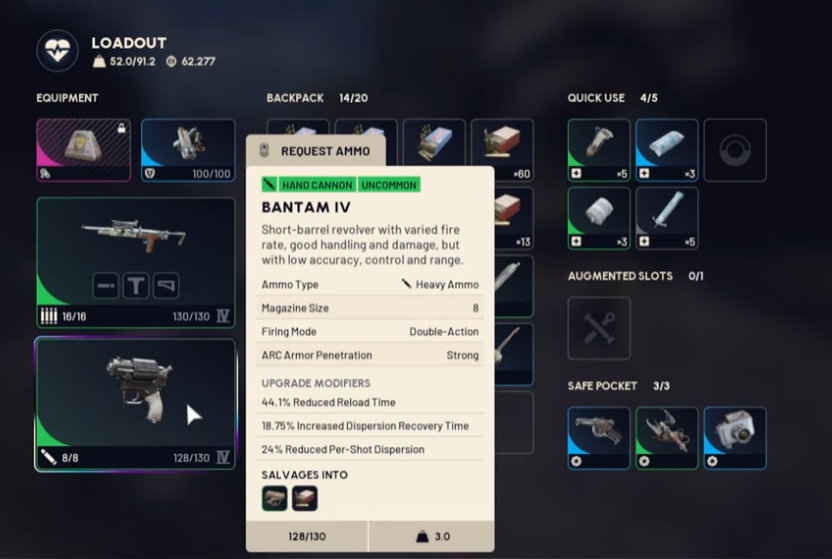
Choose the feature that addresses your failure; none of these announcements establishes a universal best weapon.
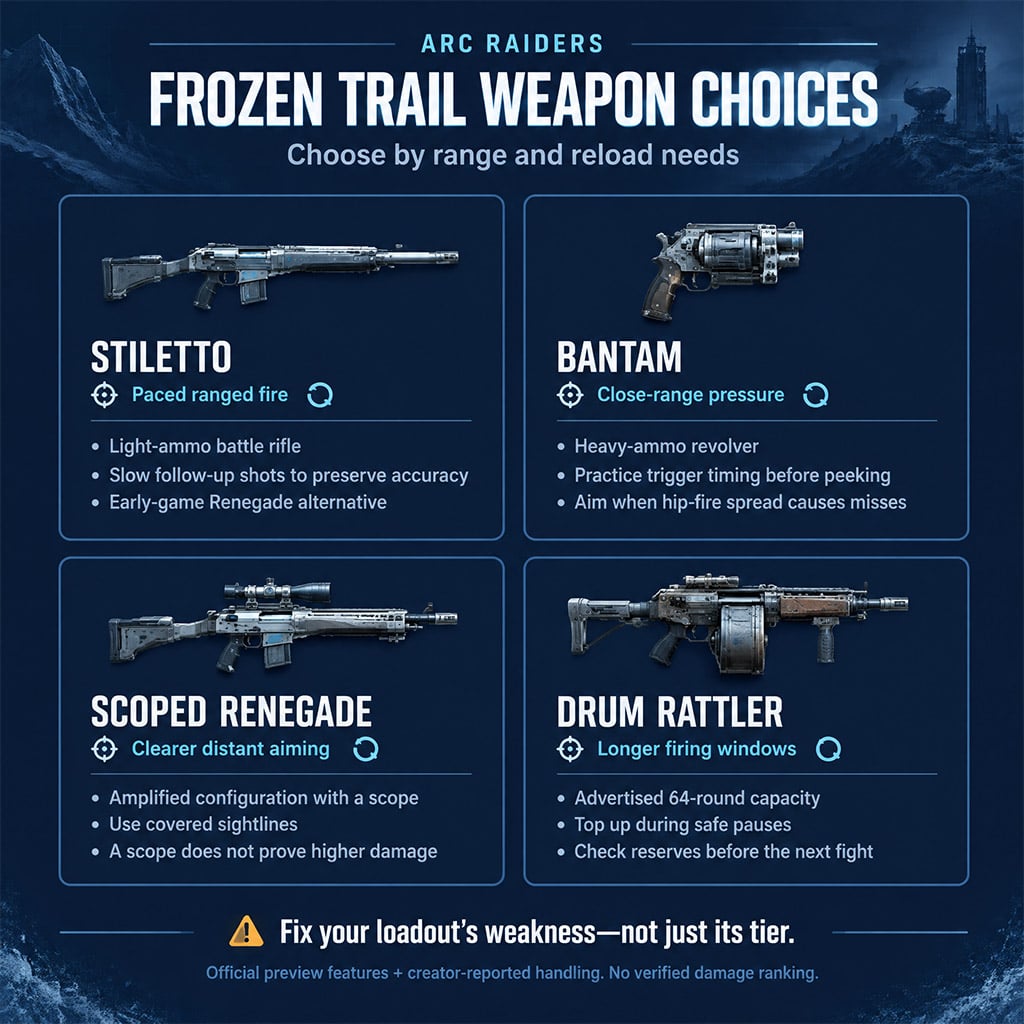
Stiletto: Pace Follow-Up Shots
If the opening shot lands but subsequent rounds scatter, reduce your firing pace. Embark explicitly warns that rapid inputs sacrifice accuracy.
We'd practice against a stationary target, increasing speed until grouping deteriorates, then return to the last consistent rhythm. Repeat from cover so the rhythm works during short exposure windows—not only while standing still.
The useful distinction is firing speed versus useful hits. A faster string does not improve the engagement if additional rounds miss.
Bantam: Check Timing Before Relying on Reactive Shots
The creator reports a delay between trigger input and discharge, plus faster repeated hip-fire than aimed fire. Those observations support a practice priority, not a measured fire-rate advantage.
Test single-shot timing before close-range peeks. We'd then compare short hip-fire strings with aimed shots at increasing distances, stopping when spread makes hip-fire unreliable.
Do not infer PvP kill counts from the available target demonstrations. Their conditions are insufficient for dependable breakpoints.
Grappling and Tethers: Plan What Happens After Activation
If a gadget moves you into danger or connects an enemy you cannot attack, it has not solved the encounter. We'd select the destination or firing angle first.
Grappling Hook: Check the Landing, Not Just the Anchor
Embark confirms climbing, descending, and swinging across gaps. The creator's account additionally describes momentum-carrying jump releases and stamina-consuming climbs.
Our practice sequence is:
1. Start above forgiving ground.
2. Select an eligible anchor and unobstructed landing.
3. Build a small swing.
4. Practice the release before attempting a larger gap.
5. Move into cover after landing.
Do not make a flying-ARC ride your only exit. A demonstrated attachment does not establish a controllable extraction route.
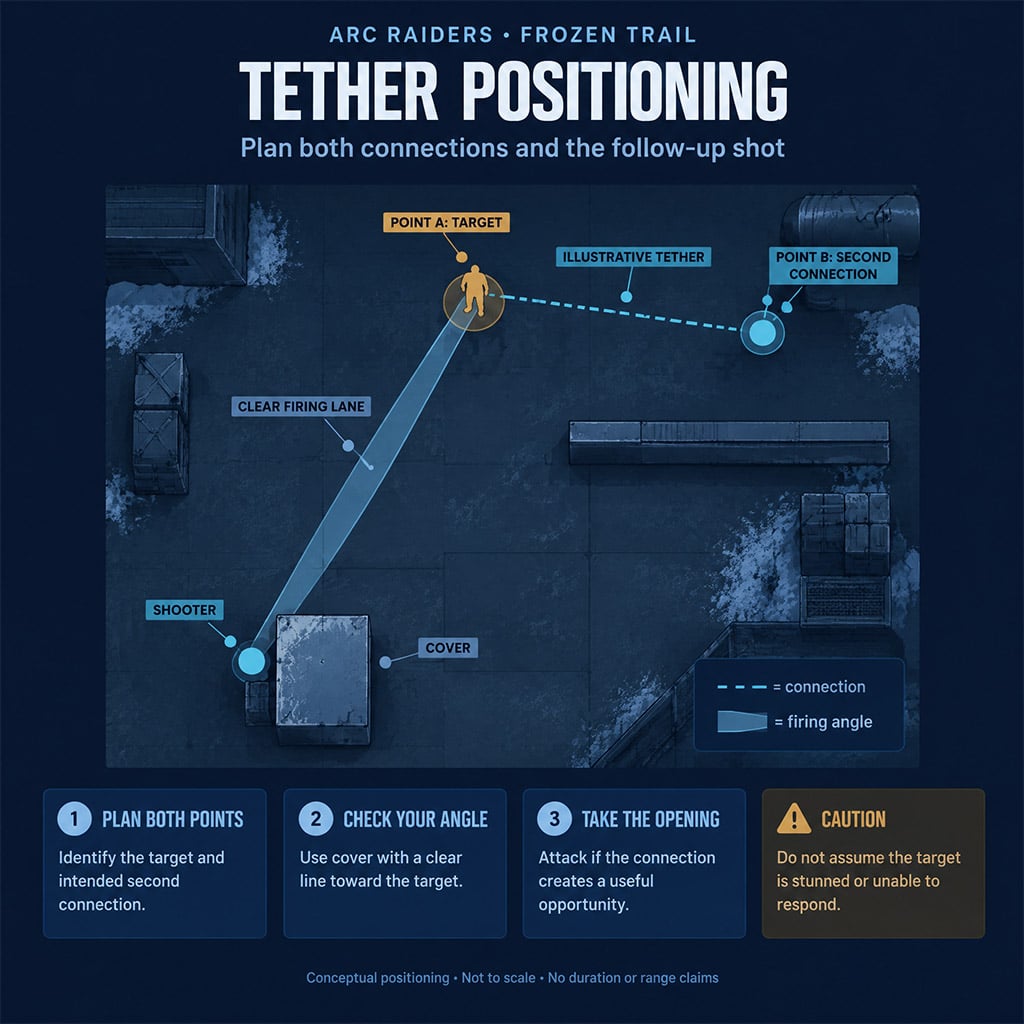
Tether Launcher: Choose Both Connections Before Firing
The creator describes a two-shot connection that affects linked Raiders' movement. We'd identify both connection points and a covered attack angle before completing it.
Do not plan around a guaranteed stun. The available evidence does not establish restraint duration, break conditions, or a reliable charge allowance.
A useful tether gives you or a teammate an exploitable angle. If the connection does not produce one, do not assume the target is helpless—reposition.
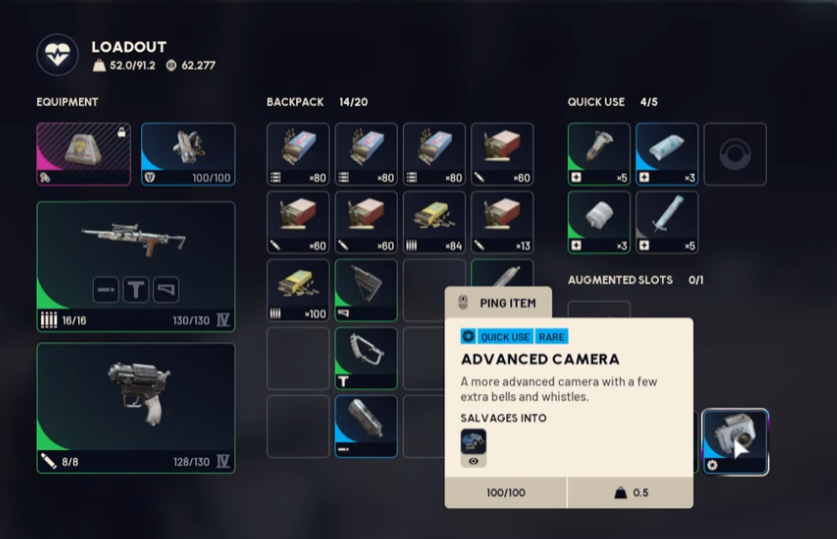
The creator also reports Camera controls and instrument synchronization. For route photographs, capture the approach and landing together; confirm image storage before relying on it. No combat benefit is established here for the Banjo or Harmonica.
Amplified Weapons: Inspect the Branch Before Spending
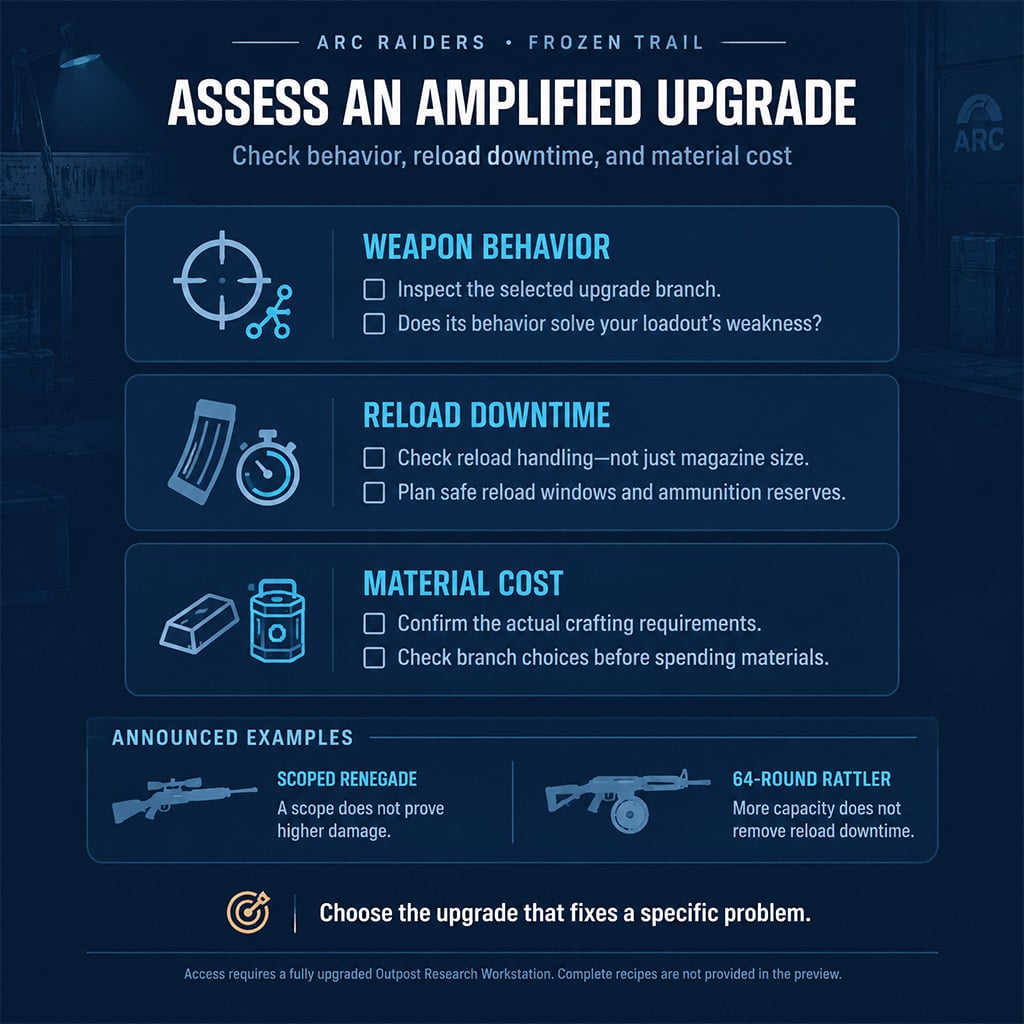
Embark announces a fifth quality level with branching enhancements, accessed through a fully upgraded Outpost Research Workstation. The initial rollout covers 15 weapons, not necessarily 15 upgrade choices.
We'd inspect the selected branch before buying attachments or farming ingredients. The official preview does not provide complete recipes.
Scoped Renegade: Separate Visibility From Accuracy
The creator reports effective ranged ARC engagements without attachments, but uncertain hip-fire performance. Neither observation proves higher damage or a confirmed hip-fire penalty.
Compare aimed and hip-fired grouping separately. Keep distance and attachments consistent where possible; a clearer target view should not be mistaken for improved weapon dispersion.
The reported PvP sample is too limited for a competitive ranking.
Drum Rattler: Capacity Does Not Measure Reload Downtime
The 64-round capacity is officially announced. The creator describes incremental loading, but the available material does not establish a verified empty-reload duration.
We'd replenish during safe pauses and check reserves before another engagement. A larger magazine postpones reloading; it does not remove the need to reload.
Embark advertises incendiary ammunition alongside the drum configuration, but does not explain its branch selections. Inspect the actual upgrade tree rather than assume every effect combines.
FAQ (Frequently Asked Questions)
Is the Stiletto better than the Renegade?
The available evidence does not establish the Stiletto as better. Embark positions it as an early-game alternative; we'd choose it for paced ranged fire rather than assumed equivalent damage.
Should you always hip-fire the Bantam?
No—use hip-fire only where its spread remains manageable. We'd practice the reported firing delay first and switch to aimed shots when distance causes misses.
Is the Grappling Hook cheaper than the Snap Hook?
The creator reports a lower cost, but the available sources provide no recipe comparison. We'd compare actual crafting requirements before choosing it solely to save materials.
How do you access Amplified Weapons?
Embark specifies a fully upgraded Research Workstation in the Outpost. Inspect the desired weapon branch and its material requirements before committing resources.
Can the Rattler combine a 64-round drum with incendiary ammunition?
Embark advertises both together, but does not detail the branch selections. The creator's tested version was not incendiary, so check the upgrade tree before crafting that combination.

I’m Amara Okafor, a Nigerian Contributing Writer at GGWTB covering sports, racing, and driving games, alongside casual mobile titles. My guides focus on timing a pass, finding a braking point, and choosing upgrades that suit your playstyle. For shorter sessions, I keep the priorities clear: less menu-hopping, more time playing.

Most Popular Posts
- ARC Raiders Update 1.42: Phantom Targets Farming Guide (Glitched Wasps, Rewards, Regional Conditions)
- ARC Raiders Hullcracker Blueprints: Fastest Way to Complete The Major's Footlocker
- ARC Raiders Best Pop Trigger Strategy: Fast Phantom Targets Damage Guide
- ARC Raiders Subway Skin Guide: Unlock the Subterranean Outfit
- ARC Raiders Spaceport Open Containers Guide: 19K+ Solo Trial Route
- ARC Raiders Looting Mk. 3 Survivor Blueprint Guide: Best Blue Gate Route and Drop Locations
Popular Category Lists
- ARC Raiders / (341)
- Grow a Garden / (292)
- CoD: Black Ops 7 / (167)
- Star Citizen / (160)
- MLB 26 / (159)
- Monopoly Go / (152)
- ARK Survival Ascended / (125)
- Steal a Brainrot / (98)
- Blox Fruits / (74)
- Adopt Me / (73)
- Forza Horizon 6 / (72)
- Sailor Piece / (68)
- Grow a Garden 2 / (68)
- Diablo IV / (62)
- CoD: BLACK OPS 6 / (55)
- Path of Exile 2 / (48)
- Monster Hunter Wilds / (46)
- Aion 2 / (45)
- Windrose / (44)
- Donut SMP / (41)