0
0 Created: Oct 12,2026 | ARC Raiders
ARC Raiders Emperor Dungeon Guide: Gateway Conduit, Puzzles & Loot

The Emperor Gateway Conduit opens the Emperor on Pendola Pass. We obtain its blueprint and couplers through beacon payloads, prepare for randomized puzzle rooms, and reserve enough time to extract with the loot.
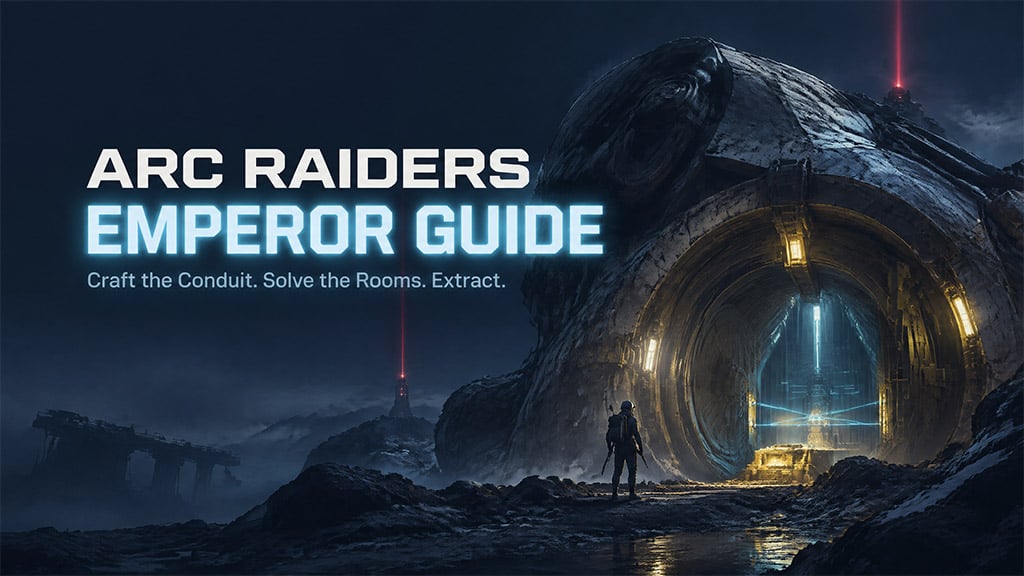
The ARC Raiders Wiki confirms the conduit's entrance function. The room strategies below follow the supplied gameplay accounts rather than independent current-patch testing.
- Get the Gateway Conduit
- Deploy the beacon and breach the main payload
- Keep the required components
- Prepare for the Emperor's Room Variants
- Activate the elevator safely
- Use the room mechanism—not its appearance
- Check the landing before using mobility
- Secure the Modulator and Leave
- Open additional loot without overrunning the timer
- FAQ (Frequently Asked Questions)
- How do we get the Emperor Gateway Conduit?
- Where do we use the Gateway Conduit?
- Do smaller beacon debris containers drop couplers?
- Does the Emperor two-door shortcut still work?
- Is the Emperor Modulator guaranteed in the final room?
Get the Gateway Conduit
Our starting point is Redirection, a map condition exclusive to Pendola Pass. Active Emperor Relays provide beacons that redirect valuable payloads to the player's position, as documented on the Redirection reference page.
Deploy the beacon and breach the main payload
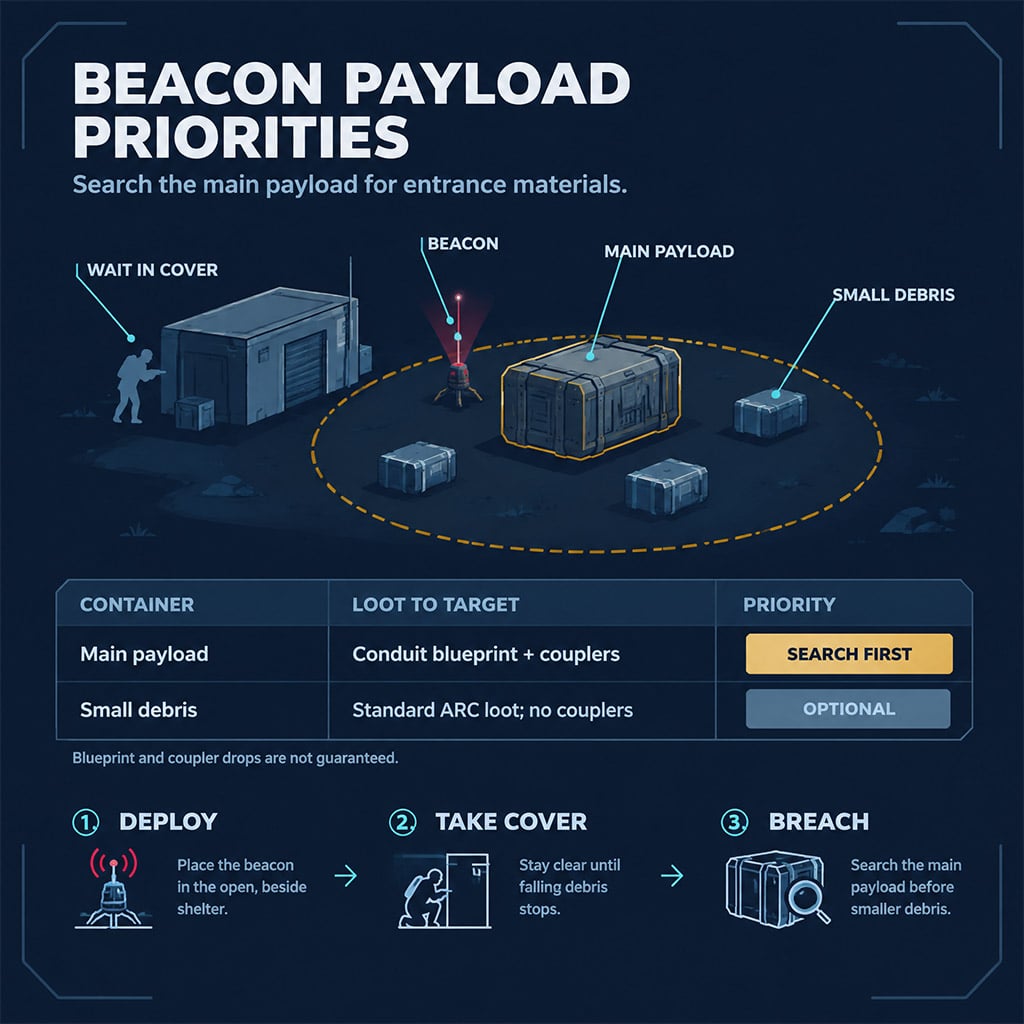
Find an active relay, collect an Emperor Beacon, and deploy it in an open area with nearby shelter.
1. Place the beacon away from your intended cover.
2. Leave the impact area immediately.
3. Wait for the falling debris to stop.
4. Return and breach the Harvester Payload.
5. Search for the conduit blueprint and couplers.
The important distinction: small debris containers do not contain couplers. The Emperor Beacon reference identifies the breachable main payload as the source of the three exclusive couplers and conduit blueprint.
If you are farming entrance materials, prioritize that payload before searching smaller wreckage.
Keep the required components
The supplied route identifies these crafting items; check the learned recipe for quantities and workshop requirements.
| Requirement | Collection priority | Next action |
|---|---|---|
| Gateway Conduit blueprint | Main Harvester Payload | Learn before crafting |
| Plated Coupler | Main Harvester Payload | Retain for the recipe |
| Conduit Coupler | Main Harvester Payload | Retain for the recipe |
| Insulated Coupler | Main Harvester Payload | Retain for the recipe |
Do not spend or sell couplers until you have checked the conduit recipe.
The gameplay account places the entrance at the vault in the face area of the Fallen Emperor Husk. Bring the crafted conduit, inspect the entrance prompt, and note your extraction route before opening it.
Prepare for the Emperor's Room Variants
The reported dungeon configurations vary, so we solve the mechanism in front of us rather than memorize one room order.
Bring a Grappling Hook or Snap Hook, a suitable firearm, ammunition, healing, and shield supplies. A Hullcracker supports Hydra fights, but a second weapon should not displace the supplies needed to survive several rooms.
Activate the elevator safely
The supplied walkthrough describes this sequence:
1. Shoot corridor hazard blocks shortly before crossing.
2. Clear the Hydra covering the route.
3. Stay outside the elevator's electrical hazard.
4. Destroy the central yellow targets, then the exposed perimeter targets.
5. Wait for the electricity to stop and the mechanism to slow.
6. Board a settled platform and leave at an accessible doorway.
We aim for a safe exit, not maximum height. Gaps and overhead geometry create fall and crush hazards.
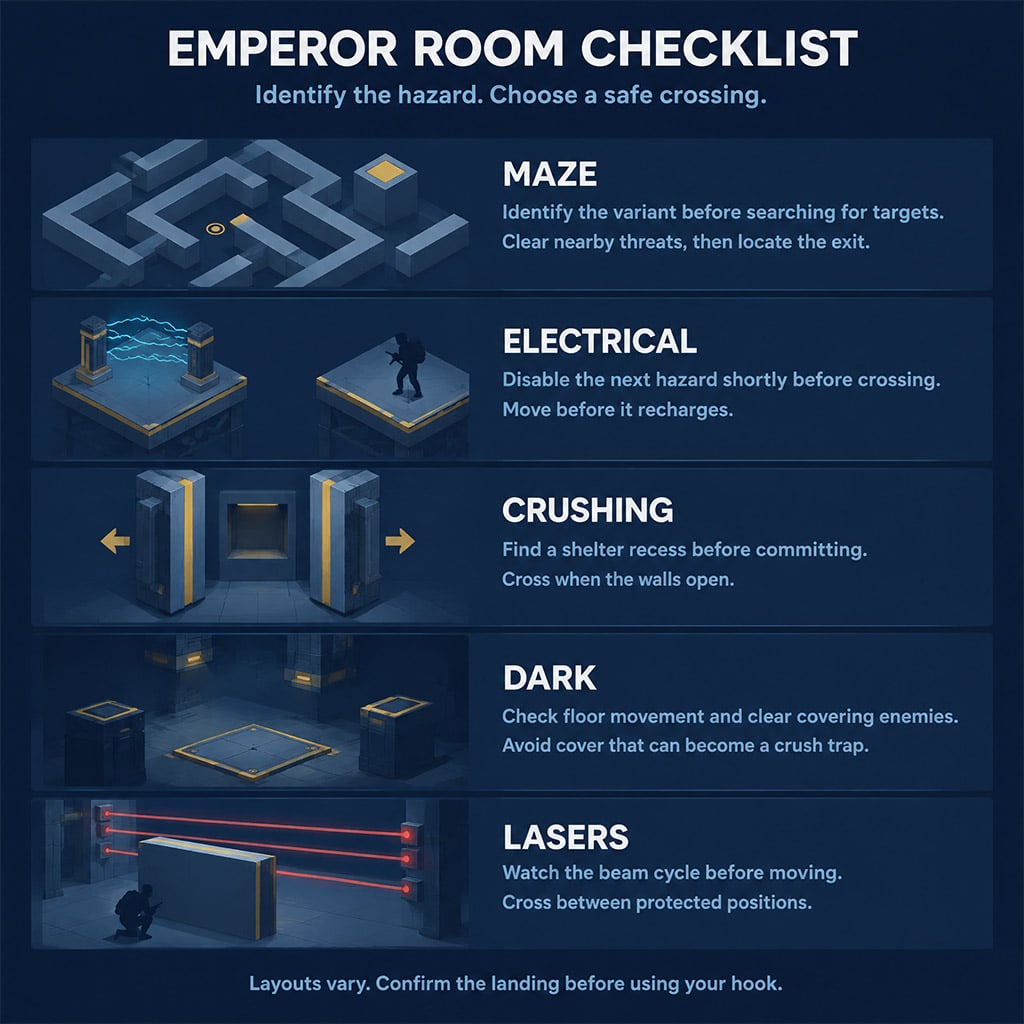
Use the room mechanism—not its appearance
These are the solutions described in the gameplay accounts:
| Room variant | Reported solution | Failure point |
|---|---|---|
| Open-grid maze | Destroy yellow targets; ride a moving block to the upper opening | Rising beneath solid ceiling geometry |
| Partitioned maze | Clear threats and locate the exit | Searching for another variant's targets |
| Electrical parkour | Disable the next block, then cross | Reaching it after recharge |
| Crushing room | Locate recesses; traverse during an open cycle | Spending stamina before finding shelter |
| Dark room | Clear covering Hydras; climb moving structures | Choosing cover that becomes a crush trap |
| Laser room | Move between beam-blocking positions | Crossing without observing the local cycle |
Match the solution to the visible configuration; do not assume target counts or safe positions transfer between variants.
Check the landing before using mobility
In electrical sections, disable the next landing shortly before crossing rather than shooting the entire route ahead. A distant block may recharge before you reach it.
In dark and crushing rooms, inspect moving geometry before taking cover. A block that stops Hydra fire can still trap you against a closing wall.
For laser rooms, cross between protected positions and skip optional containers when looting exposes you to another beam cycle.
Secure the Modulator and Leave
The Emperor Modulator is used to upgrade the Gunsmith, and the item reference lists the Fallen Emperor as its source. No guaranteed drop rate is established by the available evidence.
Open additional loot without overrunning the timer
The gameplay accounts describe yellow side targets associated with additional wall-container access.
1. Land safely and establish cover.
2. Search immediately accessible containers.
3. Destroy the visible yellow side targets.
4. Check which wall containers become accessible.
5. Leave while you still have supplies for the exit.
Do not budget ammunition around an unverified fixed shot count. Puzzle targets and enemies draw from the same reserve.
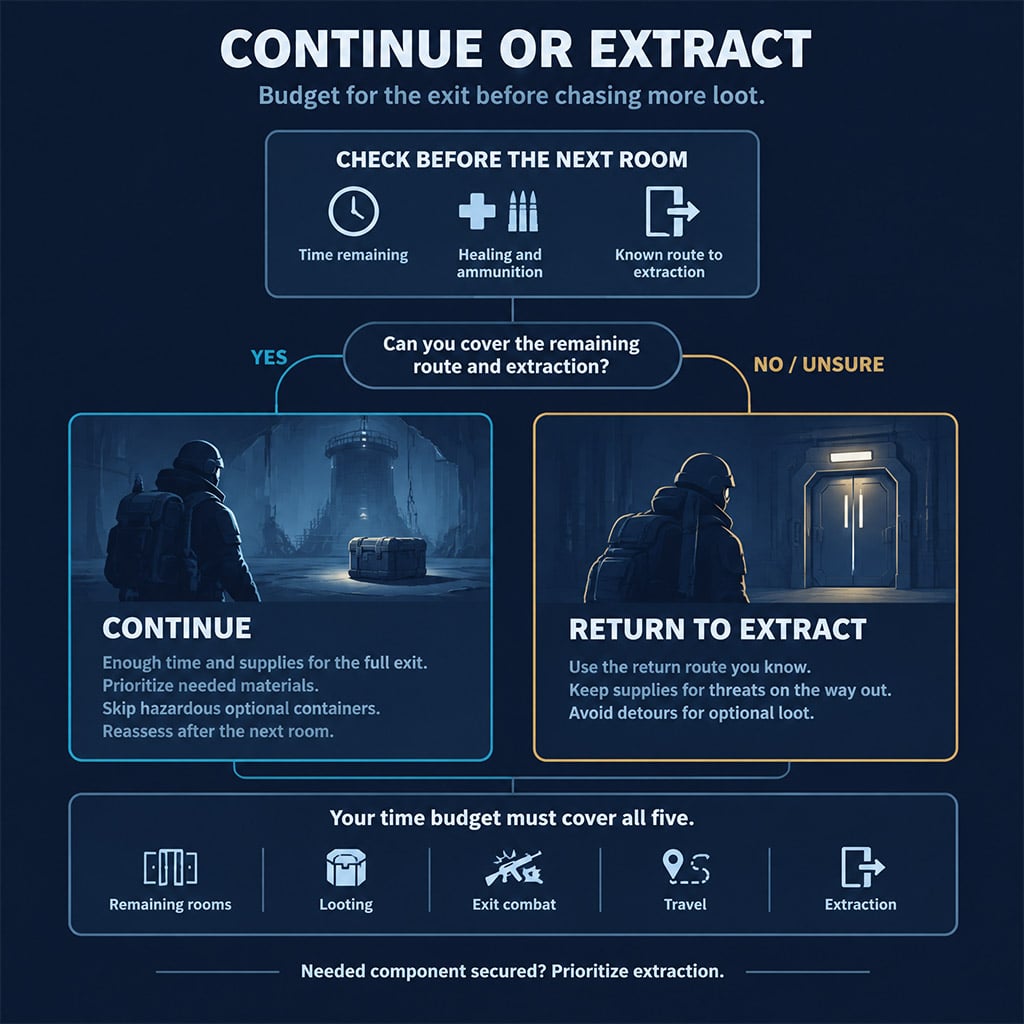
Before continuing toward the final chamber, allow for remaining rooms, looting, exit combat, travel, and extraction. If you cannot confidently cover those stages, take the known return route.
FAQ (Frequently Asked Questions)
How do we get the Emperor Gateway Conduit?
Obtain its blueprint and couplers from the main Harvester Payload summoned by an Emperor Beacon. Learn the blueprint, then check the hub recipe before crafting.
Where do we use the Gateway Conduit?
Use it to open the Emperor on Pendola Pass. The supplied gameplay route places the vault in the face area of the Fallen Emperor Husk.
Do smaller beacon debris containers drop couplers?
No—the Emperor Beacon reference states that smaller searchable containers do not contain couplers. Prioritize the main breachable Harvester Payload when farming entrance materials.
Does the Emperor two-door shortcut still work?
Its current functionality is unconfirmed. Do not plan a valuable-kit run around the reported Showstopper and Hornet Driver interaction.
Is the Emperor Modulator guaranteed in the final room?
No guaranteed drop is established by the available sources. Keep any Modulator you find until you have checked your Gunsmith upgrade requirements.

I’m Priya Raman, an Indian Content Strategist at GGWTB covering fantasy MMORPGs, classic online games, and guild-focused play. I plan coverage around class roles, group coordination, and long-term character growth. A strong solo build is only part of the picture—I focus on what you bring to a party and which investments stay useful as your guild takes on tougher content.

Most Popular Posts
- ARC Raiders Update 1.42: Phantom Targets Farming Guide (Glitched Wasps, Rewards, Regional Conditions)
- ARC Raiders Hullcracker Blueprints: Fastest Way to Complete The Major's Footlocker
- ARC Raiders Best Pop Trigger Strategy: Fast Phantom Targets Damage Guide
- ARC Raiders Subway Skin Guide: Unlock the Subterranean Outfit
- ARC Raiders Looting Mk. 3 Survivor Blueprint Guide: Best Blue Gate Route and Drop Locations
- ARC Raiders Medium & Heavy Gun Parts Blueprint Guide: Best Farm Route, Locations, and Refiner Crafting
Popular Category Lists
- ARC Raiders / (347)
- Grow a Garden / (292)
- CoD: Black Ops 7 / (167)
- Star Citizen / (161)
- MLB 26 / (159)
- Monopoly Go / (152)
- ARK Survival Ascended / (127)
- Steal a Brainrot / (98)
- Blox Fruits / (74)
- Adopt Me / (73)
- Forza Horizon 6 / (72)
- Sailor Piece / (68)
- Grow a Garden 2 / (68)
- Diablo IV / (62)
- CoD: BLACK OPS 6 / (55)
- Path of Exile 2 / (48)
- Monster Hunter Wilds / (46)
- Aion 2 / (46)
- Windrose / (44)
- Donut SMP / (41)