0
0 Created: Oct 12,2026 | ARC Raiders
ARC Raiders Outpost Guide: Research Recipes, Upgrade Order & Farming

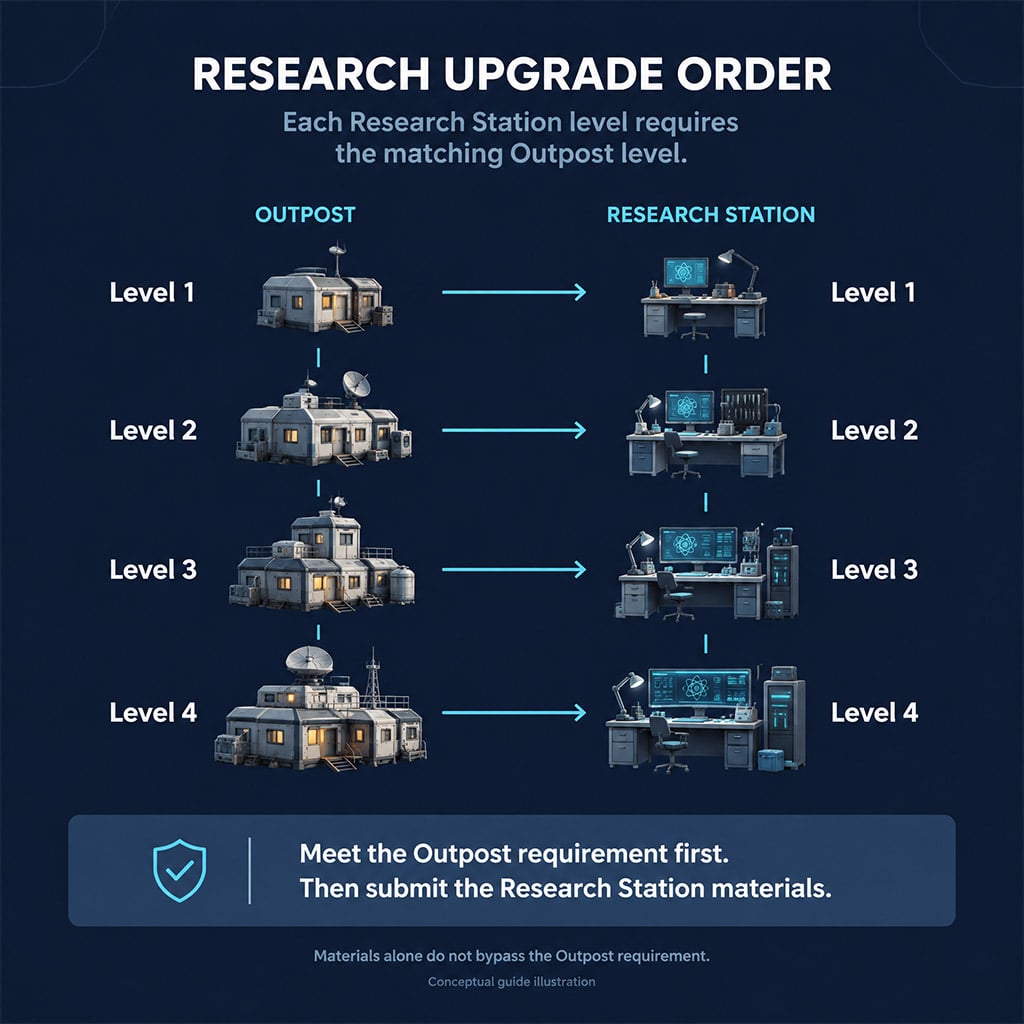
If your Research Station upgrade is blocked, check the Outpost level before collecting more materials: each station level requires the matching Outpost level. We cover the Outpost project, all four research recipes, and material routes so you can plan the next upgrade without wasting essential loot.
Version scope: Frozen Trail 2.0. We checked the official update notes and community Outpost reference; farming observations below come from the supplied gameplay accounts, not independent testing.
- Complete the Outpost Project Before Research
- Photograph a Farmhouse at Ruined Homestead
- Finish the Materials and Combat Stages
- Reserve the Next Room and Research Recipe
- All Four Research Station Recipes
- Include the Gunsmith for Weapon Amplification
- Choose a Farming Route by the Missing Item
- Material Route Decision Table
- Use Storm Shelters Without Assuming Guaranteed Loot
- FAQ (Frequently Asked Questions)
- How do we start the Outpost project?
- Why can't we upgrade the Research Station?
- Do we need to kill a Bully for the Outpost project?
- Are storm shelters the best material farm?
- What should we keep before clearing the stash?
Complete the Outpost Project Before Research
Start Sheltered Retreat in the Outpost tab. Completing the project provides access to the Outpost and its research facilities. Official Frozen Trail update notes
Photograph a Farmhouse at Ruined Homestead
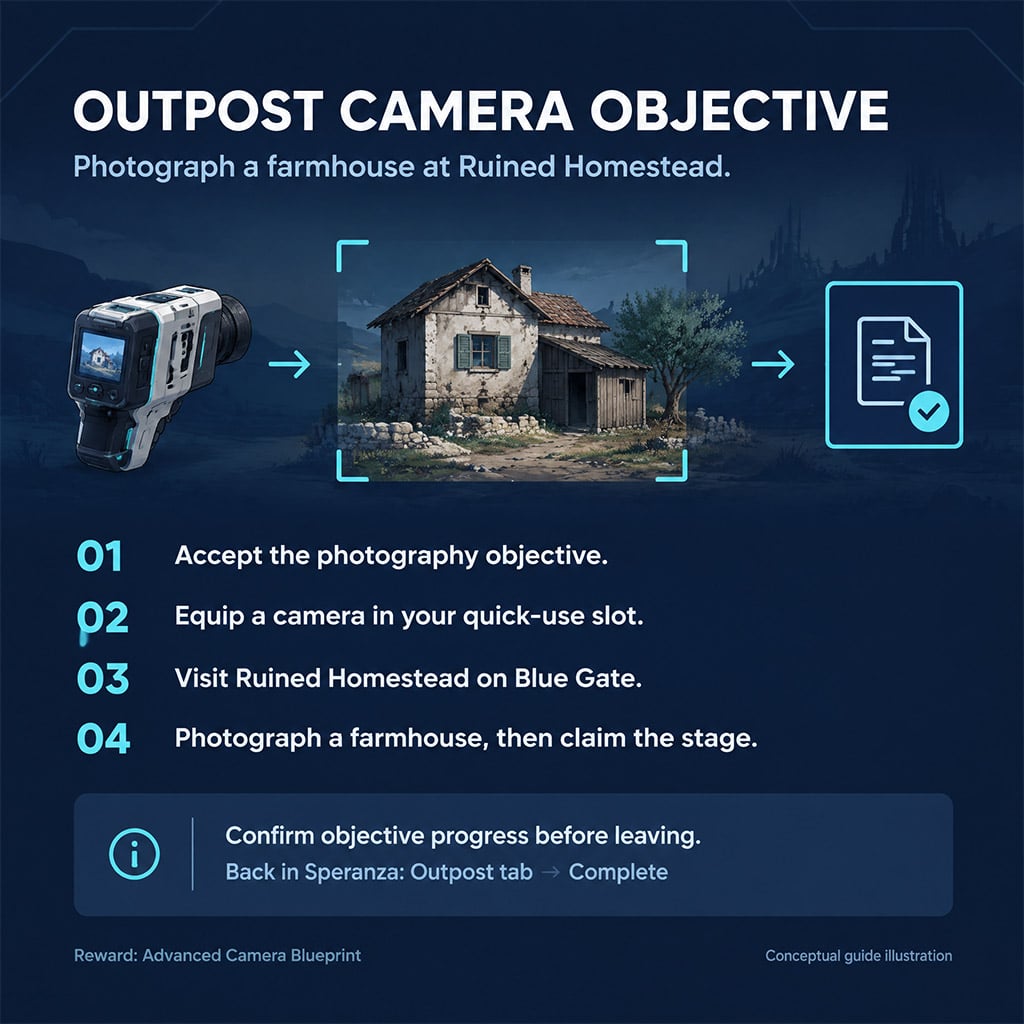
Accept the photography objective before deploying, then equip a camera in your quick-use slot. Visit Ruined Homestead on Blue Gate and photograph a farmland house.
The community Outpost reference specifies any farmland house around Ruined Homestead, not one unique building. Confirm that the objective registers before leaving the area.
Back in Speranza, complete the stage through the Outpost tab. The listed reward is the Advanced Camera blueprint.
Finish the Materials and Combat Stages
The next stages are Gather Building Materials and Safeguard the Building Site. We use the current project screen for submission quantities and damage requirements rather than trader prices or objective numbers that have not been corroborated here.
For efficient preparation:
1. Check your stash and trader inventory before launching a material run.
2. Inspect available Refiner recipes if electrical components are missing.
3. Confirm whether the combat objective asks for damage or kills before choosing your loadout.
4. Claim each completed stage through the Outpost tab.
The supplied walkthroughs describe the Bully objective as damage-based. If your counter is complete, keep fighting only when you also need its loot and can reasonably extract it.
Reserve the Next Room and Research Recipe
Research upgrades require matching Outpost progression. If you have every station material but remain blocked, inspect the Outpost expansion requirement first.
All Four Research Station Recipes
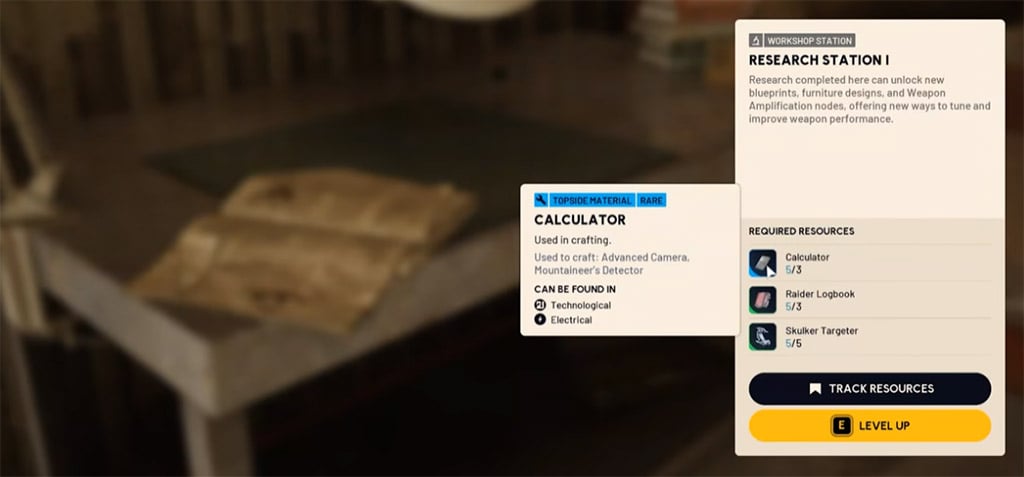
The community wiki lists these quantities. We reserve the next recipe before selling, recycling, or studying its items.
| Station level | Required materials | Required Outpost level |
|---|---|---|
| 1 | 35 Planks, 5 Battered Paperbacks, 3 Mini Pumps | 1 |
| 2 | 3 Calculators, 3 Raider Logbooks, 5 Skulker Targeters | 2 |
| 3 | 3 Differential Microphones, 3 Exodus Technical Handbooks, 6 Bully Fragmenters | 3 |
| 4 | 3 Thermal Shakers, 3 ARC Data Modules, 1 Frigate Inductor | 4 |
Reserve exact quantities for the next upgrade—not unlimited stacks of every construction item.
Battered Paperbacks illustrate the risk. The supplied guide describes studying them for research points, but five are required for station construction; consuming those copies creates another collection task.
Room recipes also need their own reserve. Check the selected room's live requirements rather than treating a general construction-material list as a universal expansion recipe.
Include the Gunsmith for Weapon Amplification
If amplification is your goal, keep the Gunsmith on the same checklist. The community reference lists Gunsmith Level 4 as enabling Weapon Amplification, with:
- 3 Radial Presses
- 3 Magnetic Accelerators
- 1 Emperor Modulator
These are separate from the Research Station materials. Check the weapon's live amplification requirements before preparing task-specific equipment; the supplied accounts do not document a completed amplification test.
Choose a Farming Route by the Missing Item
If several tools and electronics remain, we prioritize a broad Observatory search. If only books or an enemy component remain, switch to that target instead of repeating a route with poor overlap.
Material Route Decision Table
These routes reflect the supplied creators' observations. They are not measured drop-rate rankings.
| Missing items | Route or target | Search priority |
|---|---|---|
| Battered Paperbacks, Raider Logbooks | Oldtown | House interiors |
| Mini Pumps, Calculators, Differential Microphones, handbooks | Observatory | Drawers, shelves, lockers, bins, loose loot |
| Epoxy Buckets, Hand Drills, Cable Strippers | Observatory or Railyard | Relevant searchable containers |
| Skulker Targeters | Skulkers | Detached weapon wreckage and body |
| Bully Fragmenters | Bullies | All accessible wreckage |
| Thermal Shakers and later construction items | Pendola Pass storm shelters | Shelter loot and nearby opportunities |
| ARC Data Modules, Frigate Inductor | Active Frigate condition | Event loot |
Choose a multi-item route while several requirements overlap; switch to a specialist hunt when only its component remains.
AX Gaming's supplied Observatory account reports Epoxy Buckets in a desk drawer and a bin. Search ordinary containers rather than stopping after the most visible loose loot.
The same team reports Skulker Targeters in detached gun wreckage. Inspect both sections and count collected items, not kills.
Use Storm Shelters Without Assuming Guaranteed Loot
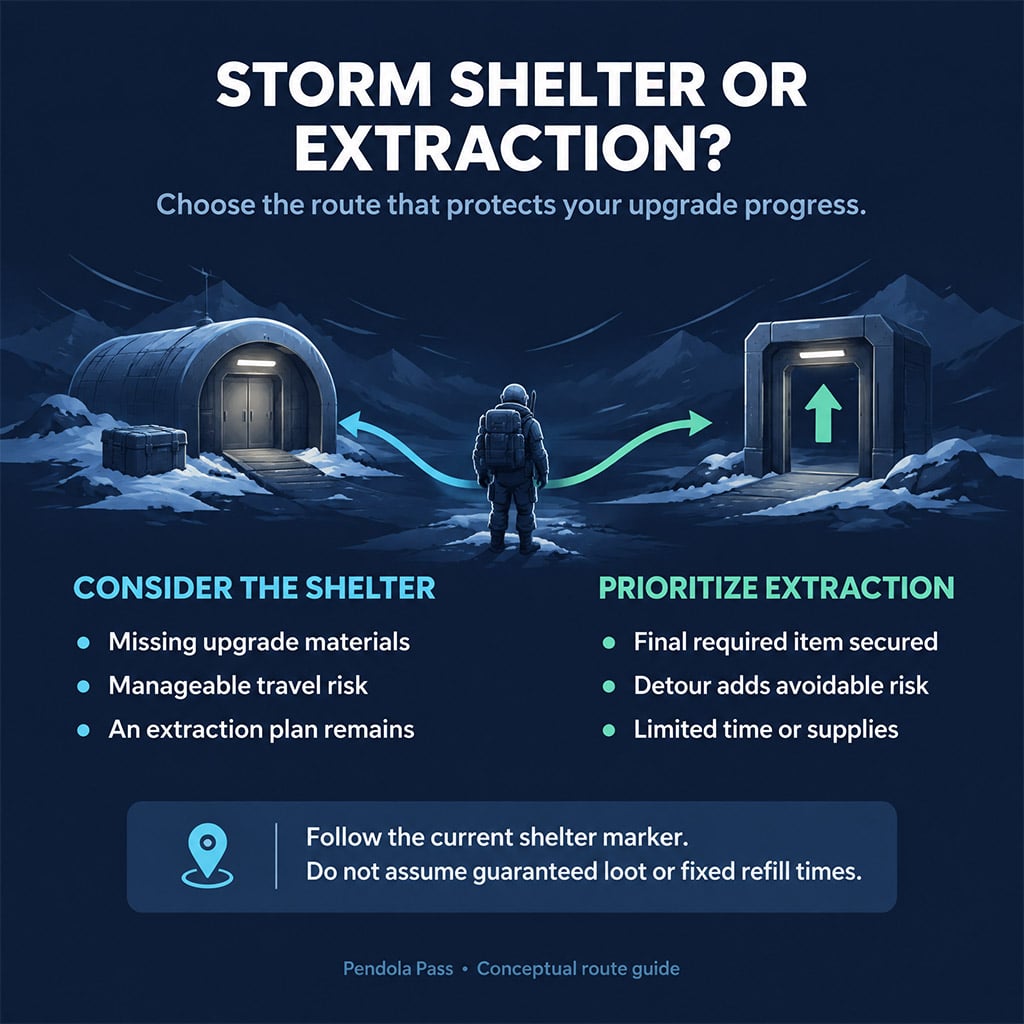
AX Gaming's supplied shelter runs reportedly produced Thermal Shakers, Insulation Rolls, Hand Drills, presses, and Steel Cables. That supports shelters as an opportunity, but does not establish a fixed refill timer or superiority over Observatory.
We make the detour only when it fits the run:
1. Follow the current shelter marker, not an assumed countdown.
2. Compare travel risk with your extraction options.
3. Prioritize missing recipe items over unrelated valuables.
4. Extract after securing the final requirement unless another nearby objective justifies staying.
A reported locking door is not proof of complete safety. New shelter opportunities also do not prove that previously opened containers refill.
Before a Frigate-material run, check the active map condition. Embark confirms Frigate as a Frozen Trail condition; the supplied guides identify its event loot as the route for the later research components.
FAQ (Frequently Asked Questions)
How do we start the Outpost project?
Open the Outpost tab and select Sheltered Retreat. Accept the photography objective before entering Blue Gate with a camera equipped.
Why can't we upgrade the Research Station?
Check whether your Outpost matches the requested station level. Then compare your materials with the complete recipe; collecting the items does not bypass the Outpost requirement.
Do we need to kill a Bully for the Outpost project?
The supplied walkthroughs describe a damage objective, not a kill objective. Confirm the live counter, then disengage once it is complete unless you also need the Bully's loot.
Are storm shelters the best material farm?
The supplied evidence does not establish that ranking. We use Observatory for overlapping tools and electronics, Oldtown for books, and shelters when their location and potential loot fit the remaining checklist.
What should we keep before clearing the stash?
Reserve the exact materials for your next room, Research Station upgrade, and relevant Gunsmith recipe. Study, sell, or recycle only the surplus after checking those requirements.

I’m Sofia Bergström, a Swedish Managing Editor covering FPS, competitive shooters, and extraction shooters for GGWTB. My guides focus on loadout trade-offs, positioning, and when to commit—or cut your losses. A weapon’s stats tell only part of the story; I focus on how it fits your role and the fight ahead.

Most Popular Posts
- ARC Raiders Update 1.42: Phantom Targets Farming Guide (Glitched Wasps, Rewards, Regional Conditions)
- ARC Raiders Hullcracker Blueprints: Fastest Way to Complete The Major's Footlocker
- ARC Raiders Best Pop Trigger Strategy: Fast Phantom Targets Damage Guide
- ARC Raiders Subway Skin Guide: Unlock the Subterranean Outfit
- ARC Raiders Looting Mk. 3 Survivor Blueprint Guide: Best Blue Gate Route and Drop Locations
- ARC Raiders Medium & Heavy Gun Parts Blueprint Guide: Best Farm Route, Locations, and Refiner Crafting
Popular Category Lists
- ARC Raiders / (347)
- Grow a Garden / (292)
- CoD: Black Ops 7 / (167)
- Star Citizen / (161)
- MLB 26 / (159)
- Monopoly Go / (152)
- ARK Survival Ascended / (126)
- Steal a Brainrot / (98)
- Blox Fruits / (74)
- Adopt Me / (73)
- Forza Horizon 6 / (72)
- Sailor Piece / (68)
- Grow a Garden 2 / (68)
- Diablo IV / (62)
- CoD: BLACK OPS 6 / (55)
- Path of Exile 2 / (48)
- Monster Hunter Wilds / (46)
- Aion 2 / (46)
- Windrose / (44)
- Donut SMP / (41)