



 0
0 Created: Oct 3,2026 | ARC Raiders
ARC Raiders Expedition Reset Guide: First-Raid Loot, Scrappy and Workbench Priorities

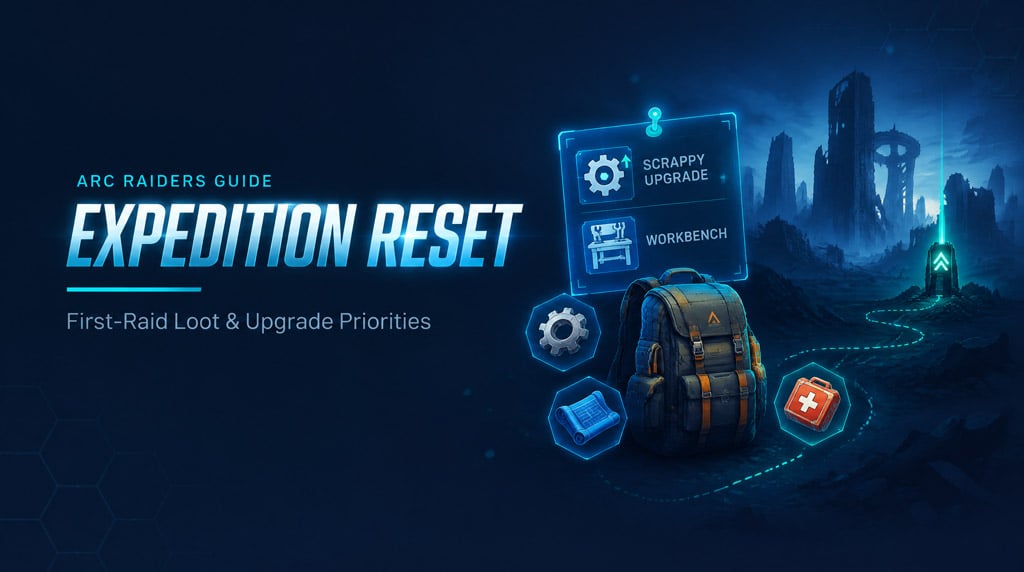
After an Expedition reset, your first raids have one job: collect the materials for your next Scrappy upgrade and one useful workbench, then extract. Loot value comes second. Bring gear you can afford to lose, and leave once the pinned items are in your bag.
- Before You Deploy
- Choose a Loadout You Can Afford to Lose
- Spend Skill Points on the Problem You Actually Have
- In the Raid: Buried City and Beyond
- What Stays in the Bag
- Sort in Cover, Then Leave
- Back in Speranza: Reserve First, Sell Second
- Put Resources Into the Bottleneck
- FAQ (Frequently Asked Questions)
- What should I collect first after an Expedition reset?
- Should I bring my best weapon on the first raid?
- Where should I search in Buried City?
- Should I recycle everything for basic materials?
- When should I extract on the first raid?
Before You Deploy
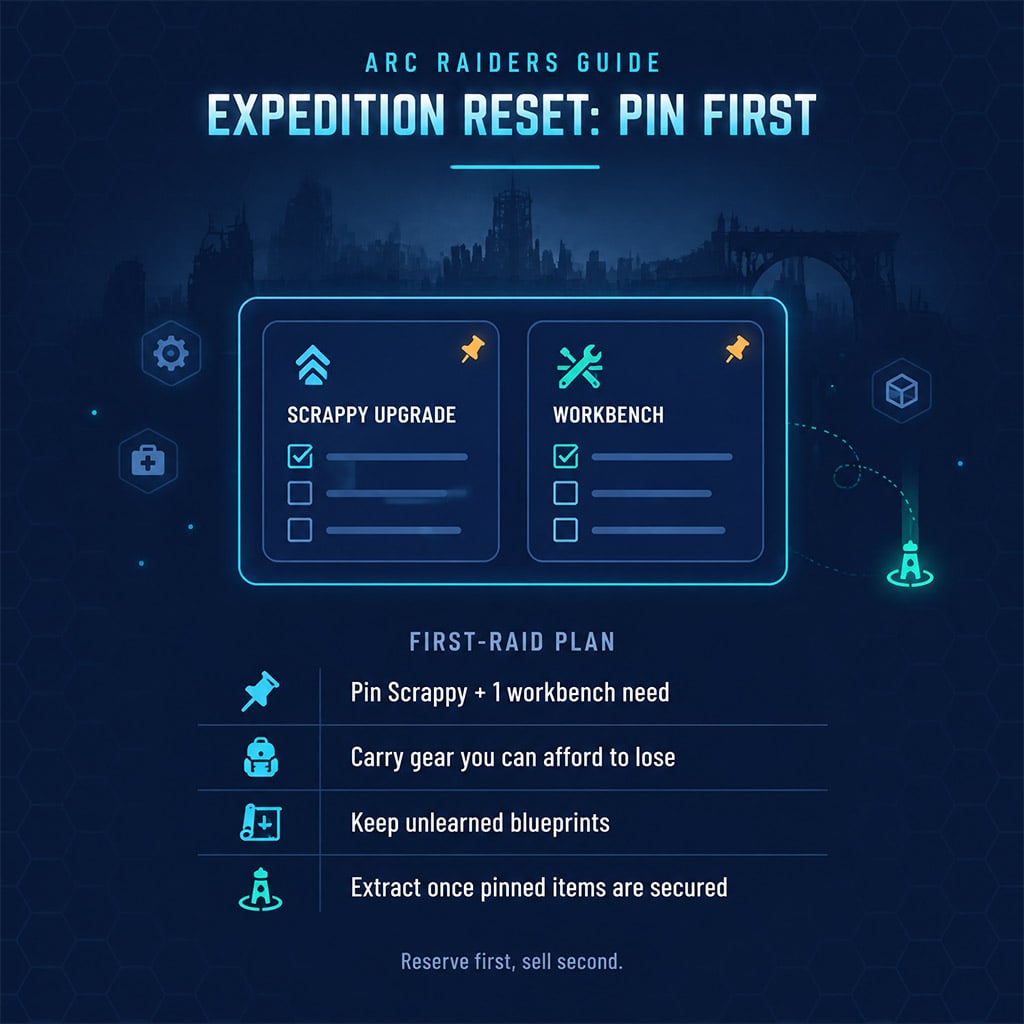
Do these four things in Speranza before queueing up:
1. Learn every blueprint you hold. An unlearned blueprint is dead weight in your bag.
2. Pin the next Scrappy upgrade requirements. The pinned list tells you what to grab.
3. Pin one workbench requirement that fixes your most urgent shortage, such as healing or ammunition.
4. Check your quests for items you would otherwise recycle.
Choose a Loadout You Can Afford to Lose
Take a weapon you can keep supplied with ammunition, plus enough healing to reach extraction. A premium weapon is fine when the planned fight needs it and the loss won't stall your rebuild. Skip it when ammunition costs would drain your stash.
Don't stack risks. A valuable augment, a premium weapon, and an unfamiliar route together turn one bad raid into a long setback.
Spend Skill Points on the Problem You Actually Have
If stamina runs out and strands you in the open, look at the movement skills first. Read the current descriptions and prerequisites before spending. Build guides written for later progression often assume points you don't have yet.
In the Raid: Buried City and Beyond
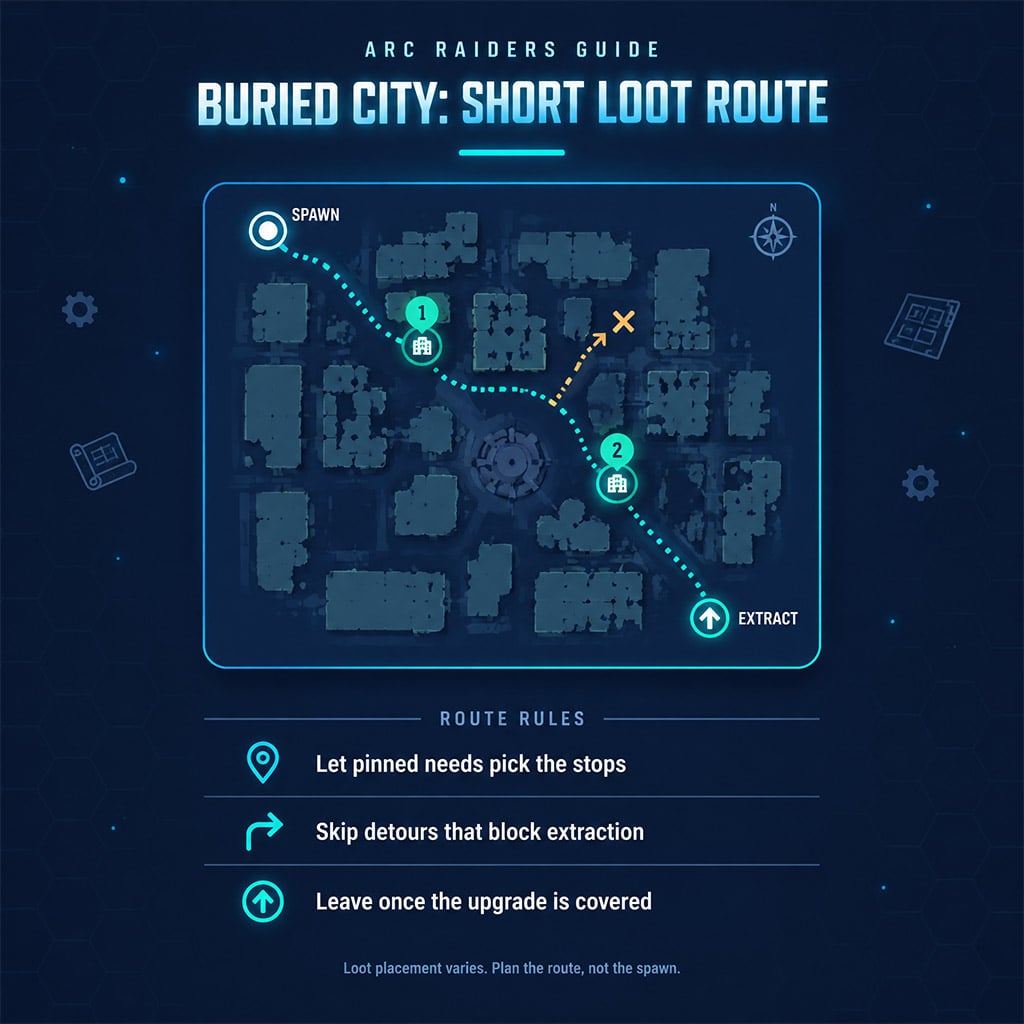
Buried City works for a first raid, but loot placement varies. Treat any route you've seen in a video as a starting idea only. Let the pinned requirements drive where you go.
- Need a specific material? Check what recycles into it before grabbing everything.
- Area already picked over? Check nearby containers, then move on.
- Detour pulls you away from extraction? Skip it unless it completes an upgrade.
What Stays in the Bag
When space runs out, rank items by whether they finish something you need.
| Item or Situation | Action | Exception or Failure Point |
|---|---|---|
| Completes a pinned upgrade | Keep intact | Confirm the quantity before holding duplicates |
| Unlearned blueprint | Keep | Check that you don't already know it |
| Healing and recovery items | Keep enough to extract | Don't swap them for sale loot |
| Item containing needed materials | Check its uses, then recycle | It may be needed intact for a quest or recipe |
| Spare ammunition | Keep what your weapon uses | Drop ammunition for weapons you don't carry |
| High-value sale item | Keep if space allows | Never bump a required upgrade item for it |
Drop speculative loot before you drop something that completes the upgrade you came for.
Sort in Cover, Then Leave
Recycle and rearrange only after you're sheltered. If you hear movement nearby, close the menu and reassess.
Extract when the haul completes a useful objective, your healing runs low, or the next stop means a dangerous detour. Using the whole timer adds risk, not value.
Back in Speranza: Reserve First, Sell Second
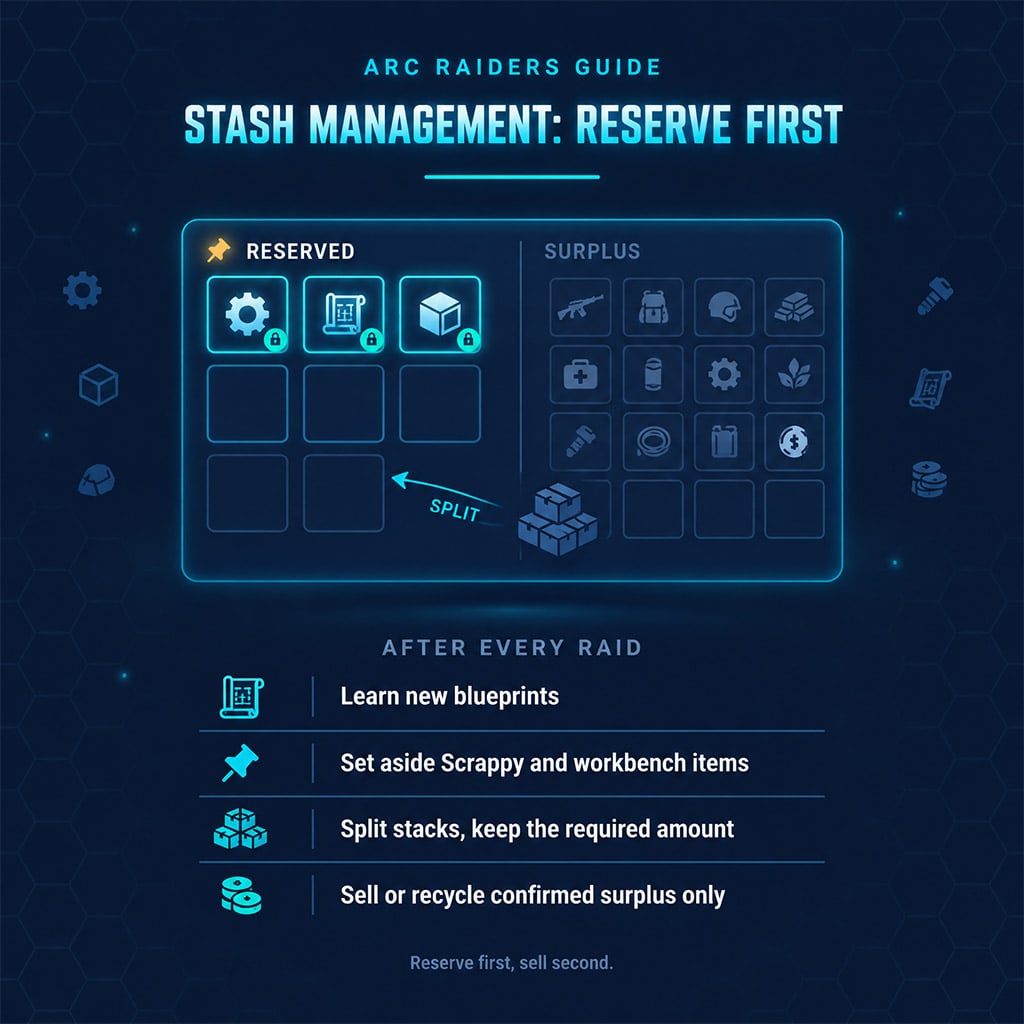
The costliest mistake is selling an item right before you find out the next upgrade needs it. Process the haul in this order:
1. Learn new blueprints.
2. Set aside the exact items your Scrappy upgrade needs.
3. Complete available upgrades and read the next requirement.
4. Set aside materials for the workbench you'll use.
5. Keep enough supplies for another affordable loadout.
6. Sell or recycle only confirmed surplus.
If you hold a stack larger than a requirement, split it and keep the required amount before selling the rest.
Put Resources Into the Bottleneck
Build medical crafting first if healing shortages cut your raids short. Choose a different bench when its recipes fix a more urgent gap. A bench without recipes you can use does not fix a shortage.
Buy stash space only when useful items are crowding out your inventory, and keep a replacement reserve. Displayed loot value is not spendable currency, especially when upgrades will consume the haul.
FAQ (Frequently Asked Questions)
What should I collect first after an Expedition reset?
Collect the items for your next Scrappy upgrade and one workbench, plus any unlearned blueprints. Read the pinned requirements before choosing a route or recycling anything.
Should I bring my best weapon on the first raid?
Only if the raid needs it and you can cover its ammunition and its loss. Otherwise use a replaceable weapon while you rebuild.
Where should I search in Buried City?
Search wherever your pinned requirements point. Spawns and loot vary between raids, so don't count on a fixed location from a video.
Should I recycle everything for basic materials?
No. Check upgrade, quest, and crafting uses first. Recycle only items whose output fills a current need.
When should I extract on the first raid?
Extract once you've completed a useful upgrade objective, or when more searching puts that progress at risk. A short raid that ends in a clean extraction beats a long one that ends in a loss.

I’m Sofia Bergström, a Swedish Managing Editor covering FPS, competitive shooters, and extraction shooters for GGWTB. My guides focus on loadout trade-offs, positioning, and when to commit—or cut your losses. A weapon’s stats tell only part of the story; I focus on how it fits your role and the fight ahead.

Most Popular Posts
- ARC Raiders Update 1.42: Phantom Targets Farming Guide (Glitched Wasps, Rewards, Regional Conditions)
- ARC Raiders Hullcracker Blueprints: Fastest Way to Complete The Major's Footlocker
- ARC Raiders Best Pop Trigger Strategy: Fast Phantom Targets Damage Guide
- ARC Raiders Subway Skin Guide: Unlock the Subterranean Outfit
- ARC Raiders Looting Mk. 3 Survivor Blueprint Guide: Best Blue Gate Route and Drop Locations
- ARC Raiders Medium & Heavy Gun Parts Blueprint Guide: Best Farm Route, Locations, and Refiner Crafting
Popular Category Lists
- ARC Raiders / (354)
- Grow a Garden / (294)
- CoD: Black Ops 7 / (167)
- Star Citizen / (163)
- MLB 26 / (159)
- Monopoly Go / (153)
- ARK Survival Ascended / (128)
- Steal a Brainrot / (99)
- Blox Fruits / (74)
- Adopt Me / (74)
- Forza Horizon 6 / (72)
- Sailor Piece / (68)
- Grow a Garden 2 / (68)
- Diablo IV / (62)
- CoD: BLACK OPS 6 / (55)
- Aion 2 / (53)
- Path of Exile 2 / (48)
- Monster Hunter Wilds / (46)
- Windrose / (44)
- COD: Modern Warfare 4 / (43)






