0
0 Created: Jul 26,2026 | ARC Raiders
ARC Raiders Harvester Speedrun: The Equalizer & Jupiter Blueprints Farming Guides

Everyone knows where the Harvester is. That's not the problem.
The problem is someone else looting the containers after you do all the work. The puzzle isn't hard — it's slow players who lose the blueprint.
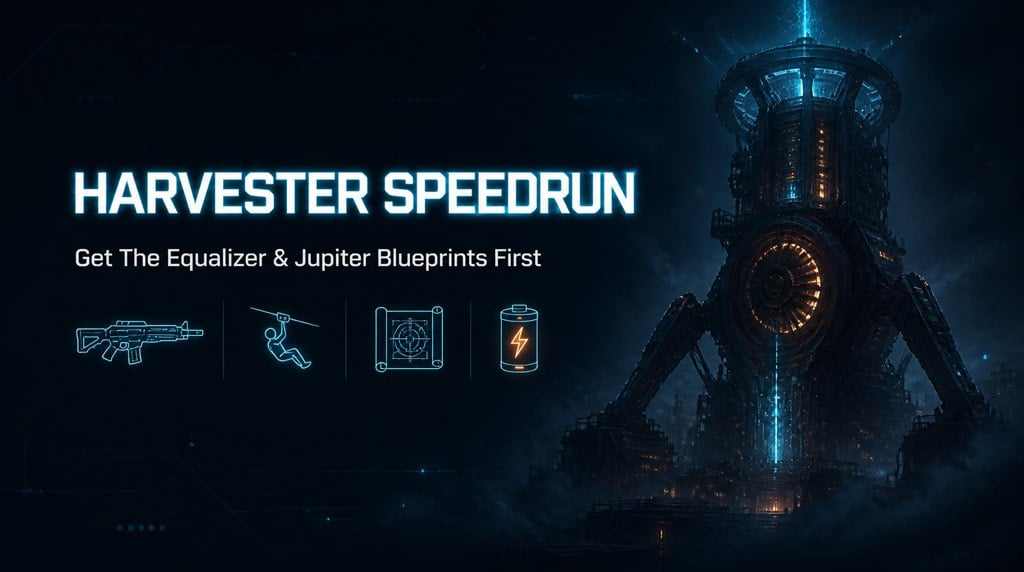
Our rule: reach it early, solve it fast, loot it faster, leave before the crowd shows up.
- Loadout: Speed Beats Everything Else
- Entry: Skip the Ground, Take the Roof
- Puzzle Order: Don't Insert Batteries Blind
- When Other Players Show Up
- After the Blueprint: Extract or Push Your Luck?
- Mistakes That Kill the Run
- Full Run Flow (Cheat Sheet)
- FAQ
- What's the fastest way to get The Equalizer blueprint?
- Can Jupiter drop from Harvester containers?
- Do I need the Renegade specifically?
- Is a solo Harvester run viable?
- Should I loot ammo before finishing the puzzle?
- Bottom Line
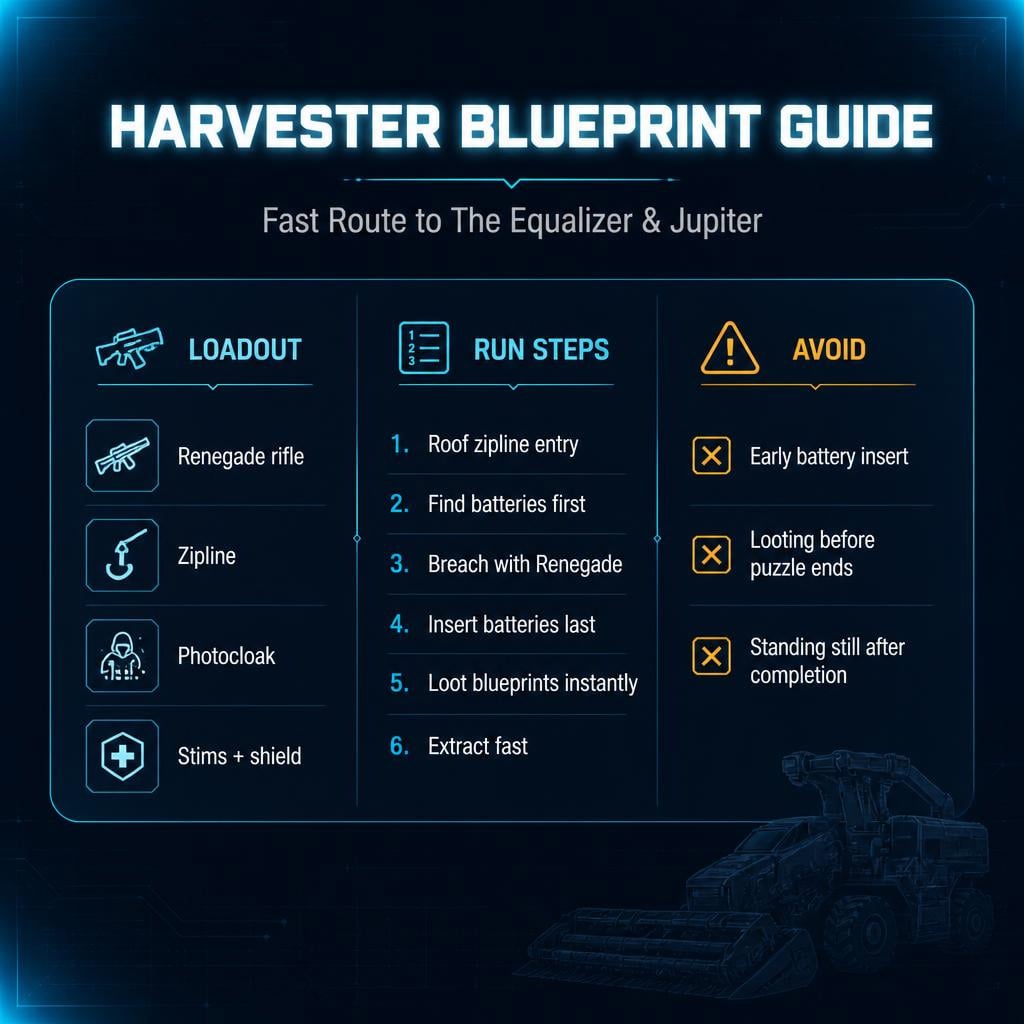
Loadout: Speed Beats Everything Else
Forget optimizing for a fair fight. This is a smash-and-grab.
| Slot | Bring This | Why |
|---|---|---|
| Primary | Renegade | High burst damage, big mag, fast breaching |
| Ammo | Full Renegade reserve | No mid-puzzle reloads |
| Healing | Stims + basic meds | Shrug off shock/fire damage |
| Mobility | Zipline | Skip the slow ground approach |
| Stealth | Photocloak | Slip past ARC or camping players |
| Storage | Blueprint safe pocket | Protect the reward once it's yours |
A Rattler can technically do this. It just can't do it fast enough when three squads are converging on the same building.
| Weapon | Works? | Weakness |
|---|---|---|
| Renegade | Best pick | None worth mentioning |
| Rattler | Yes | Slower breach, worse under pressure |
| Anvil | Situational | Ammo-hungry, bad pacing |
| Anything basic | Technically | Dead weight if contested |
Entry: Skip the Ground, Take the Roof
Ground-level approach means dodging Rocketeers, Vaporizers, and sometimes the Queen — every second outside is wasted time.
Zipline to the roof. Drop in. Cloak if anything's watching.
1. Push straight to the Harvester.
2. Check for Rocketeer/Vaporizer patrol paths.
3. Zipline to the roof — don't walk in.
4. Pop Photocloak if contested.
5. Drop inside, start scanning for batteries immediately.
| Entry Style | Speed | Risk |
|---|---|---|
| Roof zipline | Fast | Low-medium |
| Ground push | Medium | High |
| Fighting ARC first | Slow | Not worth it |
| Waiting it out | Dead last | Don't |
If the site's already active when you arrive, someone's inside. Rush the containers instead of clearing side rooms.
Puzzle Order: Don't Insert Batteries Blind
This is where runs get ruined. Don't slot the first battery you find.
Early insertion triggers electric shocks before you're set up to move fast. Locate everything first, then commit.
Sequence:
1. Ignore side loot completely.
2. Find all visible batteries and breachable containers.
3. Breach with the Renegade — short bursts, move on immediately.
4. Insert batteries only once you're ready to finish in one push.
5. Clear the final breach sequence.
6. Loot blueprint containers instantly — no browsing.
If someone else already triggered the puzzle, the hazard clock is running whether you like it or not. Speed up, don't slow down.
| Priority | Action |
|---|---|
| 1 | Arrive early |
| 2 | Roof entry |
| 3 | Locate batteries first |
| 4 | Breach with Renegade |
| 5 | Skip side loot |
| 6 | Loot blueprints on completion |
| 7 | Extract or farm safely |
When Other Players Show Up
Early arrival: Keep breaching, watch doorways, don't commit to long loot animations. Let the hazards work on them too.
Late arrival (final phase): This is the dangerous window — they're waiting for you to finish so they can grab the reward. Pre-position at the container area before the last breach completes.
They grab a container first: Don't chase. Check the remaining containers immediately — there are usually multiple slots. Secure what's left before deciding if a fight is worth it.
After the Blueprint: Extract or Push Your Luck?
Blueprint secured means the run already succeeded. Everything else is a bonus, not a requirement.
| Option | Reward | Risk | Do It When |
|---|---|---|---|
| Extract now | Medium | Low | Blueprint is your only priority |
| Loot breached containers | Med-high | Medium | Area is quiet |
| Farm energy ammo | Medium | Medium | You burned Renegade rounds |
| Hit Queen parts | High | High | Blueprint is safe, ammo is full |
| Hunt other players | Variable | High | You have a clear advantage |
Target exposed legs, yellow joints, red cores if you're going after the Queen. Don't force it — a failed boss fight erasing a successful blueprint run is the worst outcome possible.
Mistakes That Kill the Run
| Mistake | Fix |
|---|---|
| Early battery insert | Scout first, insert last |
| Slow weapon | Bring the Renegade |
| Looting before puzzle completes | Loot after blueprints are secure |
| Fighting ARC outside | Zipline + cloak, bypass entirely |
| Standing still post-completion | Move to containers immediately |
| Ignoring footsteps | Listen while breaching |
| Overstaying success | Extract once loot is safe |
Full Run Flow (Cheat Sheet)
1. Equip Renegade, stims, zipline, Photocloak.
2. Push straight to the Harvester.
3. Zipline to roof, cloak if needed.
4. Drop in, scan for the first battery — don't insert yet.
5. Breach containers with the Renegade, find remaining batteries.
6. Insert batteries once ready to finish in one go.
7. Clear final breach.
8. Loot blueprint containers immediately.
9. Check remaining containers.
10. Extract, or farm if the area's clear.
FAQ
What's the fastest way to get The Equalizer blueprint?
Rush the Harvester early, breach with a Renegade, and loot containers the second the puzzle completes. Speed beats everything.
Can Jupiter drop from Harvester containers?
Yes. Containers are limited and heavily contested — finish the puzzle before the lobby catches up.
Do I need the Renegade specifically?
No, but it cuts reload time significantly. Fewer reloads means fewer seconds for someone else to walk in and steal your loot.
Is a solo Harvester run viable?
Yes. Solo runs are often faster since there's no coordination overhead. The real challenge is managing pressure from other players while staying on task.
Should I loot ammo before finishing the puzzle?
No. Blueprints first, ammo after. Every second spent looting mid-puzzle is a second someone else uses to close the distance.
Bottom Line
Treat the Harvester like a timer, not a sandbox. Renegade in, roof entry, batteries scouted before inserted, breach fast, loot instantly.
The method works because it kills the real threat: other players. Finish faster, and there's nothing left for them to steal.
Speed in. Puzzle done. Blueprint secured. Clean exit.

Most Popular Posts
- ARC Raiders Update 1.42: Phantom Targets Farming Guide (Glitched Wasps, Rewards, Regional Conditions)
- ARC Raiders Hullcracker Blueprints: Fastest Way to Complete The Major's Footlocker
- ARC Raiders Best Pop Trigger Strategy: Fast Phantom Targets Damage Guide
- ARC Raiders Subway Skin Guide: Unlock the Subterranean Outfit
- ARC Raiders Looting Mk. 3 Survivor Blueprint Guide: Best Blue Gate Route and Drop Locations
- ARC Raiders Medium & Heavy Gun Parts Blueprint Guide: Best Farm Route, Locations, and Refiner Crafting
Popular Category Lists
- ARC Raiders / (350)
- Grow a Garden / (294)
- CoD: Black Ops 7 / (167)
- Star Citizen / (162)
- MLB 26 / (159)
- Monopoly Go / (152)
- ARK Survival Ascended / (127)
- Steal a Brainrot / (99)
- Blox Fruits / (74)
- Adopt Me / (74)
- Forza Horizon 6 / (72)
- Sailor Piece / (68)
- Grow a Garden 2 / (68)
- Diablo IV / (62)
- CoD: BLACK OPS 6 / (55)
- Aion 2 / (50)
- Path of Exile 2 / (48)
- Monster Hunter Wilds / (46)
- Windrose / (44)
- Donut SMP / (41)