



 0
0 Created: Jul 31,2026 | ARC Raiders
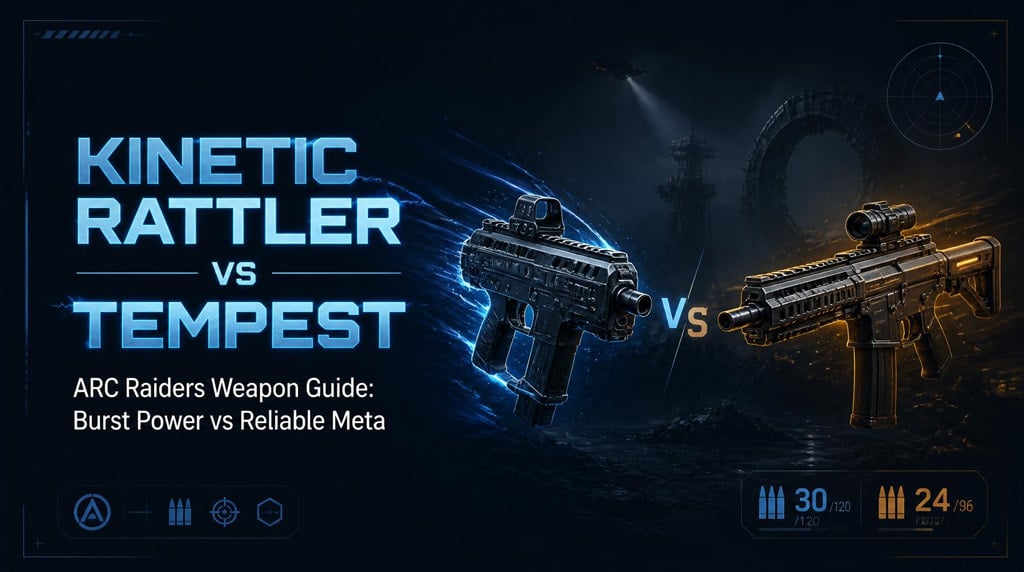
ARC Raiders Kinetic Rattler & Tempest Guides: Best Build, Strengths, and Real Verdict

The Kinetic Rattler can kill fast. Very fast. But only when you hit heads and end the fight before the reload ruins you.
The Tempest is still the safer, stronger all-rounder. The Rattler is a high-risk off-meta pick: nasty in solos, shaky in trios, and brutal if you miss.
- Kinetic Rattler vs Tempest: Quick Verdict
- Why the Kinetic Rattler Can Feel Insane
- The Real Problem: 24 Bullets and Slow Reload
- Best Kinetic Rattler Build in ARC Raiders
- How to Play This Build
- Best Modes for the Kinetic Rattler
- Kinetic Rattler Combat Rules
- 1. Never Fight Without Cover
- 2. Aim for Headshots or Pick Another Gun
- 3. Do Not Challenge Full Teams Alone
- 4. Bring Utility
- When to Pick Rattler or Tempest
- FAQ
- Is the Kinetic Rattler better than the Tempest in ARC Raiders?
- What is the best Kinetic Rattler build?
- Is the Kinetic Rattler good for solos?
- Why does the Kinetic Rattler feel bad in trios?
- Should beginners use the Kinetic Rattler?
- Summary
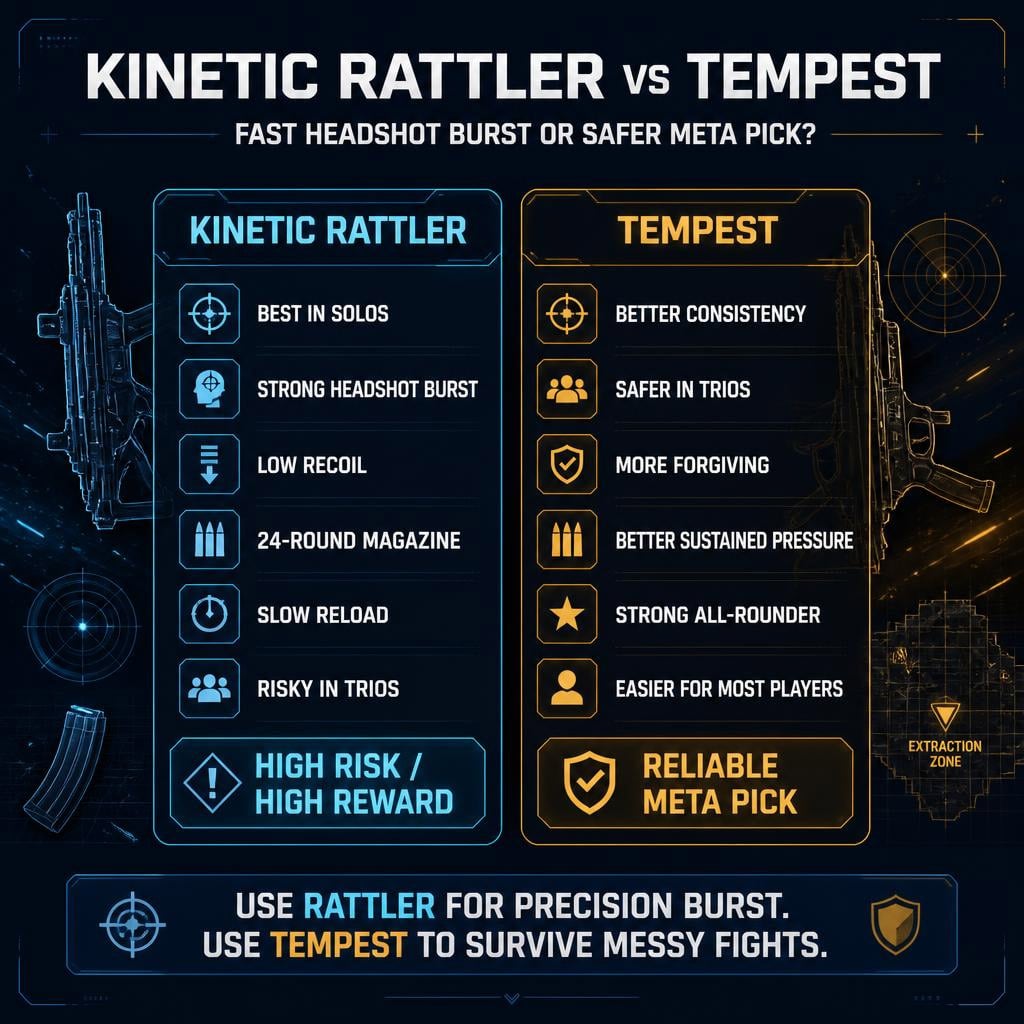
Kinetic Rattler vs Tempest: Quick Verdict
The Rattler has one real selling point: headshot burst damage.
The Tempest wins almost everywhere else.
| Category | Kinetic Rattler | Tempest | Better Pick |
|---|---|---|---|
| Headshot damage | Very strong | Strong | Rattler |
| Magazine size | Poor | Better | Tempest |
| Reload safety | Bad | Safer | Tempest |
| Solo fights | Strong if accurate | Reliable | Tempest slightly |
| Trio fights | Risky | Strong | Tempest |
| Recoil | Easy | Manageable | Rattler |
| Forgiveness | Low | Higher | Tempest |
Verdict:
Use the Kinetic Rattler if you want a precision burst weapon. Use the Tempest if you want to win more messy fights.
Why the Kinetic Rattler Can Feel Insane
The Rattler is not weak. It just has strict conditions.
It works when you:
- Hit headshots
- Fight at close to mid range
- Catch enemies alone
- Reload behind real cover
- Avoid long trades
The Kinetic Converter makes this even sharper. More fire rate means faster kills, but also faster magazine burn.
That is the trade.
If your opener lands, the enemy melts.
If your opener whiffs, you are stuck reloading while three people run at you like rent is due.
The Real Problem: 24 Bullets and Slow Reload
The Rattler's biggest weakness is simple: 24 rounds are not enough for bad fights.
With the Kinetic Converter, the mag disappears fast. That hurts in ARC Raiders because fights rarely stay clean.
You down one player.
Then the second swings.
Then a third party arrives.
Then you reload for what feels like a full tax season.
That is why the weapon struggles in trios.
| Weakness | Why It Matters | Result |
|---|---|---|
| 24-round mag | Misses are expensive | You lose pressure fast |
| Slow reload | Enemies can swing freely | Bad in close fights |
| Low forgiveness | Requires clean aim | Punishes panic sprays |
| Weak team wipe potential | Hard to kill 2–3 players per mag | Risky in trios |
| Needs headshots | Body shots are average | Tempest out-trades you |
The gun is not failing because of damage.
It fails because it cannot stay active long enough.
Best Kinetic Rattler Build in ARC Raiders
The best Kinetic Rattler setup is a close-to-mid range recoil-control build.
Do not overbuild it for long range. That misses the point of the gun.
| Slot | Best Choice | Reason |
|---|---|---|
| Conversion | Kinetic Converter | Faster burst pressure |
| Grip | Horizontal / recoil-control grip | Keeps headshots stable |
| Barrel | Standard or balanced barrel | Keeps handling clean |
| Role | Close-mid duelist | Best range for burst kills |
How to Play This Build
Use it like a surgical SMG, not a spray rifle.
- Pre-aim head level
- Fire in short bursts
- Reload after every safe trade
- Reposition after a down
- Never ego-peek with half a mag
If you have 8–10 bullets left, treat the gun as empty. Reload before the next swing.
Best Modes for the Kinetic Rattler
The Rattler gets worse as enemy count goes up.
| Mode / Fight Type | Performance | Why |
|---|---|---|
| Solos | Good | One mag can delete one player |
| Duos | Playable | Works if you isolate targets |
| Trios | Risky | Reload gets punished hard |
| Third-party cleanup | Strong | Great vs weak enemies |
| Open-field fights | Bad | No safe reload |
| Indoor fights | Strong but dangerous | Fast kills, risky reloads |
Best use case: solos, duos, and third-party cleanup.
Worst use case: full trio brawls in open space.
Kinetic Rattler Combat Rules
The Rattler only works if you respect its limits.
1. Never Fight Without Cover
Cover is not optional.
If you reload in the open, you die. Simple.
Use cover that lets you:
- Break line of sight
- Finish reloads
- Change angles
- Stop team swings
If there is no cover, do not take the fight.
2. Aim for Headshots or Pick Another Gun
The Rattler's value is tied to headshot damage.
Body-shot trading against meta guns is a bad deal.
| Situation | Correct Play |
|---|---|
| Crosshair is on head level | Take the burst |
| First burst misses | Reset immediately |
| Enemy is cracked | Push carefully |
| Two enemies swing | Disengage or use utility |
| You are below half mag | Reload before re-peeking |
If you cannot consistently track heads, the Tempest is the better weapon.
3. Do Not Challenge Full Teams Alone
The Rattler can delete one player.
It cannot reliably delete a full healthy trio without help.
In team fights, your job is:
1. Crack or down the first target.
2. Fall back.
3. Let teammates hold pressure.
4. Reload.
5. Re-peek from a new angle.
This rhythm works. Standing still and praying does not.
4. Bring Utility
Utility fixes some of the Rattler's worst problems.
| Utility / Gear | Why It Helps |
|---|---|
| Grenades | Force enemies out of cover |
| Smoke / vision block | Covers reloads and revives |
| Mobility tools | Helps reposition after mag dump |
| Strong secondary | Saves you when reload is impossible |
| Extra ammo | Kinetic fire rate burns rounds fast |
A strong secondary is almost mandatory. When the Rattler runs dry, you need another answer.
When to Pick Rattler or Tempest
Pick based on lobby type, not ego.
| Pick Kinetic Rattler If… | Pick Tempest If… |
|---|---|
| You hit heads consistently | You want consistency |
| You play mostly solos | You play trios |
| You like off-meta burst weapons | You want the safer meta gun |
| You fight near cover | You take chaotic fights |
| You can disengage fast | You need sustained pressure |
| You have a strong secondary | You want one main workhorse |
The Kinetic Rattler is fun and lethal.
The Tempest is dependable.
Dependable wins more raids.
FAQ
Is the Kinetic Rattler better than the Tempest in ARC Raiders?
Only in specific situations. The Kinetic Rattler has better burst potential if you land headshots, but the Tempest is more reliable in most fights. For trios and chaotic raids, Tempest is the better pick.
What is the best Kinetic Rattler build?
Use Kinetic Converter, a recoil-control grip, and a balanced barrel. Play it at close-to-mid range. The goal is stable headshot bursts, not long-range spraying.
Is the Kinetic Rattler good for solos?
Yes. The Rattler is solid in solos because one magazine can kill one player quickly. Its reload problem is much less painful when you are not fighting a full squad.
Why does the Kinetic Rattler feel bad in trios?
Because of the 24-round magazine and slow reload. You can down one player, but the remaining teammates can push before you are ready. In trios, downtime gets punished fast.
Should beginners use the Kinetic Rattler?
Not as a main weapon. Beginners should use the Tempest first. The Rattler requires headshots, cover discipline, reload timing, and good disengages.
Summary
The Kinetic Rattler is not trash. It is just demanding.
It hits hard, has easy recoil, and can erase players when headshots land. In solos and third-party cleanup, it can feel excellent.
But the weaknesses are serious: 24 bullets, slow reload, and poor multi-target reliability.
The Tempest remains the better general weapon. It handles messy fights better, forgives mistakes, and performs more consistently in trios.
Run the Kinetic Rattler for precision burst and off-meta fun.
Run the Tempest when you want the better chance of extracting alive.

Most Popular Posts
- ARC Raiders Update 1.42: Phantom Targets Farming Guide (Glitched Wasps, Rewards, Regional Conditions)
- ARC Raiders Hullcracker Blueprints: Fastest Way to Complete The Major's Footlocker
- ARC Raiders Best Pop Trigger Strategy: Fast Phantom Targets Damage Guide
- ARC Raiders Subway Skin Guide: Unlock the Subterranean Outfit
- ARC Raiders Looting Mk. 3 Survivor Blueprint Guide: Best Blue Gate Route and Drop Locations
- ARC Raiders Medium & Heavy Gun Parts Blueprint Guide: Best Farm Route, Locations, and Refiner Crafting
Popular Category Lists
- ARC Raiders / (354)
- Grow a Garden / (294)
- CoD: Black Ops 7 / (167)
- Star Citizen / (163)
- MLB 26 / (159)
- Monopoly Go / (153)
- ARK Survival Ascended / (128)
- Steal a Brainrot / (99)
- Blox Fruits / (74)
- Adopt Me / (74)
- Forza Horizon 6 / (72)
- Sailor Piece / (68)
- Grow a Garden 2 / (68)
- Diablo IV / (62)
- CoD: BLACK OPS 6 / (55)
- Aion 2 / (52)
- Path of Exile 2 / (48)
- Monster Hunter Wilds / (46)
- Windrose / (44)
- Maplestory Classic / (42)






