0
0 Created: Jul 28,2026 | ARK Survival Ascended
ARK: Survival Ascended Genesis Bloodstalker Guide: Tame, Swing, and Survive the Bog

The Bloodstalker doesn't walk, gallop, or fly. It swings, climbs, grabs, and drinks blood — including yours, if you're careless. Master it and you'll cross the Bog faster than anything else in Genesis Part 1. Ignore the mechanics and you're just free lunch for your own tame.
Here's everything you need: gear, location, taming steps, controls, and the mistakes that get people killed.
- Quick Overview
- Gear Checklist Before You Go
- How Many Blood Packs?
- Where to Find Them
- How to Tame It
- Tree Tame vs. Ground Tame
- Right After Taming
- Controls That Actually Matter
- Swinging: The Real Skill
- Stamina Is the Real Limit
- Wall Climbing, Slow Fall, Spider Vision
- Combat: Know Its Limits
- The Blood-Feeding Problem
- Stat Priorities
- Best Terrain
- Mistakes That Kill Runs
- First-Tame Game Plan
- Where do Bloodstalkers spawn in ARK Genesis?
- How many blood packs does a Bloodstalker need?
- Why is my Bloodstalker eating me?
- Does the Bloodstalker need a saddle?
- What stats should I level first?
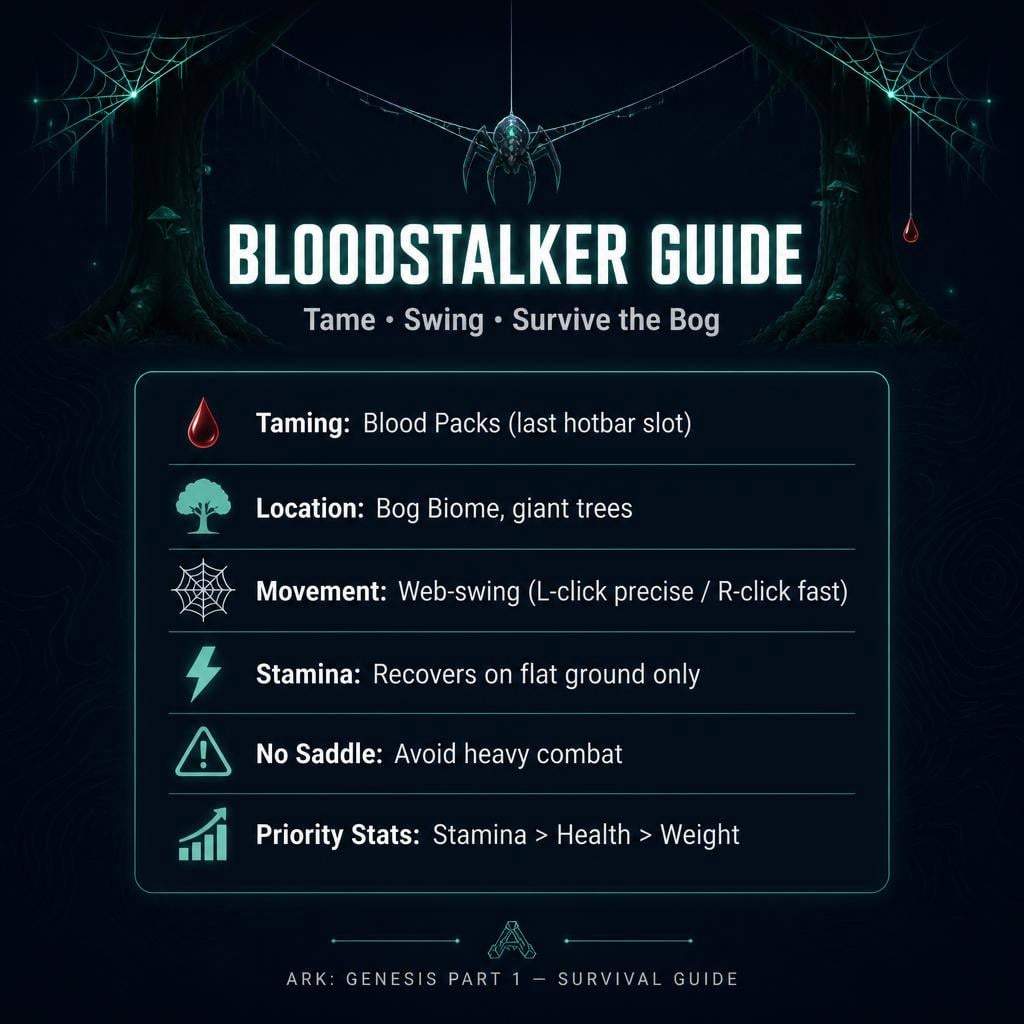
Quick Overview
| Feature | Rating | Notes |
|---|---|---|
| Mobility | Excellent | Best swing-based travel in the game |
| Combat | Low-Medium | No saddle = no armor |
| Taming difficulty | Medium | Easy mechanically, gear-heavy |
| Best use | Scouting & travel | Not a tank, don't treat it like one |
Bottom line: it's a travel tool first, a fighter never.
Gear Checklist Before You Go
| Item | Amount | Why |
|---|---|---|
| Blood Packs | Max you can carry | Taming food |
| Blood Extraction Syringe | 1+ | Makes blood packs from your own HP |
| Grappling Hooks | 20–50 | Climb Bog trees |
| Parachutes | 10–20 | Non-negotiable — falls kill during tame/dismount |
| Spyglass | 1 | Check level before committing |
| Flak Armor | 1 set | Bog is full of things that bite |
How Many Blood Packs?
A level 150 can eat around 1,280 blood packs on standard rates. That number swings hard with server multipliers.
Rule of thumb: don't attempt max-level as your first tame. Go low-level first, use it to farm, then scale up.
Where to Find Them
Bloodstalkers hang upside down in the giant Bog trees, facing down, waiting to grab you. Look for trees that dwarf everything around them — Bog fog will hide the smaller landmarks, so scan upward as you walk.
| Problem | Fix |
|---|---|
| Can't spot the tree | Bog fog is bad — move closer, look up |
| Get grabbed before you see it | Spyglass every branch before approaching |
| Fall while climbing | Short grapple steps + parachute on standby |
| Other creatures interrupt | Clear the area or approach from higher ground |
How to Tame It
Bloodstalkers tame by grabbing you and eating blood packs from your bar. That's it — no knockout, no narcotics.
1. Craft blood packs with the Blood Extraction Syringe. Bring extra.
2. Load your last hotbar slot with blood packs. Wrong slot = failed or bloody tame.
3. Spyglass check the level before you approach.
4. Walk into grab range. It'll reel you in.
5. Let it feed passively until tame completes.
6. Chute up on drop — post-tame fall damage is real if you're not ready.
Tree Tame vs. Ground Tame
| Method | Pros | Cons |
|---|---|---|
| Tree taming | Fewer ground threats | Fall risk, harder to line up |
| Ground taming | Simpler positioning | Bog floor is never empty of predators |
Tree taming with parachutes ready is the safer default.
Warning: don't go AFK mid-tame. Server lag, wild dinos, or PvP can wreck an otherwise clean run in seconds.
Right After Taming
Don't sprint off across the map. Get grounded first.
- Move away from the tree — other Bloodstalkers are still watching
- Check HP and stamina immediately
- Restock blood packs into inventory
- Practice swings nearby before any real travel
- Skip fights — no saddle means no buffer
Controls That Actually Matter
| Input | Does | Use For |
|---|---|---|
| Left click | Single web | Controlled, precise swings |
| Right click | Double web | Fast, aggressive travel |
| Spacebar | Jump / release timing | Launching off a swing |
| Hold Ctrl (air) | Slow fall | Missed swings, controlled drops |
| C | Melee / lower while suspended | Combat or precision descent |
| X | Detach web | Bail out of a bad swing |
Learn single-web first. It's slower but forgiving. Double-web later, once timing clicks.
Swinging: The Real Skill
1. Get high.
2. Aim at a tall anchor (tree, cliff).
3. Right-click to double-web.
4. Spacebar to release while still rising — this is the whole trick.
5. Spot your next anchor before you land.
6. Reattach. Repeat.
| Symptom | Fix |
|---|---|
| Losing height | Aim for higher anchors |
| Moving too fast, no control | Switch to single web |
| Stamina dropping | Land on flat ground — it won't recover mid-air |
| Crashing into terrain | Release earlier |
Release timing is everything. Too early = no lift. Too late = faceplant.
Stamina Is the Real Limit
Stamina only recovers on flat ground. Walls and awkward terrain don't count.
- Long-distance travel needs planned landing points
- Running dry mid-swing means losing control
- Slow fall buys time — it doesn't refill the tank
Plan routes with flat rocks or clearings as rest stops, especially through the Bog or Redwoods.
Wall Climbing, Slow Fall, Spider Vision
Wall walking: hold spacebar as you hit a surface. Great for cliffs, holding position over danger, or bailing out of a bad swing.
Slow fall: hold Ctrl in the air. Use it whenever you miss a web or drop from height.
Spider vision: highlights nearby creatures. Massive help in Bog fog — it tells you what's coming before your eyes do.
Combat: Know Its Limits
Can do: grab small creatures, reposition fast, escape bad fights, harass in PvP.
Can't do: tank hits. No saddle armor, period.
The Blood-Feeding Problem
If a Bloodstalker's health drops too low, it starts feeding on you to heal itself. This isn't a bug — it's emergency survival behavior, and it can kill an unprepared rider.
Always keep blood packs on you while riding. If your mount is taking serious damage, disengage before things get personal.
Stat Priorities
| Stat | Priority | Why |
|---|---|---|
| Stamina | Very High | More swinging, longer range |
| Health | High | Survivability + fewer feeding incidents |
| Weight | Medium | Carry more supplies |
| Melee | Low-Medium | Not its job |
Level order: Stamina → Health → Weight. A dead or exhausted Bloodstalker doesn't care how hard it hits.
Best Terrain
| Biome/Map | Rating |
|---|---|
| Bog | Excellent — its home turf |
| Redwoods | Excellent |
| The Center | Very Good |
| Arctic/Volcano | Good, but riskier |
| Open plains/desert | Weak — nothing to swing from |
Flat, open terrain neutralizes everything that makes this creature good.
Mistakes That Kill Runs
| Mistake | Consequence | Fix |
|---|---|---|
| Taming level 150 first | Massive blood pack cost | Start low-level |
| No parachutes | Fall deaths during tame/dismount | Always carry 10-20 |
| Ignoring stamina | Mid-air loss of control | Land before it hits zero |
| Fighting too much | No armor = dead mount | Use mobility to disengage |
| Going AFK mid-tame | Ambush, PvP, lag risk | Stay alert nearby |
| No blood packs post-tame | Emergency feeding = you die | Always restock |
First-Tame Game Plan
1. Farm a modest blood pack stash
2. Bring grapples, chutes, armor, spyglass
3. Find a low-level Bloodstalker in the Bog
4. Blood packs in last hotbar slot, let it grab you
5. Wait out the tame, chute if dropped
6. Get to safety, level stamina → health
7. Use it to farm resources for a better one
Your first one doesn't need to be great. It just needs to get you the second one faster.
FAQ
Where do Bloodstalkers spawn in ARK Genesis?
In the Bog biome, Genesis Part 1 — hanging upside down from the giant trees, facing downward.
How many blood packs does a Bloodstalker need?
Level 150 runs around 1,280 blood packs on standard rates. Server settings change this significantly. Go low-level for your first tame.
Why is my Bloodstalker eating me?
When its health drops critically low, it feeds on the rider to heal. Carry blood packs at all times to avoid this.
Does the Bloodstalker need a saddle?
No — but that also means no saddle armor. It's rideable instantly but fragile in combat.
What stats should I level first?
Stamina, then health, then weight. Skip melee unless you have points to spare.
Summary
The Bloodstalker rewards patience and punishes greed. Tame low-level first, stack parachutes, respect stamina, and never skip blood packs on a ride. Master the release timing on your swings and this thing turns the Bog from a death trap into the fastest travel option in Genesis.


The GGWTB Editorial Team features 10 full-time gaming editors and 23 specialist contributors, delivering hands-on tested walkthroughs, easter egg breakdowns, and game updates.
LUKE — who spearheads our in-depth ARK Survival Ascended, COD: Modern Warfare 4 guides, and patch notes—every guide is rigorously verified on live servers for accuracy.

Most Popular Posts
- ARK Survival Ascended Lunar Biome Cave Locations: All 6 Caves From World Teleporter
- ARK: Survival Ascended Bjarnheim Farming Guide: Element, Pearls, Metal & Boss Routes
- ARK: Survival Ascended Lumina Dinos Guide: Spawn Locations, Taming Steps & Umbra Synergy
- Thylacoleo Location on Genesis 1 (ASA): Spawn Coordinates, Force-Spawn Method & Fast Taming Guide
- ARK: Survival Ascended Giant Queen Bees: Find and Tame in Genesis 1
- ARK Survival Ascended Magmasaur Guide: Egg Theft, Raising, and Metal Farming Tips
Popular Category Lists
- ARC Raiders / (351)
- Grow a Garden / (294)
- CoD: Black Ops 7 / (167)
- Star Citizen / (162)
- MLB 26 / (159)
- Monopoly Go / (152)
- ARK Survival Ascended / (128)
- Steal a Brainrot / (99)
- Blox Fruits / (74)
- Adopt Me / (74)
- Forza Horizon 6 / (72)
- Sailor Piece / (68)
- Grow a Garden 2 / (68)
- Diablo IV / (62)
- CoD: BLACK OPS 6 / (55)
- Aion 2 / (50)
- Path of Exile 2 / (48)
- Monster Hunter Wilds / (46)
- Windrose / (44)
- Donut SMP / (41)