


 0
0Best XR-3 ION Loadout in Black Ops 7: Attachments, Stats, and Build Guide
- ELSA
- Share
- CoD: Black Ops 7
- 05/21/26
- 505
The XR-3 ION is not a normal sniper. Treat it like one and it feels awful. Build around its charge delay, pre-aim your fights, and it becomes a nasty lane-control weapon with excellent velocity and strong burst consistency.
- XR-3 ION Quick Verdict
- XR-3 ION Fire Rate and Charge Time
- XR-3 ION Damage Profile
- XR-3 ION Range and Bullet Velocity
- XR-3 ION Handling and Flinch
- Best XR-3 ION Loadout for 6v6
- Balanced Aggression Build
- High Damage XR-3 ION Loadout
- One-Shot Consistency Build
- XR-3 ION Tac-Stance Build
- Tac-Stance / Hipfire Build
- Best XR-3 ION Attachments Ranked
- How to Use the XR-3 ION Better
- If You Keep Dying Before It Fires
- If You Keep Getting Hit Markers
- If Your Burst Misses When Shot
- If You Want to Play Faster
- If You Want Easy Kills
- FAQ
- What is the best XR-3 ION loadout in Black Ops 7?
- Is Rapid Fire worth it on the XR-3 ION?
- Does the XR-3 ION one-shot to the body?
- Is the XR-3 ION good for quickscoping?
- Is the MFS 3x3 Compensator good?
- Summary
↖ XR-3 ION Quick Verdict
The XR-3 ION is a charged three-round burst sniper rifle. It has a delay before firing, but the burst itself is extremely fast.
It is best for:
- Pre-aiming lanes
- Holding power positions
- Punishing predictable pushes
- Tac-stance meme builds that actually work
It is weak for:
- Quickscoping
- Panic reaction shots
- Hard rushing
- Wide-swinging without pre-charging
| Category | XR-3 ION Result |
|---|---|
| Best role | Lane-control sniper |
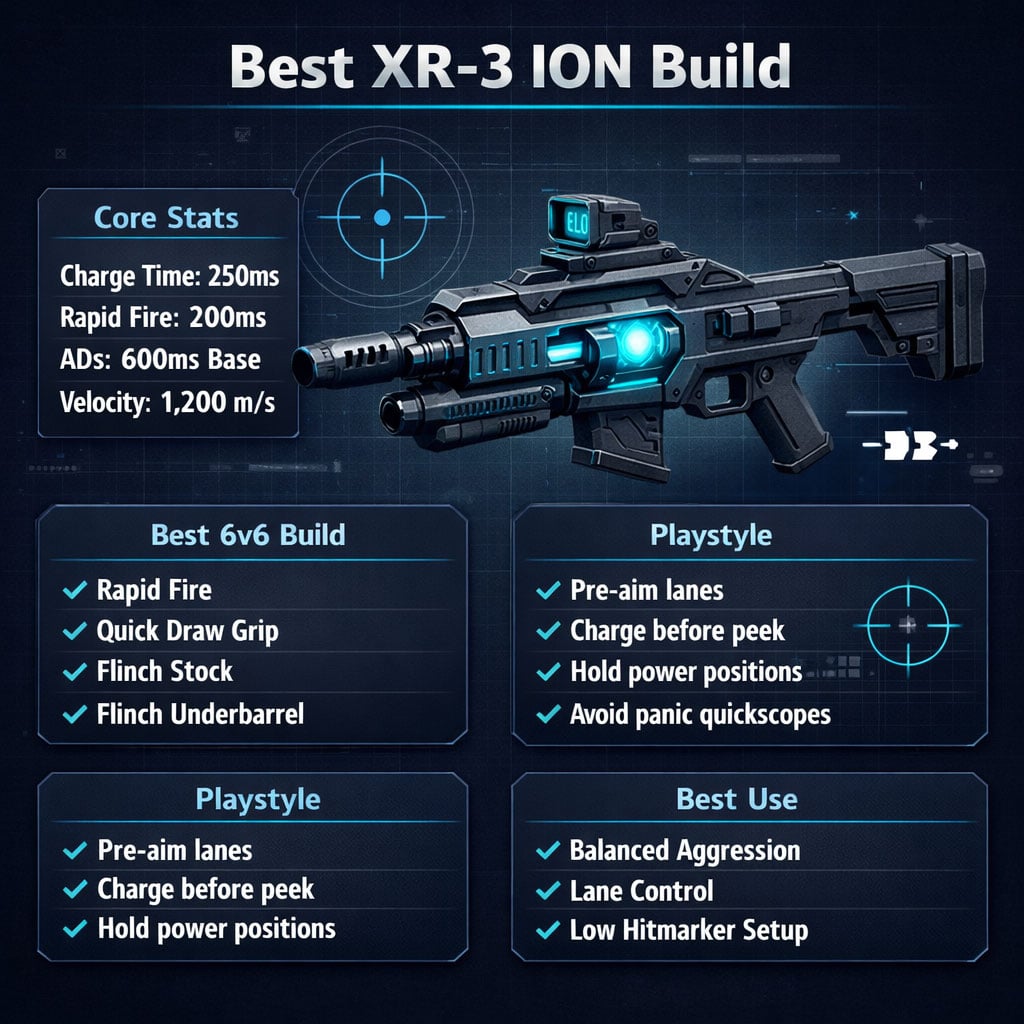
| Base charge time | 250 ms |
| Charge time with Rapid Fire | 200 ms |
| Base ADS speed | 600 ms |
| Bullet velocity | 1,200 m/s |
| Hitscan range | 60 m |
| Best key attachment | Rapid Fire |
If you only remember one thing: pull the trigger before the enemy fully appears. That is how this gun wins.
↖ XR-3 ION Fire Rate and Charge Time
The main pain point is the pre-fire delay.
You press the trigger, the weapon charges, then it fires a fast three-round burst. After that, there is another long delay before the next burst.
| Stat | Default | With Rapid Fire |
|---|---|---|
| Charge time | 250 ms | 200 ms |
| Burst delay | 275 ms | 225 ms |
| Practical delay between bursts | 525 ms | 425 ms |
| Burst fire rate | Around 1,200 RPM | Similar |
This is why Rapid Fire is almost mandatory.
It does two important things:
- Cuts the first-shot delay
- Speeds up follow-up bursts
The velocity penalty looks scary, but the XR-3 ION starts at 1,200 m/s, so it can afford the loss in normal 6v6.
↖ XR-3 ION Damage Profile
The XR-3 ION does not always one-shot to the body by default.
That sounds bad. In practice, the burst fires so fast that two bullets often land together. Still, against strafing or sliding enemies, you will get hit markers.
| Hit Zone | Default | With Damage Barrel |
|---|---|---|
| Head | One-shot | One-shot |
| Neck | One-shot | One-shot |
| Torso | Usually needs burst hits | One-shot |
| Lower body | Usually needs burst hits | One-shot |
| Legs | Weakest zone | Still unreliable |
Use the Damage Barrel if you hate hit markers.
But know the cost: ADS can climb to around 720 ms. That is slow. Use it for traditional sniping, not aggressive peeking.
↖ XR-3 ION Range and Bullet Velocity
The XR-3 ION has elite velocity. Range attachments are mostly wasted in 6v6.
| Stat | Value |
|---|---|
| Practical damage range | Effectively infinite |
| Bullet velocity | 1,200 m/s |
| Hitscan range | 60 m |
| With velocity barrel | Around 78 m hitscan |
| Rapid Fire velocity loss | Around 40% |
Skip these in most builds:
- Long Barrel
- Hybrid Barrel
- Velocity Barrel
Why? The gun already handles normal sightlines easily. Spend slots on ADS speed, Rapid Fire, and flinch resistance instead.
↖ XR-3 ION Handling and Flinch
The XR-3 ION is slow. No sugarcoating it.
| Handling Stat | Value / Result |
|---|---|
| Base ADS speed | 600 ms |
| Damage Barrel ADS | Around 720 ms |
| Reload speed | 1.95 s |
| Default mag | 15 rounds / 5 bursts |
| Pistol swap-to-fire | Around 700 ms |
| Mobility | Slowest sniper category |
The bigger issue is flinch.
Because the gun charges before firing, enemies have time to shoot you first. If they tag you during that charge window, your burst can fly over their head.
Use at least one flinch resistance attachment. For serious 6v6, two is better.
↖ Best XR-3 ION Loadout for 6v6
This is the most practical XR-3 ION setup. Fast enough to move with the map, stable enough to survive return fire.
↖ Balanced Aggression Build
| Slot | Attachment | Reason |
|---|---|---|
| Optic | ELO Sight | Cleaner tracking, better close-range visibility |
| Muzzle | Redwell Suppressor | Stay off radar |
| Barrel | Handling Barrel | Improves responsiveness |
| Underbarrel | Flinch Resistance Underbarrel | Keeps burst on target |
| Rear Grip | Quick Draw Grip | Faster ADS |
| Stock | Flinch Resistance Stock | More consistency under fire |
| Laser | Streak Laser | Handling support |
| Fire Mod | Rapid Fire | Faster charge and burst recovery |
| Result | Approx. Value |
|---|---|
| ADS speed | 492 ms |
| Flinch improvement | Around 28% |
| Best mode | 6v6 Core |
| Best playstyle | Controlled aggression |
Run this first. It fixes the weapon's worst problems without ruining what makes it good.
How to use it: pre-aim common lanes, start charging before the peek, and avoid sprinting into every fight.
↖ High Damage XR-3 ION Loadout
This build is for players who want fewer hit markers and do not care about speed.
↖ One-Shot Consistency Build
| Slot | Attachment | Reason |
|---|---|---|
| Barrel | Damage Barrel | One-shot body consistency |
| Rear Grip | Quick Draw Grip | Offsets slow ADS |
| Stock | Flinch Resistance Stock | Better under fire |
| Laser | Lockep / Striker Laser | Handling support |
| Fire Mod | Rapid Fire | Faster charge timing |
| Result | Approx. Value |
|---|---|
| ADS speed | 665 ms |
| One-shot consistency | Very high |
| Best role | Traditional sniper |
| Best maps | Long lanes / power positions |
Use this if you anchor lanes, hold objectives, or play slower.
Do not use it if you expect to quickscope. The gun becomes reliable, but heavy.
↖ XR-3 ION Tac-Stance Build
The prestige muzzle gives the XR-3 ION a weird but usable close-range identity.
↖ Tac-Stance / Hipfire Build
| Slot | Attachment | Reason |
|---|---|---|
| Muzzle | MFS 3x3 Compensator | Tightens stationary hipfire and tac-stance |
| Rear Grip | Quick Draw Grip | Helps handling |
| Stock | Tac-Stance Stock | Better tac-stance spread |
| Laser | Tactical Laser | Improves tac-stance accuracy |
| Fire Mod | Rapid Fire | Counters slower charge |
| Result | Approx. Value |
|---|---|
| Charge time | Around 350 ms |
| ADS speed | Slow |
| Best use | Corner pre-fire |
| Main rule | Plant your feet before firing |
The MFS 3x3 Compensator massively tightens hipfire while standing still. The moment you move, the spread opens up.
So the play is simple:
- Hear footsteps
- Stop moving
- Start charging early
- Let the burst fire as they appear
It is not the best competitive build. It is absolutely fun and surprisingly lethal in tight lanes.
↖ Best XR-3 ION Attachments Ranked
| Attachment | Value | Why It Matters |
|---|---|---|
| Rapid Fire | S-tier | Reduces charge time and burst delay |
| Quick Draw Grip | S-tier | Fixes slow ADS |
| Flinch Resistance Stock | S-tier | Keeps burst from kicking high |
| Flinch Underbarrel | A-tier | Best consistency boost |
| Damage Barrel | A-tier | Fewer hit markers |
| ELO Sight | B-tier | Better close tracking |
| Suppressor | B-tier | Strong for staying hidden |
| MFS 3x3 Compensator | Niche | Tac-stance only |
| Velocity Barrel | Low | Overkill in 6v6 |
| Long Barrel | Low | Range is already excellent |
For most players, the core should be:
- Rapid Fire
- Quick Draw Grip
- Flinch resistance
- Optional suppressor or optic
↖ How to Use the XR-3 ION Better
The XR-3 ION rewards timing more than flick aim.
↖ If You Keep Dying Before It Fires
Use Rapid Fire and stop taking pure reaction fights.
Pre-charge before:
- Doorways
- Head glitches
- Objective crosses
- Common slide routes
↖ If You Keep Getting Hit Markers
Use the Damage Barrel or aim more center mass.
Hit markers usually happen when only one bullet from the burst lands.
↖ If Your Burst Misses When Shot
Add flinch resistance.
This weapon hates flinch because the enemy can hit you during the charge window.
↖ If You Want to Play Faster
Use the Balanced Aggression Build.
Do not use the Damage Barrel. Keep ADS near 492 ms and play around cover.
↖ If You Want Easy Kills
Hold lanes.
The XR-3 ION is not a hero-gun. It is a timing gun. Make enemies walk into your burst.
↖ FAQ
↖ What is the best XR-3 ION loadout in Black Ops 7?
The best all-around XR-3 ION loadout is the Balanced Aggression Build: ELO Sight, Redwell Suppressor, Handling Barrel, Flinch Underbarrel, Quick Draw Grip, Flinch Stock, Streak Laser, and Rapid Fire. It brings ADS to around 492 ms and improves consistency in 6v6.
↖ Is Rapid Fire worth it on the XR-3 ION?
Yes. Rapid Fire is the best attachment for the XR-3 ION. It cuts charge time from about 250 ms to 200 ms and reduces the practical delay between bursts from around 525 ms to 425 ms.
↖ Does the XR-3 ION one-shot to the body?
Not by default. It one-shots to the head and neck, while body kills usually need multiple burst bullets. With the Damage Barrel, it becomes a one-shot kill almost everywhere except the legs.
↖ Is the XR-3 ION good for quickscoping?
No. The XR-3 ION has a charge delay and slow base ADS of around 600 ms. You can make it faster, but it will never feel like a true quickscope sniper.
↖ Is the MFS 3x3 Compensator good?
It is good only for tac-stance or stationary hipfire builds. It tightens spread heavily while standing still, but it slows ADS and increases charge time. Use it for close-lane pre-fire, not standard sniping.
↖ Summary
The XR-3 ION is not meta-easy, but it is better than it looks.
Its problems are clear: slow ADS, charge delay, and flinch sensitivity. Its strengths are also real: 1,200 m/s velocity, fast burst output, strong lane control, and excellent consistency with the right build.
Use the Balanced Aggression Build for 6v6.
Use the High Damage Build if hit markers annoy you.
Use the Tac-Stance Build if you want something weird that still kills.
Play it like a prediction sniper. Pre-charge early, hold smart angles, and make enemies run into the burst.

Most Popular Posts
- Black Ops 7 Endgame Exotic Affinity Weapons Guide: Best Bonuses, Full Weapon List, and Farming Tips
- Black Ops 7 Zombies Totenreich Easter Egg Guide: Fast Solo & Co-Op Main Quest Walkthrough
- Black Ops 7 Cherry Fizz Guide: Fastest Illicit Cargo Event Route for Season 4
- Black Ops 7 Season 4 Release Date, Maps, Weapons, Zombies, Warzone, and MW4 Reveal Prep
- Black Ops 7 Season 3 Meta Loadouts: Best Weapons Class Setups Right Now
- Best MK35 ISR Class Setup in Black Ops 7: Fast Meta Loadout, Attachments, and Tips
Popular Category Lists
- Grow a Garden / (283)
- ARC Raiders / (254)
- CoD: Black Ops 7 / (166)
- Monopoly Go / (146)
- MLB 26 / (138)
- Star Citizen / (105)
- Steal a Brainrot / (88)
- Sailor Piece / (67)
- Forza Horizon 6 / (58)
- CoD: BLACK OPS 6 / (55)
- Blox Fruits / (55)
- ARK Survival Ascended / (54)
- Diablo IV / (53)
- Path of Exile 2 / (48)
- Adopt Me / (48)
- Monster Hunter Wilds / (46)
- Windrose / (43)
- Path of Exile / (40)
- Battlefield 6 / (34)
- Bee Swarm Simulator / (33)


