0
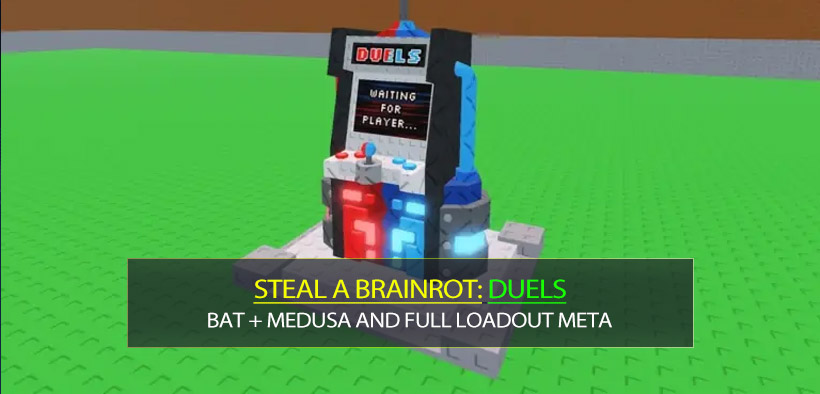
0How to Win Steal A Brainrot Duels: Bat + Medusa and Full Loadout Meta
- Lambe
- Share
- Steal a Brainrot
- 01/12/26
- 1064
Most players treat duels in Steal A Brainrot like a chaotic aim test. They swing wildly, spam abilities off cooldown, and hope for the best. But after tracking dozens of matches and analyzing the mechanics of the new Duel Machine update, we found that winning isn't about who fights harder—it's about who controls the geography.
Whether you are playing the stripped-down Bat + Medusa mode or the chaotic Full Loadout mode, the winner is usually the player who dictates the pickup window. We don't try to out-fight opponents; we win the position battle.
Here is the exact blueprint we use to stack clean wins, divided into the two main ways the game is currently played.
- The Bat + Medusa Meta
- The Golden Rule of Medusa
- The 10-Second Opener Script
- Decision Matrix: When to Press the Button
- The Full Loadout Meta
- The Loadout Philosophy
- The Setup First Opener
- Counterplay: What if They Copy You?
- Universal Mechanics (Positioning & Mind Games)
- The Pickup Game: Safe Grab Spacing
- Baiting the Cooldowns (The Ankle Breaker)
- Matchup Adjustments
- FAQ: Troubleshooting Your Matches
- Final Thoughts
↖ The Bat + Medusa Meta
Scenario: The lobby voted for restrictions. No turrets, no traps. Just raw mechanics.

In this mode, item RNG is gone. The game trims down to three repeatable skills: Tempo, Spacing, and Cooldown Discipline. We play around one specific rule that prints rounds across both Mobile and PC lobbies.
↖ The Golden Rule of Medusa
Most players use Medusa the second they see the enemy. This is a mistake.
Medusa is worth the most when the opponent is near their base.
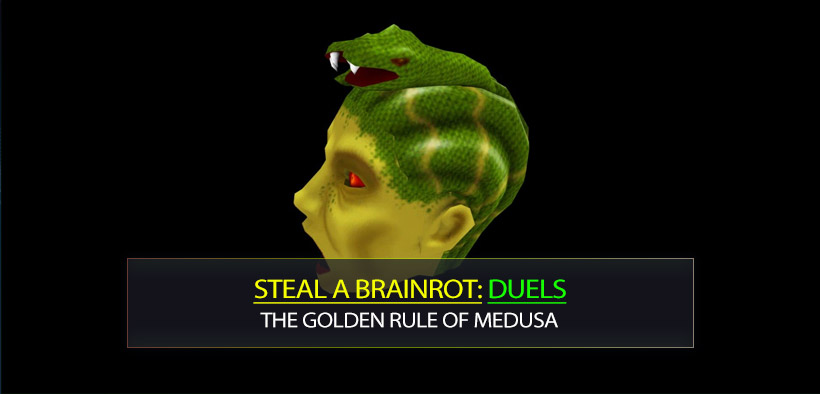
If you Medusa them near their base: The knockback launches them into the void or pins them against the wall, often converting into an instant point because they cannot recover in time to stop you.
If you Medusa them near your base: It effectively does nothing. You burn your best cooldown, but they land safely in midfield, recover, and now you have no threat left.
This means: We treat Medusa as a finisher in their territory, not an opener in ours.
↖ The 10-Second Opener Script
Winning starts before the first hit. Scripts survive nerves, so we use this exact sequence every round:
1. Sprint Immediately: Do not get caught standing still. If you arrive late, you are reacting, not dictating.
2. Angle Your Approach: Never run in a straight line. Curve slightly to throw off their pre-aim.
3. Look for the Bat Hit: Use the Bat to push them toward their base side.
4. Hold Medusa: Wait until the distance condition (Golden Rule) is met.
↖ Decision Matrix: When to Press the Button
We don't guess. We look at the screen and apply this logic:
| Situation You See | The Play | Why It Works |
|---|---|---|
| Opponent is near THEIR base | Fire Medusa immediately | Displacement here is fatal; they cannot recover to contest the pickup. |
| Opponent is near YOUR base | Hold Medusa; Reposition with Bat | Firing here wastes the cooldown. Save it for when you have map control. |
| Opponent used Medusa early | Play Aggressively | Their best punish tool is gone. You can now force a pickup without fear. |
| You are lagging | Bait & Wait | Lag ruins tight timing. Wait for them to commit to a jump, then punish. |
↖ The Full Loadout Meta
Scenario: Anything goes. Turrets, Beehives, Traps, and Missiles are allowed.
This is no longer a duel; it is an objective game. The goal here is to create a Denial Zone that forces the opponent to pay HP just to walk toward the Brainrot. We stop chasing kills and start setting the stage.
↖ The Loadout Philosophy
You need items that automate pressure. If you are relying solely on clicking on them, you will lose to a player who sets up a turret.
Zone Anchor (Turret/Sentry): Mandatory. This creates a home base that farms damage while you move.
Soft Lock (Beehive): Mandatory. Slows them down and punishes hesitation.
Hard Punish (Missile): Saves you when they actually grab the Brainrot.
↖ The Setup First Opener
Never rush the middle immediately. We follow a strict deployment order to ensure we have an advantage before the fight even starts.
1. Drop Turret First: Place it where it has a clear line of sight to the pickup lane.
2. Place Beehive Second: Drop it on the approach path to the Brainrot.
3. Send Pressure Pet: This forces them to move and interrupts clean pathing.
4. Plant Trap: Place this on the greedy path (the shortest line to the objective).
Why this works: Even if your mechanics are average, your kit is farming value. By the time you actually engage in melee, they are likely already at half health or slowed by bees.
↖ Counterplay: What if They Copy You?
Eventually, you will face someone else using this strategy. Here is how we adjust:
| If You See... | Then We... | The Logic |
|---|---|---|
| They place a turret early | Rotate the fight behind your own turret | Force them to walk into your damage lane to get to you. |
| They use Web/CC on you | Drop denial items first, disengage second | CC punishes panic; denial punishes their pursuit. |
| They turtle/wait | Step off-center and bait the pickup | Patience loses to trap lanes. Force them to move. |
↖ Universal Mechanics (Positioning & Mind Games)
These rules apply regardless of which mode you are playing.
↖ The Pickup Game: Safe Grab Spacing
A massive number of losses come from players thinking, I grabbed it, why did I die? The answer is usually spacing.
The Mistake: Standing directly on top of the pickup dot.
The Fix: Stand slightly offset. Move through the pickup point rather than stopping on it.
The opponent is waiting for the moment your character locks into the pickup animation to fire their Medusa or Missile. By keeping your momentum moving through the point, you make yourself a harder target.
↖ Baiting the Cooldowns (The Ankle Breaker)
Once you understand the Golden Rule, you can force opponents to break it. We step into a range where they think Medusa will hit, then we immediately jump or change direction.
If you see them panic-fire Medusa:
You now own the next 10 seconds. Ignore the fight and sprint for the objective. The cooldown advantage is significantly more valuable than hit advantage.
↖ Matchup Adjustments
Mobile Opponents: They often have predictable, straight-line movement bursts. We focus on blocking the road with positioning rather than fancy aim.
Big Avatars: Larger characters often feel harder to displace. We play more conservatively against them, only committing to a steal when we have fully baited their cooldowns.
↖ FAQ: Troubleshooting Your Matches
Q: What is the fastest way to fix a losing streak?
A: Stop trying to aim better. Start tracking two cooldowns: yours and theirs. If you don't know if their Medusa is up, do not go for the pickup. Play for the bait first.
Q: I keep losing the 50/50 pickup battles. What should I do?
A: Stop taking 50/50s. If you find yourself grabbing the Brainrot at the exact same time as the opponent, you have already failed the setup phase. You should have tagged them with a Bat or Turret before* the pickup spawned to delay their arrival.
Q: Is Medusa near their base always correct?
A: It is the default, not a law of physics. If you see that you are about to be combo-locked and they are securing a point, you can use Medusa in midfield as a panic button to reset the round. But this is a defensive desperation move, not an offensive strategy.
Q: How do we handle lag?
A: Play for bait-and-punish. Lag punishes precision (steals), but it doesn't punish positioning. If you are lagging, rely on Turrets and Traps (in Full Loadout) or passive positioning (in Bat + Medusa) rather than trying to win click-battles.
↖ Final Thoughts
We win almost every duel not because we have perfect aim, but because we treat the duel as a system.
In Bat + Medusa, we sprint for tempo, push opponents toward their base, and use Medusa only as a high-value finisher. In Full Loadout, we turn the arena into a minefield where the opponent bleeds HP just for trying to play the objective.
When you apply these rules—positioning over panic, setup over chasing—the game stops feeling random. It starts feeling like a script that you can run on repeat.
Most Popular Posts
- Steal A Brainrot Cyber Update Guide: Best Craft Recipes, Rainbow Chances, Traits, and Profit Tips
- How to Get Every Steal a Brainrot Cyber Craft Brainrots?
- How to Unlock DUGGY BROS in Steal a Brainrot: Best Red Carpet and Crafting Strategy
- Steal a Brainrot John Pork Guide: How to Get Him, Stats, Trait, and Best Trading Tips
- Steal A Brainrot ARCADRAGON Trait Farming Guide: Best Traits, Rituals, Admin Abuse Strategy
- Steal a Brainrot Summer Update 2 Base Unlock, Phantom Mutation, Octo Lucky Blocks, and Best Brainrots
Popular Category Lists
- Grow a Garden / (286)
- ARC Raiders / (266)
- CoD: Black Ops 7 / (166)
- Monopoly Go / (146)
- MLB 26 / (145)
- Star Citizen / (116)
- Steal a Brainrot / (89)
- ARK Survival Ascended / (74)
- Sailor Piece / (68)
- Forza Horizon 6 / (63)
- Diablo IV / (61)
- Blox Fruits / (60)
- CoD: BLACK OPS 6 / (55)
- Adopt Me / (53)
- Path of Exile 2 / (48)
- Monster Hunter Wilds / (46)
- Windrose / (44)
- Grow a Garden 2 / (42)
- Path of Exile / (40)
- Bee Swarm Simulator / (36)